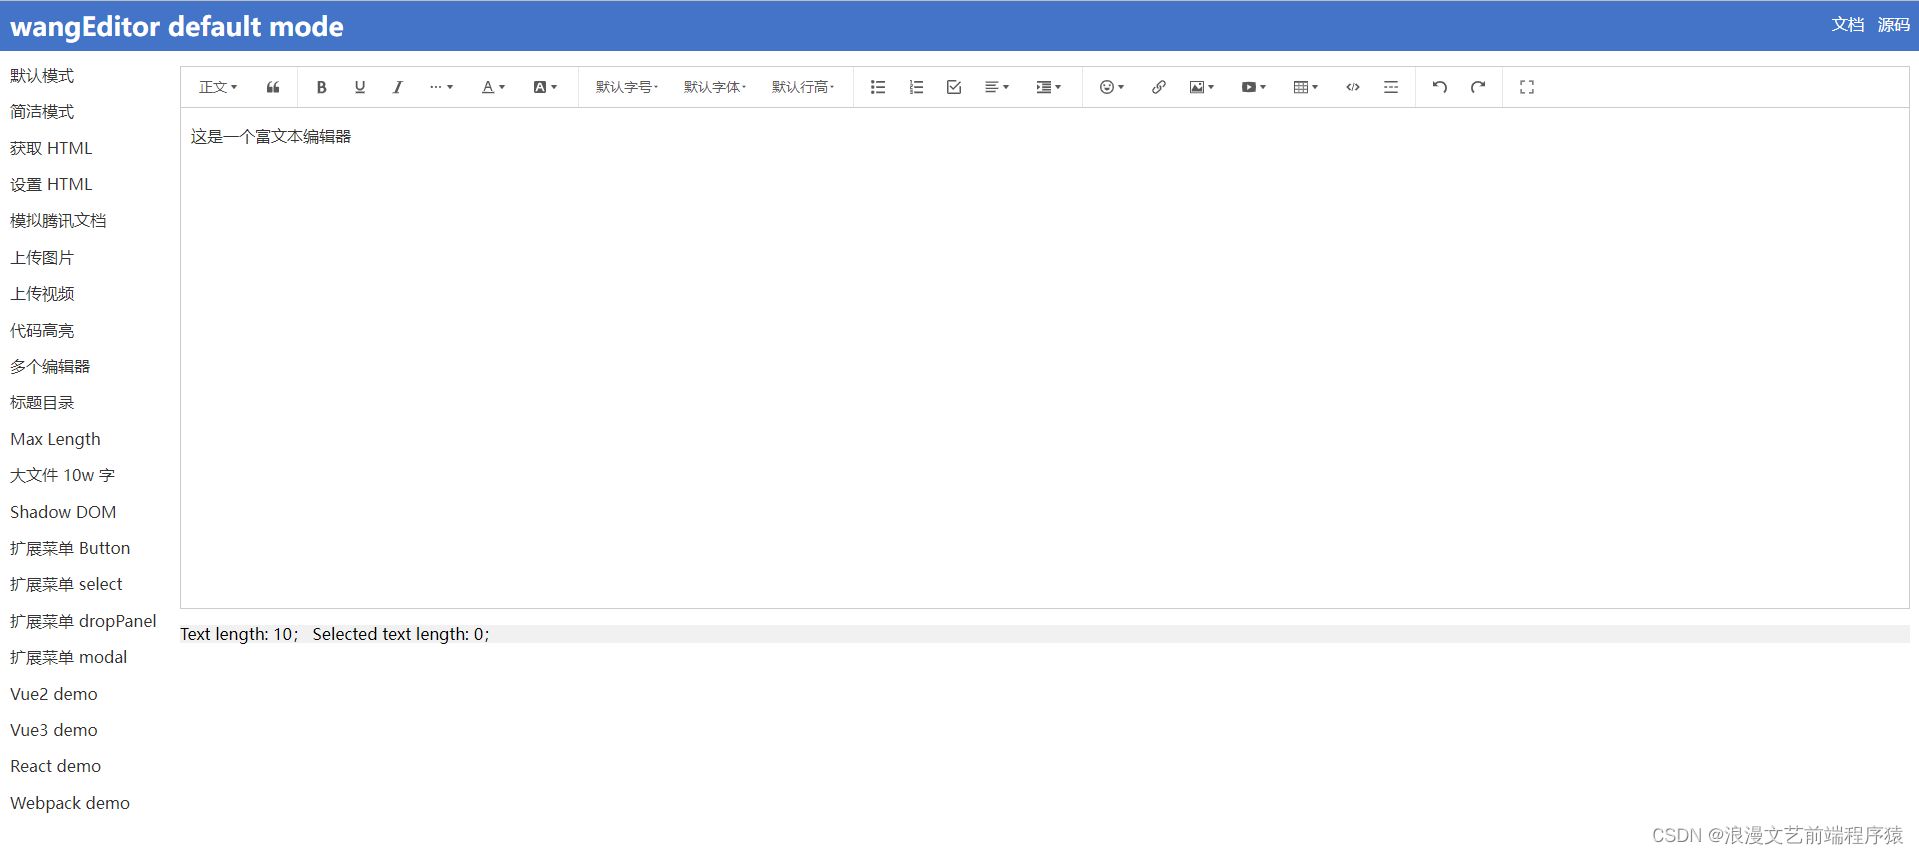
1、官网地址
https://www.wangeditor.com/
2、页面引入js
<script th:src="@{/js/wangEditor4.7.6.js}"></script>3、代码
<div id="inspectionContents"></div>4、js代码
const E = window.wangEditorconst editor1 = new E('#inspectionContents');editor1.config.showLinkImg = false//图片上传,后端接口editor1.config.uploadImgServer=prefix+'/uploadImg'editor1.config.debug=true;editor1.config.uploadFileName = 'file'editor1.create();5、后端代码
@RequestMapping("/uploadImg")@ResponseBodypublic String uploadImg(MultipartFile file, HttpServletRequest request)throws Exception{return dailyInspectionService.uploadImg(file, request);} @Overridepublic String uploadImg(MultipartFile file, HttpServletRequest request) {//协议名 http // httpsString scheme = request.getScheme();//域名String serverName = request.getServerName();//项目名String contextPath = request.getContextPath();//路径String url=scheme+"://"+serverName+":"+port+contextPath;//文件名String filename = file.getOriginalFilename();try {saveImg(file.getInputStream(),filename);}catch (Exception e){throw new RuntimeException("图片上传失败");}JSONObject object=new JSONObject();List<ReturnData> list=new ArrayList<>();ReturnData data=new ReturnData();data.setUrl(url+"/file/"+filename);data.setAlt("图片");list.add(data);object.put("errno","0");object.put("data",list.toArray());return object.toJSONString();} /*** 图片处理** @param stream* @param filename* @throws Exception*/private void saveImg(InputStream stream, String filename)throws Exception{String path=this.getClass().getClassLoader().getResource("").getPath()+"/static/file/";File file=new File(path);String str=file.getPath()+File.separator+filename;FileOutputStream fs=new FileOutputStream(str);byte[] buffer =new byte[1024*1024];int bytesum = 0;int byteread = 0;while ((byteread=stream.read(buffer))!=-1) {bytesum+=byteread;fs.write(buffer,0,byteread);fs.flush();}fs.close();stream.close();}6、图片上传对应的后端接口返回类型,wangEditor官网有详细的说明。以上方法是将图片上传到target/static/file/路径下。