官方文档: http://www.wangeditor.com/
1. 引入编辑器
npm install wangeditor
2. 使用编辑器
(1) 创建容器
<div id="wangeditor"><div ref="editorElem"></div>
</div>
(2) 创建并且实例化组件
vue的使用方法
//vue的使用
import E from "wangeditor”;//导入组件
// 相当于js的变量设置
data() {
return {editor: null,
}}
//methods里创建调用、或是mounted里面直接生产
mounted(){this.editor = new E(this.$refs.editorElem);//获取组件并构造编辑器this.editor.create(); // 创建富文本实例
}
3. 配置菜单
// 这是默认的菜单配置就是全部的功能、不需要的话将其去掉即可.
mounted(){this.editor.customConfig.menus = ['head',  // 标题'bold',  // 粗体'fontSize',  // 字号'fontName',  // 字体'italic',  // 斜体'underline',  // 下划线'strikeThrough',  // 删除线'foreColor',  // 文字颜色'backColor',  // 背景颜色'link',  // 插入链接'list',  // 列表'justify',  // 对齐方式'quote',  // 引用'emoticon',  // 表情'image',  // 插入图片'table',  // 表格'video',  // 插入视频'code',  // 插入代码'undo',  // 撤销'redo'  // 重复]
}
// 自定义设置
mounted(){// 自定义颜色this.editor.customConfig.colors = ["#000000","#333333",];// 自定义字体this.editor.customConfig.fontNames = ["PingFangSC",];//配置多种语言--就是将编辑器原本文字配置成你需要的文字、//***链接文字一定要在链接的上面this.editor.customConfig.lang = {'设置标题': 'title','正文': 'p','链接文字': 'link text','链接': 'link','上传图片': 'upload image','上传': 'upload','创建': 'init'// 还可自定添加更多
}}
4. 常用功能设置
//设置编辑器内容
this.editor.txt.html(“yanyanyan”);
// 编辑器的事件,每次改变会获取其html内容(html内容是带标签的)
this.editor.customConfig.onchange = html => {
_this.formValidate.content = html;
};
// 设置编辑器层级
this.editor.customConfig.zIndex = 10;
// 去除复制过来文本的默认样式
this.editor.customConfig.pasteFilterStyle = false;
//用户点击富文本区域会触发onfocus函数执行
this.editor.customConfig.onfocus = function () {console.log("onfocus")}
// 将图片大小限制为 3M
this.editor.customConfig.uploadImgMaxSize = 3 * 1024 * 1024
// 限制一次最多上传 5 张图片
this.editor.customConfig.uploadImgMaxLength = 5
//上传图片的错误提示默认使用alert弹出,也可以自定义用户体验更好的提示方式
editor.customConfig.customAlert = function (info) {// info 是需要提示的内容alert('自定义提示:' + info)
}
5. 关于本地上传图片
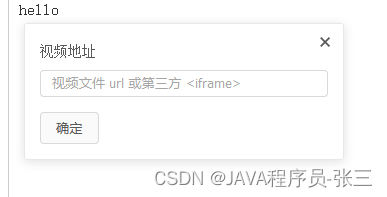
编辑器自带图片上传的上传的网站链接图片
本地上传图片需要自己设置
// 上传图片到服务器,对应的是controller层的@RequestMapping("/upload")
this.editor.customConfig.uploadImgServer = "/api/file/upload”;//接口名称
//自定义name,接收的时候图片文件的那么用这个,对应的是参数中的MultipartFile upimg名称,这个名称即上传到浏览器的参数名称
this.editor.customConfig.uploadFileName = "file_key”;//这个需要和后台商量上传图片的名称
// 上传图片的结果反馈
this.editor.customConfig.uploadImgHooks = {
before: function(xhr, editor, files) {
// 图片上传之前触发
// xhr 是 XMLHttpRequst 对象,editor 是编辑器对象,files 是选择的图片文件
// 如果返回的结果是 {prevent: true, msg: 'xxxx'} 则表示用户放弃上传
// return {
// prevent: true,
// msg: '放弃上传'
// }
// console.log("before:",xhr)
},
success: function(xhr, editor, result) {
// 图片上传并返回结果,图片插入成功之后触发
// xhr 是 XMLHttpRequst 对象,editor 是编辑器对象,result 是服务器端返回的结果
// console.log("success:",result)
},
fail: function(xhr, editor, result) {
// 图片上传并返回结果,但图片插入错误时触发
// xhr 是 XMLHttpRequst 对象,editor 是编辑器对象,result 是服务器端返回的结果
},
error: function(xhr, editor) {
// 图片上传出错时触发
// xhr 是 XMLHttpRequst 对象,editor 是编辑器对象
},
// 如果服务器端返回的不是 {errno:0, data: [...]} 这种格式,可使用该配置
// (但是,服务器端返回的必须是一个 JSON 格式字符串!!!否则会报错)
customInsert: function(insertImg, result, editor) {
// 图片上传并返回结果,自定义插入图片的事件(而不是编辑器自动插入图片!!!)
// insertImg 是插入图片的函数,参数editor 是编辑器对象,result 是服务器端返回的结果
// 举例:假如上传图片成功后,服务器端返回的是 {url:'....'} 这种格式,即可这样插入图片:
var url = result.result.remote_path;
insertImg(url);
// result 必须是一个 JSON 格式字符串!!!否则报错
}
};
// }
6. 其他
常用 API
属性
* 获取编辑器的唯一标识 editor.id
* 获取编辑区域 DOM 节点 editor.$textElem[0]
* 获取菜单栏 DOM 节点 editor.$toolbarElem[0]
* 获取编辑器配置信息 editor.config
* 获取编辑区域 DOM 节点 ID editor.textElemId
* 获取菜单栏 DOM 节点 ID editor.toolbarElemId
* 获取菜单栏中“图片”菜单的 DOM 节点 ID editor.imgMenuId
方法
选取操作
* 获取选中的文字 editor.selection.getSelectionText()
* 获取选取所在的 DOM 节点 editor.selection.getSelectionContainerElem()[0]* 开始节点 editor.selection.getSelectionStartElem()[0]* 结束节点 editor.selection.getSelectionEndElem()[0]
* 折叠选取 editor.selection.collapseRange()
* 更多可参见源码中定义的方法
编辑内容操作
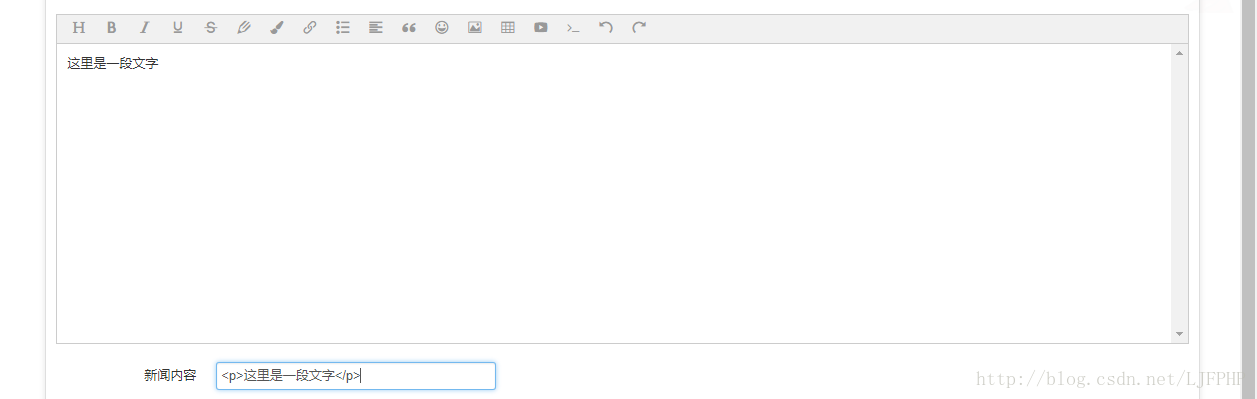
* 插入 HTML editor.cmd.do('insertHTML', '<p>...</p>')
* 可通过editor.cmd.do(name, value)来执行document.execCommand(name, false, value)的操作
问题解决:
1、标题样式、字体样式不生效 等样式问题
原因:设置的全局样式导致样式失效
解决:重新对编辑器的样式进行设置优先级高于全局即可
2、编辑器实例化不成功报错
解决:使用定时器变成异步操作即可
3、图片上传,复制的内容没有自动添加到服务器
需要自动识别添加图片并上传或者是和由后台自动获取保存
其他:
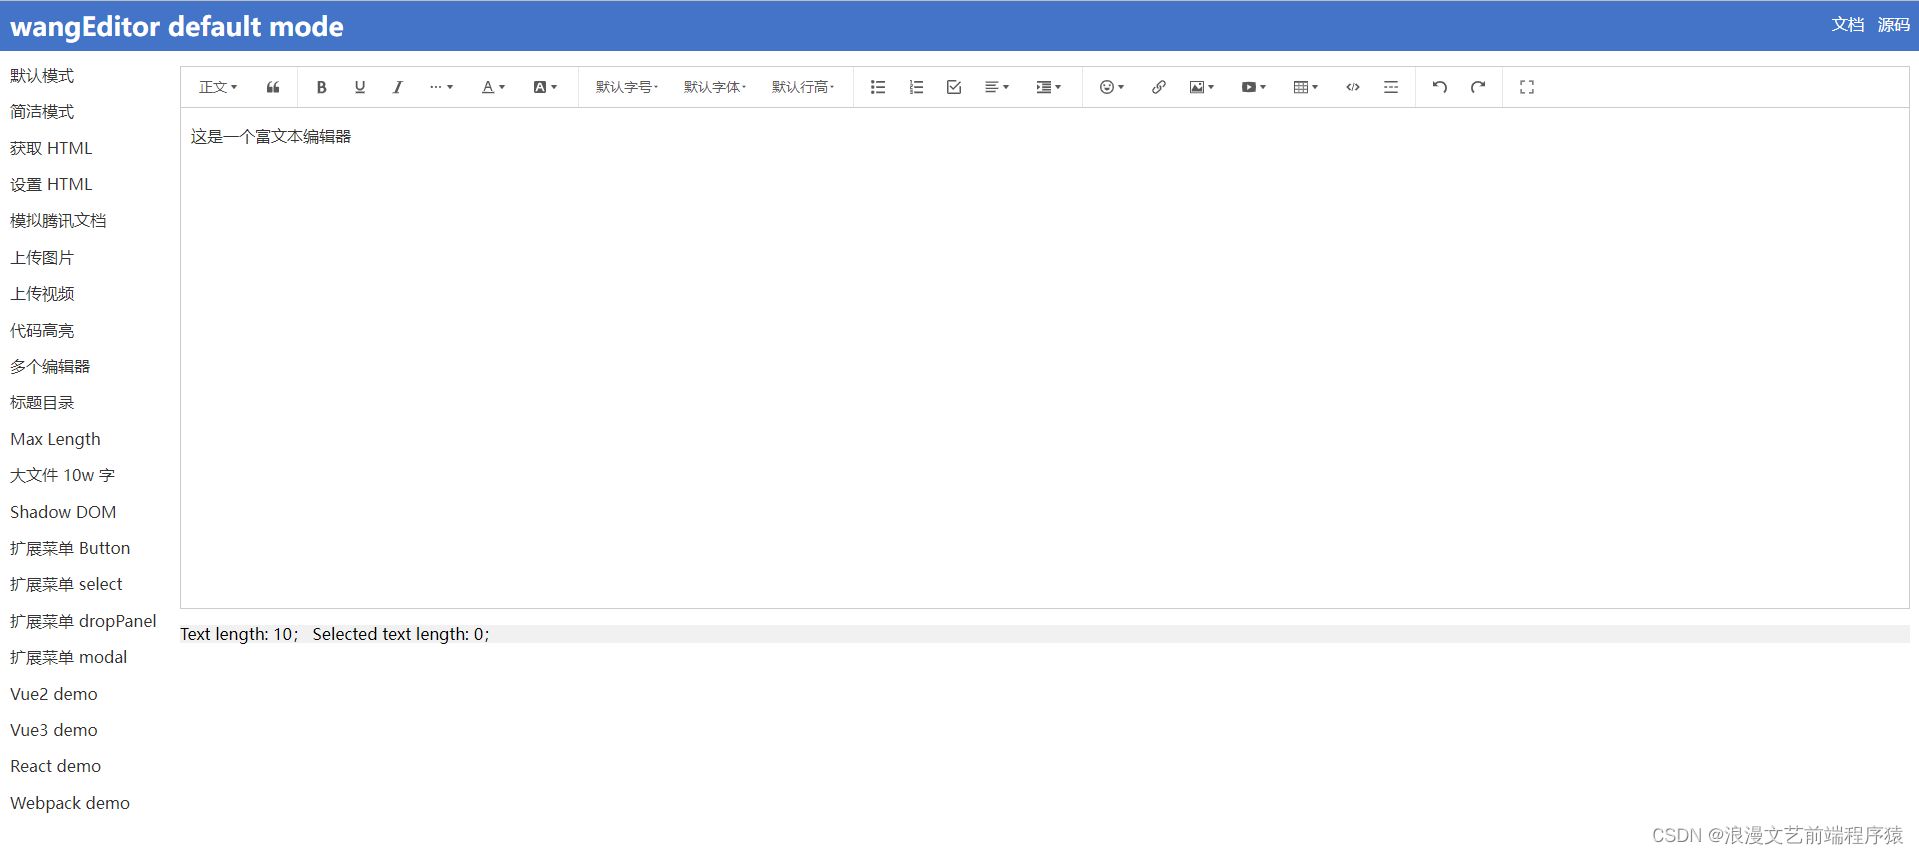
- wangEditor5 新版已经正式发布了 ,大概看了下官方文档(最上方有链接),新手超级友好,也更加适应框架特性,还有相应的react和vue组件
- react组件
@wangeditor/editor-for-react、vue组件@wangeditor/editor-for-vue - 新编辑器加了两种mode,default 默认模式 - 集成了 wangEditor 所有功能,simple 简洁模式 - 仅有部分常见功能,简洁易用;这是官方示例demo,wangeditor5 的问题官方合集,感兴趣可以看看~