在ubuntu18.04arm(docker容器)中安装ROS环境。
1. 简述
由于本人对ROS并不是特别了解,这里就不引入ROS的背景介绍了。
ROS的安装主要基于官网的教程,先选择你当前使用的ubuntu版本对应的ROS,然后根据具体版本的ROS官方教程来安装就可以了。
先打开ROS官网:cn - ROS Wiki。
选择“安装”,会进入如下页面,这里会提示你不同版本的ROS以及推荐安装的ubuntu系统。
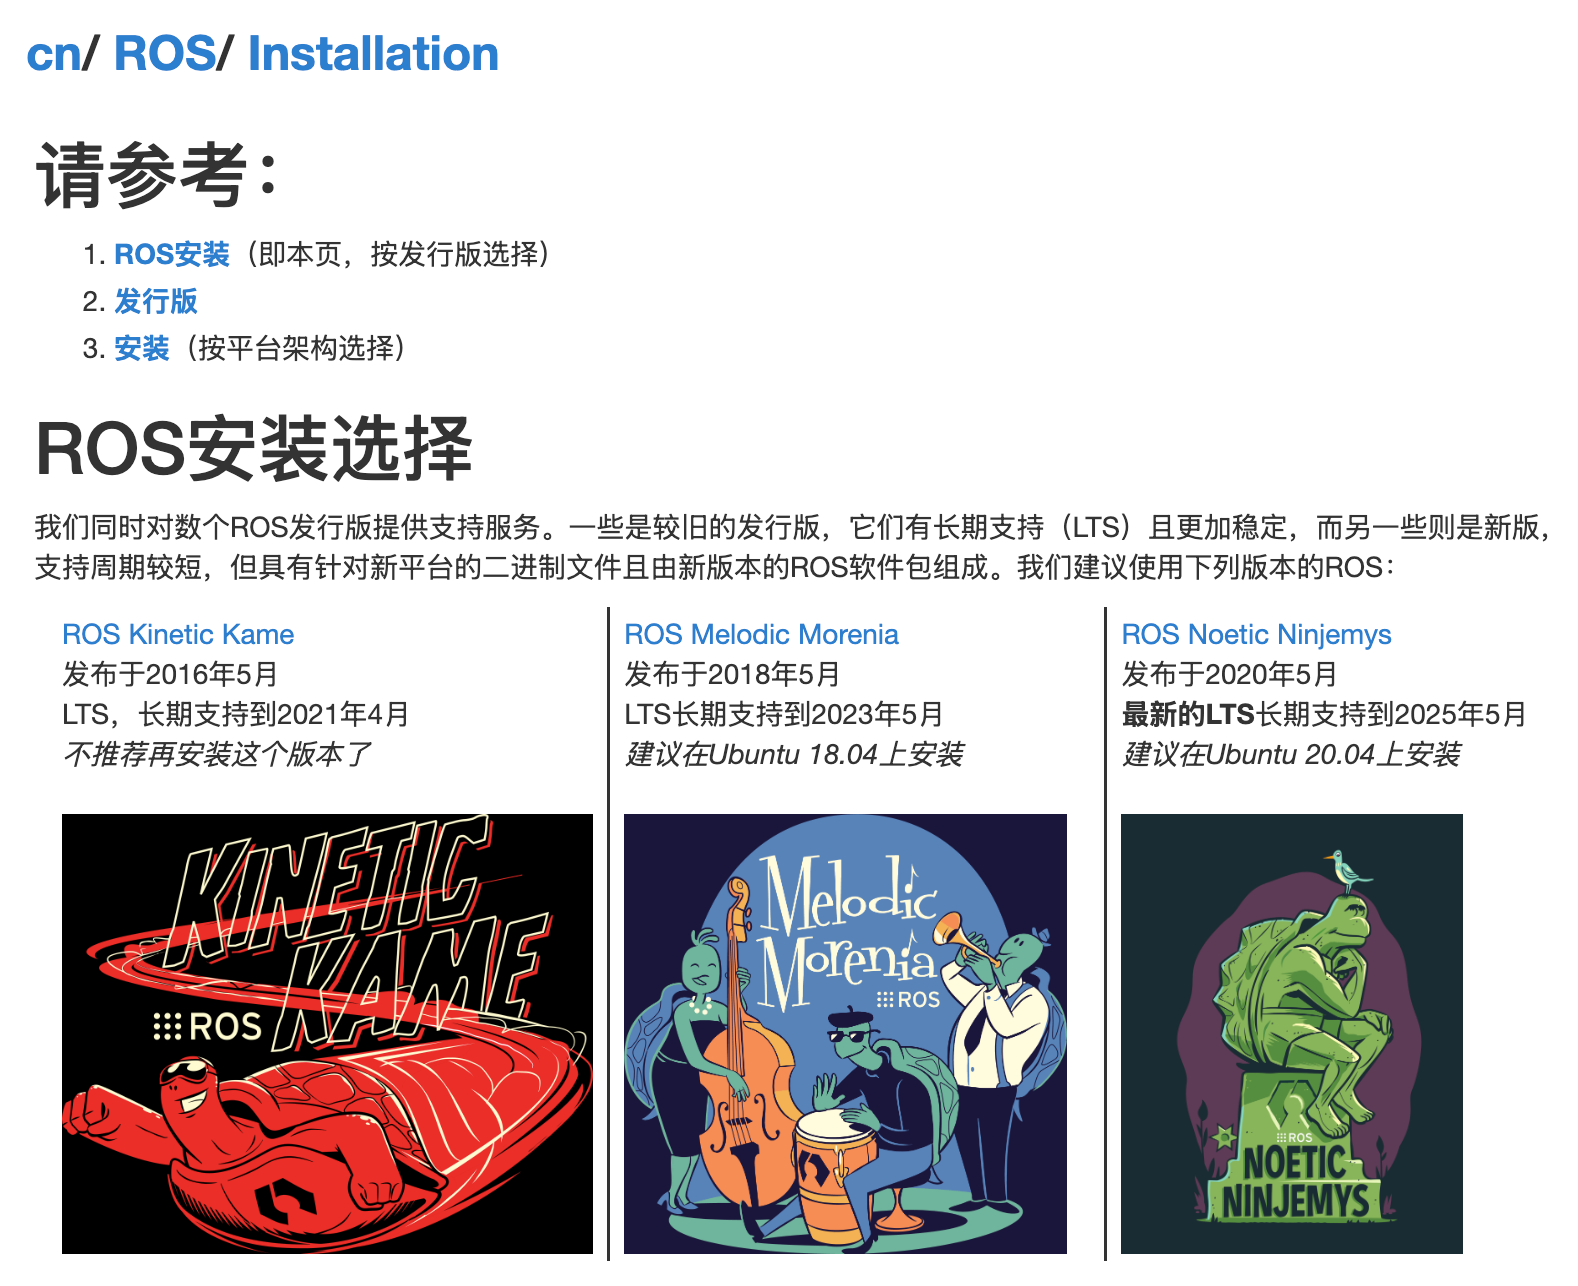
因为我当前使用的是ubuntu18.04,所以选择ROS Melodic Morenia这一发行版。点进去后可以看到这里列出来了支持的操作系统和对应的架构版本,我们当前使用的 ubuntu 18.04 对应的发行版本代号是Bionic,这个版本的ROS是支持arm64架构的。
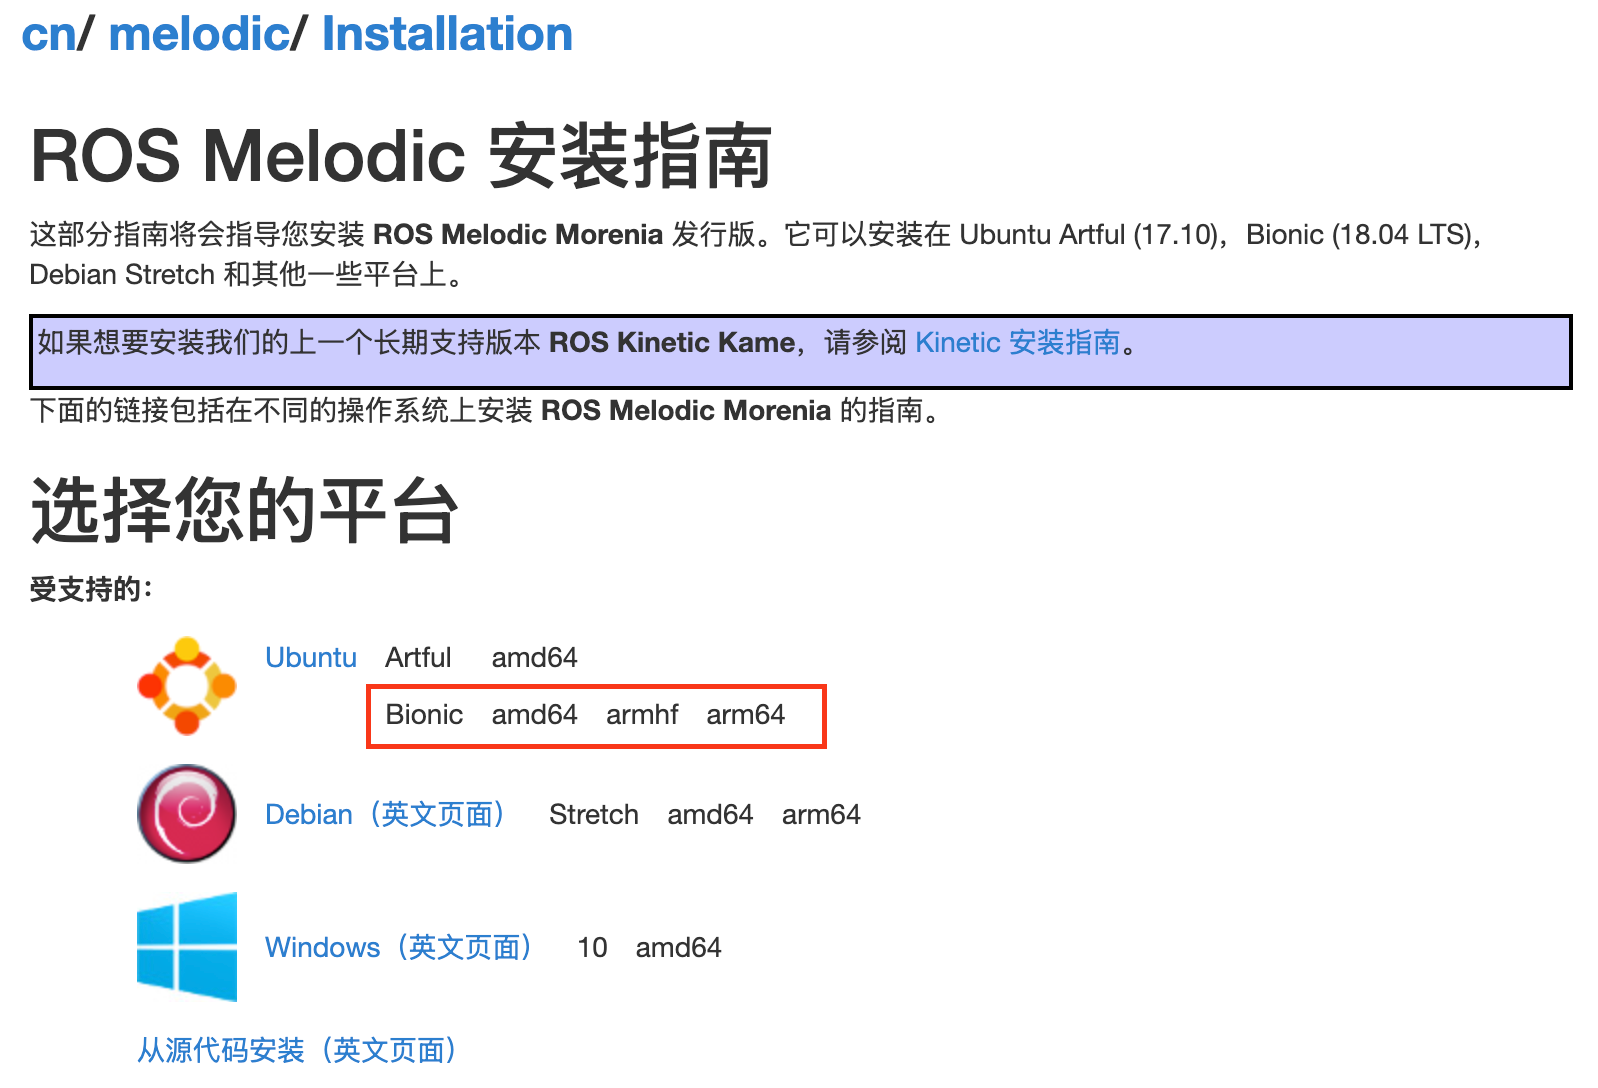
点击ubuntu链接,就会跳转到 ubuntu 18.04 上安装ROS的教程了:cn/melodic/Installation/Ubuntu - ROS Wiki。
跟着教程一步一来,本文主要记录遇到过的坑。
2. 安装ROS
2.1. 配置软件源
官网给出了两个软件源的命令,一个是官方的源,另外一个是国内清华源
# 官方源
sudo sh -c 'echo "deb http://packages.ros.org/ros/ubuntu $(lsb_release -sc) main" > /etc/apt/sources.list.d/ros-latest.list'
# 清华源
sudo sh -c '. /etc/lsb-release && echo "deb http://mirrors.tuna.tsinghua.edu.cn/ros/ubuntu/ `lsb_release -cs` main" > /etc/apt/sources.list.d/ros-latest.list'
这里推荐直接使用国内的清华源。执行这个命令之后就会遇到第一个错误,环境中缺少lsb_release命令。
root@ubuntu-linux-22-04-02-desktop:/work# lsb_release -sc
bash: lsb_release: command not found
需要apt安装lsb-release包,执行apt-get install lsb-release命令即可。安装了之后就可以使用lsb_release命令了,命令的作用是显示当前发行版的名称,前文已经提到了ubuntu 18.04是bionic。
root@ubuntu-linux-22-04-02-desktop:/work# lsb_release -sc
bionic
安装了该软件包后,重新执行上述添加软件源的命令。注意如果你刚刚已经执行了命令,则会得到一个有问题的软件源文件,需要删掉文件,再重新添加。
# 先删除原本的文件(因为命令不存在导致源有问题)
rm -rf /etc/apt/sources.list.d/ros-latest.list
# 重新添加清华源
sudo sh -c '. /etc/lsb-release && echo "deb http://mirrors.tuna.tsinghua.edu.cn/ros/ubuntu/ `lsb_release -cs` main" > /etc/apt/sources.list.d/ros-latest.list'
随后还需要执行命令添加一下密钥(不管是清华源还是官方源都是这个命令)
apt-key adv --keyserver 'hkp://keyserver.ubuntu.com:80' --recv-key C1CF6E31E6BADE8868B172B4F42ED6FBAB17C654
随后更新一下软件源
apt-get -y update
2.2. 安装ROS的不同版本的命令
现在软件源已经更新好了,可以根据自己的需要安装不同版本的ros了。官网给出了下面四种不同的命令,这里我直接选了第一个安装了完整版。
桌面完整版(推荐): : 包含 ROS、rqt、rviz、机器人通用库、2D/3D 模拟器、导航以及 2D/3D 感知包。或 单击这里
sudo apt install ros-melodic-desktop-full
桌面版: 包含 ROS,rqt,rviz 和机器人通用库,或 单击这里
sudo apt install ros-melodic-desktop
ROS-基础包: 包含 ROS 包,构建和通信库。没有图形界面工具。或 单击这里
sudo apt install ros-melodic-ros-base
单独的包: 你也可以安装某个指定的ROS软件包(使用软件包名称替换掉下面的PACKAGE):
sudo apt install ros-melodic-PACKAGE
如:
sudo apt install ros-melodic-slam-gmapping
完整版需要安装的东西很多,耐心等待一下。
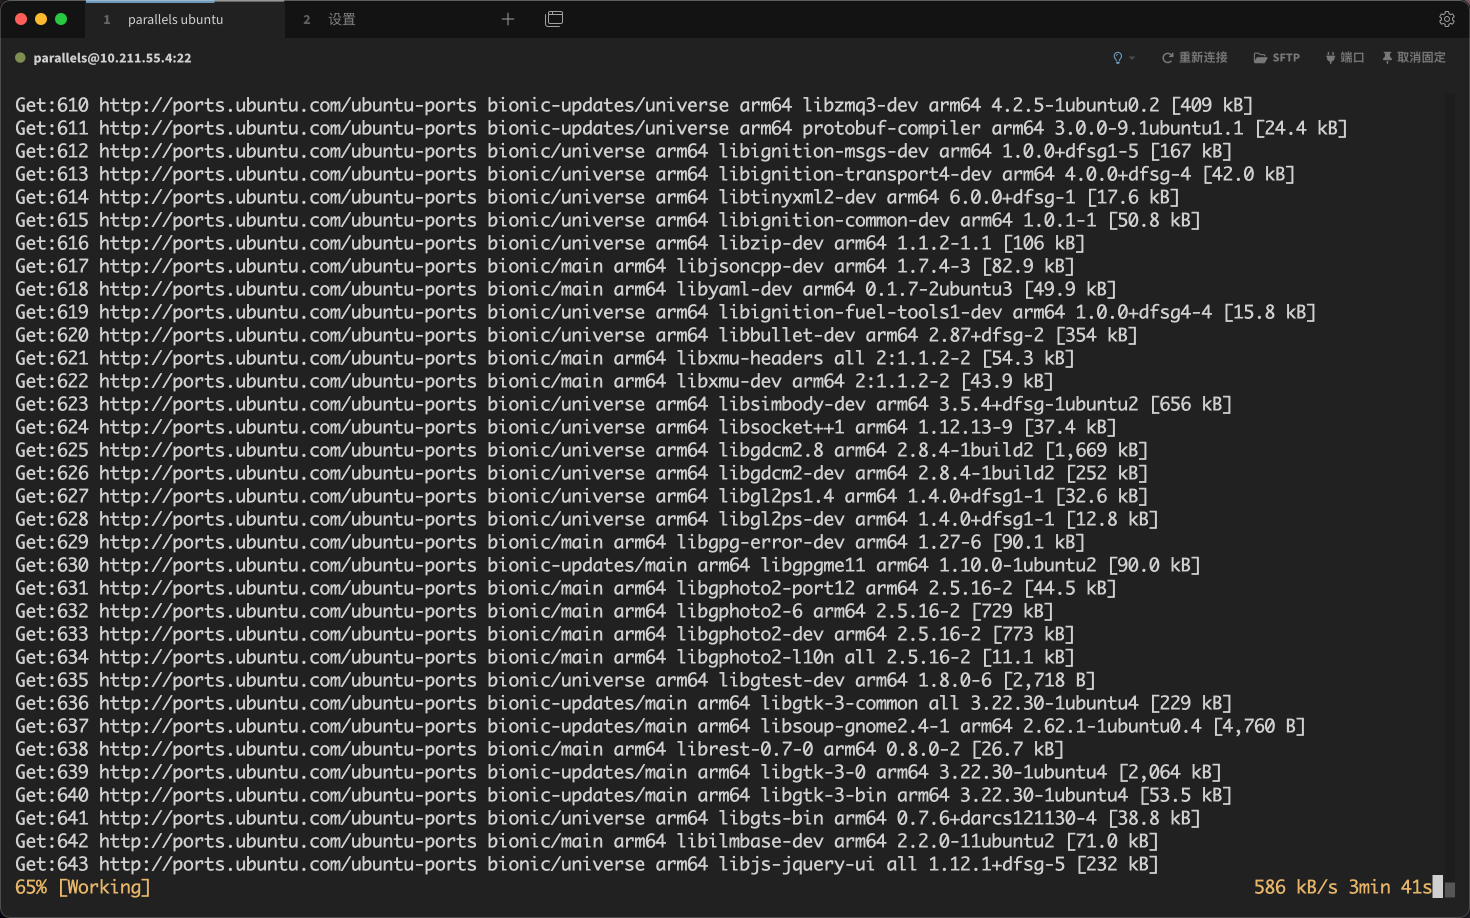
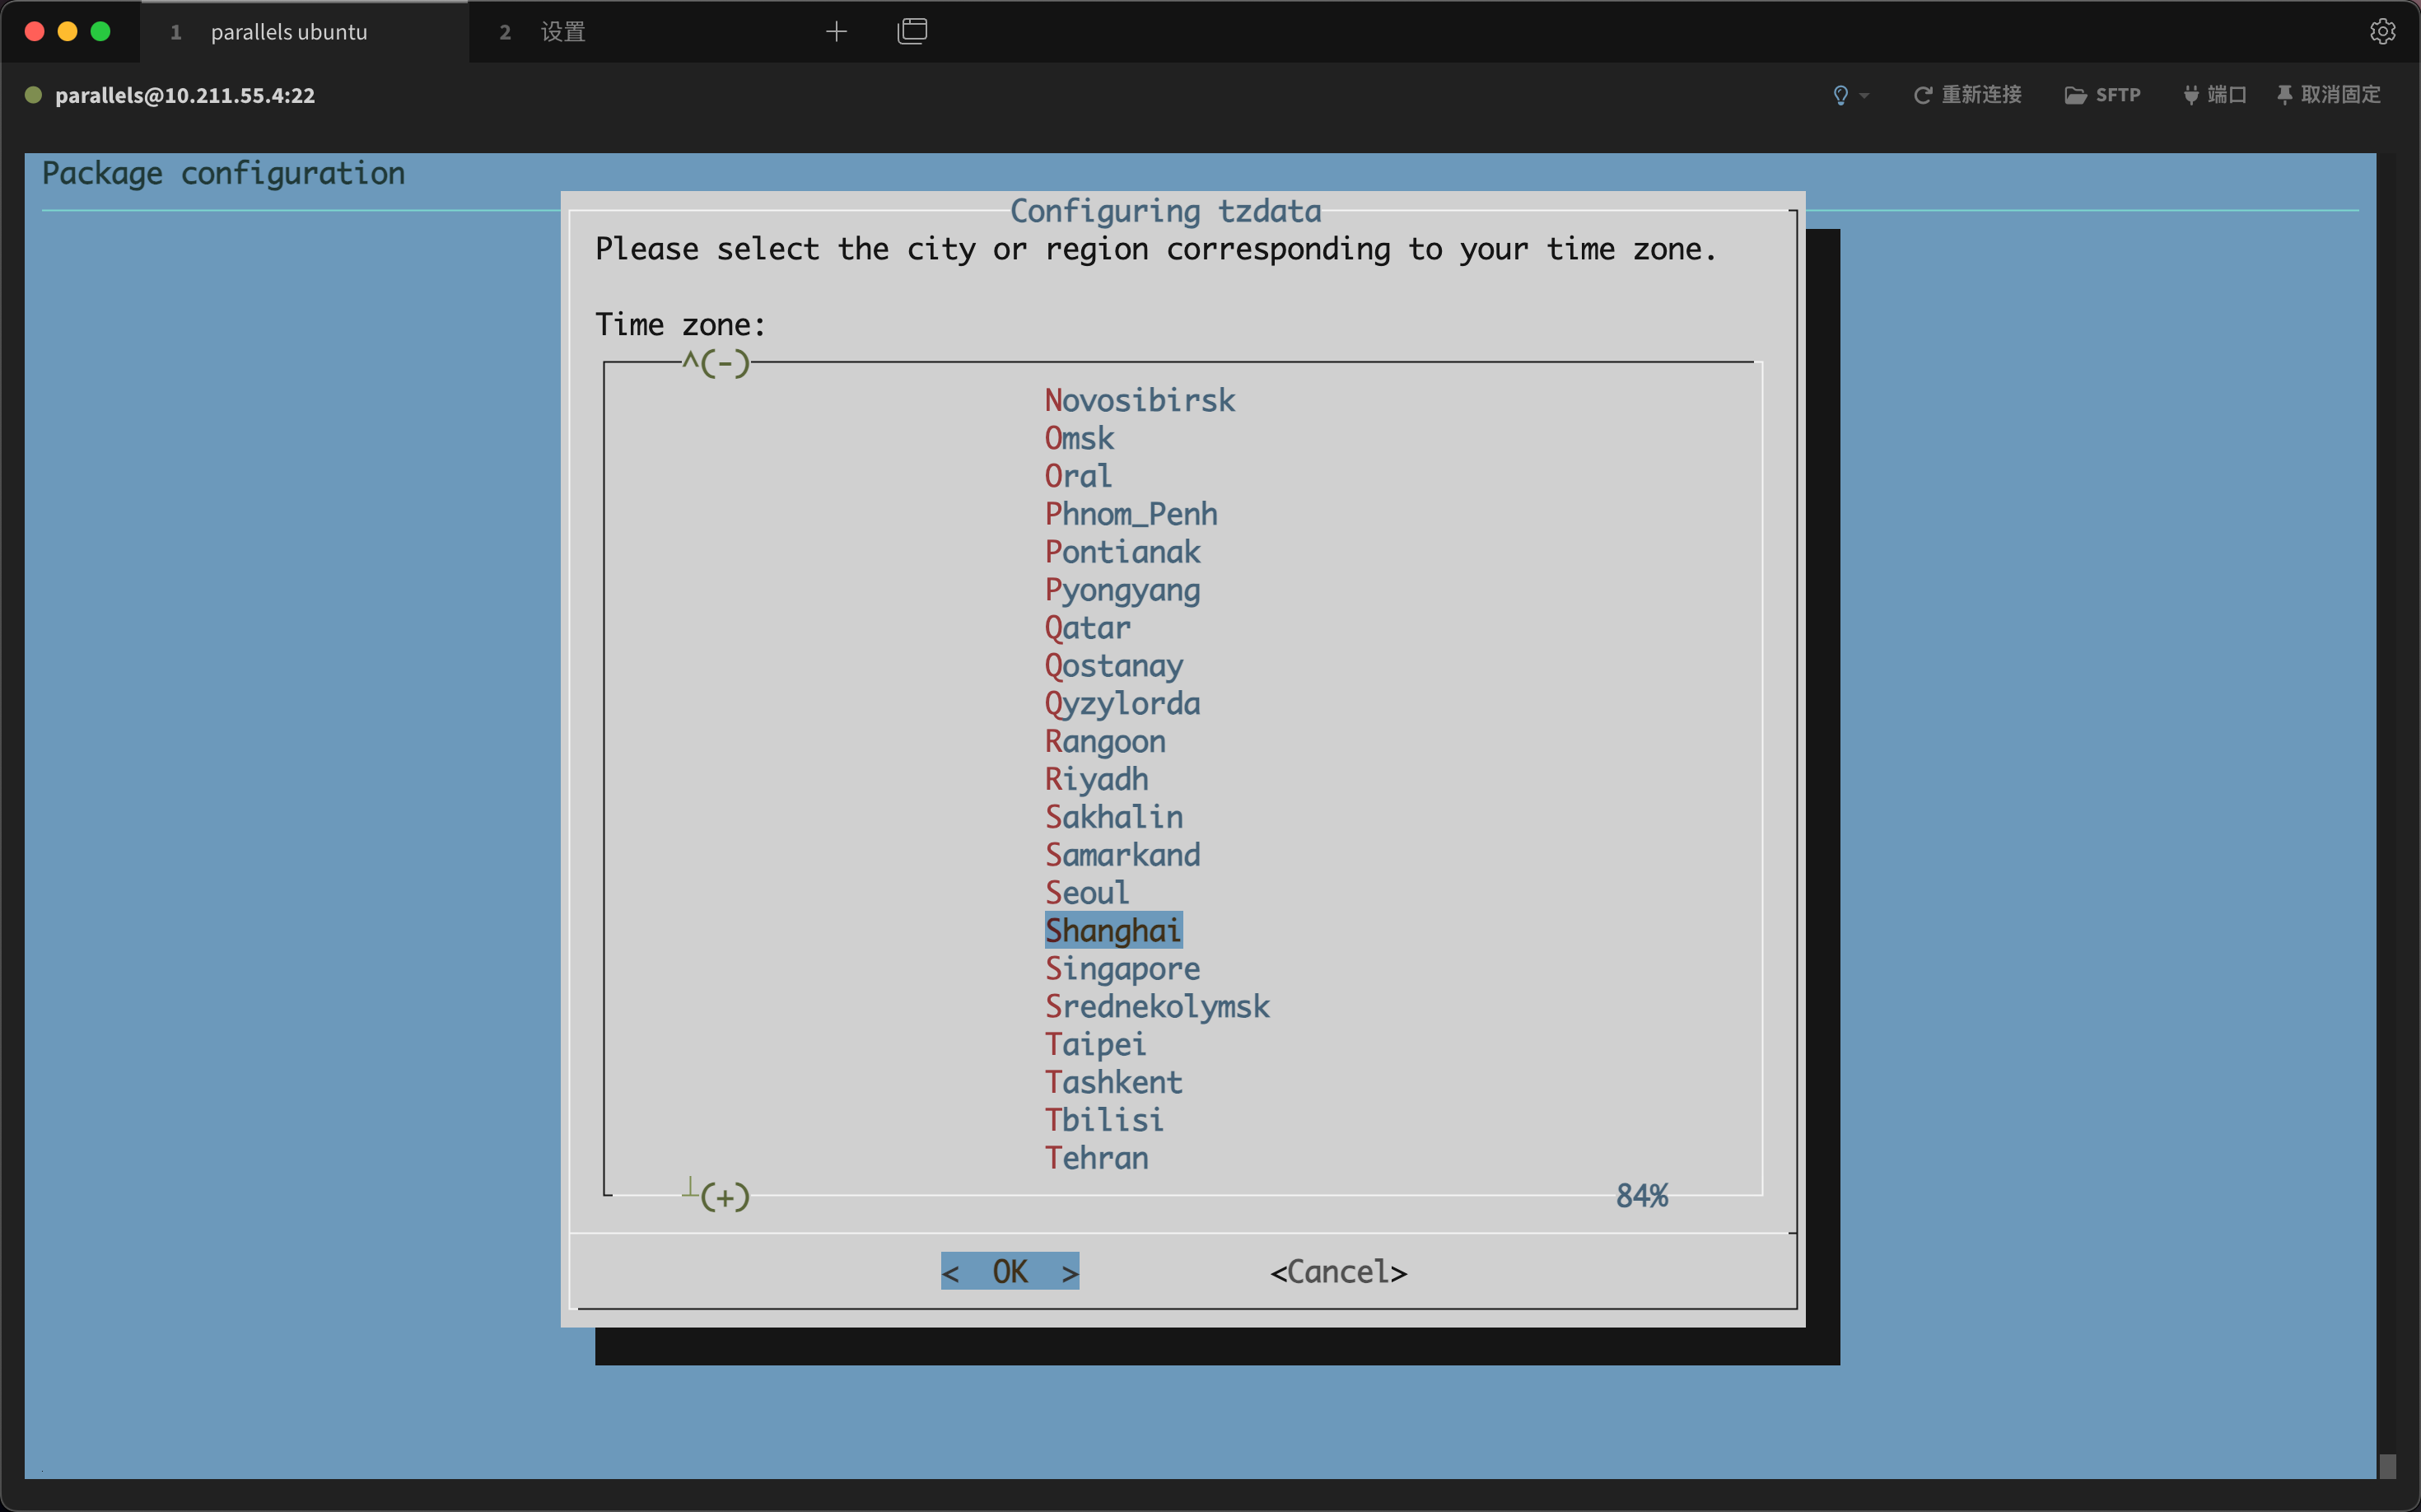
在安装的图中,会弹出两次让你选择tzdata的弹窗,直接选择GMT+8或者Asia/Shanghai就可以了。
2.3. ROS初始化
随后依照官网的教程,使用rosdep来初始化ros系统。
注意,rosdep命令是不会跟随上面的完整桌面版包一起安装的,需要我们手动安装一下。
apt install python-rosdep
第一次执行rosdep init的时候,遇到了网络问题(http错误),通过apt install iputils-ping安装了ping命令,发现raw.githubusercontent.com域名走了127.0.0.1,延迟低于1ms,肯定是不对的。
最开始我以为它是走了错误的代理,但是ping了github.com是没有问题的,所以问题在DNS解析上。解决方案采用了最粗暴的方式,直接将raw.githubusercontent.com域名的IP写入了/etc/hosts文件,避免修改系统的DNS设置。
185.199.109.133 raw.githubusercontent.com
修改了之后,ping raw.githubusercontent.com 正常了
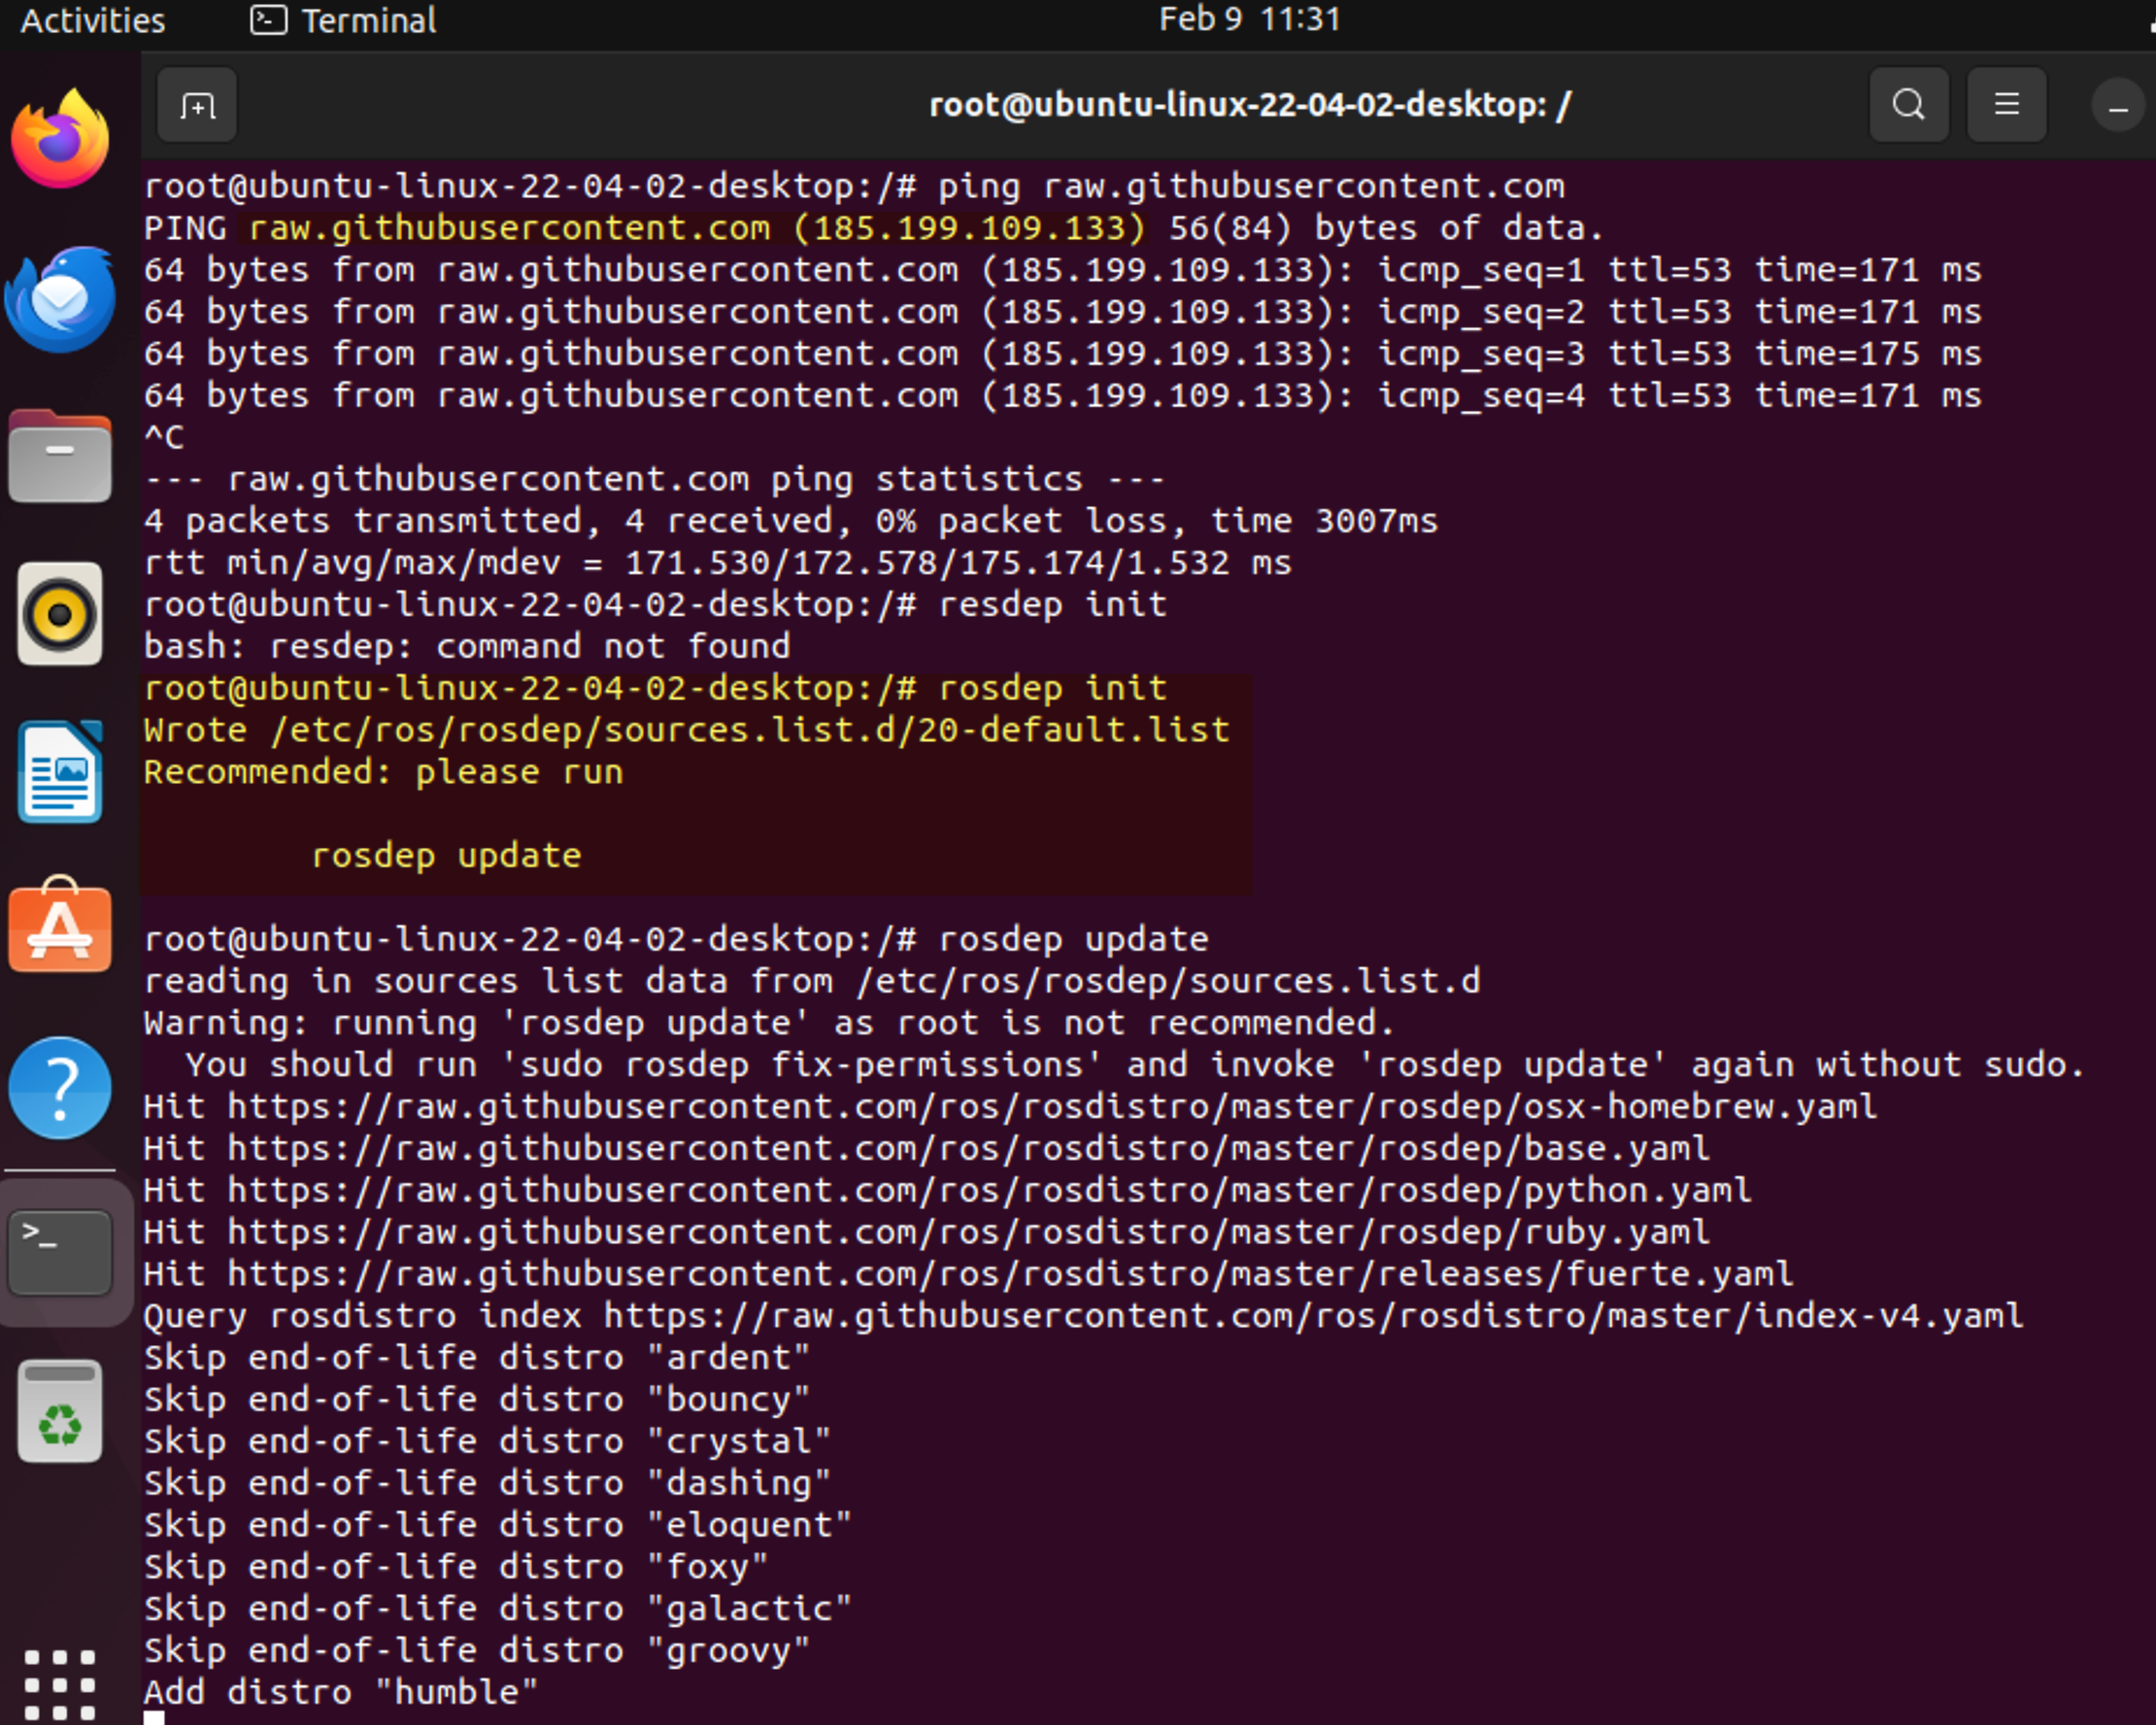
随后就能正常执行rosdep初始化命令了。命令执行输出如下。
root@ubuntu-linux-22-04-02-desktop:/# rosdep init
Wrote /etc/ros/rosdep/sources.list.d/20-default.list
Recommended: please runrosdep updateroot@ubuntu-linux-22-04-02-desktop:/# rosdep update
reading in sources list data from /etc/ros/rosdep/sources.list.d
Warning: running 'rosdep update' as root is not recommended.You should run 'sudo rosdep fix-permissions' and invoke 'rosdep update' again without sudo.
Hit https://raw.githubusercontent.com/ros/rosdistro/master/rosdep/osx-homebrew.yaml
Hit https://raw.githubusercontent.com/ros/rosdistro/master/rosdep/base.yaml
Hit https://raw.githubusercontent.com/ros/rosdistro/master/rosdep/python.yaml
Hit https://raw.githubusercontent.com/ros/rosdistro/master/rosdep/ruby.yaml
Hit https://raw.githubusercontent.com/ros/rosdistro/master/releases/fuerte.yaml
Query rosdistro index https://raw.githubusercontent.com/ros/rosdistro/master/index-v4.yaml
Skip end-of-life distro "ardent"
Skip end-of-life distro "bouncy"
Skip end-of-life distro "crystal"
Skip end-of-life distro "dashing"
Skip end-of-life distro "eloquent"
Skip end-of-life distro "foxy"
Skip end-of-life distro "galactic"
Skip end-of-life distro "groovy"
Add distro "humble"
Skip end-of-life distro "hydro"
Skip end-of-life distro "indigo"
Skip end-of-life distro "iron"
Skip end-of-life distro "jade"
Add distro "jazzy"
Skip end-of-life distro "kinetic"
Skip end-of-life distro "lunar"
Skip end-of-life distro "melodic"
Add distro "noetic"
Add distro "rolling"
updated cache in /root/.ros/rosdep/sources.cache
2.4. 设置环境
如果你用的是bash,执行如下命令
echo "source /opt/ros/melodic/setup.bash" >> ~/.bashrc
source ~/.bashrc
如果是zsh,执行如下命令
echo "source /opt/ros/melodic/setup.zsh" >> ~/.zshrc
source ~/.zshrc
如果你不想让ROS环境始终生效,可以使用如下命令暂时在当前bash生效。
source /opt/ros/melodic/setup.bash
注意:如果你不只安装了一个 ROS 发行版, ~/.bashrc 只能使用你需要的 ROS 版本的 setup.bash脚本。
2.5. ROS工具依赖
rosinstall是一个常用的命令行工具,用于下载众多ROS包的 source tree。
可以通过下面的命令安装这个工具。
sudo apt-get install python-rosinstall python-rosinstall-generator python-wstool build-essential
3. 确认安装是否成功
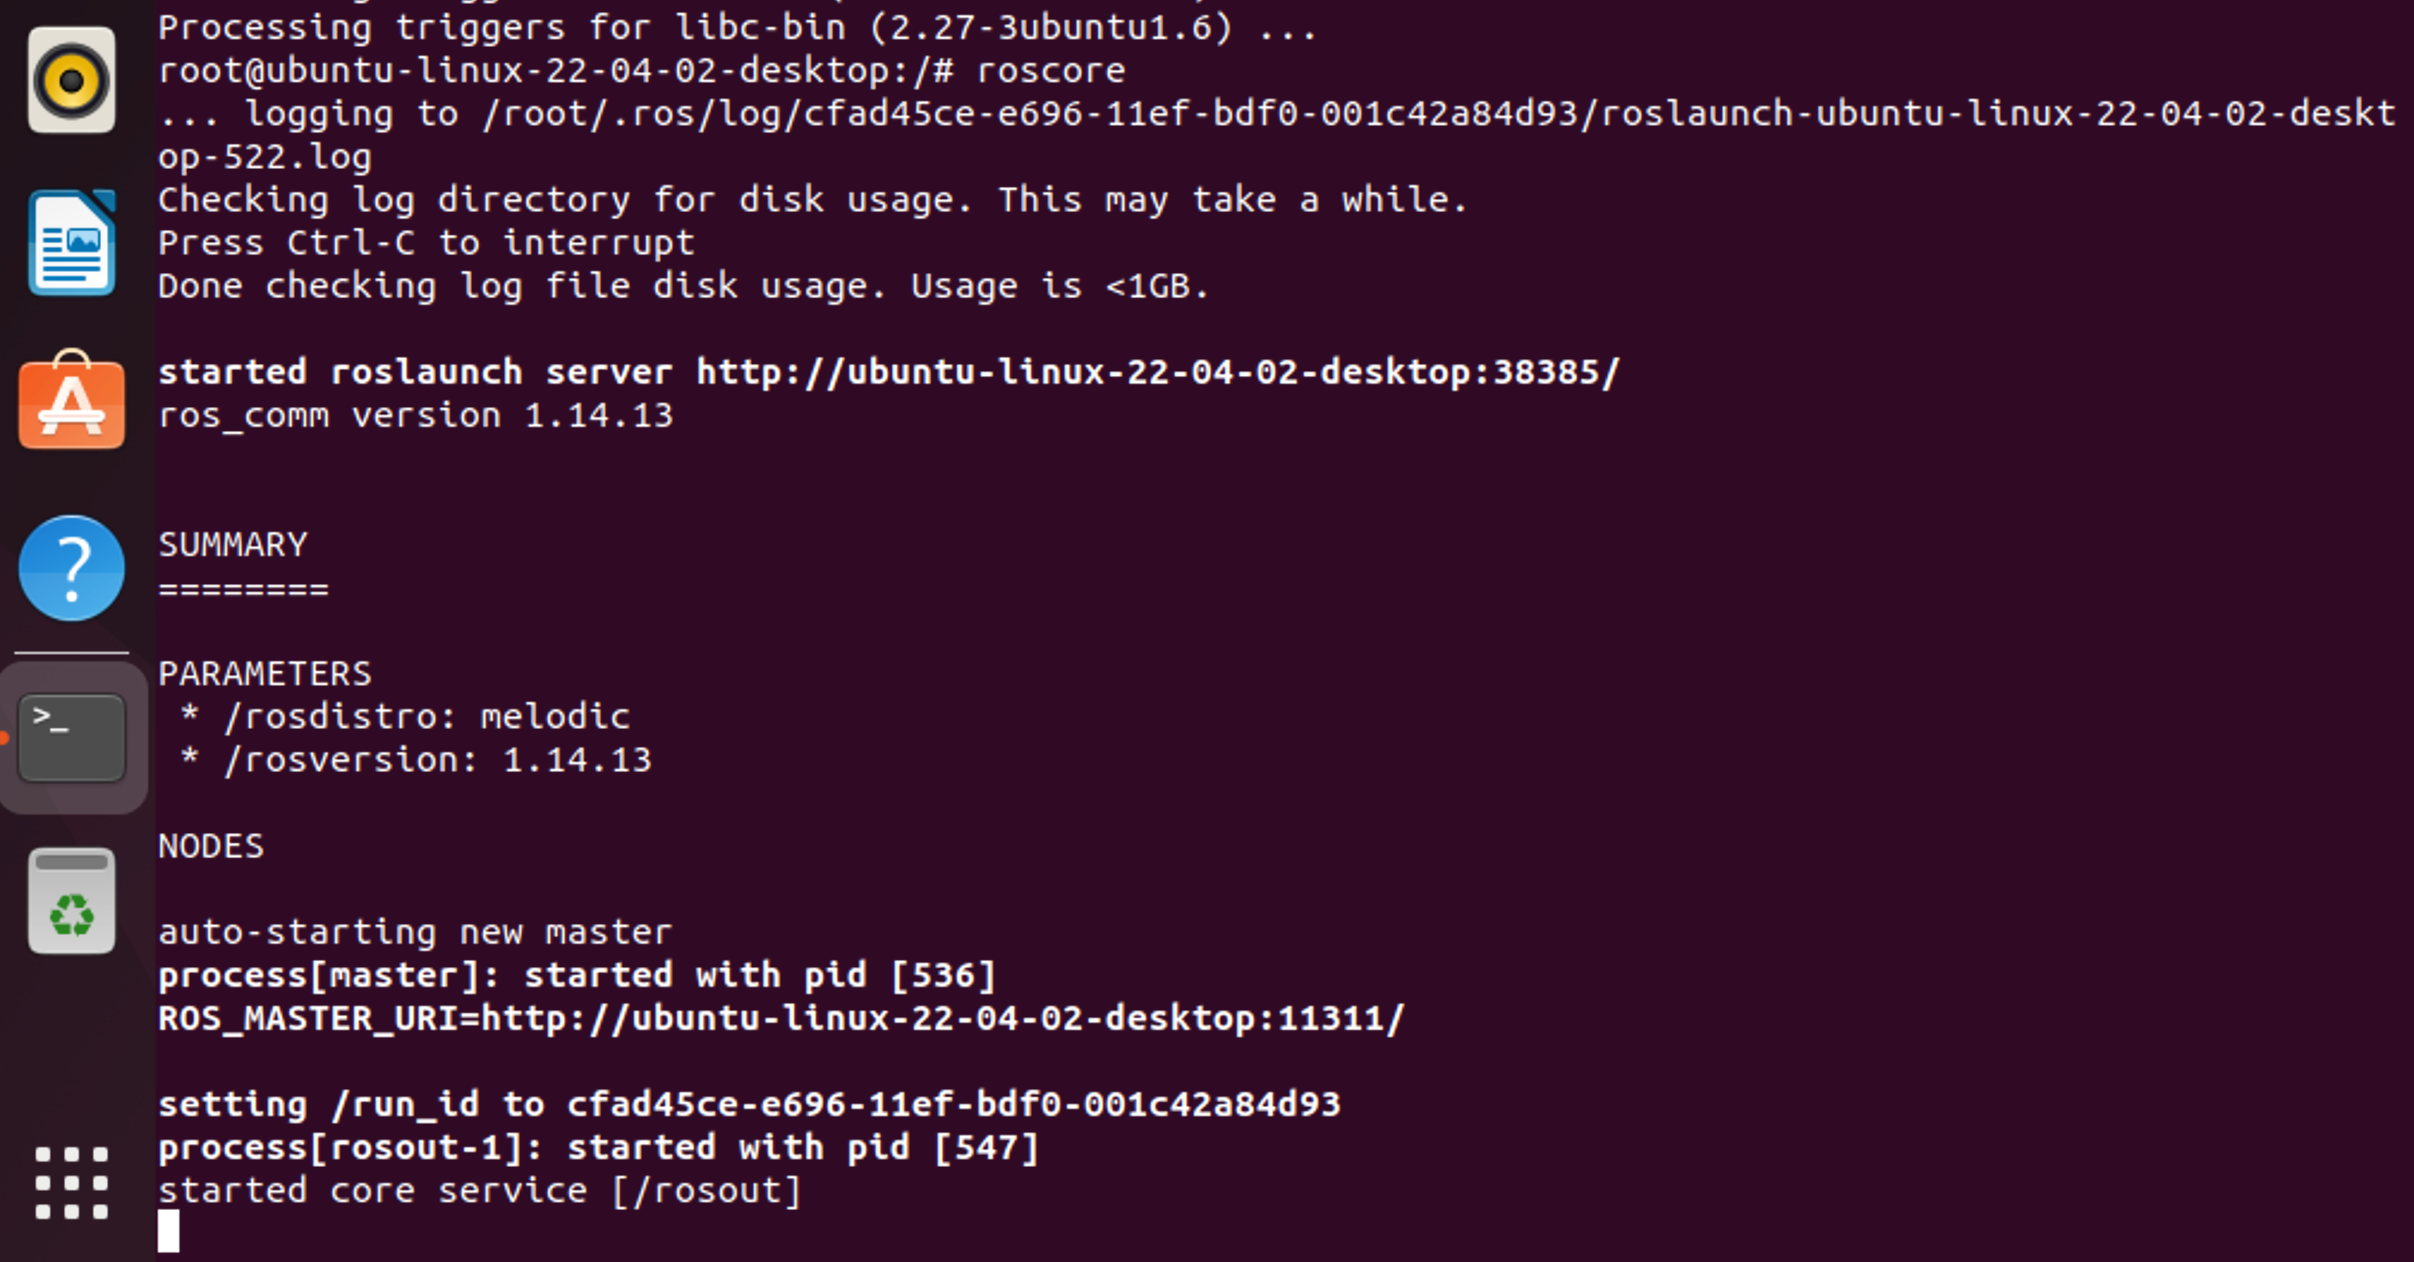
到这里,我们的ROS安装就完成了,可以使用roscore命令来确定ros是否成功安装,出现如下输出即为安装成功。
root@ubuntu-linux-22-04-02-desktop:/# roscore
... logging to /root/.ros/log/cfad45ce-e696-11ef-bdf0-001c42a84d93/roslaunch-ubuntu-linux-22-04-02-desktop-522.log
Checking log directory for disk usage. This may take a while.
Press Ctrl-C to interrupt
Done checking log file disk usage. Usage is <1GB.started roslaunch server http://ubuntu-linux-22-04-02-desktop:38385/
ros_comm version 1.14.13SUMMARY
========PARAMETERS* /rosdistro: melodic* /rosversion: 1.14.13NODESauto-starting new master
process[master]: started with pid [536]
ROS_MASTER_URI=http://ubuntu-linux-22-04-02-desktop:11311/setting /run_id to cfad45ce-e696-11ef-bdf0-001c42a84d93
process[rosout-1]: started with pid [547]
started core service [/rosout]
