map-underscore-to-camel-case: true
开启驼峰命名
   @GetMapping("/userInfo")public Result<Users>  userInfo(@RequestHeader(name = "Authorization") String token,HttpServletResponse  response) {Map<String, Object> map = JwtUtil.parseToken(token);
//        System.out.println(","+map.get("user")+"."+map.get("user"));String username =(String) map.get("username");Users u = usersService.findByUserName(username);return Result.success(u);}
threadlocal
相当于全局变量
//全局变量 全局共享变量
public class ThreadLocalUtils {private static ThreadLocal THREAD_LOCAL = new ThreadLocal();
//    根据键值对取值public static <T> T get() {return (T)THREAD_LOCAL.get();}
//    存储键值对public static void set(Object o) {THREAD_LOCAL.set(o);}
//    清除 防止内存泄露public static void remove() {THREAD_LOCAL.remove();}
}
线程安全的
// 根据用户名查询@Select("select * from users where username=#{username}")Users findByUserName(String username);//    添加注册
//    @Insert("insert into users(username,password,create_time,update_time) values(#{username},#{possword},now(),now())")
//    void add(String username, String possword);@Insert("insert into users(password,username) values(#{possword},#{username})")void add(@Param("possword")String possword, @Param("username")String username);@Select("select * from users where username=#{username} and password=#{possword}")Users find(@Param("username")String username, @Param("possword")String possword);@Update("update users set nickname=#{nickname},email=#{email},update_time=#{updateTime} where id=#{id}")void update(Users u);
Notnull 不能为null
notempty 不能为null并且不能为空
emai email格式校验
@validated 满足的实体进行生效
@pattern
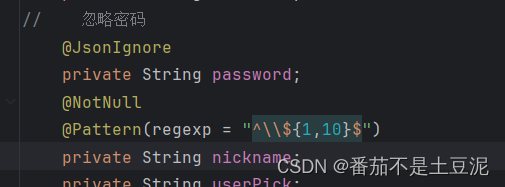
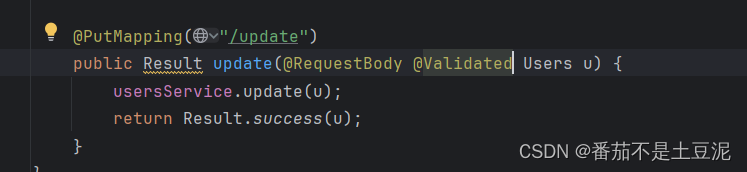
添加validated才能够生效
@URL 判断是否为url地址
@Update("update users set password=#{newpwd},update_time=now() where id=#{id}")void updatePwd( @Param("newpwd")String newpwd, @Param("id") Integer id); <dependency><groupId>javax.persistence</groupId><artifactId>persistence-api</artifactId><version>1.0</version></dependency>添加依赖 使用
import javax.persistence.Column;
import javax.persistence.Entity;
import javax.persistence.Id;
@Entity
public class ExampleEntity {
@Id
private Long id;
@Column(name = "\"order\"") // 使用双引号来包围关键字
private String order;
// 省略getter和setter
}
使用redis进行token失效 主动失效
集成redis
<dependency><groupId>org.springframework.boot</groupId><artifactId>spring-boot-starter-data-redis</artifactId></dependency> data:redis:host: 127.0.0.1port: 6379
//这个注解,单元测试执行之前,先初始化这个容器
@SpringBootTest
public class redistest {@Autowiredprivate StringRedisTemplate stringRedisTemplate;@Testpublic  void test(){
//        向redis中添加键值对ValueOperations<String,String> valueOperations =  stringRedisTemplate.opsForValue();valueOperations.set("username","world");
//        秒过期valueOperations.set("id","1", 15,TimeUnit.SECONDS);
//        String hello = valueOperations.get("username");
//        System.out.println(hello);}@Testpublic  void gettest(){
//        向redis中添加键值对ValueOperations<String,String> valueOperations =  stringRedisTemplate.opsForValue();
//        valueOperations.set("username","world");String hello = valueOperations.get("id");System.out.println(hello);}
}
redis的操作
// 删除redis某个keyValueOperations<String,String> val = stringRedisTemplate.opsForValue();val.getOperations().delete("token"); String token1 = stringRedisTemplate.opsForValue().get("token");if(token1==null){throw new RuntimeException();}else{}拦截器拦截中的token判断
<groupId>org.springframework.boot</groupId><artifactId>spring-boot-maven-plugin</artifactId><version>${spring-boot.version}</version>打包jar包
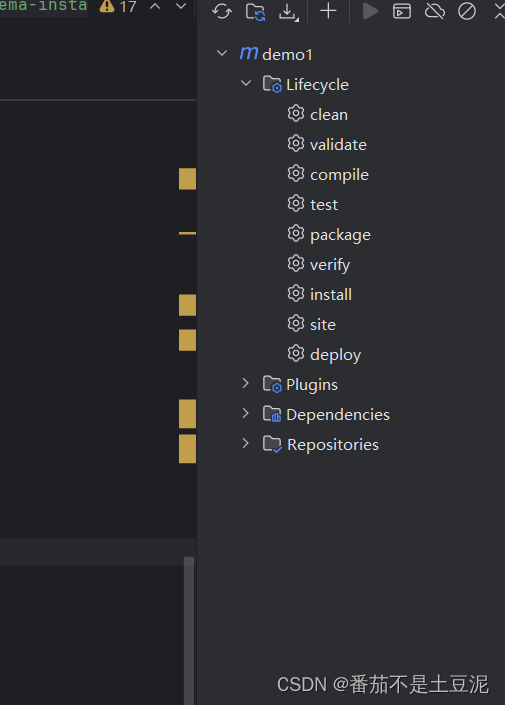
打包
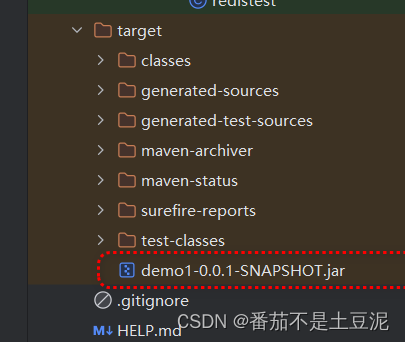
打包之后的位置
jar -jar jar包名称
<plugin><groupId>org.apache.maven.plugins</groupId><artifactId>maven-resources-plugin</artifactId><version>3.1.0</version>
</plugin>
<plugin><groupId>org.apache.maven.plugins</groupId><artifactId>maven-resources-plugin</artifactId><version>3.1.0</version></plugin>打包用的配置plugin
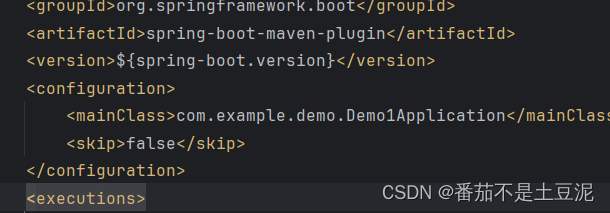
改为false
修改端口 java -jar big.jar --server.port=9999