使用技术
⚡️uni-app, Vue3, Vite, pnpm
📦 组件自动化引入
🍍 使用 Pinia 的状态管理
🎨 tailwindcss - 高性能且极具灵活性的即时原子化 CSS 引擎
😃 各种图标集为你所用
🔥 使用 新的 <script setup> 语法
📥 API 自动加载 - 直接使用 Composition API 无需引入
🌍 API 采用模块化自动导入方式 根据demo.js文件设置接口,以API_xxx_method的方式命名,在请求时无需导入 直接使用useRequest()函数返
要求
Vue3/Vite版要求 node 版本>=18.0.0
前期准备
安装pnpm
// 全局安装
npm install pnpm -g
// 切换淘宝源
pnpm config set registry https://registry.npmmirror.com/
// 查看源
pnpm config get registry
pnpm 跟 npm 和 yarn 的差距就是把原来每个项目安装 modules 放到统一的文件夹中,通过符号链接(软连接)和硬链接,注意项目要和 pnpm 统一存依赖的 modules 同盘,不然就等于丢失了 pnpm 的优势。
安装uni-app脚手架
点击下载 默认模板,或者通过下面命令行拉取
# 创建以 typescript 开发的工程
npx degit dcloudio/uni-preset-vue#vite-ts vue3-vite-uni# 创建以非 typescript 开发的工程
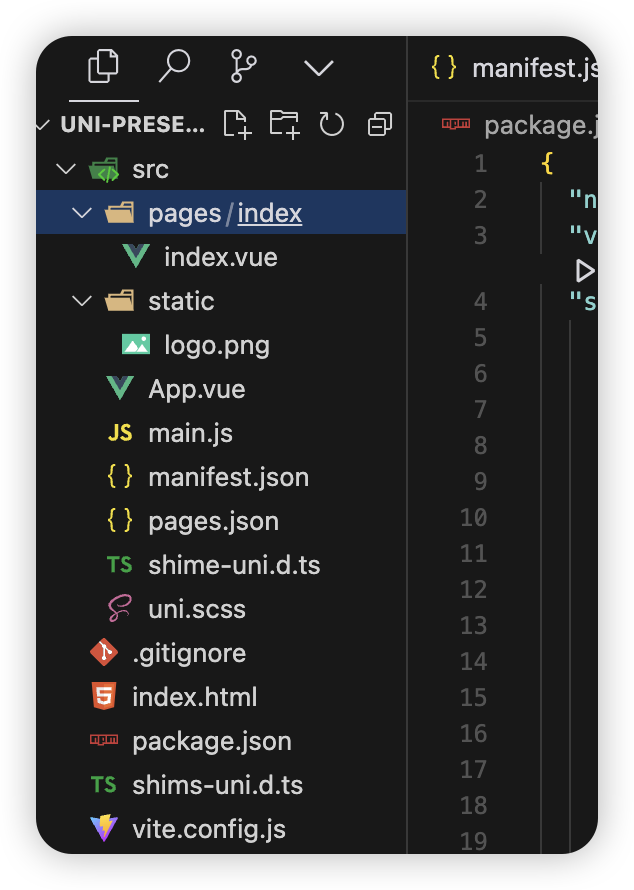
npx degit dcloudio/uni-preset-vue#vite my-vue3-project然后就会默认得到以下结构的项目👇:
依赖安装
进入到项目根目录后,启动集成终端(vscode),输入以下命令
pnpm install如有报下面错误👇
This modules directory was created using the following registries configuration:{“default”:“https://registry.npmjs.org/”}. The current configuration is {“default”:“https://registry.npm.taobao.org/”}. To recreate the modules directory using the new settings, run “pnpm install -g”.
解决方案 下载源切换
pnpm config set registry https://registry.npmjs.org启动项目,测试是否可以成功启动
执行该命令 会将此项目编译成微信小程序项目,该命令会持续监听修改并进行热更新
pnpm dev:mp-weixin执行后会出现 dist\dev\mp-weixin文件夹结构
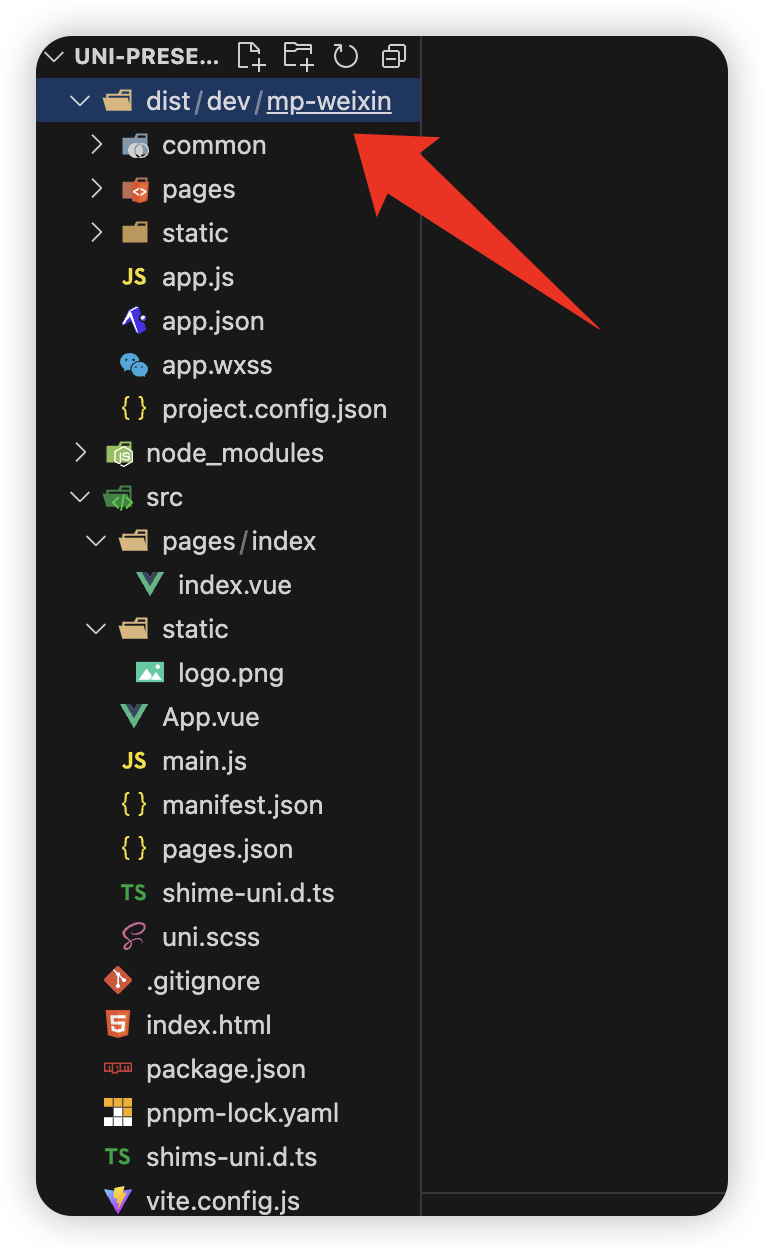
将此目录下的mp-weixin用微信开发者工具进行打开
如未安装点击下面链接下载安装即可👇
微信开发者工具下载地址与更新日志 | 微信开放文档
启动运行成功后出现以下界面:
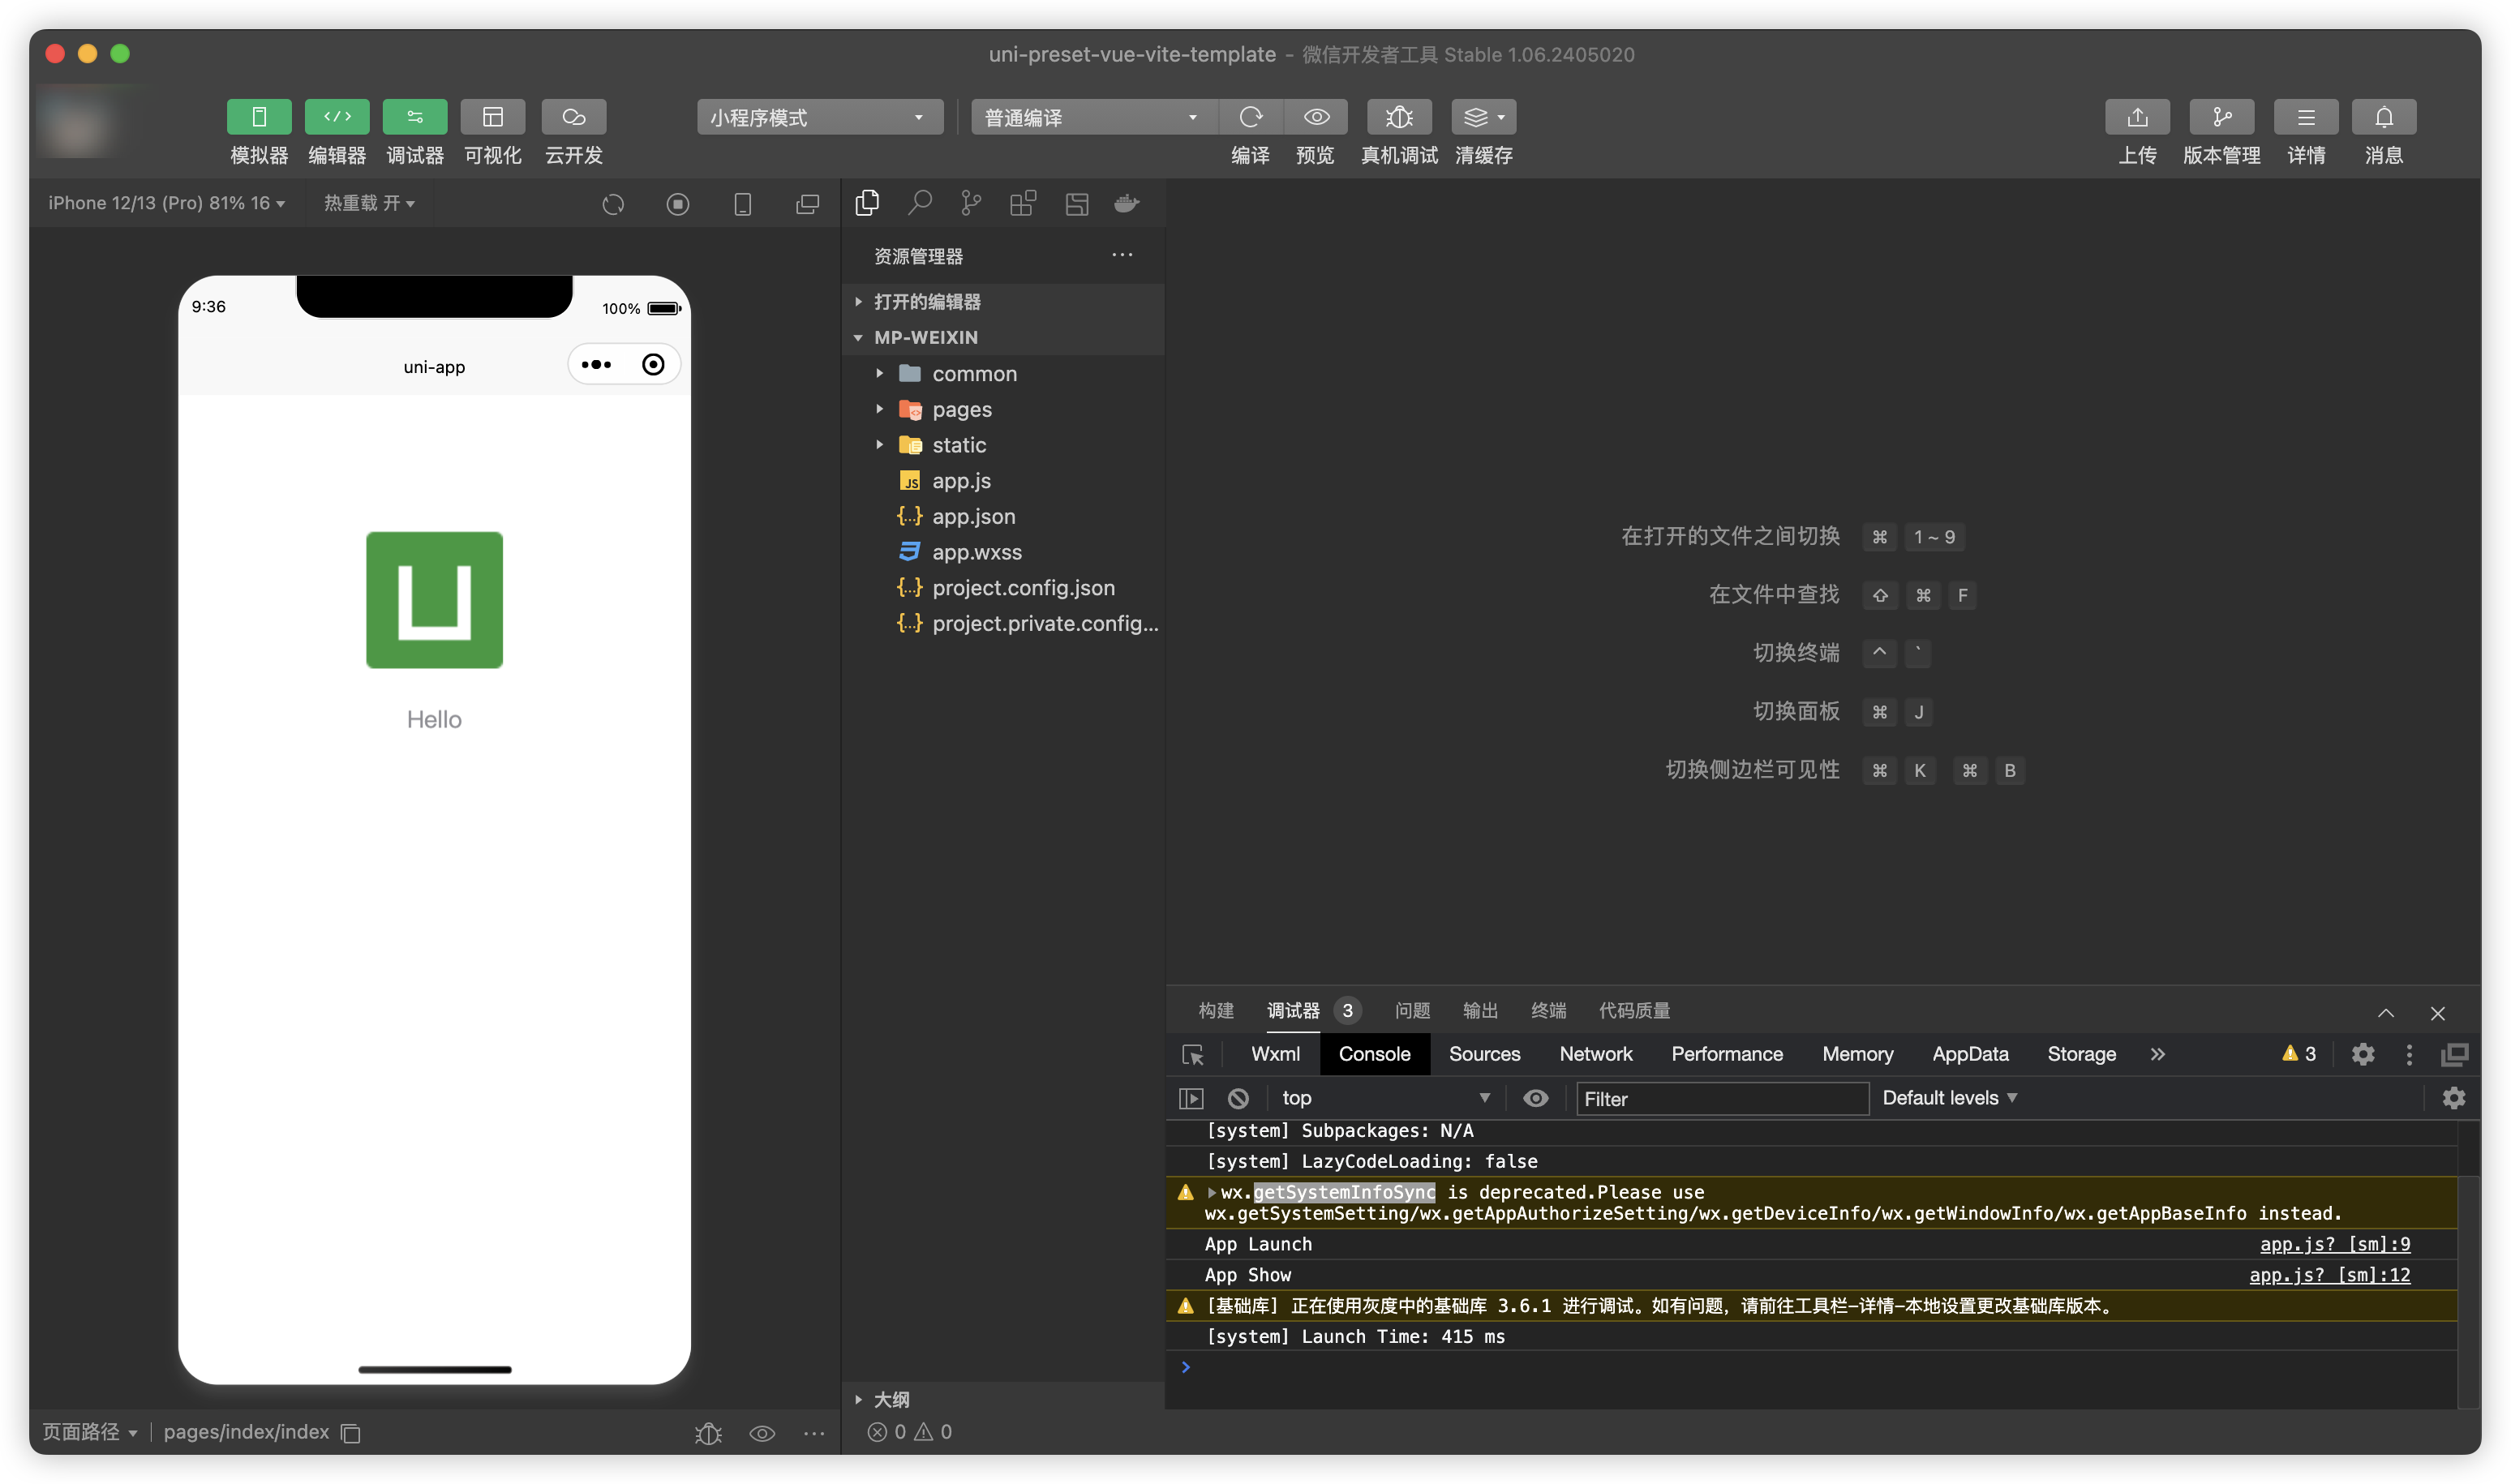
就说明项目已经成功运行了
配置自动化导入
依赖安装
pnpm i unplugin-auto-import -D在vite.config.js中配置
vite.config.js
import { defineConfig } from 'vite'
import uni from '@dcloudio/vite-plugin-uni'
import autoImport from 'unplugin-auto-import/vite'// https://vitejs.dev/config/
export default defineConfig({plugins: [uni(),autoImport({imports: ['vue', 'uni-app', 'pinia'],dts: false})],
})
配置完后 重新执行pnpm dev:mp-weixin此时会生成auto-imports.d.ts文件
此时在pages/index/index.vue中不用引入直接可以使用vue的api
<script setup>
const title = ref('Hello World!')
</script>
然后只需返回微信开发者工具查看效果即可
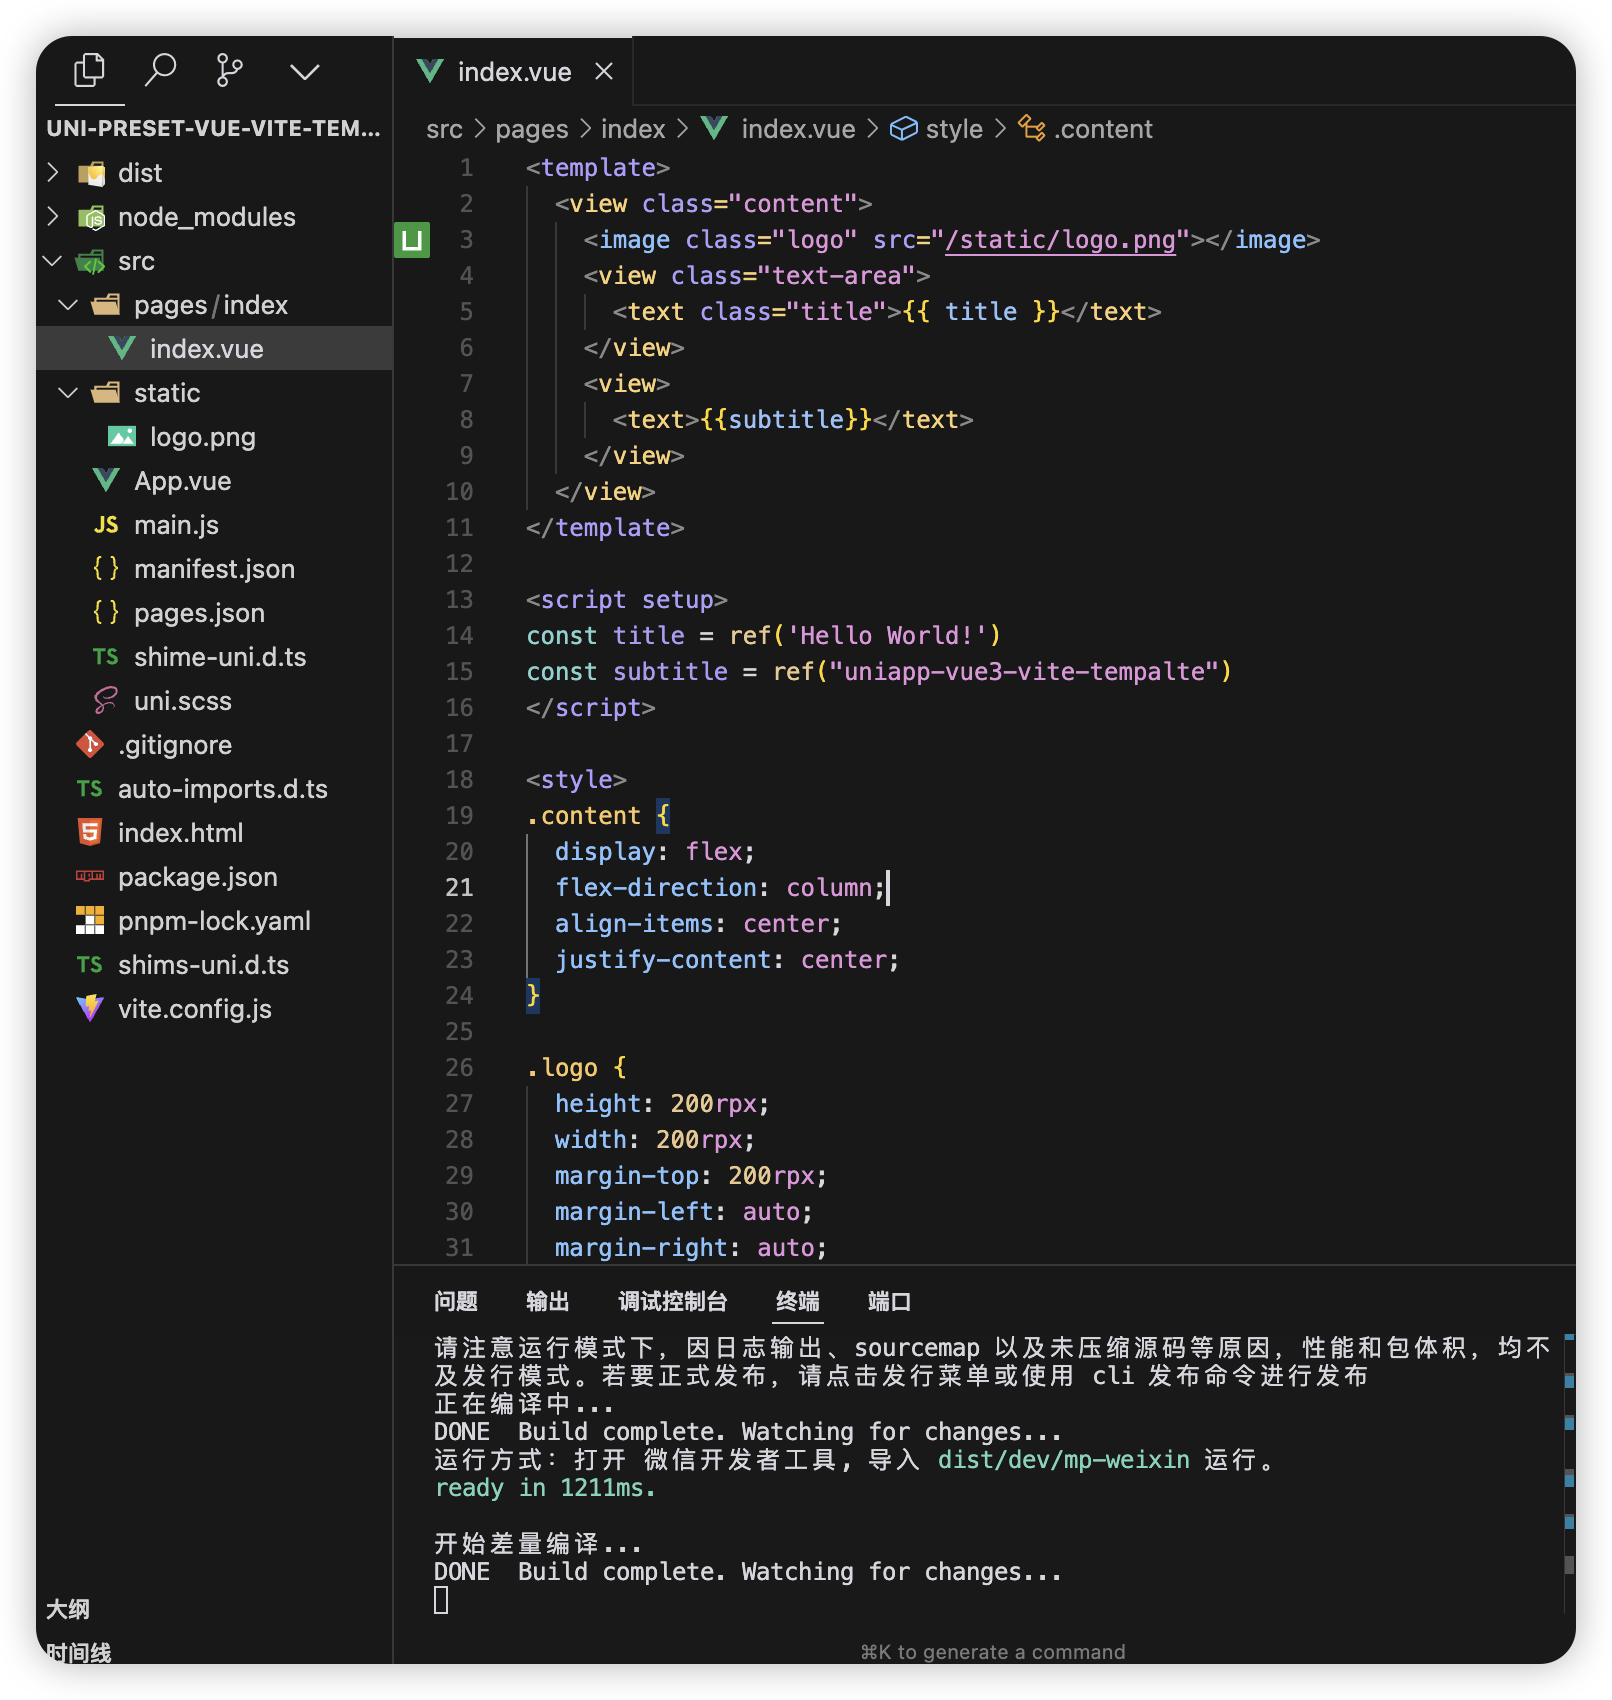
因为这是实时更新的,如果
出现如下效果说明配置成功
引入 prerttier + eslint + stylelint
感兴趣的可以根据以下进行配置
我这里暂时没有做这个的配置和安装
插件安装
安装相关依赖包👇
pnpm add -D eslint @babel/eslint-parser eslint-config-airbnb-base eslint-config-prettier eslint-plugin-import eslint-plugin-prettier eslint-plugin-vue vue-global-api stylelint stylelint-scss stylelint-config-standard-scss stylelint-config-prettier.editorconfig 配置
新建 .editorconfig 文件在项目根目录下
配置如下
# .editorconfig 文件
root = true[*] # 表示所有文件适用
charset = utf-8 # 设置文件字符集为 utf-8
indent_style = space # 缩进风格(tab | space)
indent_size = 2 # 缩进大小
end_of_line = lf # 控制换行类型(lf | cr | crlf)
trim_trailing_whitespace = true # 去除行首的任意空白字符
insert_final_newline = true # 始终在文件末尾插入一个新行[*.md] # 表示仅 md 文件适用以下规则
max_line_length = off # 关闭最大行长度限制
trim_trailing_whitespace = false # 关闭末尾空格修剪
.prettierrc.cjs 配置
新建 .prettierrc.cjs 文件在项目根目录下
module.exports = {// 一行的字符数,如果超过会进行换行,默认为80,官方建议设100-120其中一个数printWidth: 100,// 一个tab代表几个空格数,默认就是2tabWidth: 2,// 启用tab取代空格符缩进,默认为falseuseTabs: false,// 行尾是否使用分号,默认为true(添加理由:更加容易复制添加数据,不用去管理尾行)semi: false,vueIndentScriptAndStyle: true,// 字符串是否使用单引号,默认为false,即使用双引号,建议设true,即单引号singleQuote: true,// 给对象里的属性名是否要加上引号,默认为as-needed,即根据需要决定,如果不加引号会报错则加,否则不加quoteProps: 'as-needed',// 是否使用尾逗号,有三个可选值"<none|es5|all>"trailingComma: 'none',// 在jsx里是否使用单引号,你看着办jsxSingleQuote: true,// 对象大括号直接是否有空格,默认为true,效果:{ foo: bar }bracketSpacing: true,proseWrap: 'never',htmlWhitespaceSensitivity: 'strict',endOfLine: 'auto',
}
.eslintrc.cjs配置
新建 .eslintrc.cjs 文件在项目根目录下
// .eslintrc.cjs 文件
module.exports = {env: {browser: true,es2021: true,node: true,},extends: ['eslint:recommended','plugin:vue/vue3-essential',// eslint-plugin-import 插件, @see https://www.npmjs.com/package/eslint-plugin-import'plugin:import/recommended',// eslint-config-airbnb-base 插件, tips: 本插件也可以替换成 eslint-config-standard'airbnb-base',// 1. 接入 prettier 的规则'prettier','plugin:prettier/recommended','vue-global-api',],overrides: [{env: {node: true,},files: ['.eslintrc.{js}'],parserOptions: {sourceType: 'script',},},],parserOptions: {ecmaVersion: 'latest',parser: '@babel/eslint-parser',sourceType: 'module',},plugins: ['@babel/eslint-parser','vue',// 2. 加入 prettier 的 eslint 插件'prettier',// eslint-import-resolver-typescript 插件,@see https://www.npmjs.com/package/eslint-import-resolver-typescript'import',],rules: {// 3. 注意要加上这一句,开启 prettier 自动修复的功能'prettier/prettier': 'error',// turn on errors for missing imports'import/no-unresolved': 'off',// 对后缀的检测,否则 import 一个ts文件也会报错,需要手动添加'.ts', 增加了下面的配置后就不用了'import/extensions': ['error','ignorePackages',{ js: 'never', jsx: 'never', ts: 'never', tsx: 'never' },],// 只允许1个默认导出,关闭,否则不能随意export xxx'import/prefer-default-export': ['off'],'no-console': ['off'],// 'no-unused-vars': ['off'],// '@typescript-eslint/no-unused-vars': ['off'],// 解决vite.config.ts报错问题'import/no-extraneous-dependencies': 'off','no-plusplus': 'off','no-shadow': 'off','vue/multi-word-component-names': 'off','@typescript-eslint/no-explicit-any': 'off',},// eslint-import-resolver-typescript 插件,@see https://www.npmjs.com/package/eslint-import-resolver-typescriptsettings: {'import/parsers': {'@typescript-eslint/parser': ['.ts', '.tsx'],},'import/resolver': {typescript: {},},},globals: {uni: true,UniApp: true,wx: true,WechatMiniprogram: true,getCurrentPages: true,UniHelper: true,Page: true,App: true,},
}
.stylelintrc.cjs 配置
新建 .stylelintrc.cjs 文件在项目根目录下
// .stylelintrc.cjs 文件
module.exports = {root: true,extends: ['stylelint-config-standard','stylelint-config-standard-scss', // tips: 本插件也可以替换成 stylelint-config-recommended-scss'stylelint-config-recommended-vue/scss','stylelint-config-html/vue','stylelint-config-recess-order',],overrides: [// 扫描 .vue/html 文件中的<style>标签内的样式{files: ['**/*.{vue,html}'],customSyntax: 'postcss-html',},{files: ['**/*.{css,scss}'],customSyntax: 'postcss-scss',},],// 自定义规则rules: {// 允许 global 、export 、v-deep等伪类'selector-pseudo-class-no-unknown': [true,{ignorePseudoClasses: ['global', 'export', 'v-deep', 'deep'],},],'unit-no-unknown': [true,{ignoreUnits: ['rpx'],},],// 处理小程序page标签不认识的问题'selector-type-no-unknown': [true,{ignoreTypes: ['page'],},],'comment-empty-line-before': 'never',},
}
.eslintrc-auto-import.json 配置
{"globals": {"Component": true,"ComponentPublicInstance": true,"ComputedRef": true,"EffectScope": true,"ExtractDefaultPropTypes": true,"ExtractPropTypes": true,"ExtractPublicPropTypes": true,"InjectionKey": true,"PropType": true,"Ref": true,"VNode": true,"WritableComputedRef": true,"acceptHMRUpdate": true,"computed": true,"createApp": true,"createPinia": true,"customRef": true,"defineAsyncComponent": true,"defineComponent": true,"defineStore": true,"effectScope": true,"getActivePinia": true,"getCurrentInstance": true,"getCurrentScope": true,"h": true,"inject": true,"isProxy": true,"isReactive": true,"isReadonly": true,"isRef": true,"mapActions": true,"mapGetters": true,"mapState": true,"mapStores": true,"mapWritableState": true,"markRaw": true,"nextTick": true,"onActivated": true,"onAddToFavorites": true,"onBackPress": true,"onBeforeMount": true,"onBeforeUnmount": true,"onBeforeUpdate": true,"onDeactivated": true,"onError": true,"onErrorCaptured": true,"onHide": true,"onLaunch": true,"onLoad": true,"onMounted": true,"onNavigationBarButtonTap": true,"onNavigationBarSearchInputChanged": true,"onNavigationBarSearchInputClicked": true,"onNavigationBarSearchInputConfirmed": true,"onNavigationBarSearchInputFocusChanged": true,"onPageNotFound": true,"onPageScroll": true,"onPullDownRefresh": true,"onReachBottom": true,"onReady": true,"onRenderTracked": true,"onRenderTriggered": true,"onResize": true,"onScopeDispose": true,"onServerPrefetch": true,"onShareAppMessage": true,"onShareTimeline": true,"onShow": true,"onTabItemTap": true,"onThemeChange": true,"onUnhandledRejection": true,"onUnload": true,"onUnmounted": true,"onUpdated": true,"provide": true,"reactive": true,"readonly": true,"ref": true,"resolveComponent": true,"setActivePinia": true,"setMapStoreSuffix": true,"shallowReactive": true,"shallowReadonly": true,"shallowRef": true,"storeToRefs": true,"toRaw": true,"toRef": true,"toRefs": true,"toValue": true,"triggerRef": true,"unref": true,"useAttrs": true,"useCssModule": true,"useCssVars": true,"useRequest": true,"useSlots": true,"watch": true,"watchEffect": true,"watchPostEffect": true,"watchSyncEffect": true}
}
引入 husky + lint-staged + commitlint
感兴趣的可以根据以下进行配置
我这里暂时没有做这个的配置和安装
基本配置
说明
husky 用于git提交的钩子
lint-staged 一个在 git 暂存文件上(也就是被git add后的文件)运行已配置的格式工具;比如eslint、stylelintrc、…
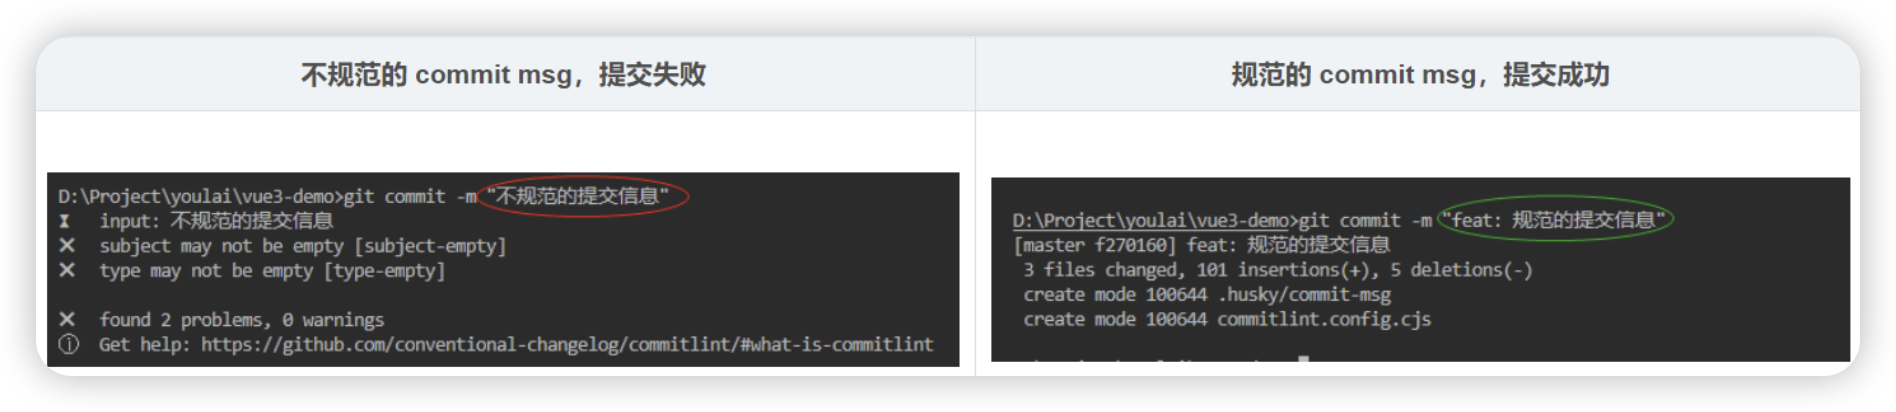
commitlint 检查您的提交消息是否符合 常规提交格式 (Conventional commit format)
正确的提交格式:(): ,type 和 subject 默认必填
安装相关依赖包👇
pnpm i -D husky@6 lint-staged commitlint @commitlint/cli @commitlint/config-conventional执行 npx husky install
并且在 package.json的scripts里面增加 "prepare": "husky install",(其他人安装后会自动执行) 根目录会生成 .hushy 文件夹。
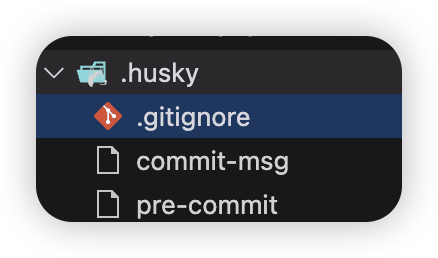
.gitignore
_
commit-msg
#!/bin/sh
. "$(dirname "$0")/_/husky.sh"npx --no-install commitlint --edit
pre-commit
#!/bin/sh
. "$(dirname "$0")/_/husky.sh"npx --no-install -- lint-staged
package.josn 增加如下属性👇:
...
"scripts": {..."prepare": "husky install",
},
"lint-staged": {"**/*.{html,vue,ts,cjs,json,md}": ["prettier --write"],"**/*.{vue,js,ts,jsx,tsx}": ["eslint --fix"],"**/*.{vue,css,scss,html}": ["stylelint --fix"]
}
根目录新增 .commitlintrc.cjs,内容如下👇
module.exports = {extends: ['@commitlint/config-conventional'],rules: {'type-enum': [2,'always',['feat','fix','perf','style','docs','test','refactor','build','ci','init','chore','revert','wip','workflow','types','release',],],'subject-case': [0],},
}
通过下面命令在钩子文件中添加内容👇
npx husky add .husky/pre-commit "npx --no-install -- lint-staged"
npx husky add .husky/commit-msg "npx --no-install commitlint --edit $1"
Commitizen & cz-git
说明
commitizen 基于Node.js的 git commit 命令行工具,辅助生成标准化规范化的 commit message
cz-customizable 标准输出格式的 commitizen 适配器
安装依赖包👇
pnpm add -D commitizen cz-customizable修改 package.json指定使用的适配器
...
"scripts": {..."cz": "git-cz"
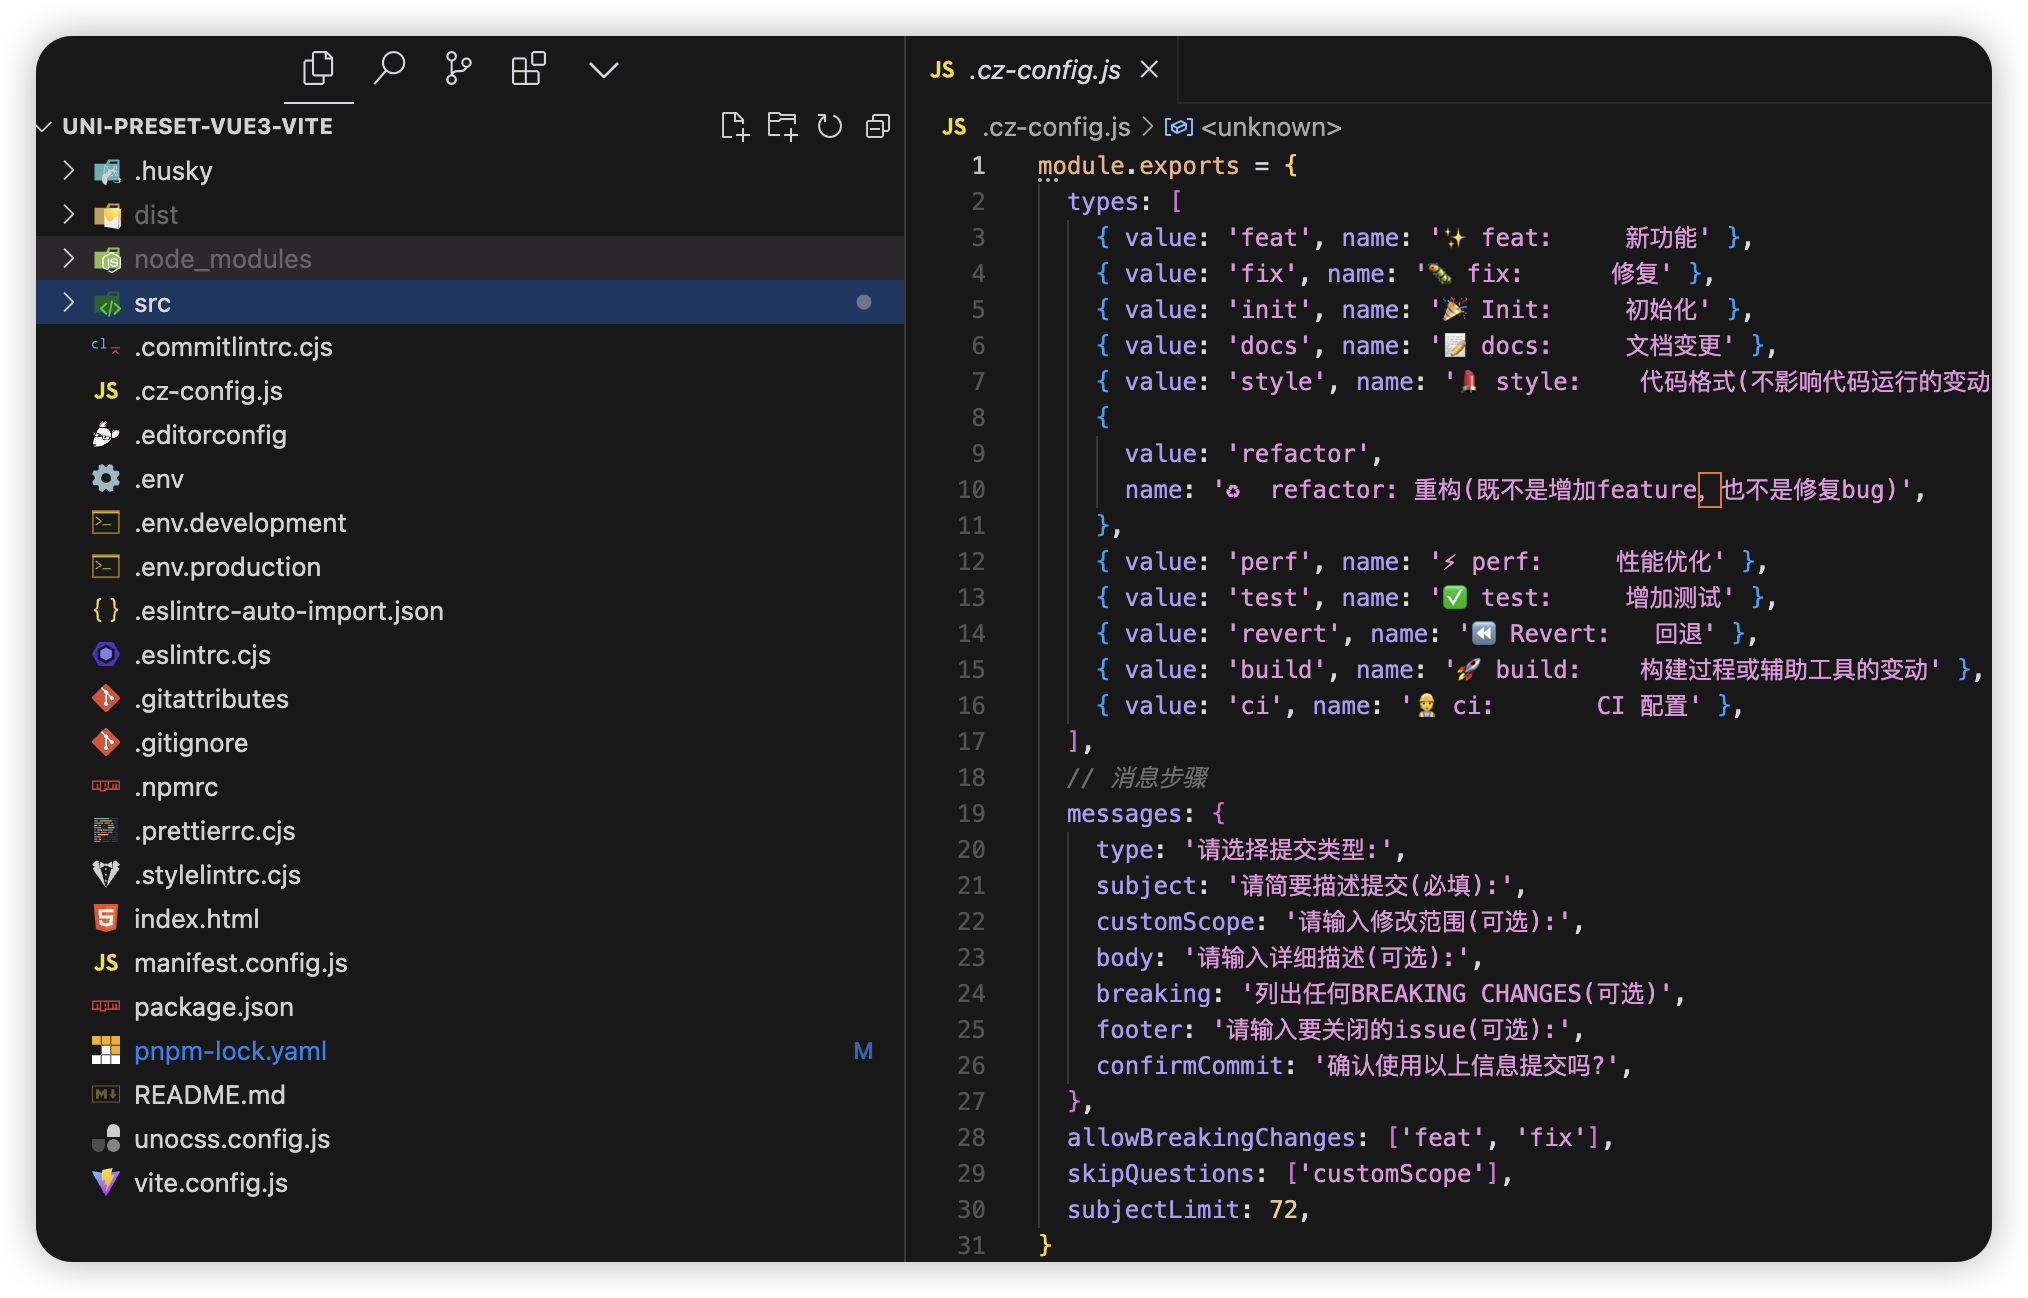
},"config": {"commitizen": {"path": "node_modules/cz-customizable"}}更改提示消息模板 .cz-config.js
.cz-config.js
module.exports = {types: [{ value: 'feat', name: '✨ feat: 新功能' },{ value: 'fix', name: '🐛 fix: 修复' },{ value: 'init', name: '🎉 Init: 初始化' },{ value: 'docs', name: '📝 docs: 文档变更' },{ value: 'style', name: '💄 style: 代码格式(不影响代码运行的变动)' },{value: 'refactor',name: '♻️ refactor: 重构(既不是增加feature,也不是修复bug)',},{ value: 'perf', name: '⚡️ perf: 性能优化' },{ value: 'test', name: '✅ test: 增加测试' },{ value: 'revert', name: '⏪️ Revert: 回退' },{ value: 'build', name: '🚀 build: 构建过程或辅助工具的变动' },{ value: 'ci', name: '👷 ci: CI 配置' },],// 消息步骤messages: {type: '请选择提交类型:',subject: '请简要描述提交(必填):',customScope: '请输入修改范围(可选):',body: '请输入详细描述(可选):',breaking: '列出任何BREAKING CHANGES(可选)',footer: '请输入要关闭的issue(可选):',confirmCommit: '确认使用以上信息提交吗?',},allowBreakingChanges: ['feat', 'fix'],skipQuestions: ['customScope'],subjectLimit: 72,
}检测
在命令行中输入👇
git add .
pnpm cz
然后会出现本次提交选项
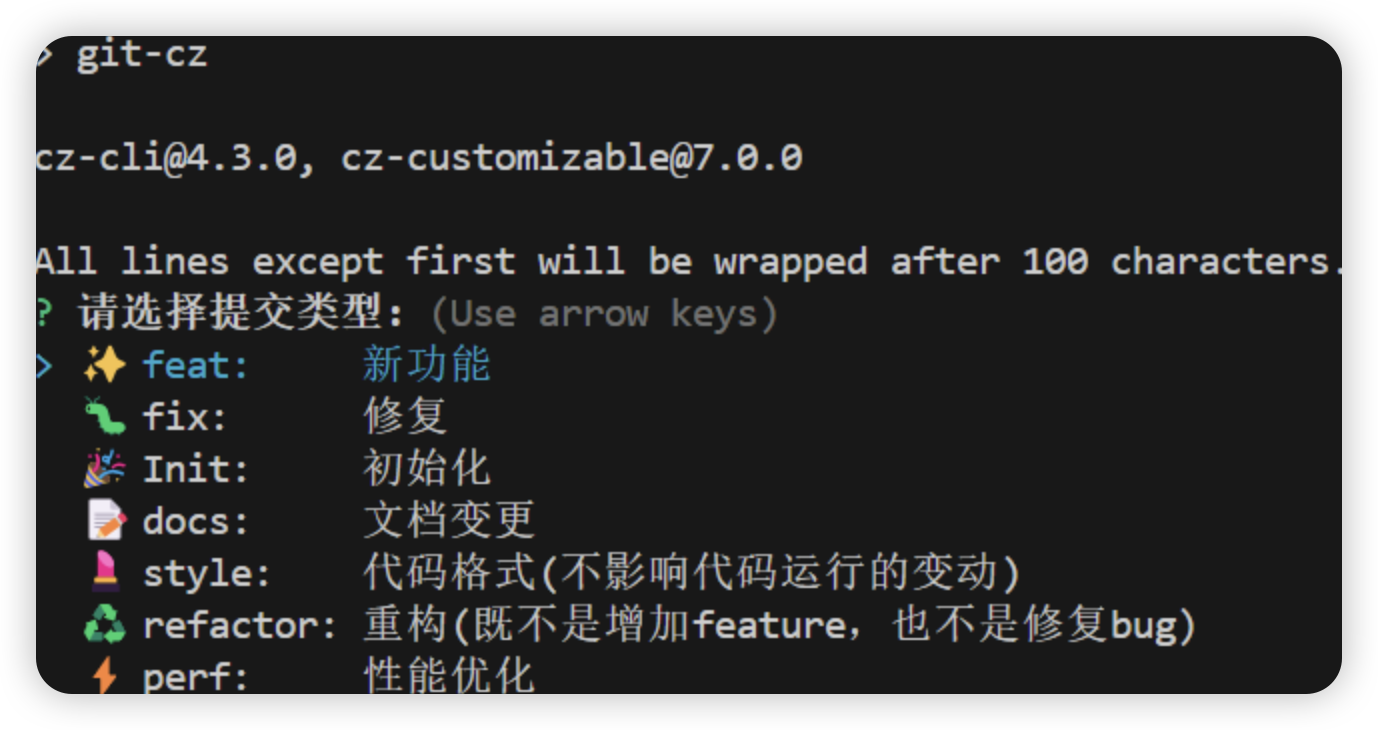
选择本次提交的类型,按要求写入然后回车即可
配置tailwindcss
中文官网地址:安装 - TailwindCSS中文文档 | TailwindCSS中文网
方式一
安装插件
pnpm install -D tailwindcss :安装 tailwindcss 插件
npx tailwindcss init :初始化生成 tailwind.config.js 文件
pnpm install postcss :用于将 CSS 转换为 JavaScript 插件的工具,允许使用插件来处理 CSS 文件。tailwindcss 本身是一个基于 PostCSS 的工具,因此需要 PostCSS 来解析和处理 Tailwind 的 CSS 指令。
pnpm install autoprefixer :
- 自动添加浏览器前缀:
Autoprefixer是一个 PostCSS 插件,它根据浏览器的兼容性信息,自动为 CSS 规则添加所需的浏览器前缀(例如-webkit-,-moz-等)。这确保了生成的 CSS 能够在尽可能多的浏览器中正常工作。 - 与 Tailwind 的集成: 虽然 Tailwind 提供了许多实用的 CSS 类,但为了确保这些类在所有浏览器中都能正确渲染,
Autoprefixer是必不可少的。
配置 tailwind.config.js 文件
/** @type {import('tailwindcss').Config} */
export default {content: ["./index.html", "./src/**/*.{vue,js,ts,jsx,tsx}"],darkMode: "media", // or 'media' or 'class'theme: {extend: {},},variants: {extend: {},},plugins: [],
};
配置 postcss.config.js 文件
export default {plugins: {tailwindcss: {},autoprefixer: {},},
};
在 main.js 里引入
这里首先需要在 static 目录下新建,style子目录,并在该子目录下新建 tailwind.css 文件
tailwind.css 文件配置如下:
@tailwind base;
@tailwind components;
@tailwind utilities;
最后需要在 main.js 里引入该文件
import "./static/style/tailwind.css";
在页面中检验 tailwindcss 是否安装成功
<view class="bg-gray-100 py-6 px-4 rounded-lg"><h2 class="text-xl font-bold mb-2">Title</h2><view class="text-gray-700">Description text...</view>
</view>
通过以上方式可能不行,会报错
那么下面我提供了另一种方式,亲测有效
方式二(推荐)
插件安装
pnpm install -D tailwindcss postcss autoprefixe首先,执行 npx tailwindcss init -p 命令会给我们自动生成 tailwind.config.js 文件在项目根目录下
然后,在tailwind.config.js里做如下配置:
/** @type {import('tailwindcss').Config} */
module.exports = {content: ['./index.html', './src/**/*.{js,ts,jsx,tsx,vue}'],theme: {extend: {},},plugins: [],
} 其次,在App.vue中引入
<style>
/*每个页面公共css */
@import "tailwindcss/base";
@import "tailwindcss/components";
@import "tailwindcss/utilities";
</style>
再者在vite.config.js中进行配置
vite.config.js
import { defineConfig } from "vite";
import tailwindcss from 'tailwindcss';
import uni from "@dcloudio/vite-plugin-uni";export default defineConfig({css: {postcss: {plugins: [tailwindcss(),],},},plugins: [uni()],
});
接着,为了适配小程序,需要安装 pnpm i @uni-helper/vite-plugin-uni-tailwind
在vite.config.js中进行配置
// vite.config.js
import { defineConfig } from "vite";
import tailwindcss from 'tailwindcss';
import uni from "@dcloudio/vite-plugin-uni";
import uniTailwind from '@uni-helper/vite-plugin-uni-tailwind';export default defineConfig({css: {postcss: {plugins: [tailwindcss(),],},},plugins: [uni(), uniTailwind()],
});
最后, rem to rpx,由于tailwind默认是rem单位,需要转到rpx
在vite.config.js中进行配置
//tailwind.config.js
/** @type {import('tailwindcss').Config} */
module.exports = {content: ['./index.html', './src/**/*.{js,ts,jsx,tsx,vue}'],theme: {extend: {},},plugins: [],presets: [require('tailwindcss-rem2px-preset').createPreset({// 32 意味着 1rem = 32rpxfontSize: 32,// 转化的单位,可以变成 px / rpxunit: 'rpx'})],
}
目前的 vite.config.js
import { defineConfig } from 'vite'
import uni from '@dcloudio/vite-plugin-uni'
import autoImport from 'unplugin-auto-import/vite'import tailwindcss from 'tailwindcss';
import uniTailwind from '@uni-helper/vite-plugin-uni-tailwind';// https://vitejs.dev/config/
export default defineConfig({css: {postcss: {plugins: [tailwindcss(),],},},plugins: [uni(),autoImport({imports: ['vue', 'uni-app', 'pinia'],dts: true}),uniTailwind()],
})
测试是否成功
pages/index/index.vue
view class="bg-gray-100 py-6 px-4 rounded-lg"><h2 class="text-xl font-bold mb-2">Title</h2><view class="text-gray-700">Description text...</view>
</view>
在微信开发者工具中查看结果
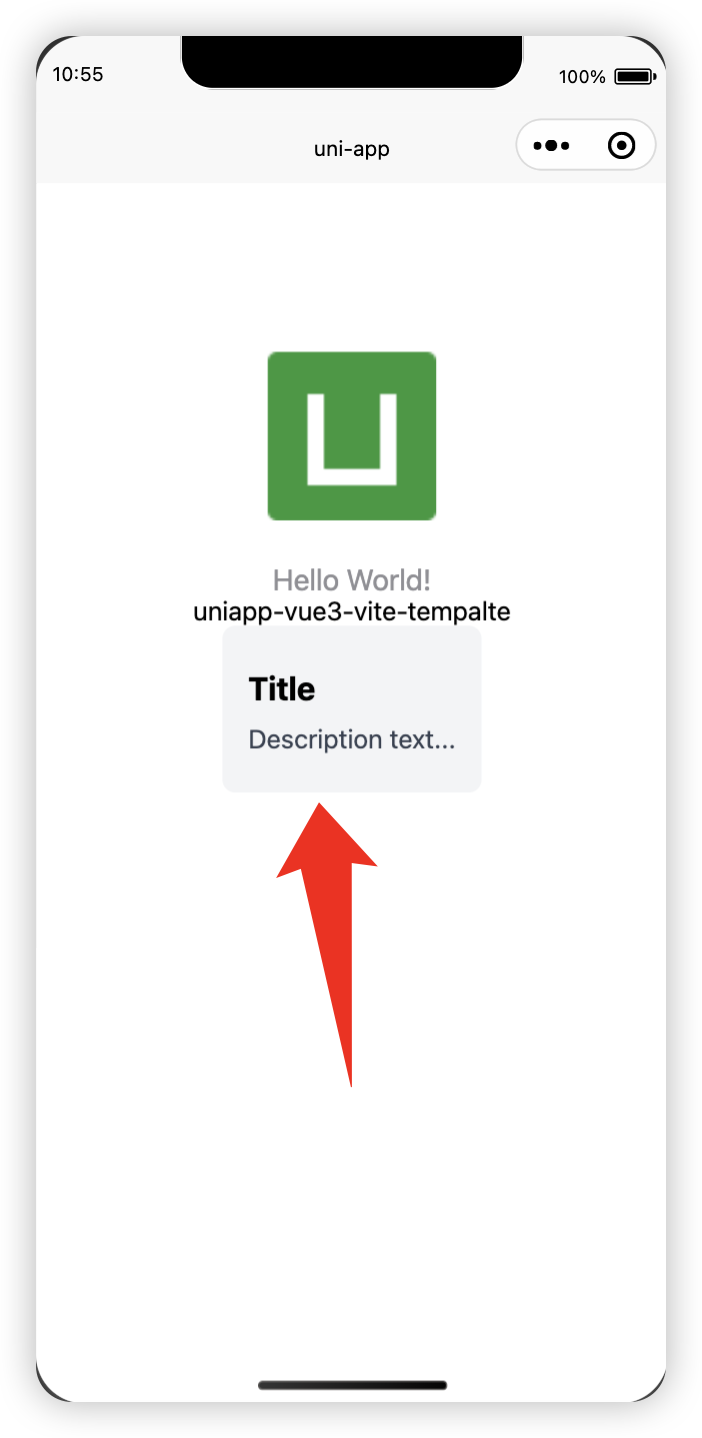
出现以上效果就说明配置成功!!!
配置pinia
基本配置
首先安装依赖包:
pnpm add pinia -S然后写入文件:
store/modules/app.js
const useAppStore = defineStore("app", {state: () => ({device: "desktop",}),actions: {},
});export default useAppStore;
store/index.js
const store = createPinia()export default store在main.js中引入
import { createSSRApp } from "vue";
import App from "./App.vue";import store from "./store";export function createApp() {const app = createSSRApp(App);app.use(store)return {app,};
}
页面中测试
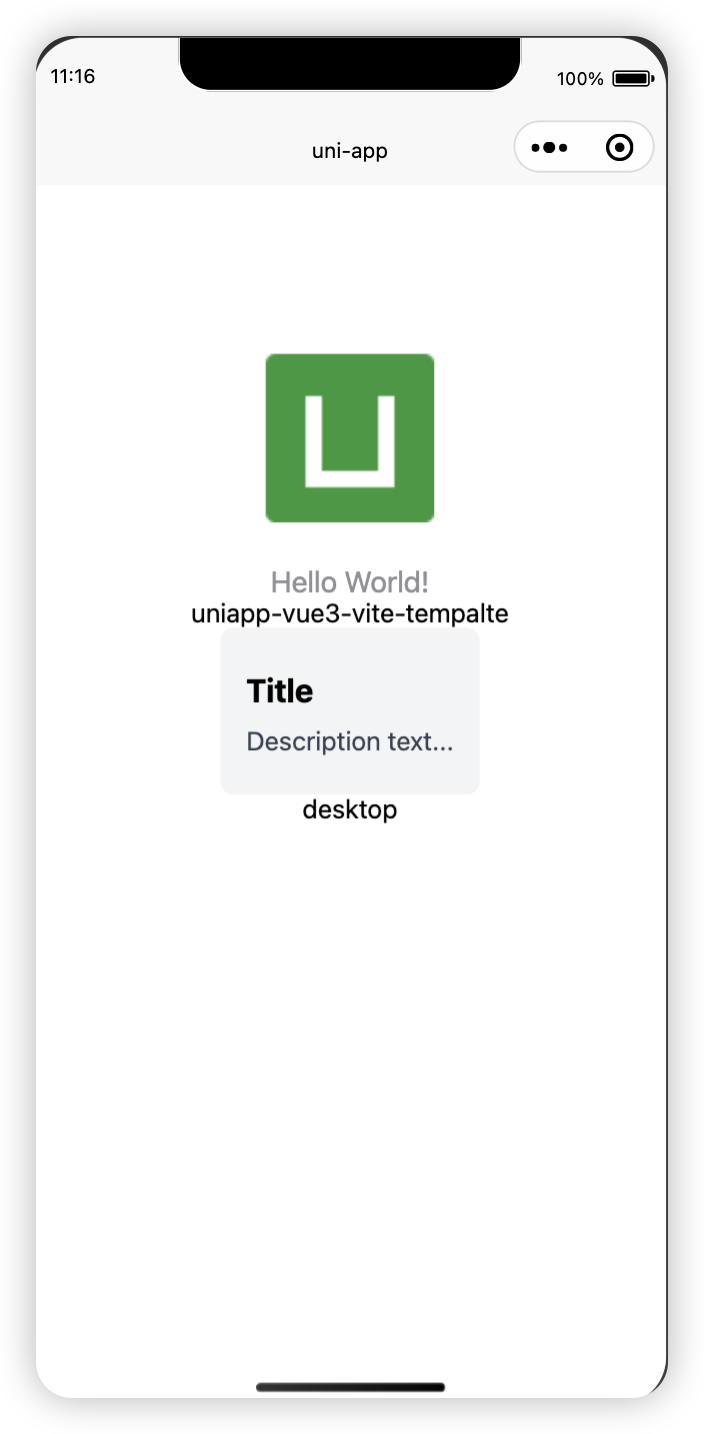
pages/index/index.vue
<template><view class="content">...<view>{{appStore.device}}</view></view>
</template><script setup>
import useAppStore from "../../store/modules/app.js";const appStore = useAppStore();...
</script><style>
...
</style>
出现以上效果就说明pinia配置成功。
添加持久化
这一块不知道为什么会报错,目前还没解决我
首先安装依赖包:
pnpm add pinia pinia-plugin-persistedstate -S然后写入文件:
// src/store/count.js
import { piniaStore } from '@/store'
export const useCountStore = defineStore('count', {state: () => {return {count: 0}},actions: {increment() {this.count++}},persist: true // 配置持久化
})export function useOutsideCountStore(){return useCountStore(piniaStore)
}
注意下面👇这个文件对持久化的处理,否则非h5环境不能正确持久化
// src/store/index.js
import { createPinia } from 'pinia'
import { createPersistedState } from 'pinia-plugin-persistedstate' // 数据持久化const store = createPinia()
store.use(createPersistedState({storage: {getItem: uni.getStorageSync,setItem: uni.setStorageSync,},}),
)
export default store
main.js 中配置
// src/main.js
import { createSSRApp } from 'vue'
import App from './App.vue'
import { setupStore } from './store'
import 'virtual:uno.css'
export function createApp() {const app = createSSRApp(App)setupStore(app)return {app}
}
检测
<view><button type="primary" @click="useCountStore.count++">点击 {{ count }}</button>
</view><script setup>import { useOutsideCountStore } from '@/store/count'const useCountStore = useOutsideCountStore()const count = computed(() => useCountStore.count)
</script>
Axios接入配置
基本配置
安装相关依赖包👇
pnpm add @uni-helper/axios-adapter axios以下步骤创建对应文件粘贴代码即可
src/api/index.js
/*** 模块化方式处理 默认处理 modules文件夹下的所有js文件 内容以export default导出的文件* @param { 模块内容集合 } moduleContext* @returns modules集合*/
const modulesHandle = (moduleContext = {}) => {if (!Object.keys(moduleContext).length) returnconst modules = {}Object.keys(moduleContext).forEach((v) => {for (let key in moduleContext[v].default) {modules[key] = moduleContext[v].default[key]}})return modules
}const apis = modulesHandle(import.meta.glob('./modules/**/*.js', { eager: true }))
export const useRequest = () => apis
src/api/utils.js
// 请求状态错误
export const httpLogError = (error, msg) => {error.message = msguni.showToast({title: msg,icon: 'error',duration: 2000})
}// api请求错误
export const requestError = (response) => {return new Promise((_, reject) => {const { data } = responseconst msg = `api请求出错 ${response.config.url}:${data.message}`uni.showToast({title: msg,icon: 'error',duration: 2000})reject(data)})
}// 登录失效
export const throttleToLogin = () => {// uni.navigateTo({ url: '/pages/login/login' })
}
src/api/service.js
import axios from 'axios'
import { createUniAppAxiosAdapter } from '@uni-helper/axios-adapter'
import { httpLogError, requestError, throttleToLogin } from './utils'
export function createService() {const request = axios.create({ adapter: createUniAppAxiosAdapter() })request.interceptors.request.use((request) => {return request},(err) => {return Promise.reject(err)})request.interceptors.response.use((response) => {const dataAxios = response.data// 这个状态码是和后端约定的const { code, data } = dataAxiosconsole.log(dataAxios);// 根据 code 进行判断if (code === undefined) {return dataAxios} else {// 目前和公司后端口头约定是字符串,以防万一强制转字符串switch (`${code}`) {// code === 200 | 2 代表没有错误case '200':return data// code === 400001004 代表token 过期打回登录页case '400001004':throttleToLogin()breakcase '400':// 不是正确的 codereturn requestError(response)case '401':// 错误登录return throttleToLogin()default:// 不是正确的 codereturn requestError(response)}}}, (error) => {console.log(error);const status = error.response?.statusswitch (status) {// TODO 再考虑下怎么判断是跨域问题case undefined:case null:httpLogError(error, '网路错误或跨域')breakcase 400:httpLogError(error, '请求错误')breakcase 401:httpLogError(error, '未授权,请登录')breakcase 403:httpLogError(error, '拒绝访问')breakcase 404:httpLogError(error, `请求地址出错: ${error.response.config.url}`)breakcase 408:httpLogError(error, '请求超时')breakcase 500:httpLogError(error, '服务器内部错误')breakcase 501:httpLogError(error, '服务未实现')breakcase 502:httpLogError(error, '网关错误')breakcase 503:httpLogError(error, '服务不可用')breakcase 504:httpLogError(error, '网关超时')breakcase 505:httpLogError(error, 'HTTP版本不受支持')breakdefault:httpLogError(error, '请求错误')break}return Promise.reject(error)})return request
}export const service = createService()
src/api/request.js
import { service } from './service'
function createRequest(service) {function request(config) {// config 自定义配置// axios默认配置const configDefault = {baseURL: import.meta.env.VITE_APP_API_BASEURL, // 所有通过此配置的基础地址 在.env文件配置timeout: 15000, // 请求超时时间responseType: 'json', // 响应类型headers: {// 请求头配置...}}const requestConfig = Object.assign(configDefault, config)return service(requestConfig)}return request
}export const request = createRequest(service)
src/modules/demo.js
/*** 命名=》API_xxx_methodName*/import { request } from '@/api/request.js'
export default {API_DEMO_POST(data = {}) {return request({url: 'demo/mock',method: 'post',data})},API_DEMO_GET(params = {}) {return request({url: '/demo/get',method: 'get',params})}
}
环境变量配置
在项目根目录下分别新建以下配置文件
.env
# APP 名称
VITE_APP_TITLE = 'uniAppTemplate'# APP ID
VITE_UNI_APPID = ''
# 微信小程序 APP ID
VITE_WX_APPID = 'wx8ba795154c9fb51d'# h5部署网站的base,配置到 manifest.config.ts 里的 h5.router.base
VITE_APP_PUBLIC_BASE = './'# h5是否需要配置代理
VITE_APP_PROXY = false
VITE_APP_PROXY_PREFIX = '/api'
.env.development
# 开发环境# 请求地址
# https://jsonplaceholder.typicode.com 免费模拟数据
VITE_APP_API_BASEURL = 'https://jsonplaceholder.typicode.com'# storage前缀
VITE_APP_PREFIX = 'storage'
.env.production
# 生产环境# 请求地址
# https://jsonplaceholder.typicode.com 免费模拟数据
VITE_APP_API_BASEURL = 'https://jsonplaceholder.typicode.com'# storage前缀
VITE_APP_PREFIX = 'storage'
改造vite.config.js
import { defineConfig, loadEnv } from "vite";
import path from "node:path";
import UniManifest from "@uni-helper/vite-plugin-uni-manifest";import uni from "@dcloudio/vite-plugin-uni";
import autoImport from "unplugin-auto-import/vite";import tailwindcss from "tailwindcss";
import uniTailwind from "@uni-helper/vite-plugin-uni-tailwind";// https://vitejs.dev/config/
export default ({ command, mode }) => {const env = loadEnv(mode, path.resolve(process.cwd()));const { VITE_APP_API_BASEURL, VITE_APP_PROXY, VITE_APP_PROXY_PREFIX } = env;return defineConfig({css: {postcss: {plugins: [tailwindcss()],},},plugins: [UniManifest(),uni(),autoImport({imports: ["vue","uni-app","pinia",{"@/api": ["useRequest"],},],dts: true,}),uniTailwind(),],});
};
代理/别名配置
vite.config.js
import { defineConfig, loadEnv } from "vite";
import path from "node:path";
import UniManifest from "@uni-helper/vite-plugin-uni-manifest";import uni from "@dcloudio/vite-plugin-uni";
import autoImport from "unplugin-auto-import/vite";import tailwindcss from "tailwindcss";
import uniTailwind from "@uni-helper/vite-plugin-uni-tailwind";// https://vitejs.dev/config/
export default ({ command, mode }) => {const env = loadEnv(mode, path.resolve(process.cwd()));const { VITE_APP_API_BASEURL, VITE_APP_PROXY, VITE_APP_PROXY_PREFIX } = env;return defineConfig({resolve: {alias: {"@": path.join(process.cwd(), "./src"),"@img": path.join(process.cwd(), "./src/static/images"),},},css: {postcss: {plugins: [...],},},plugins: [...],server: {host: "0.0.0.0",hmr: true,// 仅 H5 端生效,其他端不生效(其他端走build,不走devServer)proxy: JSON.parse(VITE_APP_PROXY)? {[VITE_APP_PROXY_PREFIX]: {target: VITE_APP_API_BASEURL,changeOrigin: true,rewrite: (path) =>path.replace(new RegExp(`^${VITE_APP_PROXY_PREFIX}`), ""),},}: undefined,},});
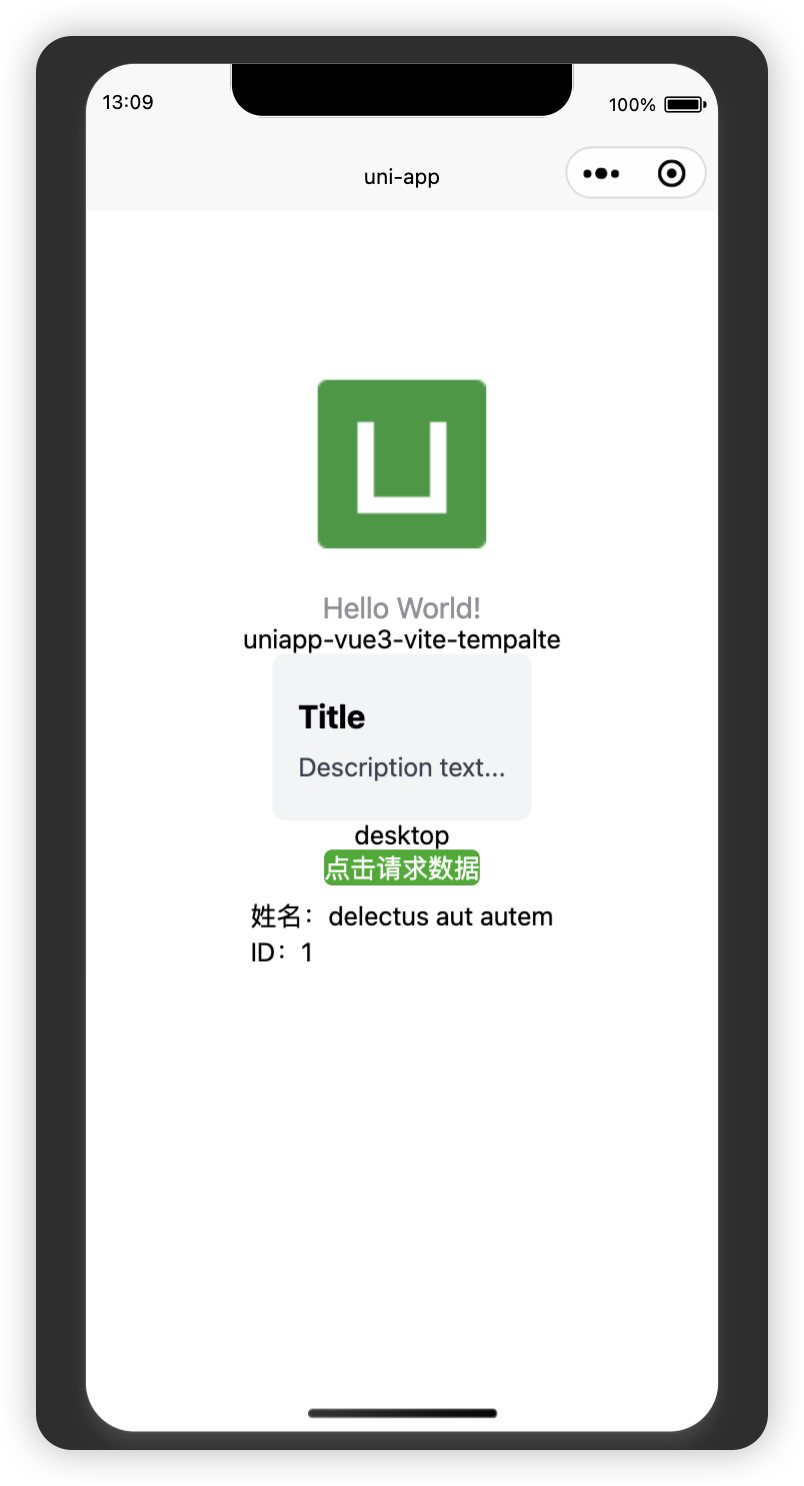
};测试axios
H5:
Wchat:
注意:
在小程序中记得要勾选
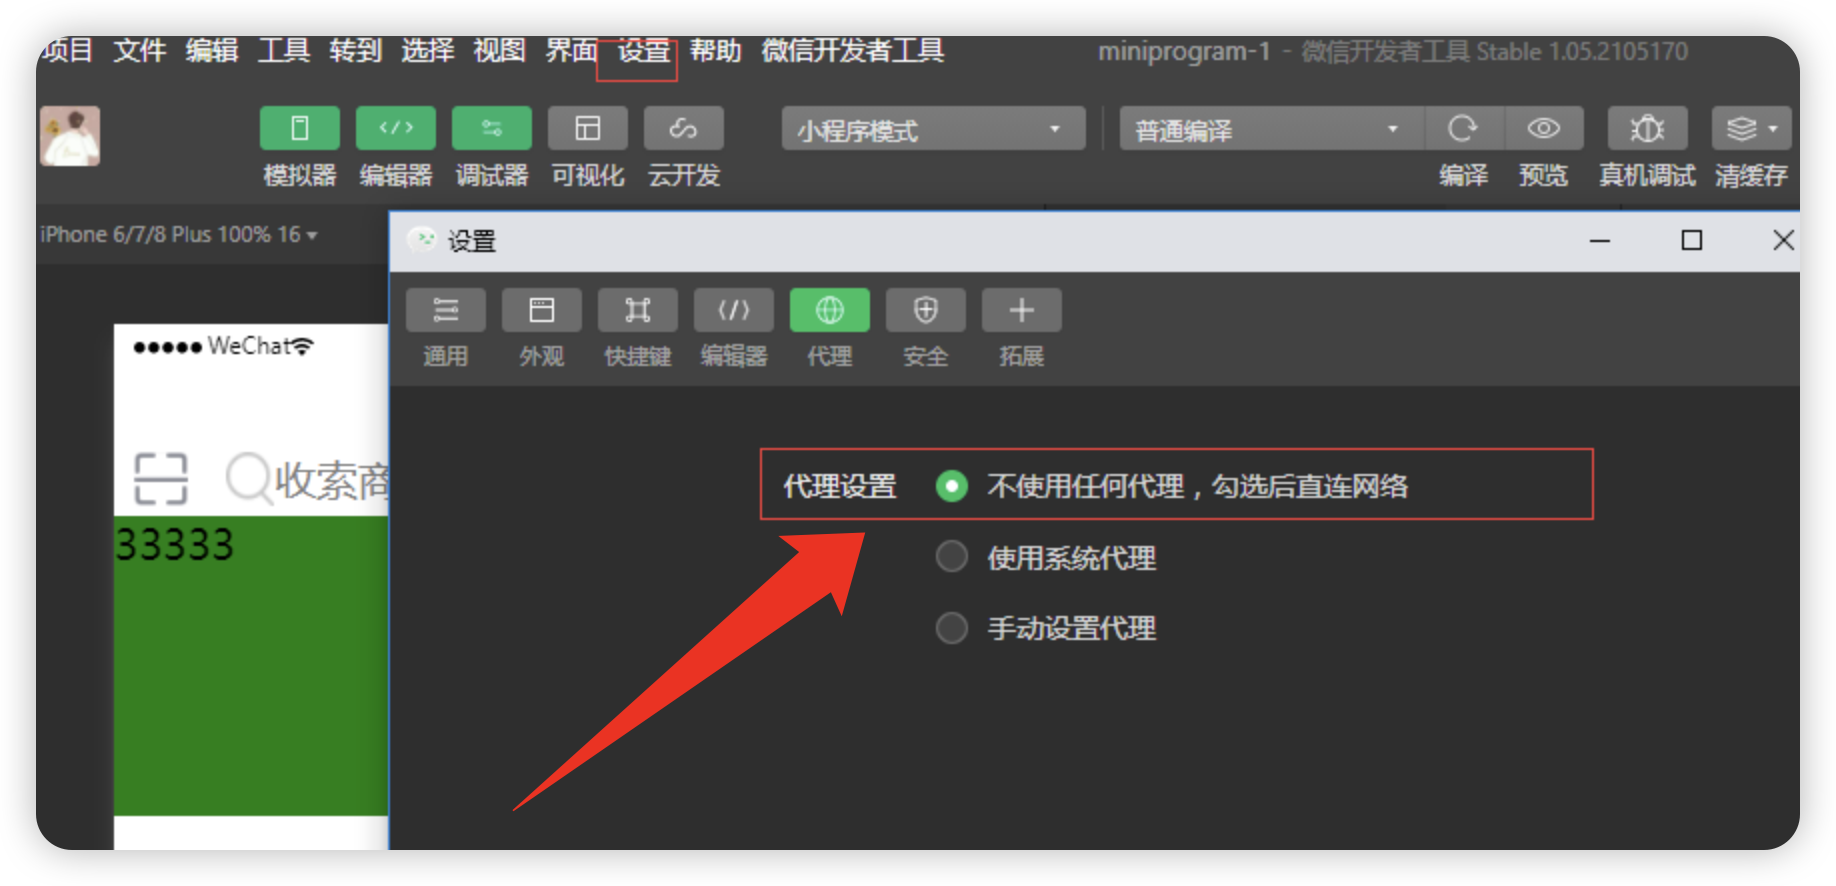
不然请求会报错
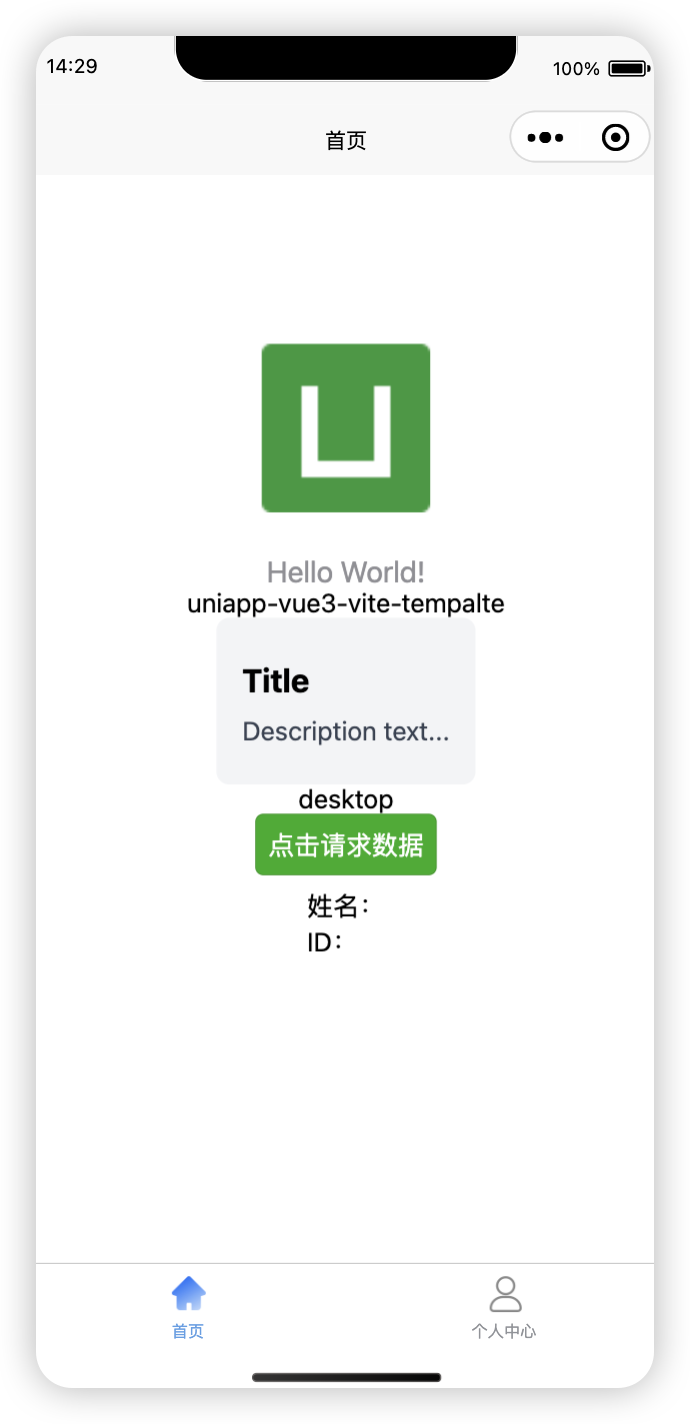
pages/index/index.vue
<template><view class="content">...<view class="content"><view><button type="primary" @click="getList">点击请求数据</button></view></view><view class="p-2" v-if="info"><view>姓名:{{info.title}}</view><view>ID:{{info.userId}}</view></view></view>
</template><script setup>
import useAppStore from "../../store/modules/app.js";
import { API_DEMO_GET } from "@/modules/demo.js";const appStore = useAppStore();const title = ref("Hello World!");
const subtitle = ref("uniapp-vue3-vite-tempalte");// 测试axios
const info = ref({});const getList = () => {uni.showLoading({title: "加载中...",});API_DEMO_GET().then((res) => {info.value = res;uni.hideLoading();}).catch(() => {uni.hideLoading();});
};
</script><style>
...
</style>
pages.json 配置
这里的配置可以参考uniapp官网的有关pages.json的配置即可
pages.json 页面路由 | uni-app官网
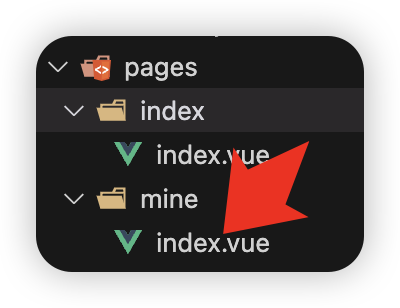
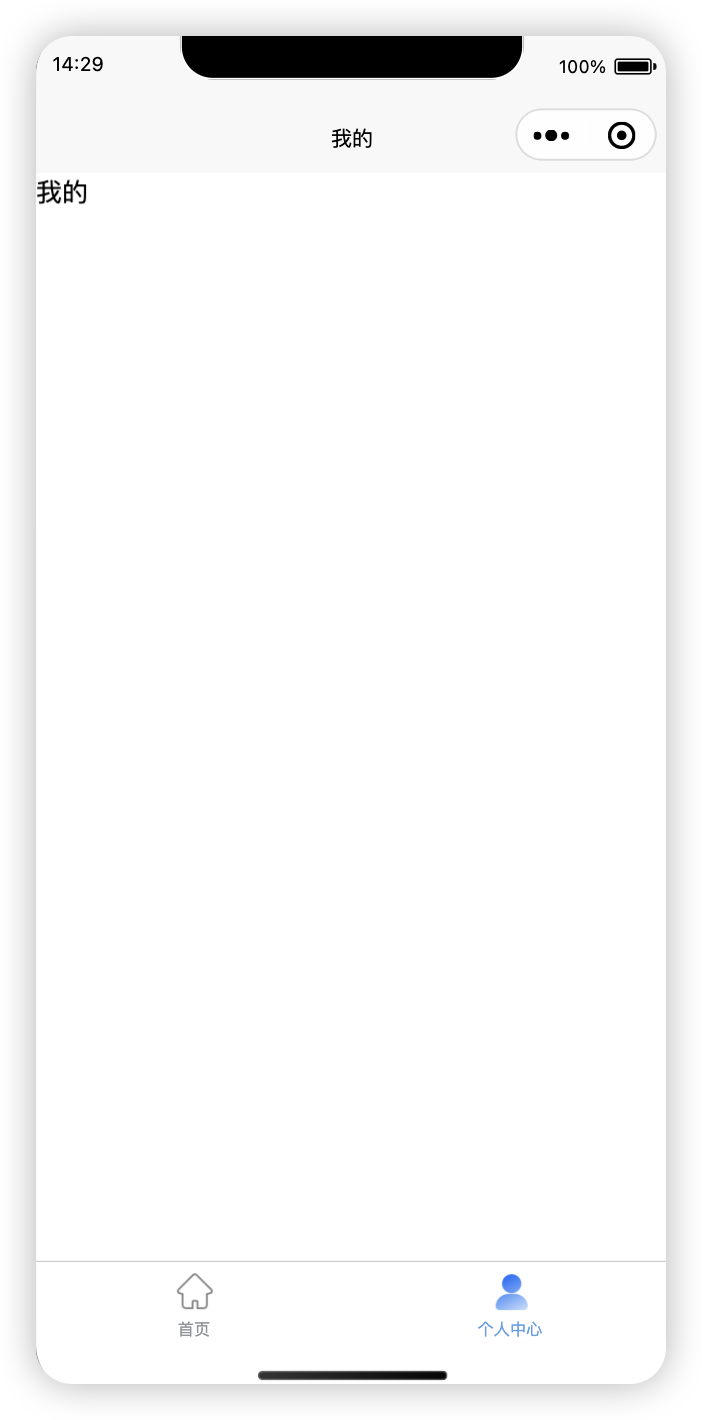
在页面新建 我的 界面
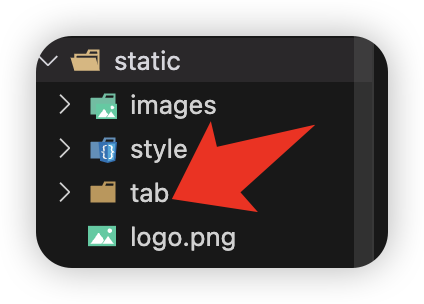
准备tabbar图标素材:📎tab.zip
配置 pages.json
{"pages": [{"path": "pages/index/index","style": {"navigationBarTitleText": "首页"}},{"path": "pages/mine/index","style": {"navigationBarTitleText": "我的"}}],"globalStyle": {"navigationBarTextStyle": "black","navigationBarTitleText": "uni-app","navigationBarBackgroundColor": "#F8F8F8","backgroundColor": "#F8F8F8"},"tabBar": {"color": "#909399","selectedColor": "#59a0e7","backgroundColor": "#FFFFFF","borderStyle": "black","list": [{"pagePath": "pages/index/index","iconPath": "static/tab/home1.png","selectedIconPath": "static/tab/home2.png","text": "首页"},{"pagePath": "pages/mine/index","iconPath": "static/tab/self1.png","selectedIconPath": "static/tab/self2.png","text": "个人中心"}]}
}
效果:
h5
wchat
图标库配置
对于这一块我目前没有成功。暂时不管先。
官网:https://icon-sets.iconify.design/
安装:
# 格式:pnpm add @iconify-json/[the-collection-you-want] -D# 例如
pnpm add @iconify-json/ep @iconify/tailwind -D
安装完后可以使用当前库下的所有图标
https://icon-sets.iconify.design/
测试
<text style="width: 40rpx; height: 40rpx" class="icon-[ep--bottom-right]"></text>源码
📎uni-preset-vue-vite-template.zip


