需求描述
移动端进入网站后,登录网站进入设备管理界面。点击添加设备,可以选择直接添加或者扫一扫。点击扫一扫进行扫描二维码获取设备序列号自动填充到添加设备界面的序列号输入框中。然后点击完成进行设备绑定。
- 安装vue-qrcode-reader 这里使用的版本是5.5.7
npm install vue-qrcode-reader --save
- 扫一扫界面ScanCode.vue
<template><div class="block-main"><div class="head-wrap"><imgsrc="../../assets/images/mobile/icon-arrow-left.png"class="btn-back"@click="goback"/><span class="title">扫一扫</span></div><div class="qr-container"><qrcode-stream@detect="onDecode"@camera-on="onCameraReady"@error="onError"/></div></div>
</template><script>
import { reactive, ref, onMounted } from "vue";
import { useRouter } from "vue-router";
import { QrcodeStream } from "vue-qrcode-reader";
import { showToast } from "vant";
export default {components: {QrcodeStream,showToast,},setup() {const testVice = reactive([]);const router = useRouter();// 扫码成功后的回调const onDecode = (detectedCodes) => {if (detectedCodes.length > 0) {// 跳转到添加设备页面并传递设备编号let deviceCode = detectedCodes[0].rawValue;router.replace({path: "/deviceadd",query: { deviceCode },});} else {showToast("扫码失败");}};const onCameraReady = (res) => {console.log("摄像头准备好了");};const onError = (error) => {if (error.name === "NotAllowedError") {// user denied camera access permissionshowToast("用户拒绝相机访问权限");} else if (error.name === "NotFoundError") {// no suitable camera device installedshowToast("未安装合适的摄像设备");} else if (error.name === "NotSupportedError") {// page is not served over HTTPS (or localhost)showToast("当前网页没有通过 HTTPS 或 localhost 安全协议提供服务");} else if (error.name === "NotReadableError") {// maybe camera is already in useshowToast("相机被占用了)");} else if (error.name === "OverconstrainedError") {// did you request the front camera although there is none?showToast("尝试使用前置摄像头)");} else if (error.name === "StreamApiNotSupportedError") {showToast("浏览器似乎缺少功能)");// browser seems to be lacking features}};onMounted(() => {navigator.mediaDevices.enumerateDevices().then((devices) => {devices.forEach((device) => {if (device.kind === "videoinput") {console.log("Video input device: ",device.label,device.deviceId);}});}).catch((error) => {console.error("Error enumerating devices: ", error);showToast("Error enumerating devices");});});const goback = () => {router.go(-1);};return {testVice,onCameraReady,goback,onDecode,onError,};},
};
</script><style lang="scss" scoped>
.block-main {height: 100%;background: #fff;overflow: hidden;font-size: 16px;.head-wrap {height: 0.96rem;background: #31be7c;font-family: Microsoft YaHei UI;font-weight: 400;color: #fff;display: flex;align-items: center;position: fixed;left: 0;right: 0;.btn-back {margin-left: 0.4rem;width: 0.22rem;height: 0.38rem;}.title {font-size: 0.36rem;text-align: center;flex: 1;}}.qr-container {display: flex;justify-content: center;align-items: center;height: calc(100vh - 0.96rem); // 减去头部的高度margin-top: 0.96rem;}
}
</style>
- 添加设备界面DeviceAdd.vue
<template><div class="block-main"><div class="head-wrap"><a href="javascript:void(0)" class="btn-cancel" @click="goBack">取消</a><span class="title"></span><a href="javascript:void(0)" class="btn-sure" @click="deviceReg">完成</a></div><div class="input-wrap" @click="showDeviceType"><span class="input">{{ deviceInfo.devtypeName }}</span><imgsrc="../../assets/images/mobile/icon-arrow-right.png"class="icon-arrow"/></div><div class="input-wrap"><inputtype="text"class="input"v-model="deviceInfo.devsn"placeholder="请输入设备序列号"/><imgv-if="deviceInfo.devsn"src="../../assets/images/mobile/icon-close-gray.png"class="icon-close"@click="clearInput"/></div><div class="error-msg">{{ deviceInfo.devsn_error }}</div><van-popup v-model:show="deviceTypeDialog" position="bottom"><van-picker:columns="devTypes"v-model:value="deviceInfo.devtype"@cancel="deviceTypeDialog = false"@confirm="onConfirm"/></van-popup></div>
</template><script>
import { ref, reactive, onMounted } from "vue";
import { useRoute,useRouter } from "vue-router";
import {Picker,Popup,showFailToast,showSuccessToast,showToast,showLoadingToast,
} from "vant";
import { device_Reg } from "../../api/auth";
export default {components: {"van-picker": Picker,"van-popup": Popup,},setup() {const route = useRoute();const deviceTypeDialog = ref(false);const router = useRouter();const devTypes = [{ value: 1, text: "设备类型1" },{ value: 2, text: "设备类型2" },{ value: 3, text: "设备类型3" },];const deviceInfo = reactive({devtype: null,devtypeName: "请选择需要绑定的设备",devsn: "",devsn_error: "",});const showDeviceType = () => {deviceTypeDialog.value = true;};const clearInput = () => {deviceInfo.devsn = "";deviceInfo.devsn_error = "";};const onConfirm = ({ selectedOptions }) => {deviceTypeDialog.value = false;deviceInfo.devtype = selectedOptions[0].value;deviceInfo.devtypeName = selectedOptions[0].text;};const goBack = () => {router.go(-1);};const deviceReg = async () => {if (deviceInfo.devtype == null) {deviceInfo.devsn_error = "请选择设备类型";return;}if (!deviceInfo.devsn) {deviceInfo.devsn_error = "请填写设备序列号";return;}const toast = showLoadingToast({message: "数据提交中...",forbidClick: true,});let response = await device_Reg({devsn: deviceInfo.devsn,devtype: deviceInfo.devtype,});if (response.isSuccess == true) {toast.close();showSuccessToast("设备绑定成功");setTimeout(() => {router.go(-1);}, 2000);} else {deviceInfo.devsn_error = response.message;toast.close();}};onMounted(() => {const scannedDeviceSn = route.query.deviceCode;if (scannedDeviceSn) {deviceInfo.devsn = scannedDeviceSn;}});return {devTypes,deviceTypeDialog,deviceInfo,showDeviceType,clearInput,onConfirm,goBack,deviceReg,};},
};
</script><style lang="scss" scoped>
.block-main {height: auto;overflow: hidden;.head-wrap {height: 0.96rem;background: #31be7c;font-family: Microsoft YaHei UI;font-weight: 400;color: #fff;display: flex;align-items: center;.btn-cancel {padding-left: 0.4rem;padding-right: 0.4rem;height: 0.96rem;line-height: 0.96rem;font-size: 0.36rem;color: #fff;}.title {font-size: 0.36rem;text-align: center;flex: 1;}.btn-sure {width: 1.15rem;height: 0.55rem;background: #ffffff;border-radius: 5px;font-size: 0.36rem;line-height: 0.55rem;margin-right: 0.4rem;margin-left: 0.4rem;color: #31be7c;}}.input-wrap {height: 1.2rem;line-height: 1.2rem;border-bottom: 1px solid #ced6d2;display: flex;align-items: center;.input {flex: 1;margin-left: 0.58rem;font-size: 0.3rem;width: 0px;border-style: none;outline: none;height: 1rem;text-align: left;}.icon-close {width: 0.36rem;height: 0.36rem;margin-right: 0.4rem;margin-left: 0.4rem;}.icon-arrow {width: 0.2rem;height: 0.3rem;margin-left: 0.04rem;margin-right: 0.4rem;margin-left: 0.4rem;}}.error-msg {padding-left: 0.58rem;margin-top: 0.19rem;font-size: 0.24rem;color: #ff6c00;padding-right: 0.58rem;text-align: left;line-height: 0.24rem;}
}
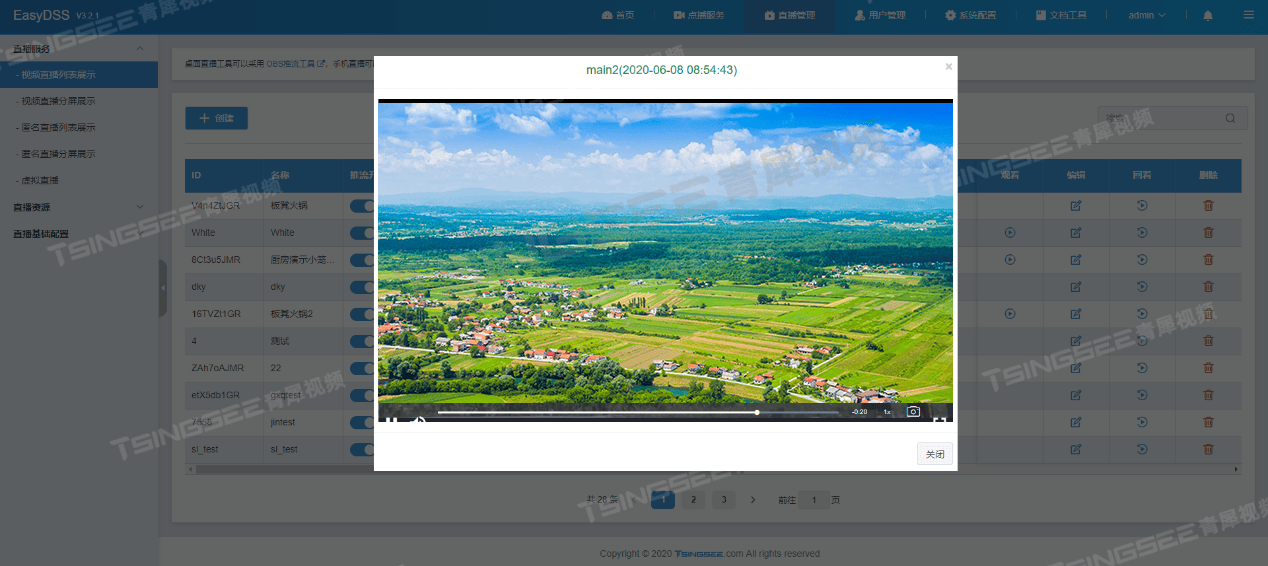
</style>效果图