窗口模块用于在同一物理屏幕上,提供多个应用界面显示、交互的机制。
- 对应用开发者而言,窗口模块提供了界面显示和交互能力。
- 对于终端用户而言,窗口模块提供了控制应用界面的方式。
- 对于操作系统而言,窗口模块提供了不同应用界面的组织管理逻辑。
OpenHarmony 将窗口分为系统窗口和应用窗口两种类型:
-
系统窗口:
系统窗口指完成系统特定功能的窗口。如音量条、壁纸、通知栏、状态栏、导航栏等。
-
应用窗口:
应用窗口区别于系统窗口,指与应用显示相关的窗口。根据显示内容的不同,应用窗口又分为应用主窗口、应用子窗口两种类型。
-
应用主窗口:
应用主窗口用于显示应用界面,会在“任务管理界面”显示。
-
应用子窗口:
应用子窗口用于显示应用内的弹窗、悬浮窗等辅助窗口,不会在“任务管理界面”显示。
-
ArkUI 开发框架在 @ohos.window 模块中提供了对窗口操作相关方法,比如设置窗口全屏显示,弹出悬浮窗等,本节笔者简单介绍一下窗口模块。
Window 定义介绍
declare namespace window {function create(id: string, type: WindowType): Promise<Window>;function find(id: string): Promise<Window>;function getTopWindow(): Promise<Window>;// Winodw 的能力interface Window {show(): Promise<void>;destroy(): Promise<void>;moveTo(x: number, y: number): Promise<void>;resetSize(width: number, height: number): Promise<void>;getAvoidArea(type: AvoidAreaType): Promise<AvoidArea>;setFullScreen(isFullScreen: boolean): Promise<void>;setLayoutFullScreen(isLayoutFullScreen: boolean): Promise<void>;loadContent(path: string): Promise<void>;isShowing(): Promise<boolean>;on(type: 'windowSizeChange' | 'systemAvoidAreaChange' | 'keyboardHeightChange', callback: Callback<Size>): void;off(type: 'windowSizeChange' | 'systemAvoidAreaChange' | 'keyboardHeightChange', callback?: Callback<Size>): void;setBackgroundColor(color: string): Promise<void>;}
}
export default window;
@ohos.window 模块提供的静态方法及 Window 的部分方法说明如下:
- create():创建一个子窗口。
- find():查找指定
id所对应的窗口 - getTopWindow():获取当前应用内最后显示的窗口。
- show():显示当前窗口。
- destroy():销毁当前窗口。
- moveTo():移动当前窗口。
- on():监听窗口对应事件。
- off():取消监听对应窗口事件。
- setLayoutFullScreen():设置窗口布局是否为全屏布局。
- loadContent():为当前窗口加载具体页面内容。
- setBackgroundColor():设置窗口的背景色。
- setSystemBarEnable():设置导航栏、状态栏是否显示。
- setFullScreen():设置窗口是否全屏显示。
Window 使用介绍
- 引入 window 模块
import window from '@ohos.window';
- 创建 Window 对象
创建一个 Window,直接调用 create() 相关方法即可,笔者创建的一个窗口类型为 TYPE_APP 的子窗口,代码如下:
private createSubWindow() {window.create(subWindowID, window.WindowType.TYPE_APP).then((subWindow) => {if (subWindow) {this.subWindow = subWindowthis.subWindow.setFocusable(false)this.subWindow.setDimBehind(0.4)this.subWindow.resetSize(750, 480)this.subWindow.moveTo(230, 1200)this.subWindow.setBackgroundColor(Color.Red.toString())this.subWindow.setOutsideTouchable(false)this.subWindow.setTouchable(false)this.status = "create subWindow success"} else {this.status = "create subWindow failure: " + JSON.stringify(subWindow)}}).catch((error) => {this.status = "create subWindow failure: " + JSON.stringify(error)})}
-
创建 Widnow 页面
Window创建完成后,就可以用它来加载待显示的页面了,先创建一个页面并命名为sub_window.ets,然后用刚刚创建的Window对象来加载,页面代码如下:
@Entry @Component struct SubWindowComponent {build() {Column() {Text("我是子窗口").fontSize(30)}.backgroundColor("#ccaabb").size({width: "100%", height: "100%"})}}
📢:子窗口加载的页面需要在配置文件 config.json 中的 pages 属性中添加进来,否则加载不进来,页面就显示不出来。
- 加载 Window 页面
加载页面直接调用 Window 的 loadContent() 方法即可,代码如下所示:
private loadContent(path: string) {if (this.subWindow) {this.subWindow.loadContent(path).then(() => {this.status = "load content success"}).catch((error) => {this.status = "load content failure: " + JSON.stringify(error)})} else {this.status = "subWindow not created"}}
-
显示 Window 页面
Window加载完页面后还要调用它的 show() 方法,否则页面不显示。代码如下所示:
private showSubWindow() {if (this.subWindow) {this.subWindow.show().then(() => {this.status = "show subWindow success"}).catch((error) => {this.status = "show subWindow failure: " + JSON.stringify(error)})} else {this.status = "subWindow not created"}}
- 销毁 Window 页面
在 Window 使用完毕后,应当及时销毁它,以便资源被回收,代码如下所示:
private destroySubWindow() {if (this.subWindow) {this.subWindow.destroy().then(() => {this.status = "destroy subWindow success"this.subWindow = null}).catch((error) => {this.status = "destroy subWindow failure: " + JSON.stringify(error)})} else {this.status = "subWindow already destroyed"}}
Window 完整样例
使用 @ohos.window 模块提供的 API 创建一个 Window 并显示和销毁,完整代码如下所示:
import window from '@ohos.window'
import router from '@ohos.router'@Entry @Component struct Index {@State status: string = "";private subWindowID = "subWindowID"private subWindow: window.Window = nullbuild() {Column({space: 10}) {Button("创建子窗口").onClick(() => {this.createSubWindow()})Button("加载内容").onClick(() => {this.loadContent("pages/sub_window")})Button("显示子窗口").onClick(() => {this.showSubWindow()})Button("销毁子窗口").onClick(() => {this.destroySubWindow()})Button("打开第二页").onClick(() => {router.push({url: "pages/second" // second 页面读者请自行添加})})Text(this.status).fontSize(24)}.width('100%').height("100%").backgroundColor(Color.White).padding(10)}private destroySubWindow() {if (this.subWindow) {this.subWindow.destroy().then(() => {this.status = "destroy subWindow success"this.subWindow = null}).catch((error) => {this.status = "destroy subWindow failure: " + JSON.stringify(error)})} else {this.status = "subWindow already destroyed"}}private showSubWindow() {if (this.subWindow) {this.subWindow.show().then(() => {this.status = "show subWindow success"}).catch((error) => {this.status = "show subWindow failure: " + JSON.stringify(error)})} else {this.status = "subWindow not created"}}private loadContent(path: string) {if (this.subWindow) {this.subWindow.loadContent(path).then(() => {this.status = "load content success"}).catch((error) => {this.status = "load content failure: " + JSON.stringify(error)})} else {this.status = "subWindow not created"}}private createSubWindow() {window.create(this.subWindowID, window.WindowType.TYPE_APP).then((subWindow) => {if (subWindow) {this.subWindow = subWindowthis.subWindow.setFocusable(false)this.subWindow.setDimBehind(0.4)this.subWindow.resetSize(750, 480)this.subWindow.moveTo(230, 1200)this.subWindow.setBackgroundColor(Color.Red.toString())this.subWindow.setOutsideTouchable(false)this.subWindow.setTouchable(false)this.status = "create subWindow success"} else {this.status = "create subWindow failure: " + JSON.stringify(subWindow)}}).catch((error) => {this.status = "create subWindow failure: " + JSON.stringify(error)})}
}
小结
本节通过简单的样例向读者介绍了 Window 的基本使用,更多其它 API 的用法,请读者自行参考官方文档。通过样例可以方便的实现 APP 内的全局弹窗,这比在 Android 系统上实现要简单的多(#.#)
码牛课堂也为了积极培养鸿蒙生态人才,让大家都能学习到鸿蒙开发最新的技术,针对一些在职人员、0基础小白、应届生/计算机专业、鸿蒙爱好者等人群,整理了一套纯血版鸿蒙(HarmonyOS Next)全栈开发技术的学习路线。大家可以进行参考学习:https://qr21.cn/FV7h05

①全方位,更合理的学习路径:
路线图包括ArkTS基础语法、鸿蒙应用APP开发、鸿蒙能力集APP开发、次开发多端部署开发、物联网开发等九大模块,六大实战项目贯穿始终,由浅入深,层层递进,深入理解鸿蒙开发原理!②多层次,更多的鸿蒙原生应用:
路线图将包含完全基于鸿蒙内核开发的应用,比如一次开发多端部署、自由流转、元服务、端云一体化等,多方位的学习内容让学生能够高效掌握鸿蒙开发,少走弯路,真正理解并应用鸿蒙的核心技术和理念。③实战化,更贴合企业需求的技术点:
学习路线图中的每一个技术点都能够紧贴企业需求,经过多次真实实践,每一个知识点、每一个项目,都是码牛课堂鸿蒙研发团队精心打磨和深度解析的成果,注重对学生的细致教学,每一步都确保学生能够真正理解和掌握。
为了能让大家更好的学习鸿蒙(HarmonyOS NEXT)开发技术,这边特意整理了《鸿蒙开发学习手册》(共计890页),希望对大家有所帮助:https://qr21.cn/FV7h05
《鸿蒙开发学习手册》:https://qr21.cn/FV7h05
如何快速入门:
- 基本概念
- 构建第一个ArkTS应用
- ……

开发基础知识:https://qr21.cn/FV7h05
- 应用基础知识
- 配置文件
- 应用数据管理
- 应用安全管理
- 应用隐私保护
- 三方应用调用管控机制
- 资源分类与访问
- 学习ArkTS语言
- ……

基于ArkTS 开发:https://qr21.cn/FV7h05
- Ability开发
- UI开发
- 公共事件与通知
- 窗口管理
- 媒体
- 安全
- 网络与链接
- 电话服务
- 数据管理
- 后台任务(Background Task)管理
- 设备管理
- 设备使用信息统计
- DFX
- 国际化开发
- 折叠屏系列
- ……

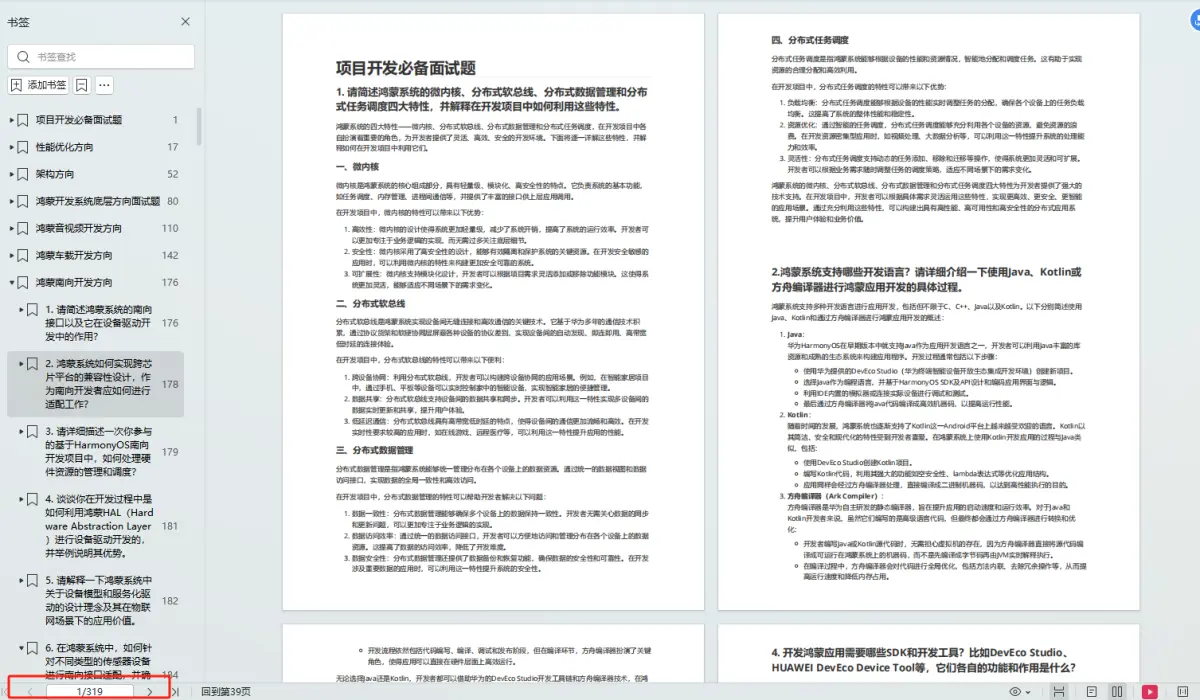
鸿蒙开发面试真题(含参考答案):https://qr21.cn/FV7h05

大厂鸿蒙面试题::https://qr18.cn/F781PH

鸿蒙开发面试大盘集篇(共计319页):https://qr18.cn/F781PH
1.项目开发必备面试题
2.性能优化方向
3.架构方向
4.鸿蒙开发系统底层方向
5.鸿蒙音视频开发方向
6.鸿蒙车载开发方向
7.鸿蒙南向开发方向