本文结合具体示例对于Jenkins的Quiet period特性进行解释和说明。
实际场景
代码的提交经常会有频度的波峰和波谷,在波峰阶段,提交接踵而至,造成这种现象发生主要有多个原因:
- 开发者有时会忘记提交代码或者文件,会导致积累的内容一起被提交
- 开发流程往往有提交窗口,有些项目在流程上本身就有提交窗口的概念
- 提交之后会发现提交过程中发生的失误或者问题,往往会很快进行进一步的提交
对应的方式也非常简单,简单的方式就是积攒一段时间再进行构建,这样就解决了峰值时间段所需要的高频度的大量构建所带来的性能问题,同时也会解决由于失误性的提交所导致的构建流水线的中断。
Quiet period
早在Hudson的时代,被称为quiet period的特性就是为了针对这个问题而产生的:在触发一次新的构建之前可以等待一段时间,以防止这个时间段所产生的大量不必要的构建而导致出现的各种问题。与quiet period特性相关联主要有两部分:
- SCM polling
- queue队列
Quiet period设定方法
在Jenkins中,Quiet period的设定有两处:
-
全局设定:选择Manage Jenkins而后选择Configure System中通过设定Quiet period 即可,缺省值为5

-
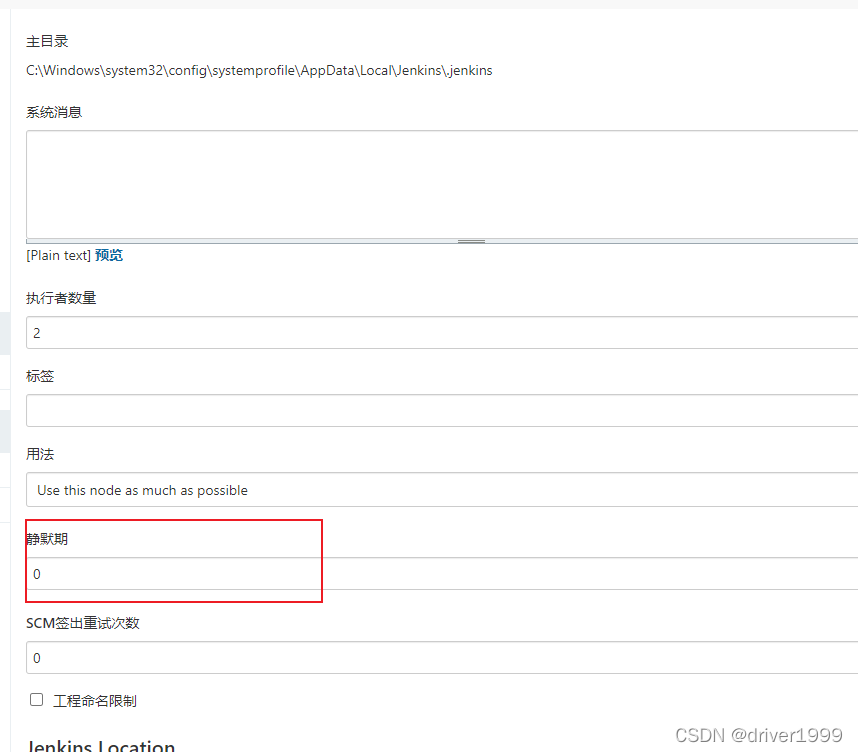
Job级别设定:在Build Triggers中可以直接设定Quiet period,缺省值为0

验证示例
为了对Jenkins中的Quiet period特性进行说明,在这篇文章中,使用如下示例进行演示。
- 步骤1: Quiet period缺省为5的状态下,使用脚本进行一次构建并确认执行结果
- 步骤2: Quiet period缺省为5的状态下,使用脚本进行9次(保证在1s之内执行完毕)构建并确认执行结果
- 步骤3: Quiet period缺省为0的状态下,使用脚本进行9次(保证在1s之内执行完毕)构建并确认执行结果
这样即可模拟同时在并行操作下queue队列下的操作情况。
示例Jenkinsfile
示例
本文示例Jenkinsfile将流水线分按照功能分为逻辑上的三段:构建(Build) 、测试(Test)、部署(Deploy),顺序如下所示。
示例所使用的Jenkinsfile信息如下所示,说明如下:
- pipeline是结构,在其中可以指定agent和stages等相关信息
- agent用于指定执行job的节点,any为不做限制
- stages用与设定具体的stage
- stage为具体的节点,比如本文示例中模拟实际的 Build(构建)、测试(Test)、部署(Deploy)的过程。
pipeline {agent any stages {stage('Build') { steps { sh 'echo Build stage ...' }}stage('Test'){steps {sh 'echo Test stage ...' }}stage('Deploy') {steps {sh 'echo Deploy stage ...' }}}}
获取Jenkins-Crumb
使用如下示例代码获取Jenkins-Crumb,为使用API方式生成三个Stage的Pipeline示例作准备。
liumiaocn:jenkins liumiao$ jenkins_host_url=http://localhost:32002
liumiaocn:jenkins liumiao$ user_passwd="root:liumiaocn"
liumiaocn:jenkins liumiao$ jenkins_crumb=`curl -u $user_passwd ${jenkins_host_url}'/crumbIssuer/api/xml?xpath=concat(//crumbRequestField,":",//crumb)' 2>/dev/null`
liumiaocn:jenkins liumiao$ echo $jenkins_crumb
Jenkins-Crumb:d5b90aaebb5c75b56e24f3bfebc8e43d
liumiaocn:jenkins liumiao$
创建Job
上述Pipeline以及相关的config.xml文件在easypack中有保存,可以直接使用。
- git clone 并切换目录
命令:git clone https://github.com/liumiaocn/easypack.git
cd easypack/containers/alpine/jenkins
liumiaocn:jenkins liumiao$ ls demo/pipeline/stage/config.xml
demo/pipeline/stage/config.xml
liumiaocn:jenkins liumiao$ cat demo/pipeline/stage/config.xml
<?xml version='1.1' encoding='UTF-8'?>
<flow-definition plugin="workflow-job@2.32"><actions><org.jenkinsci.plugins.pipeline.modeldefinition.actions.DeclarativeJobAction plugin="pipeline-model-definition@1.3.8"/></actions><description>Pipeline Job Sample</description><keepDependencies>false</keepDependencies><properties><hudson.plugins.jira.JiraProjectProperty plugin="jira@3.0.7"/><com.dabsquared.gitlabjenkins.connection.GitLabConnectionProperty plugin="gitlab-plugin@1.5.12"><gitLabConnection></gitLabConnection></com.dabsquared.gitlabjenkins.connection.GitLabConnectionProperty></properties><definition class="org.jenkinsci.plugins.workflow.cps.CpsFlowDefinition" plugin="workflow-cps@2.69"><script>pipeline {agent any stages {stage('Build') { steps { sh 'echo Build stage ...' }}stage('Test'){steps {sh 'echo Test stage ...' }}stage('Deploy') {steps {sh 'echo Deploy stage ...' }}}}</script><sandbox>false</sandbox></definition><triggers/><disabled>false</disabled>
</flow-definition>
liumiaocn:jenkins liumiao$ curl -X POST -u $user_passwd -H ${jenkins_crumb} -H "Content-Type:application/xml"  --data-binary  "@demo/pipeline/stage/config.xml" ${jenkins_host_url}/createItem?name=pipeline_job_noparam
liumiaocn:jenkins liumiao$ echo $?
0
liumiaocn:jenkins liumiao$
步骤1: Quiet period缺省为5的状态下,使用脚本进行一次构建并确认执行结果
执行Job
使用如下命令或者直接在Jenkins上点击构建
liumiaocn:jenkins liumiao$ curl -X POST -u $user_passwd -H ${jenkins_crumb} ${jenkins_host_url}/job/pipeline_job_noparam/build
liumiaocn:jenkins liumiao$ echo $?
0
liumiaocn:jenkins liumiao$
确认执行结果
使用如下命令可以确认相关的执行日志信息。
liumiaocn:jenkins liumiao$ curl -u $user_passwd ${jenkins_host_url}/job/pipeline_job_noparam/1/consoleText
Started by user root
Running in Durability level: MAX_SURVIVABILITY
[Pipeline] Start of Pipeline
[Pipeline] node
Running on Jenkins in /data/jenkins/workspace/pipeline_job_noparam
[Pipeline] {
[Pipeline] stage
[Pipeline] { (Build)
[Pipeline] sh
+ echo Build stage ...
Build stage ...
[Pipeline] }
[Pipeline] // stage
[Pipeline] stage
[Pipeline] { (Test)
[Pipeline] sh
+ echo Test stage ...
Test stage ...
[Pipeline] }
[Pipeline] // stage
[Pipeline] stage
[Pipeline] { (Deploy)
[Pipeline] sh
+ echo Deploy stage ...
Deploy stage ...
[Pipeline] }
[Pipeline] // stage
[Pipeline] }
[Pipeline] // node
[Pipeline] End of Pipeline
Finished: SUCCESS
liumiaocn:jenkins liumiao$
从Jenkins的界面上也可以看到此次构建只生成了一次构建结果,时间为7:24。

步骤2: Quiet period缺省为5的状态下,使用脚本进行9次(保证在1s之内执行完毕)构建并确认执行结果
liumiaocn:jenkins liumiao$ time -p for i in 1 2 3 4 5 6 7 8 9
> do
> echo "job build: $i"
> curl -X POST -u $user_passwd -H ${jenkins_crumb} ${jenkins_host_url}/job/pipeline_job_noparam/build
> echo $?
> done
job build: 1
0
job build: 2
0
job build: 3
0
job build: 4
0
job build: 5
0
job build: 6
0
job build: 7
0
job build: 8
0
job build: 9
0
real 0.87
user 0.04
sys 0.03
liumiaocn:jenkins liumiao$

比较奇怪是,操作只是生成了一次构建日志(7:27)。执行9次构建为什么只生成了一个构建日志呢,这个自然就是Quiet period防止冲击的功能了,我们来看一下这次日志的内容
liumiaocn:jenkins liumiao$ curl -u $user_passwd ${jenkins_host_url}/job/pipeline_job_noparam/2/consoleText
Started by user root
Started by user root
Started by user root
Started by user root
Started by user root
Started by user root
Started by user root
Started by user root
Started by user root
Running in Durability level: MAX_SURVIVABILITY
[Pipeline] Start of Pipeline
[Pipeline] node
Running on Jenkins in /data/jenkins/workspace/pipeline_job_noparam
[Pipeline] {
[Pipeline] stage
[Pipeline] { (Build)
[Pipeline] sh
+ echo Build stage ...
Build stage ...
[Pipeline] }
[Pipeline] // stage
[Pipeline] stage
[Pipeline] { (Test)
[Pipeline] sh
+ echo Test stage ...
Test stage ...
[Pipeline] }
[Pipeline] // stage
[Pipeline] stage
[Pipeline] { (Deploy)
[Pipeline] sh
+ echo Deploy stage ...
Deploy stage ...
[Pipeline] }
[Pipeline] // stage
[Pipeline] }
[Pipeline] // node
[Pipeline] End of Pipeline
Finished: SUCCESS
liumiaocn:jenkins liumiao$
可以看到Started by user root一共出现了9次,因为仍然在这个Quiet period的范围内,所以一共执行了一次。
步骤3: Quiet period缺省为0的状态下,使用脚本进行9次(保证在1s之内执行完毕)构建并确认执行结果
- 接下来修改Period time为0之后继续进行实验

- 再次执行9次构建
liumiaocn:jenkins liumiao$ time -p for i in 1 2 3 4 5 6 7 8 9; do echo "job build: $i"; curl -X POST -u $user_passwd -H ${jenkins_crumb} ${jenkins_host_url}/job/pipeline_job_noparam/build; echo $?; done
job build: 1
0
job build: 2
0
job build: 3
0
job build: 4
0
job build: 5
0
job build: 6
0
job build: 7
0
job build: 8
0
job build: 9
0
real 1.46
user 0.04
sys 0.03
liumiaocn:jenkins liumiao$
虽然总时间超过了1s,但是也还是能够看到效果的,可以从如下的中间状态中看到,queue中的job很快被执行了

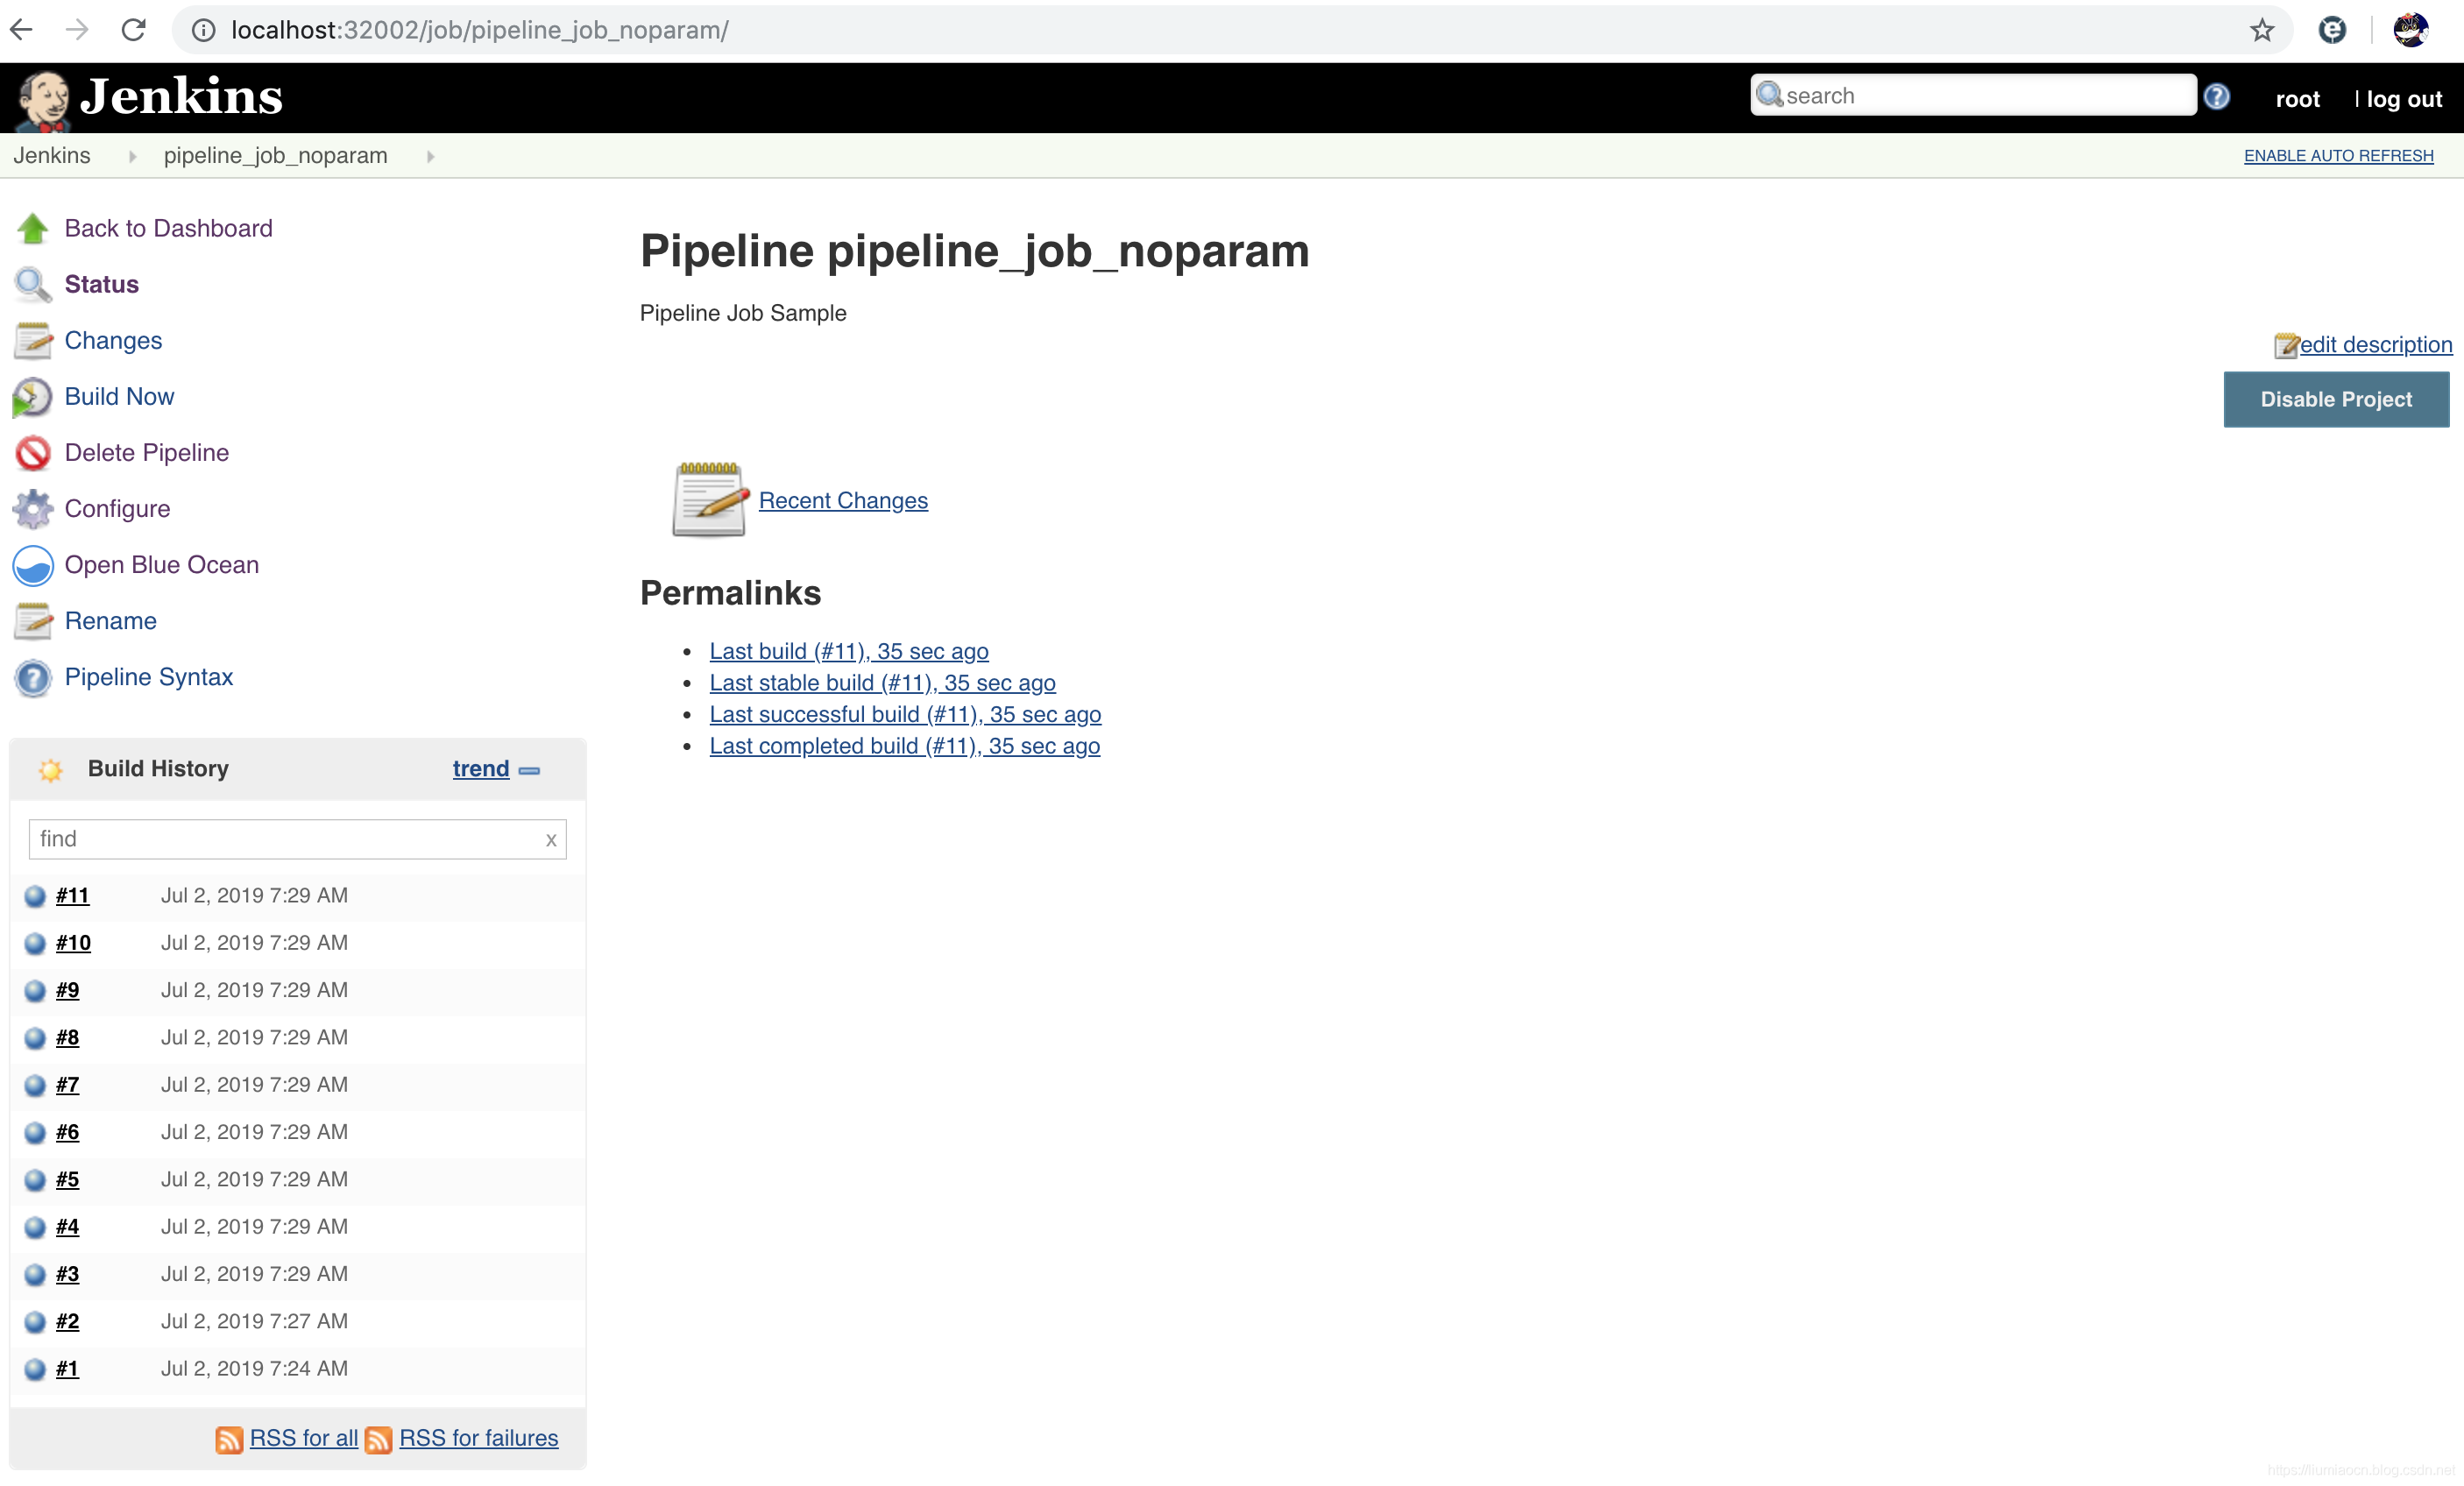
执行结束之后确认一下相关的构建结果:在7:29有9次构建,加上之前的2次一共11次构建结果
这9次的构建结果内容都是相同的,以第三次为例,结果如下所示
liumiaocn:jenkins liumiao$ curl -u $user_passwd ${jenkins_host_url}/job/pipeline_job_noparam/3/consoleText
Started by user root
Running in Durability level: MAX_SURVIVABILITY
[Pipeline] Start of Pipeline
[Pipeline] node
Running on Jenkins in /data/jenkins/workspace/pipeline_job_noparam
[Pipeline] {
[Pipeline] stage
[Pipeline] { (Build)
[Pipeline] sh
+ echo Build stage ...
Build stage ...
[Pipeline] }
[Pipeline] // stage
[Pipeline] stage
[Pipeline] { (Test)
[Pipeline] sh
+ echo Test stage ...
Test stage ...
[Pipeline] }
[Pipeline] // stage
[Pipeline] stage
[Pipeline] { (Deploy)
[Pipeline] sh
+ echo Deploy stage ...
Deploy stage ...
[Pipeline] }
[Pipeline] // stage
[Pipeline] }
[Pipeline] // node
[Pipeline] End of Pipeline
Finished: SUCCESS
liumiaocn:jenkins liumiao$
总结
Quiet period是一个不错的功能,但是如果使用Jenkins进行深度集成进行CI/CD平台的开发的情况下则需要考虑是否会带来影响。
参考内容
https://jenkins.io/blog/2010/08/11/quiet-period-feature/