A Singing Shuttle
project presentation
the video shows how it works
how it work

laser cut part
we use the software “Lasermaker”

1. practice
first we can print some templates provided.
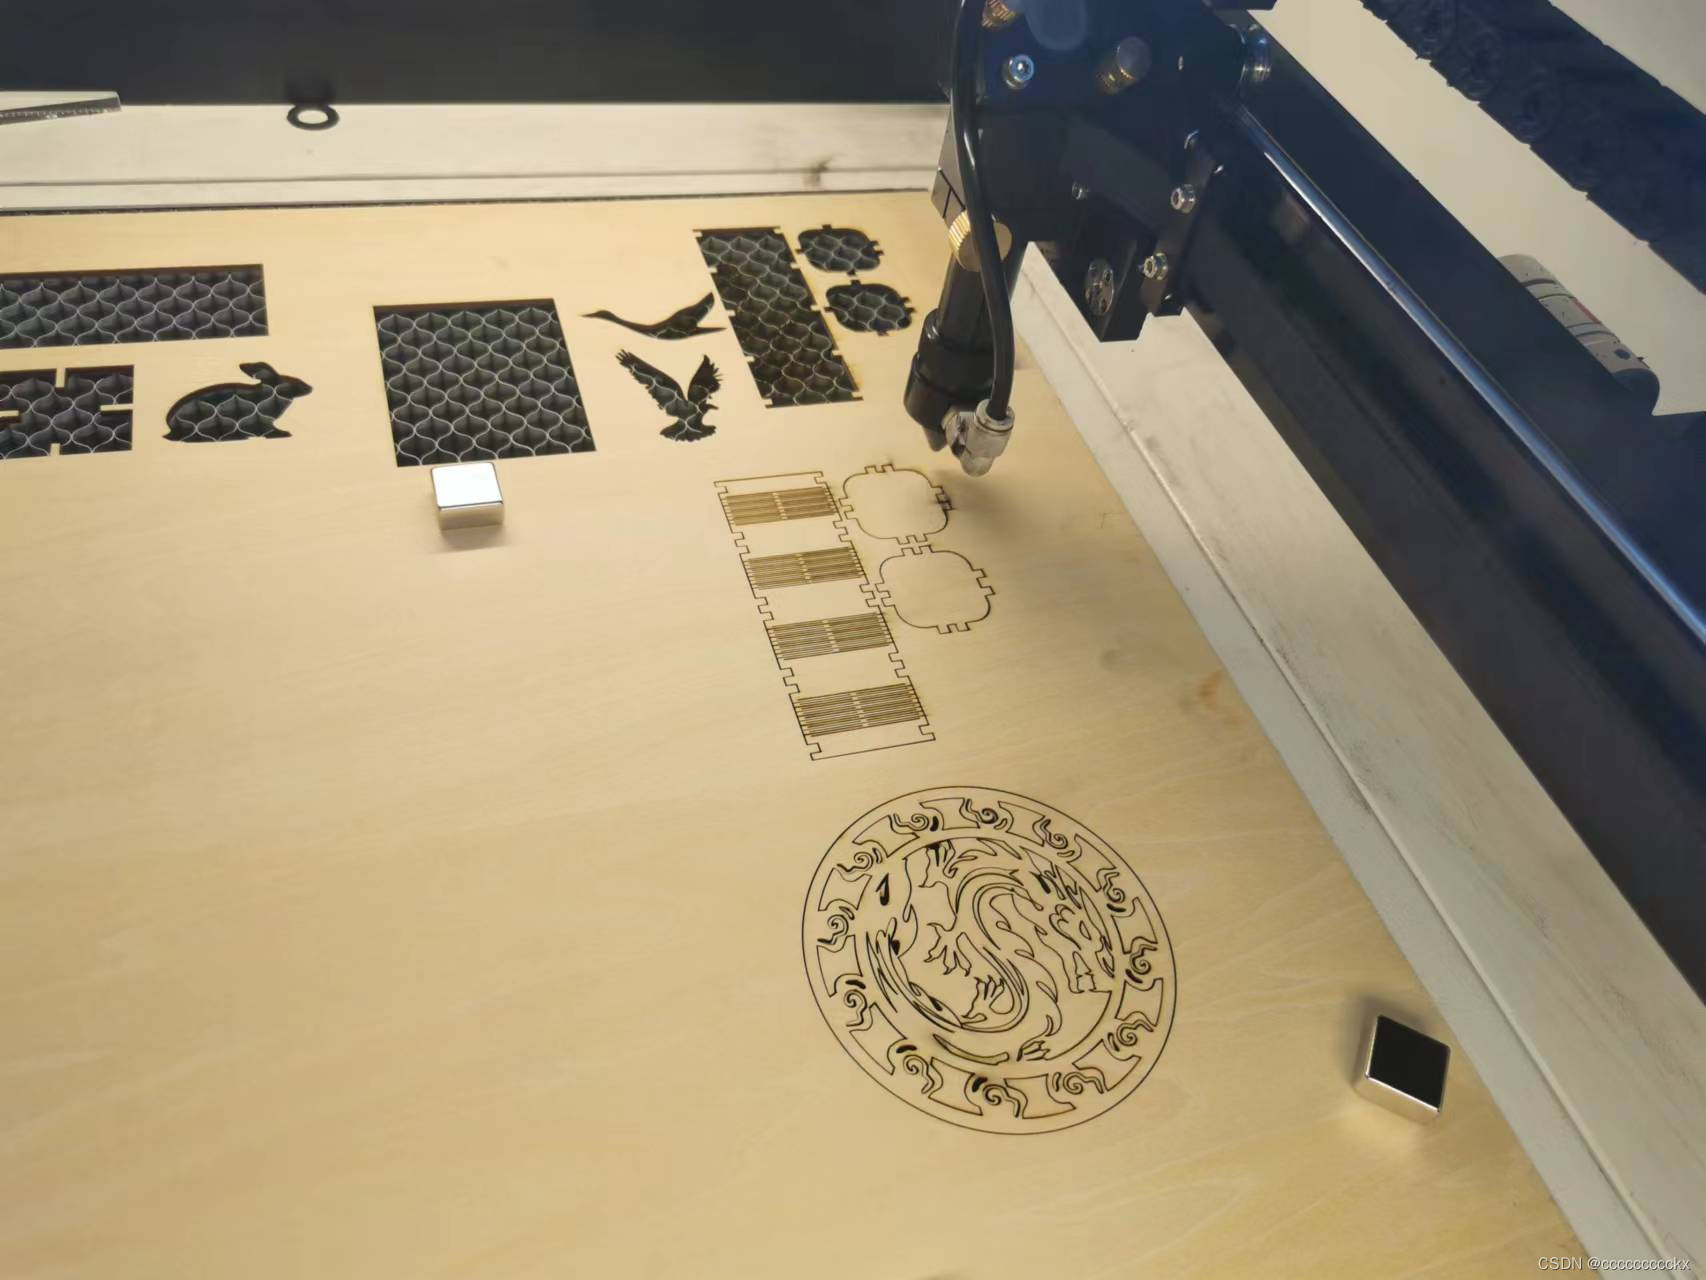
then we can try to create our own pattern
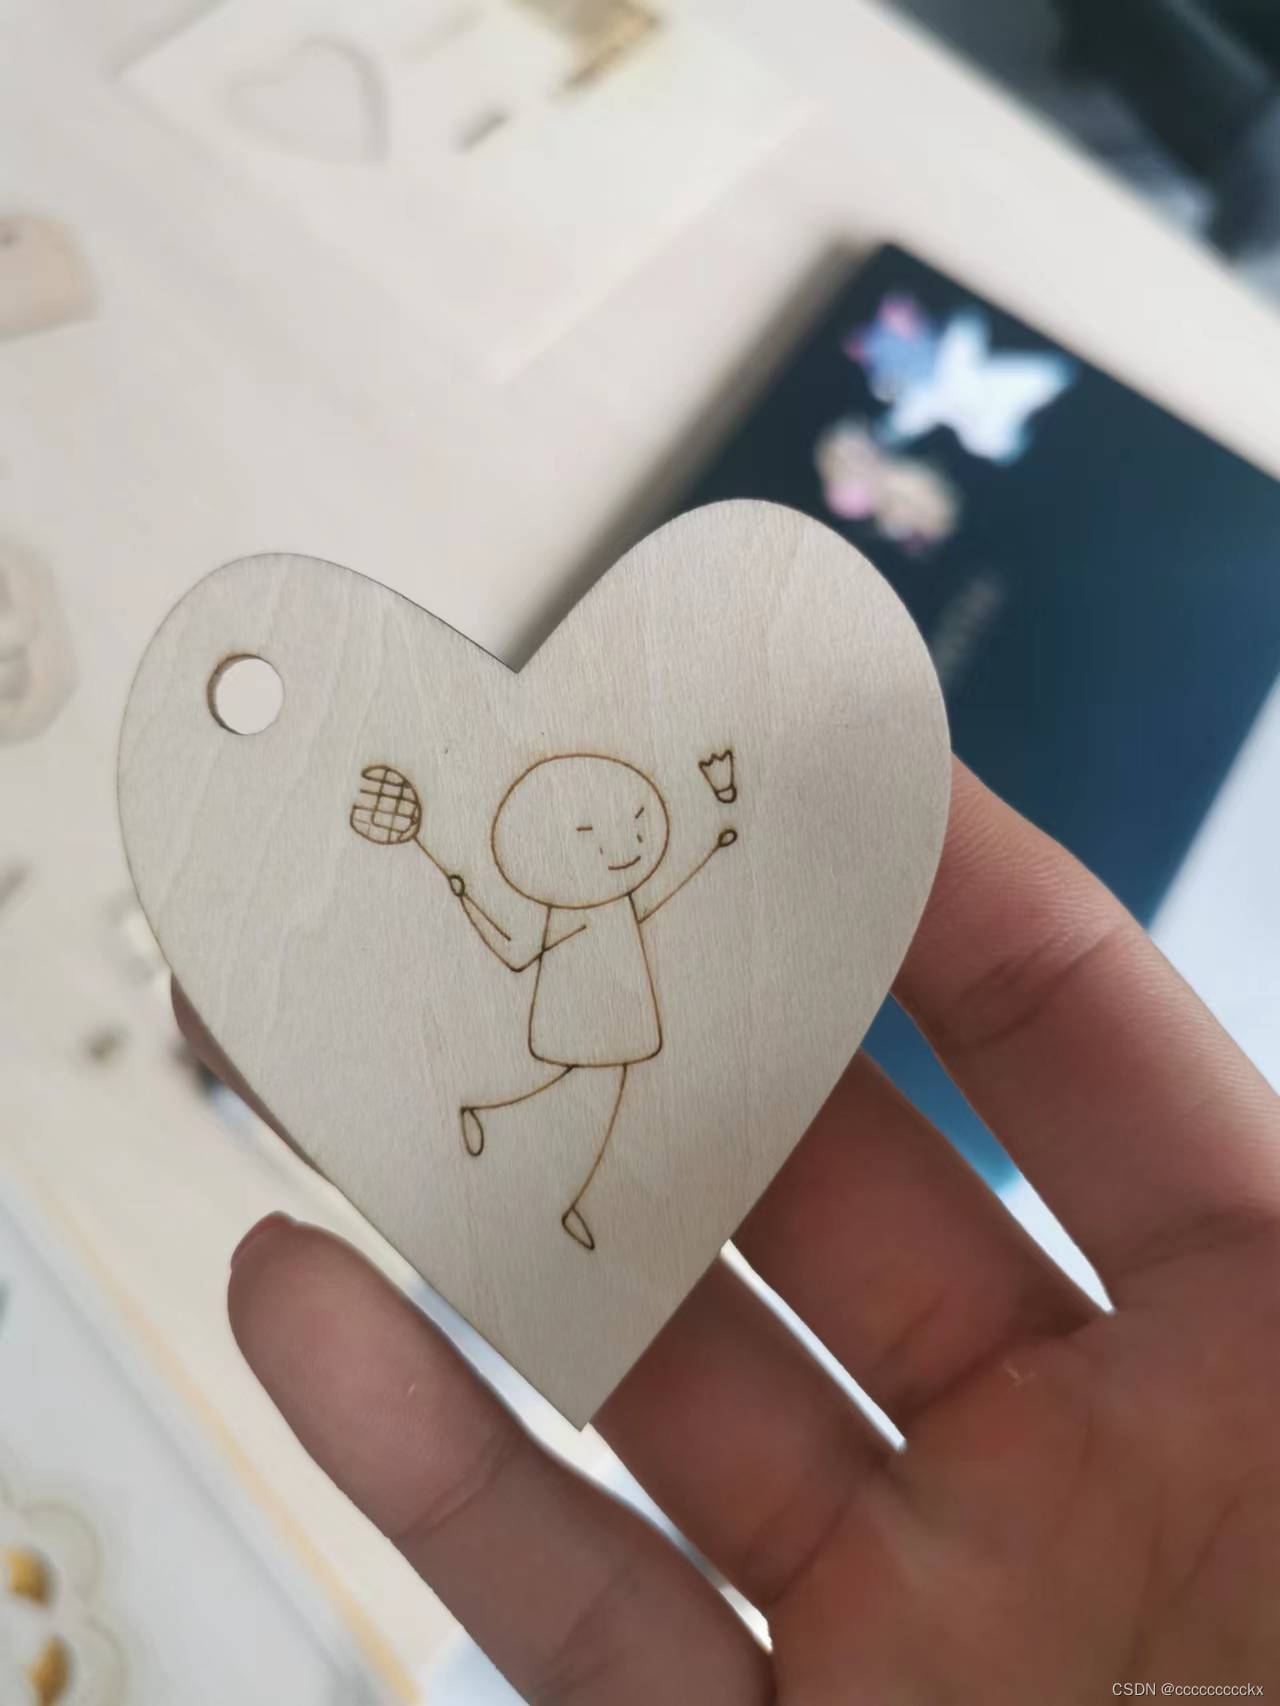
another practice: learn how to measure burning loss and adjust the size to fit in
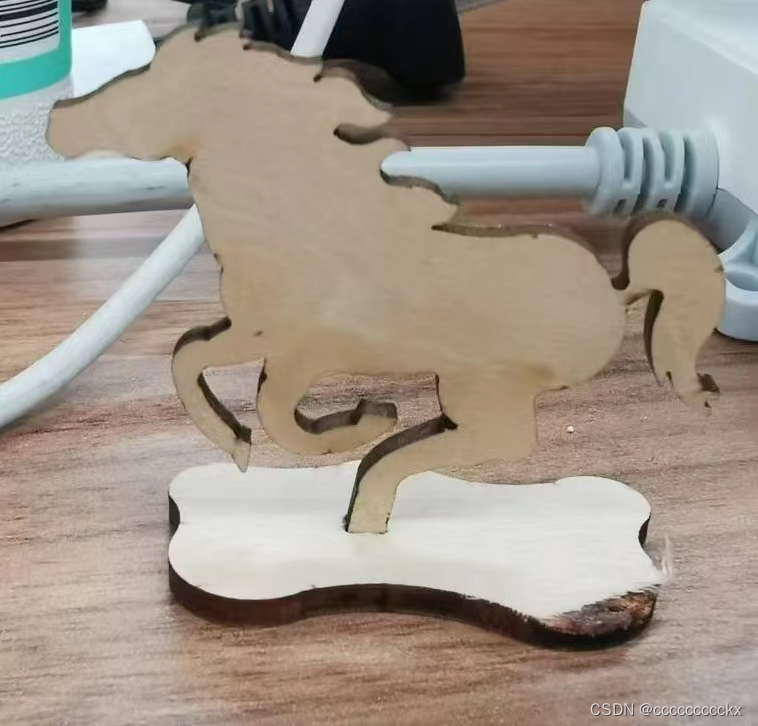
2. make this “platform”
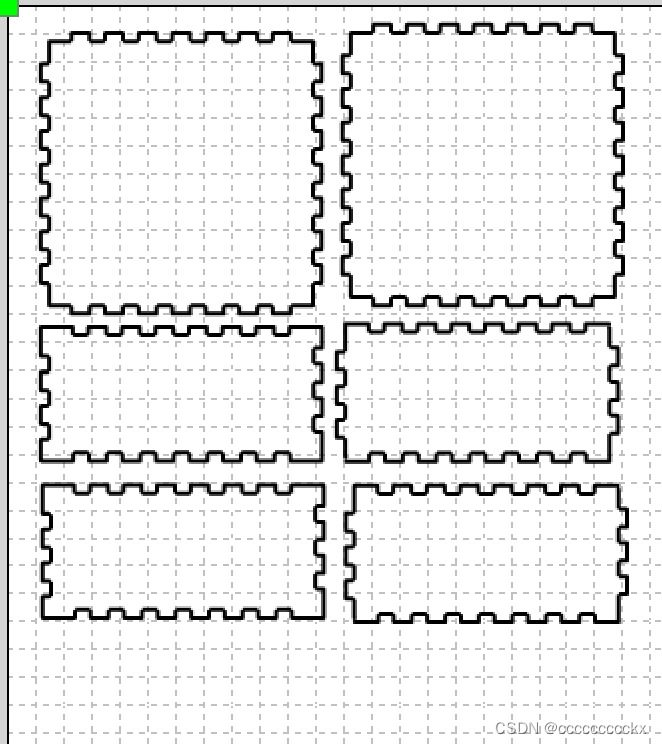
this is the .lcp file of the box. (10cm10cm5cm) adjust its parameter, considering 0.2mm burning loss, with 3mm pine wood box
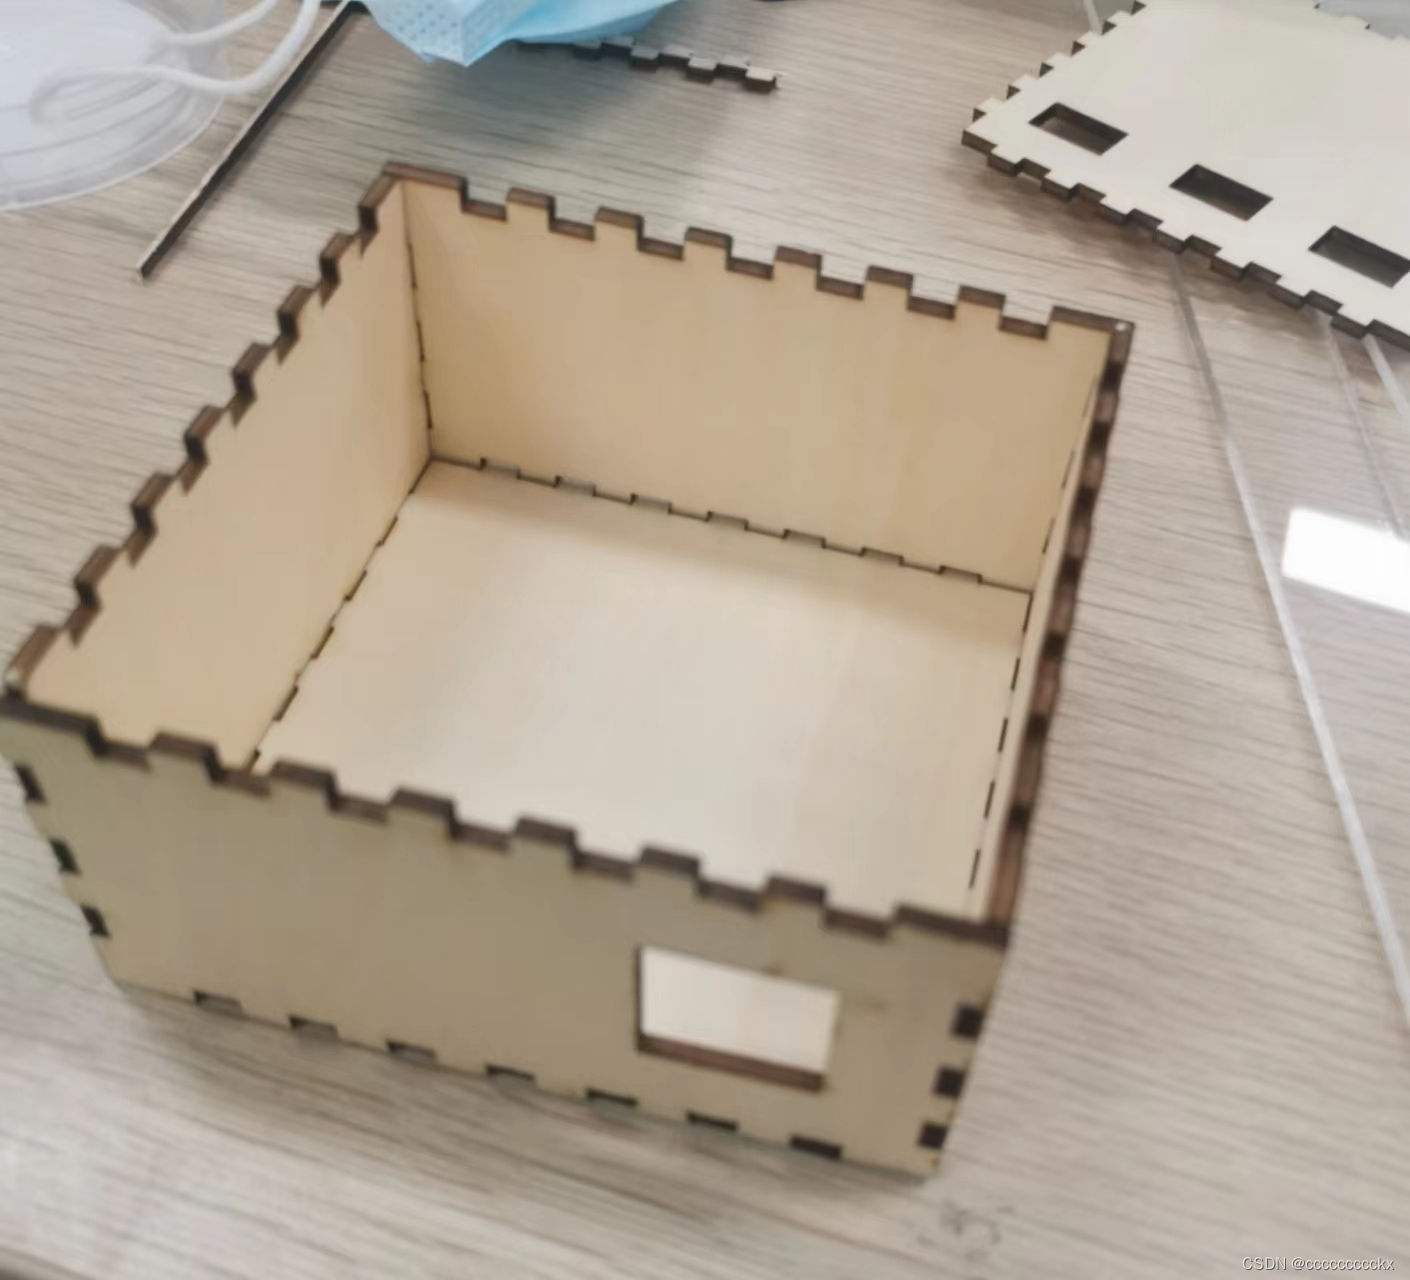
next step: just need to create some “holes” according to our needs
final version
3D printing part
tool: Tinkercad + SnapMaker Luban
1.practice
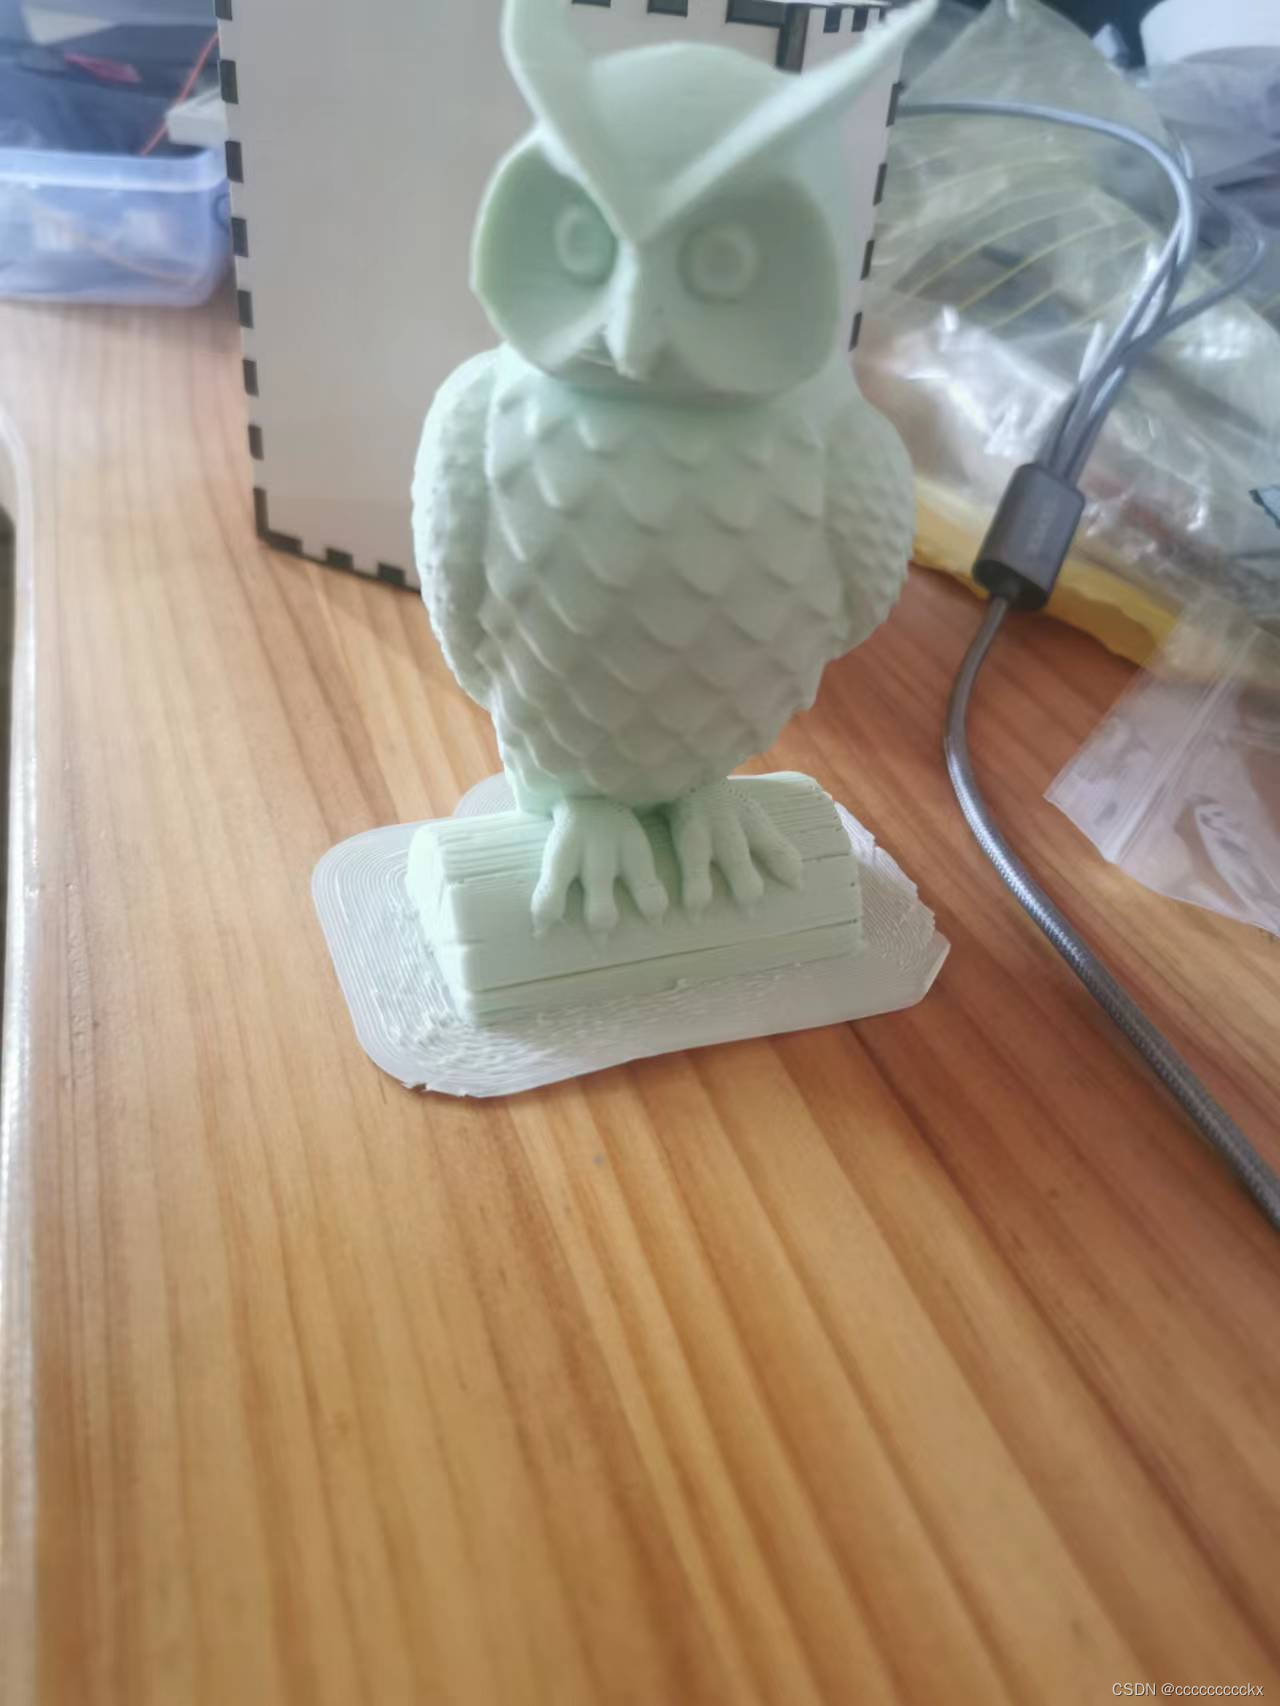
2.make my shuttle
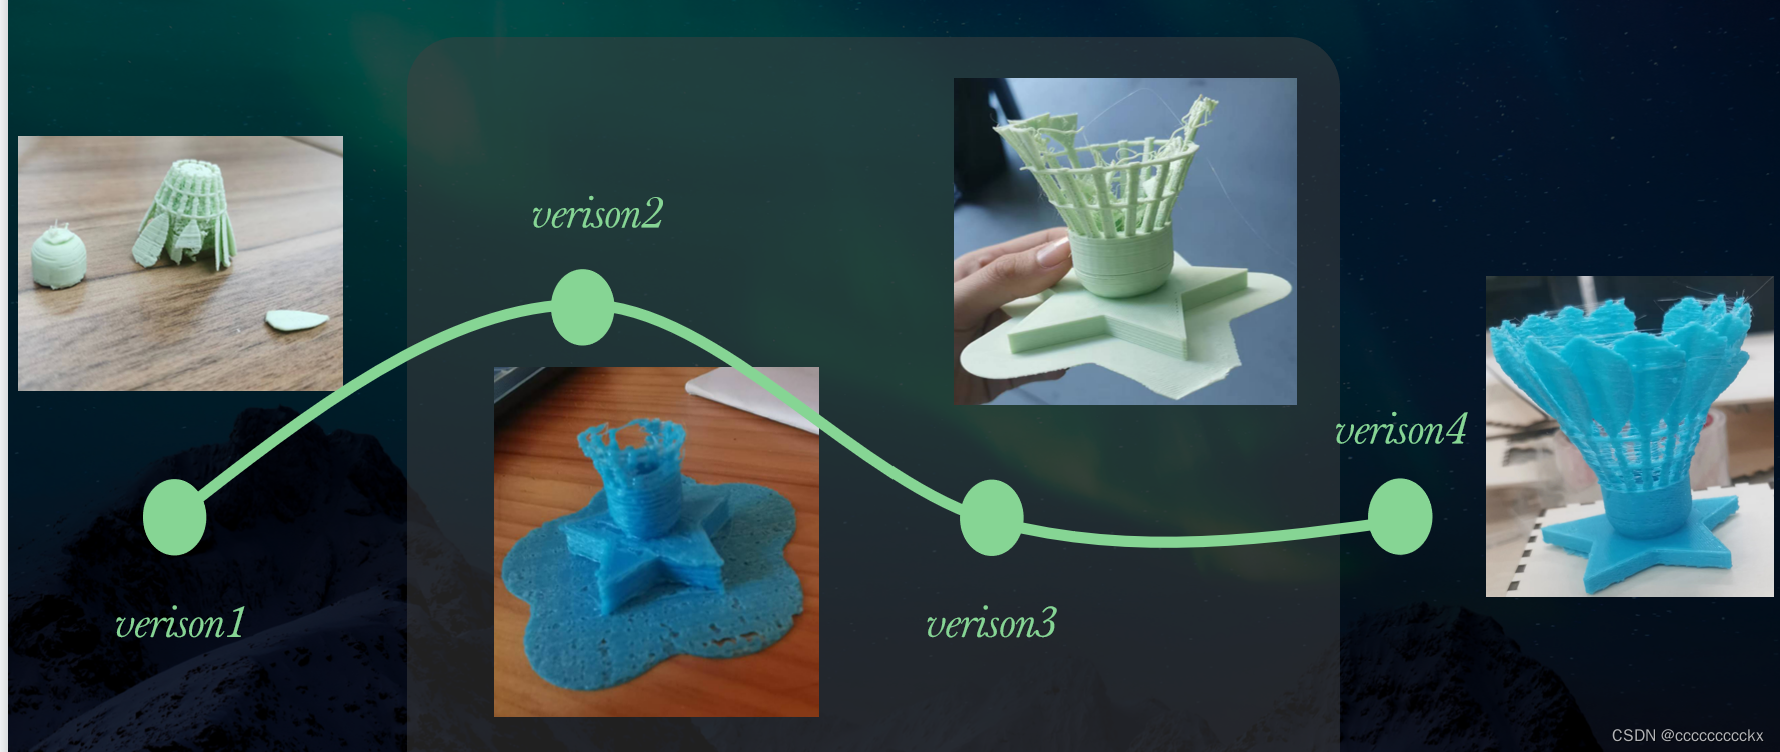
if we print it from the feather, it will not stand even with a lot of support, so we could try to print it up side down.
because the shuttle is structured by many thin sticks and feathers, the smaller the size is, the worse the situation will be.
Arduino MCU
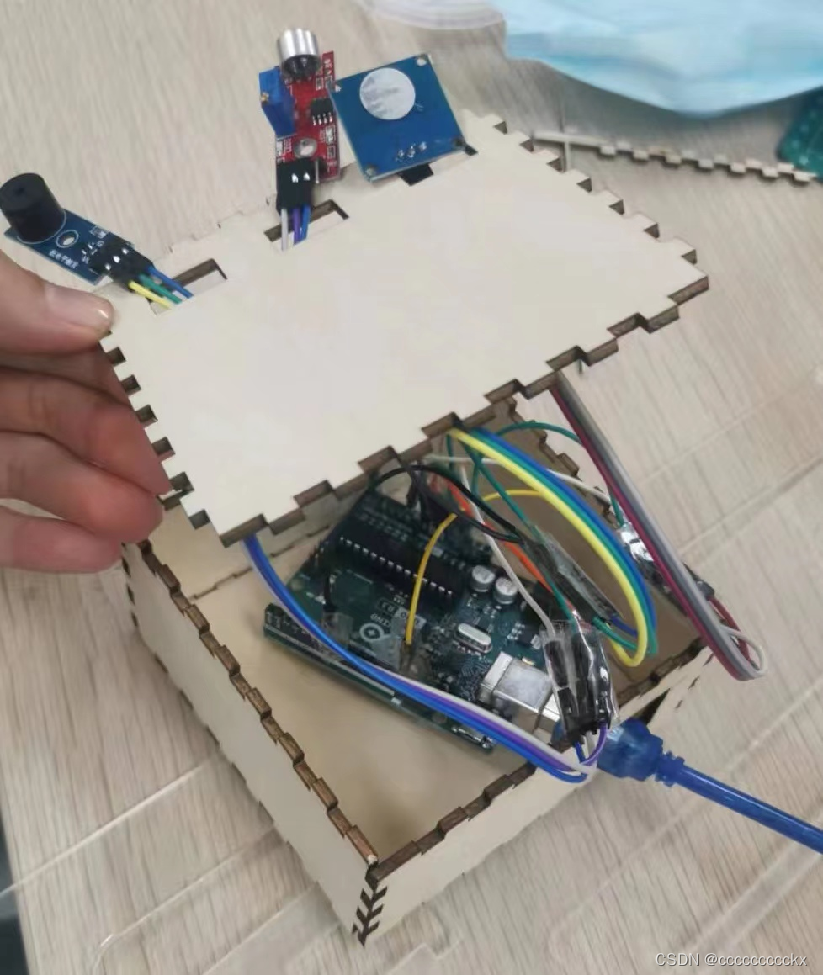
↑ board inside the box
int volume;
int tou;
int here=0;
int buzzer=6;
#define NTA0 -1
#define NTA1 441
#define NTA2 495
#define NTA3 556
#define NTA4 624
#define NTA5 661
#define NTA6 742
#define NTA7 833
#define NTAL1 221
#define NTAL2 248
#define NTAL3 278
#define NTAL4 294
#define NTAL5 330
#define NTAL6 371
#define NTAL7 416int tune[]=
{NTAL6,NTA1,NTAL6,NTA3,NTA2,NTA2,NTA1,NTA1,NTAL7,NTAL6,NTAL7,NTA2,NTA3,NTA1,NTAL6
};
float durt[]={0.5,1,0.5,1.5,0.5,1,1,1,0.5,1,0.5,1.5,0.5,1,1
};
int length;
void setup() {Serial.begin(9600);pinMode(A5,INPUT);   //设置引脚 A5 为输出模式// put your setup code here, to run once:pinMode(13,OUTPUT);pinMode(buzzer,OUTPUT);length=sizeof(tune)/sizeof(tune[0]);
}void loop() {noTone(6);volume = analogRead(A0);Serial.println(volume);if(volume>70) {Serial.println("yes");here=1;delay(200);}tou=analogRead(A5);Serial.println(tou); //串口输出 A5读取到的值if(tou>200) {Serial.println("touch");here=1;delay(200);}if(here==1){for(int x=0;x<length;x++){tone(6,tune[x]-100);delay(700*durt[x]);noTone(6);}here=0;}
}
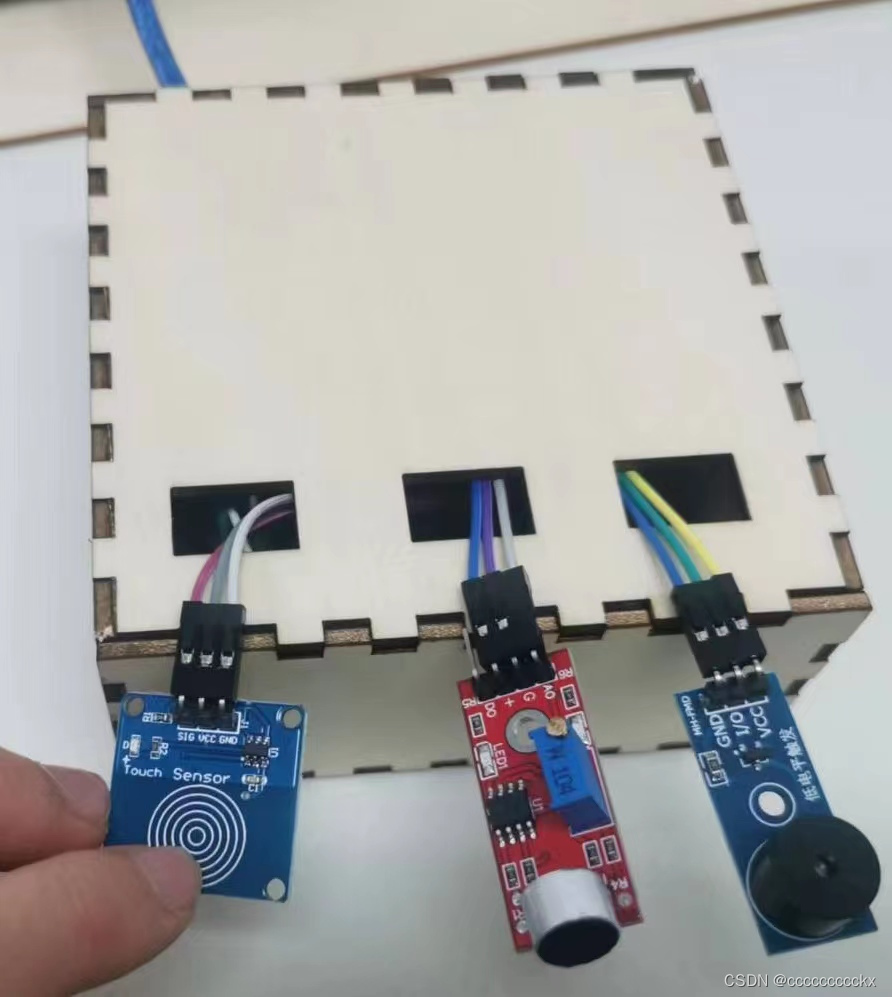
touch sensor, microphone, buzzer respectively


