灰度级分层的两种基本形式如下:
一:将感兴趣的范围内的灰度值显示为一个值,而其他灰度值显示为另一个值
二:将感兴趣的范围内的灰度值变亮或变暗,而其他灰度值保持不变
Python实现过程如下:
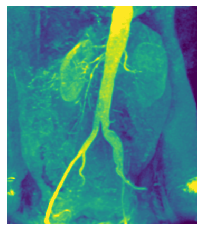
使用的图像资源为:

定义新图片生成函数和分层函数:
def logarithm_transformation(img, func):img_data = np.array(img)a = np.shape(img_data)new_img = [[] for _ in range(a[0])]for i in range(a[0]):for j in range(a[1]):data = img_data[i][j]new_data = func(data)new_img[i].append(new_data)return new_img第一种分层方式,所有灰度值大于150的灰度,全部设为255,其他的灰度设为0:
def power_law1(data):new_data = 0if data >= 150:new_data = 255else:new_data = 0return new_data第二种分层方式,所有灰度值大于150的灰度,全部设为255,其他的灰度值不变:
def power_law2(data):new_data = []if data >= 150:new_data = 255else:new_data = datareturn new_data函数调用和可视化如下:
方法一:
img_new = logarithm_transformation(img, power_law1)plt.figure(figsize=(60,107))
plt.subplot(121)
plt.axis('off')
plt.imshow(img_new, cmap='gray')plt.subplot(122)
plt.axis('off')
plt.imshow(img, cmap = 'gray')plt.show()
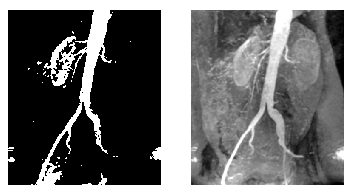
左侧为结果,右侧为原图像:

方法二:
img_new = logarithm_transformation(img, power_law2)plt.subplot(121)
plt.axis('off')
plt.imshow(img_new, cmap='gray')plt.subplot(122)
plt.axis('off')
plt.imshow(img, cmap = 'gray')plt.show()
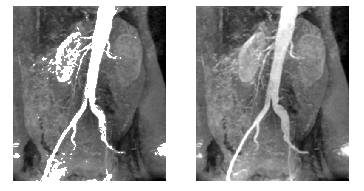
左侧为结果,右侧为原图像:


