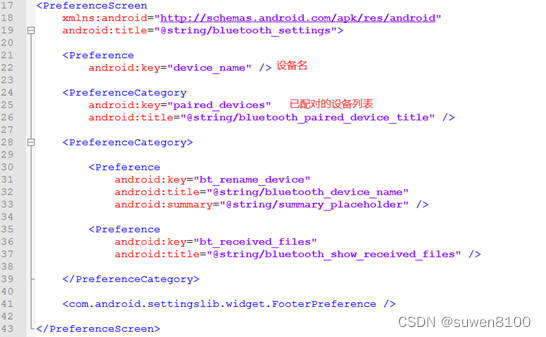
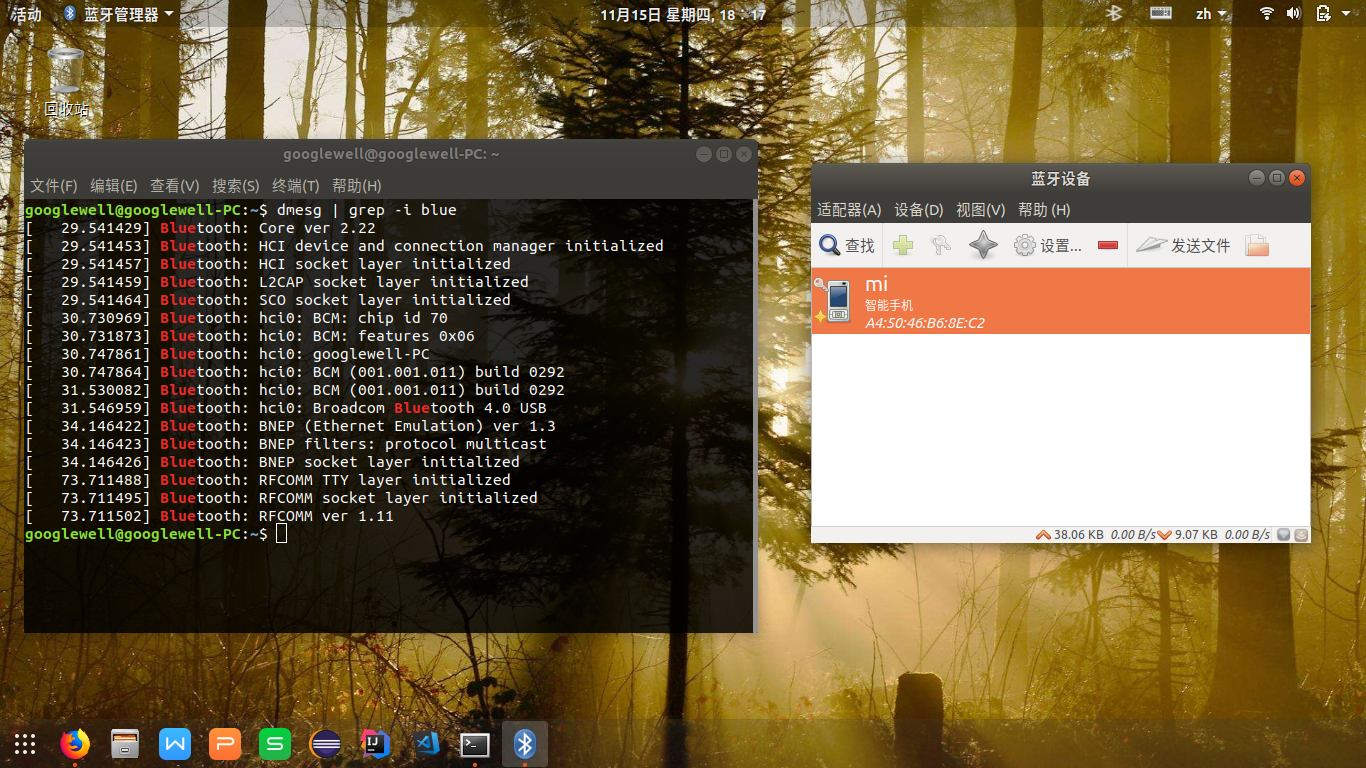
点击跳转到蓝牙设置界面

1.布局文件
<?xml version="1.0" encoding="utf-8"?>
<LinearLayout xmlns:android="http://schemas.android.com/apk/res/android"android:orientation="vertical"android:gravity="center_horizontal"android:layout_width="match_parent"android:layout_height="match_parent"><ImageViewandroid:layout_width="wrap_content"android:layout_height="wrap_content"android:layout_margin="50dp"android:src="@mipmap/img_card2_dis"/><TextViewandroid:layout_width="wrap_content"android:layout_height="wrap_content"android:text="打开手机系统'设置'->'蓝牙'选项"android:textSize="12sp"android:layout_margin="10dp"/><TextViewandroid:layout_width="wrap_content"android:layout_height="wrap_content"android:text="搜索'eMeet Eliet E1',并点击配送"android:textSize="12sp"android:layout_margin="10dp"/>-<TextViewandroid:layout_width="wrap_content"android:layout_height="wrap_content"android:text="确定后完成耳机于与手机的配对"android:textSize="12sp"android:layout_margin="10dp"/><TextViewandroid:layout_width="wrap_content"android:layout_height="wrap_content"android:text="前往进行手机蓝牙配对"android:textSize="12sp"android:layout_margin="10dp"/><Buttonandroid:id="@+id/btn_next"android:layout_width="wrap_content"android:layout_height="wrap_content"android:text="前往蓝牙设置"android:textSize="10sp"android:textColor="#fff"android:background="@drawable/bg_button_experience"android:layout_margin="10dp"/>
</LinearLayout>
- 跳转逻辑
public class AddE1TwoFragment extends BaseFragment {//获取按钮id@BindView(R.id.btn_next)public Button btnNext;@Overrideprotected int getContentLayoutId() {return R.layout.fragment_adde1_two;}//实现点击跳转@Overrideprotected void init() {btnNext.setOnClickListener(new View.OnClickListener() {@Overridepublic void onClick(View view) {//直接跳转到蓝牙设置界面startActivity(new Intent(Settings.ACTION_BLUETOOTH_SETTINGS));}});}
}
附:跳转配置方法 (两种)
//第一种Intent intent =  new Intent(Settings.ACTION_BLUETOOTH_SETTINGS);    startActivity(intent);
//第二种startActivity(new Intent(Settings.ACTION_BLUETOOTH_SETTINGS));//直接跳转到设置界面
1. ACTION_ACCESSIBILITY_SETTINGS : // 跳转系统的辅助功能界面
2. ACTION_ADD_ACCOUNT : // 显示添加帐户创建一个新的帐户屏幕。【测试跳转到微信登录界面】
3. ACTION_AIRPLANE_MODE_SETTINGS: // 飞行模式,无线网和网络设置界面 或者: ACTION_WIRELESS_SETTINGS :
4. ACTION_APN_SETTINGS: // 跳转 APN设置界面
5. 【需要参数】 ACTION_APPLICATION_DETAILS_SETTINGS: // 根据包名跳转到系统自带的应用程序信息界面 Uri packageURI = Uri.parse("package:" + "com.tencent.WBlog"); Intent intent = new Intent(Settings.ACTION_APPLICATION_DETAILS_SETTINGS,packageURI); startActivity(intent);
6. ACTION_APPLICATION_DEVELOPMENT_SETTINGS : // 跳转开发人员选项界面
7. ACTION_APPLICATION_SETTINGS : // 跳转应用程序列表界面 //或者: ACTION_MANAGE_ALL_APPLICATIONS_SETTINGS // 跳转到应用程序界面【所有的】 // 或者: ACTION_MANAGE_APPLICATIONS_SETTINGS :// 跳转 应用程序列表界面【已安装的】
8. ACTION_BLUETOOTH_SETTINGS : // 跳转系统的蓝牙设置界面
9. ACTION_DATA_ROAMING_SETTINGS : // 跳转到移动网络设置界面
10. ACTION_DATE_SETTINGS : // 跳转日期时间设置界面
11. ACTION_DEVICE_INFO_SETTINGS : // 跳转手机状态界面
12. ACTION_DISPLAY_SETTINGS : // 跳转手机显示界面
13. ACTION_DREAM_SETTINGS 【API 18及以上 没测试】
14. ACTION_INPUT_METHOD_SETTINGS : // 跳转语言和输入设备
15. ACTION_INPUT_METHOD_SUBTYPE_SETTINGS 【API 11及以上】 // 跳转 语言选择界面 【多国语言选择】
16. ACTION_INTERNAL_STORAGE_SETTINGS // 跳转存储设置界面【内部存储】 // 或者: ACTION_MEMORY_CARD_SETTINGS : // 跳转 存储设置 【记忆卡存储】
17. ACTION_LOCALE_SETTINGS : // 跳转语言选择界面【仅有English 和 中文两种选择】
18. ACTION_LOCATION_SOURCE_SETTINGS : // 跳转位置服务界面【管理已安装的应用程序。】
19. ACTION_NETWORK_OPERATOR_SETTINGS : // 跳转到 显示设置选择网络运营商。
20. ACTION_NFCSHARING_SETTINGS : // 显示NFC共享设置。 【API 14及以上】
21. ACTION_NFC_SETTINGS : // 显示NFC设置。这显示了用户界面,允许NFC打开或关闭。 【API 16及以上】
22. ACTION_PRIVACY_SETTINGS : // 跳转到备份和重置界面
23. ACTION_QUICK_LAUNCH_SETTINGS : // 跳转快速启动设置界面
24. ACTION_SEARCH_SETTINGS : // 跳转到 搜索设置界面
25. ACTION_SECURITY_SETTINGS : // 跳转到安全设置界面
26. ACTION_SETTINGS : // 跳转到设置界面
27. ACTION_SOUND_SETTINGS // 跳转到声音设置界面
28. ACTION_SYNC_SETTINGS : // 跳转账户同步界面
29. ACTION_USER_DICTIONARY_SETTINGS : // 跳转用户字典界面
30. ACTION_WIFI_IP_SETTINGS : // 跳转到IP设定界面
31. ACTION_WIFI_SETTINGS : // 跳转Wifi列表设置 


