前言
本篇,我们将较完整得介绍Cesium中GeoJSON/TopoJSON相关的方法。
GeoJSON规范地址:RFC 7946: The GeoJSON Format (rfc-editor.org)
GeoJSON在线绘制:geojson.io
CesiumJS提供了一个名为DataSource的类,它主要是用来加载和展示矢量数据,包括但不限于 GeoJSON、KML、TopoJSON、CZML等格式的数据。而今天,我们将介绍DataSource的一个子类GeoJsonDataSource。让我们直入主题,写一个包括了GeoJSON数据的加载、更新、销毁、监听等方法的类。
一、准备
准备GeoJSON文件,你可以在我上面提供的在线绘制网站直接绘制,也可以从这个项目的代码仓库里下载:src/assets/geojson
// 将这些文件引入:
import pointSample from '@/assets/geojson/point.json' // 示例点要素
import lineSample from '@/assets/geojson/line.json' // 示例线要素
import polygonSample from '@/assets/geojson/polygon.json' // 示例面要素
import collectionSample from '@/assets/geojson/collection.json' // 示例要素集合
二、加载
把类的框架写出来,让后向里面加入第一个方法,load()
class CesiumGeoJSON {constructor(data, options, callback) {this.data = data;this.options = options;this.dataSource = null;// 初始化 GeoJSON 数据源this.init(callback);}// 初始化 GeoJSON 数据源init(callback) {Cesium.GeoJsonDataSource.load(this.data, this.options).then((dataSource) => {this.dataSource = dataSourceviewer.dataSources.add(this.dataSource);// this.dataSource.describe = ''// this.dataSource.credit = ''// dataSource.show = true // boolean - Whether to show// dataSource.name = '' // string - The name of the data sourceviewer.zoomTo(this.dataSource)callback && callback(this.dataSource) // 触发回调函数}).catch((error) => {console.error('矢量数据加载发生了一些错误:', error);})}
}
从上面的代码可以看出,我们在创建和初始化这个类的实例对象时,可以提供3个参数:
data—— GeoJSON或TopoJSON的数据源,可以是string、object或Cesium的Resource格式。options—— 加载数据源时的可选项:GeoJsonDataSource.LoadOptionscallback—— 回调函数,将加载完成的矢量数据(dataSource)暴露出去供调用
// 调用:实例化然后就直接加载
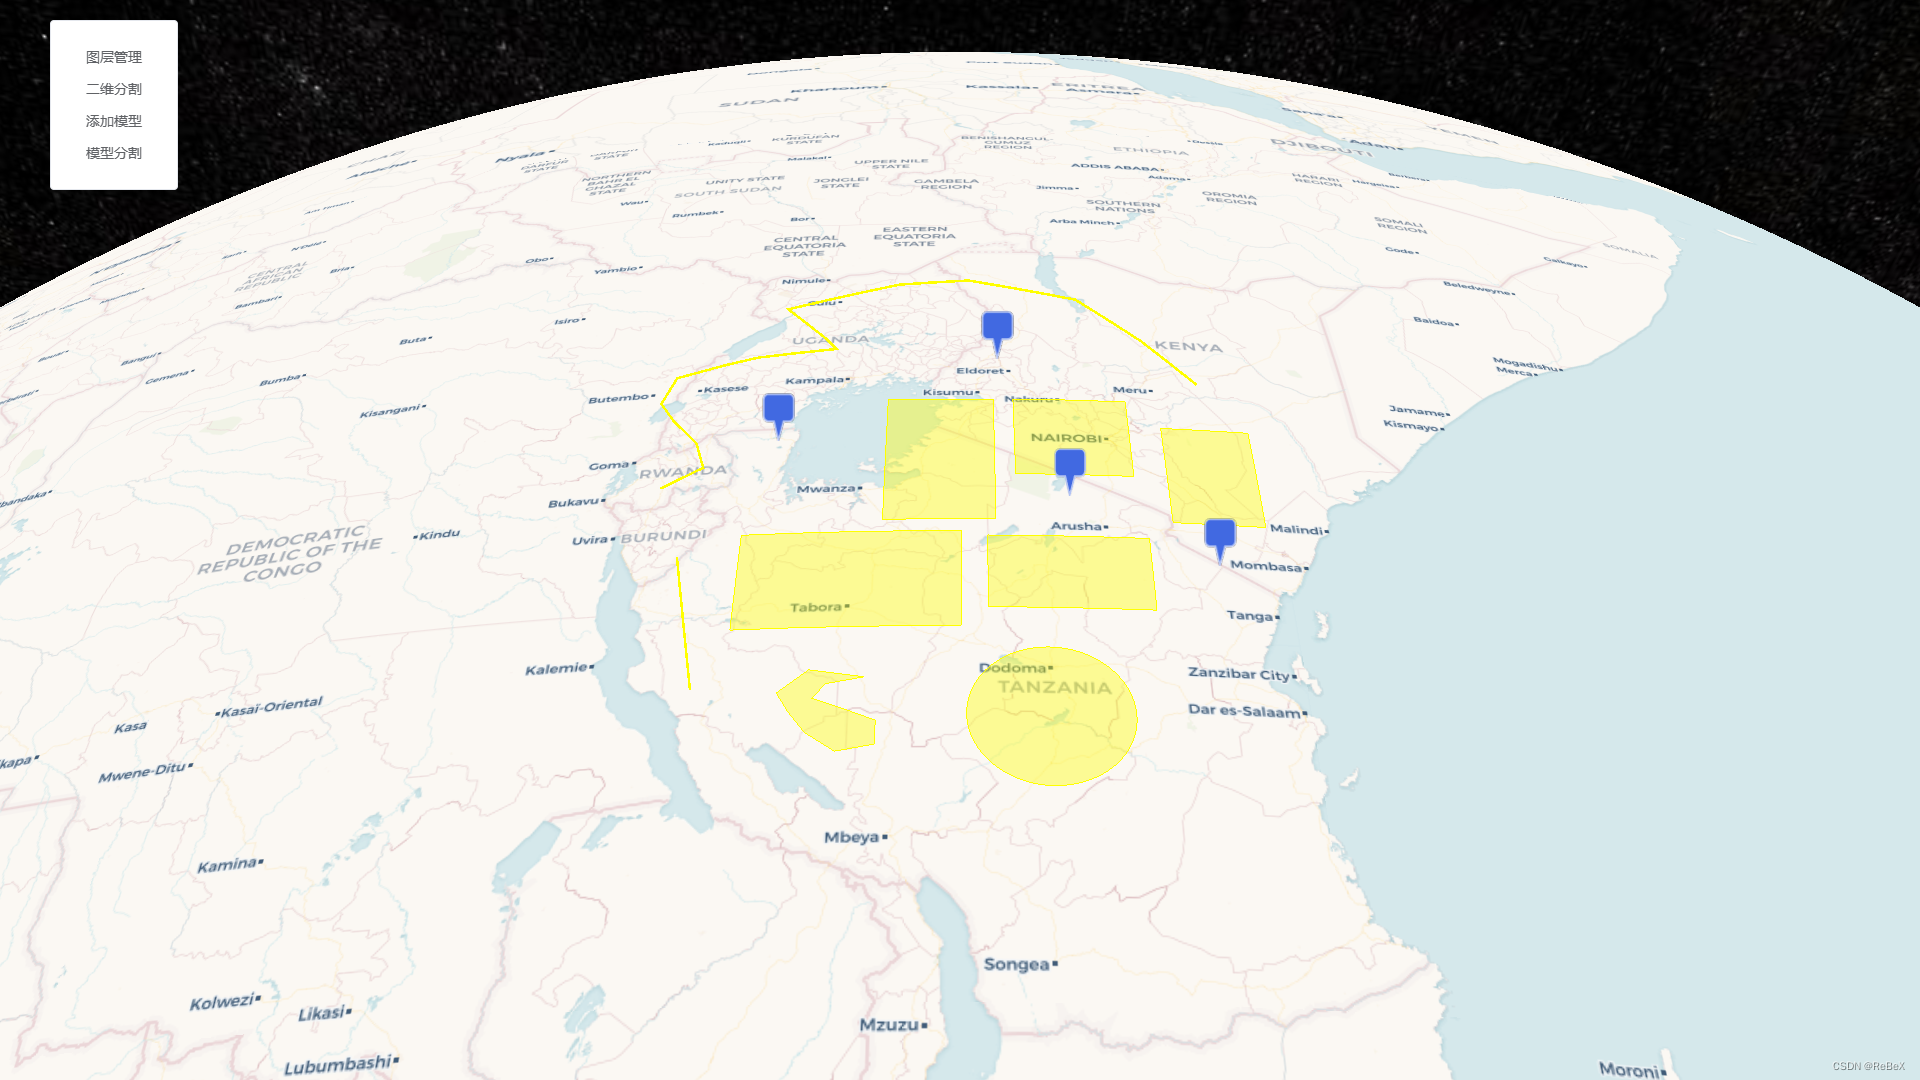
const jsonInstance= new CesiumGeoJSON(collectionSample)
三、更新(重新加载)
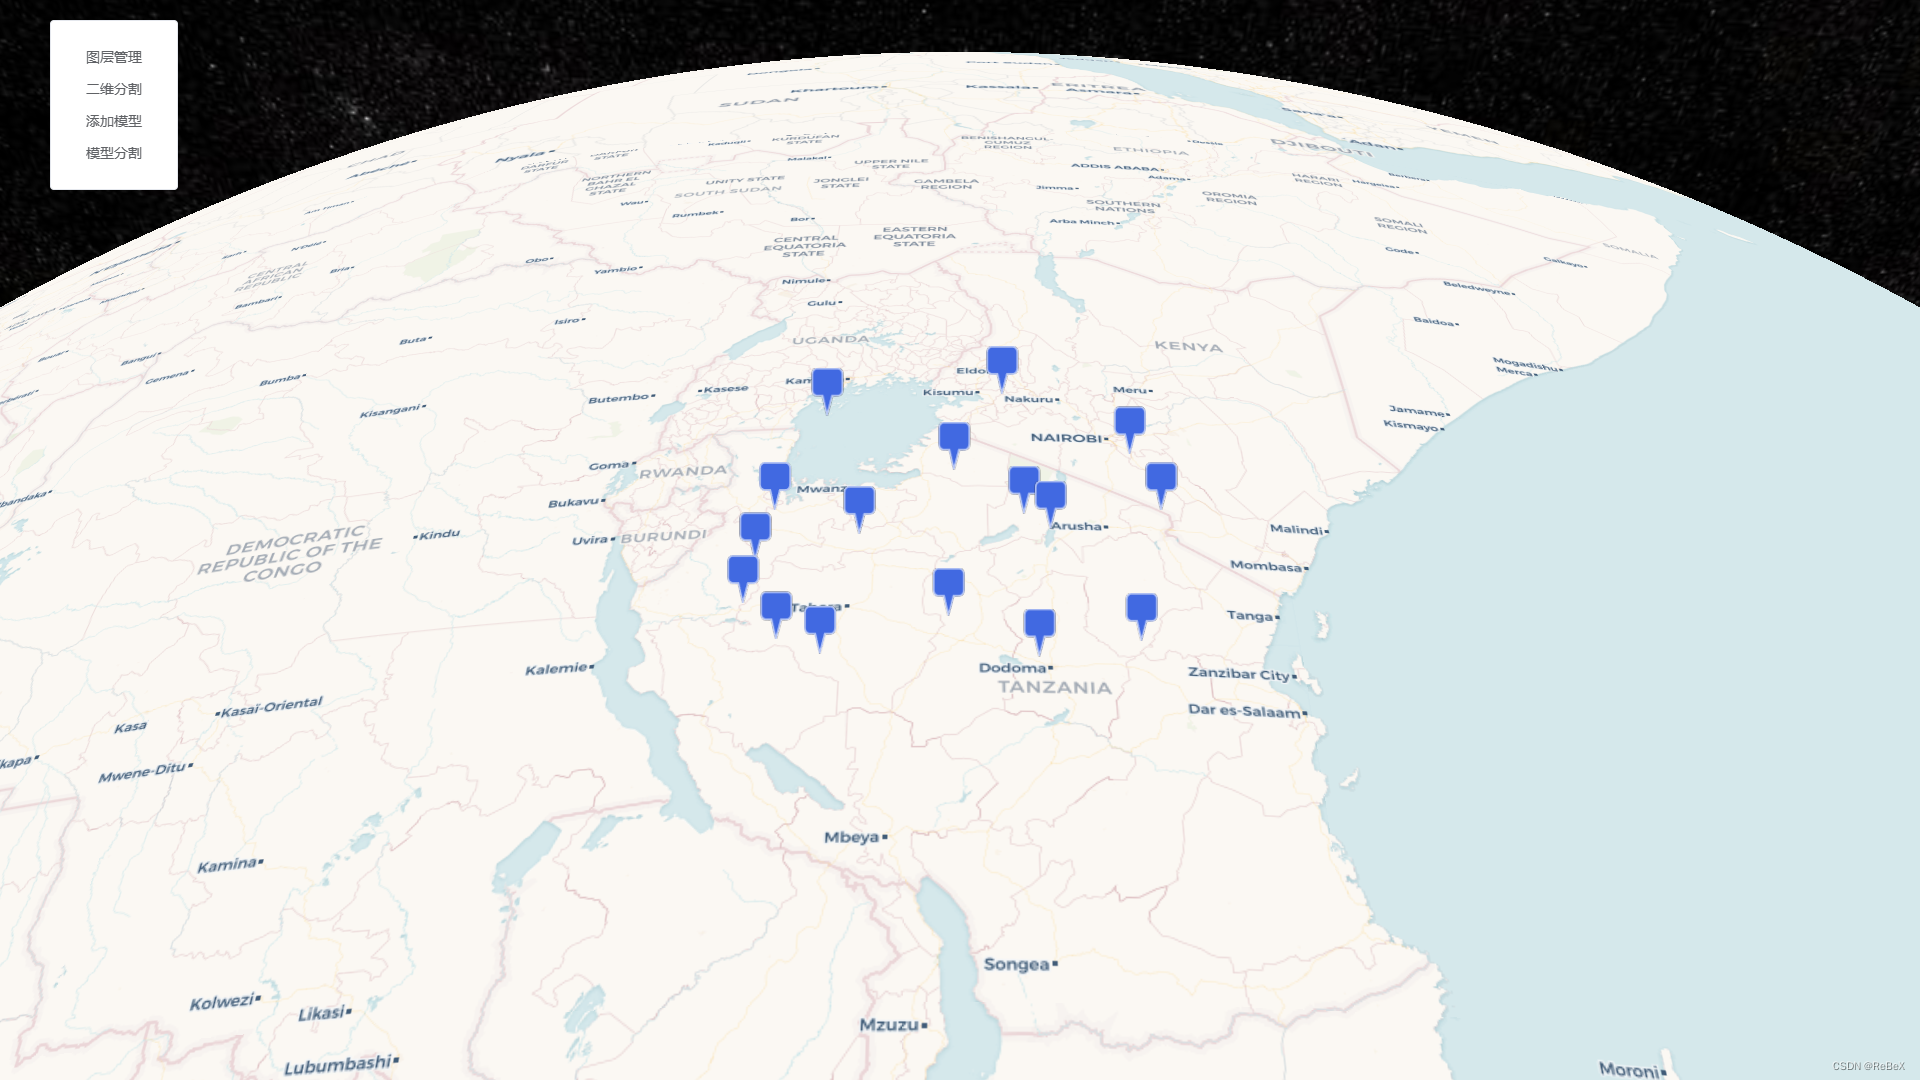
在实际生产中,我们可能需要修改数据源,达到一个更新数据、重新加载的效果。那么就让我们向CesiumGeoJSON类中加入下述方法:
// 更新(重新加载)数据源async update(newData, options) {if (this.dataSource == null) {throw new Error('矢量数据未加载或已被销毁');}if (typeof newData == 'object') {// 使用 Cesium.Resource 对象创建一个新的 GeoJSON 数据源,这么做才能触发changeEventconst resource = new Cesium.Resource({url: URL.createObjectURL(new Blob([JSON.stringify(newData)], { type: 'application/json' }))});return await this.dataSource.load(resource, options)} else {return await this.dataSource.load(newData, options)}}
调用:
// 实例化然后就直接加载
constjsonInstance = new CesiumGeoJSON(collectionSample)// 调用:2秒后更新数据
setTimeout(() => {jsonInstance.update(pointSample)
}, 2000);
四、新增(不替换已有的数据)
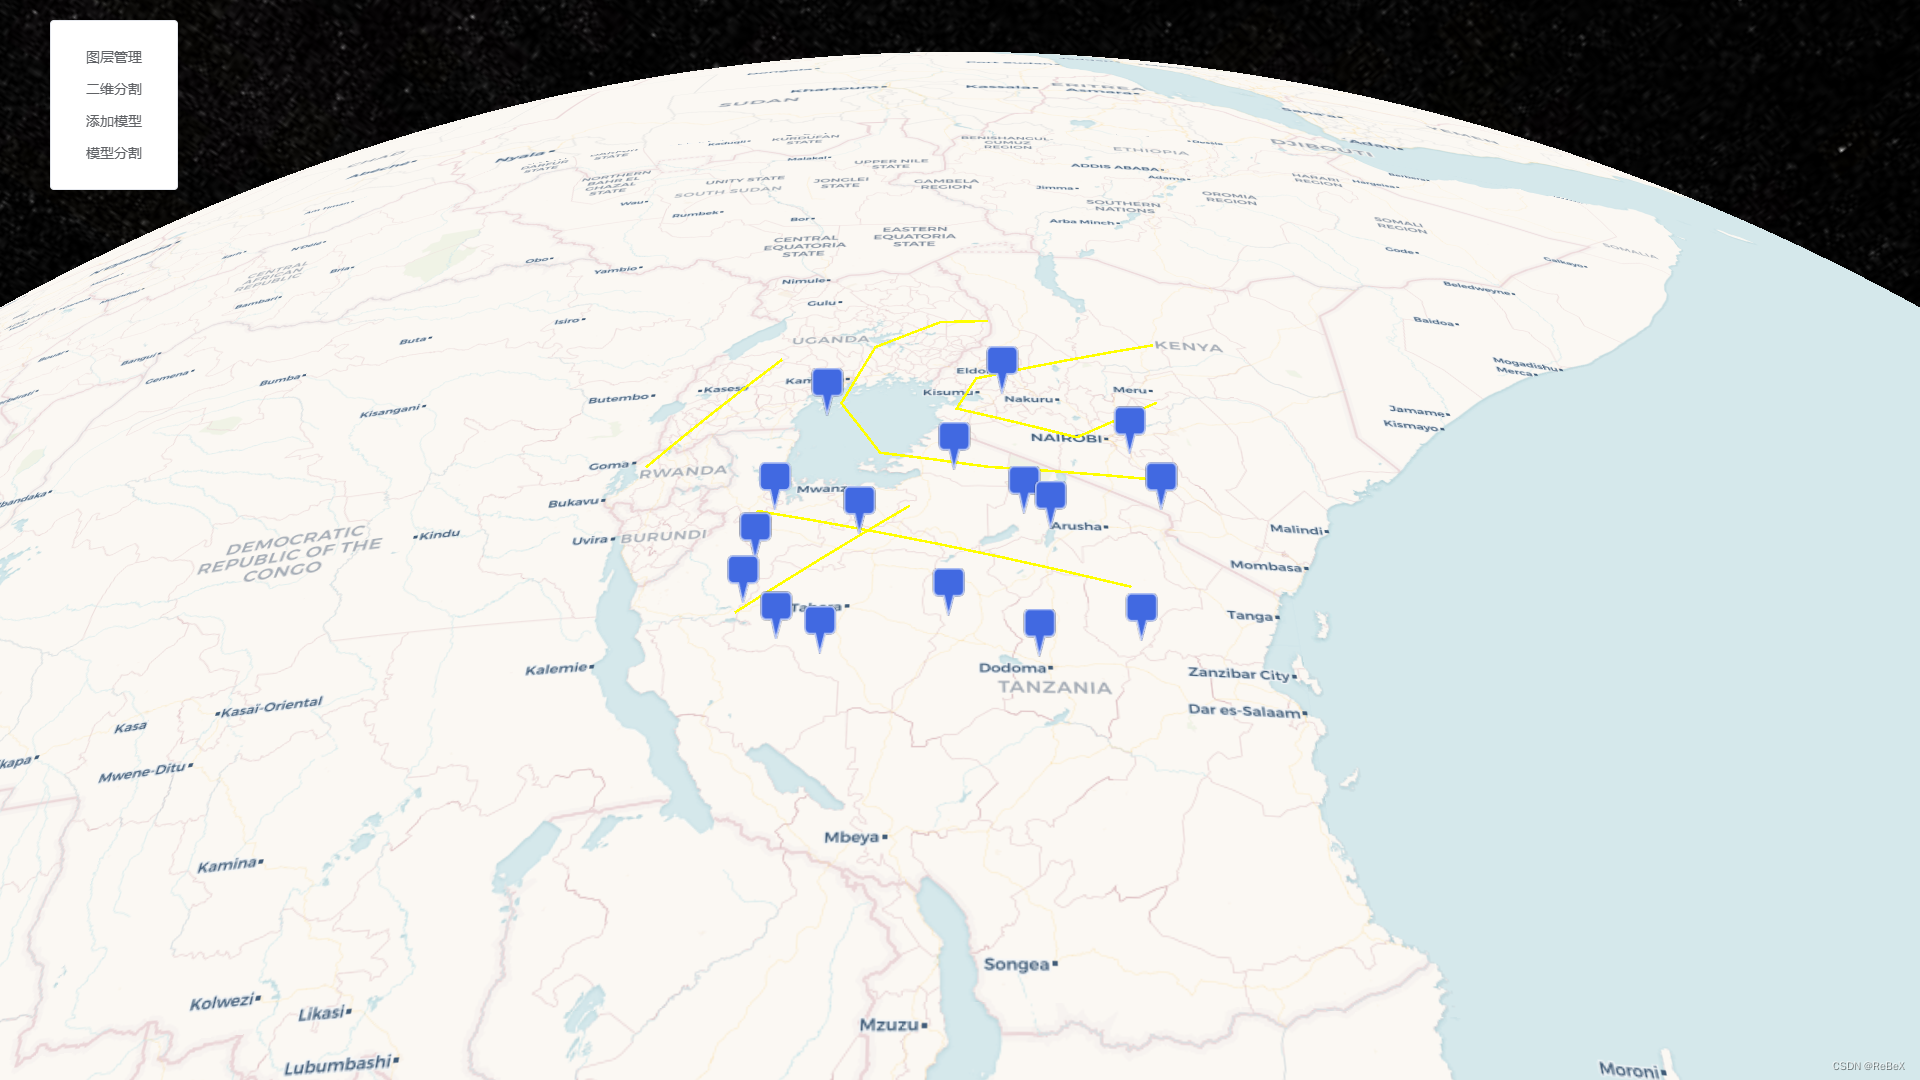
如果我需要向数据集中额外添加新的矢量数据呢?那就添加这个方法:
// 新增(不替换已有的数据)数据源async add(newData, options) {if (this.dataSource == null) {throw new Error('矢量数据未加载或已被销毁');}// 使用 Cesium.Resource 对象创建一个新的 GeoJSON 数据源,这么做才能触发changeEventconst resource = new Cesium.Resource({url: URL.createObjectURL(new Blob([JSON.stringify(newData)], { type: 'application/json' }))});// 重新加载数据源return await this.dataSource.process(resource, options);}
在上一步的基础上再调用,加入线数据:
// 实例化后加载
constjsonInstance = new CesiumGeoJSON(collectionSample)setTimeout(() => {jsonInstance.update(pointSample)jsonInstance.add(lineSample) // 调用:添加数据
}, 2000);
五、监听
// 监听数据源的变化watch() {if (this.dataSource == null) {throw new Error('矢量数据未加载或已被销毁');}// 监听数据源变化事件this.dataSource.changedEvent.addEventListener(this._changedEvent);// 监听错误事件this.dataSource.errorEvent.addEventListener(this._errorEvent);}// 数据源变化的事件_changedEvent(dataSource) {console.log('矢量数据源已被修改:', dataSource);}// 数据错误的事件_errorEvent(err) {console.error('矢量数据加载发生了一些错误:', err);}
六、销毁
// 销毁数据源和监听器destroy() {if (this.dataSource == null) {throw new Error('矢量数据未加载或已被销毁');}// 取消所有监听器this.dataSource.changedEvent.removeEventListener(this.changedEvent);this.dataSource.errorEvent.removeEventListener(this.errorEvent)// 移除数据源viewer.dataSources.remove(this.dataSource);this.dataSource = null;console.log('CesiumGeoJSON has been destroyed.');}
0. 最后
代码提交记录:
feat: 新增GeoJSON相关方法 · 0f31b7e · ReBeX/cesium-tyro-blog - Gitee.com
fix: 优化数据源更新方法 · 411ab3f · ReBeX/cesium-tyro-blog - Gitee.com
