如前文所述,要想实现热更新的目的,就必须在dex分包完成之后操作字节码文件。比较常用的字节码操作工具有ASM和javaassist。相比之下ASM提供一系列字节码指令,效率更高但是要求使用者对字节码操作有一定了解。而javaassist虽然效率差一些但是使用门槛较低,本文选择使用javaassist。关于javaassist可以参考Java 编程的动态性, 第四部分: 用 Javassist 进行类转换
正常App开发过程中,编译,打包过程都是Android Studio自动完成。如无特殊需求无需人为干预,但是要实现插桩就必须在Android Studio的自动化打包流程中加入插桩的过程。
1. Gradle,Task,Transform,Plugin
Android Studio采用Gradle作为构建工具,所有有必要了解一下Gradle构建的基本概念和流程。如果不熟悉可以参考一下下列文章:
- Gradle学习系列之一——Gradle快速入门
- 深入理解Android之Gradle
Gradle的构建工程实质上是通过一系列的Task完成的,所以在构建apk的过程中就存在一个打包dex的任务。Gradle 1.5以上版本提供了一个新的API:Transform,官方文档对于Transform的描述是:
The goal of this API is to simplify injecting custom class manipulations without having to deal with tasks, and to offer more flexibility on what is manipulated. The internal code processing (jacoco, progard, multi-dex) have all moved to this new mechanism already in 1.5.0-beta1.
- The Dex class is gone. You cannot access it anymore through the variant API (the getter is still there for now but will throw an exception)
- Transform can only be registered globally which applies them to all the variants. We’ll improve this shortly.
- There’s no way to control ordering of the transforms.
Transform任务一经注册就会被插入到任务执行队列中,并且其恰好在dex打包task之前。所以要想实现插桩就必须创建一个Transform类的Task。
1.1 Task
Gradle的执行脚本就是由一系列的Task完成的。Task有一个重要的概念:input的output。每一个task需要有输入input,然后对input进行处理完成后在输出output。
1.2 Plugin
Gradle的另外一个重要概念就是Plugin。整个Gradle的构建体系都是有一个一个的plugin构成的,实际Gradle只是一个框架,提供了基本task和指定标准。而具体每一个task的执行逻辑都定义在一个个的plugin中。详细的概念可以参考:Writing Custom Plugins
在Android开发中我们经常使用到的plugin有:”com.android.application”,”com.android.library”,”java”等等。
每一个Plugin包含了一系列的task,所以执行gradle脚本的过程也就是执行目标脚本所apply的plugin所包含的task。
1.3 创建一个包含Transform任务的Plugin
-
- 新建一个module,选择library module,module名字必须叫BuildSrc
-
- 删除module下的所有文件,除了build.gradle,清空build.gradle中的内容
-
- 然后新建以下目录 src-main-groovy
-
- 修改build.gradle如下,同步
apply plugin: 'groovy'repositories {jcenter()
}dependencies {compile gradleApi()compile 'com.android.tools.build:gradle:1.5.0'compile 'org.javassist:javassist:3.20.0-GA'//javaassist依赖
}-
- 像普通module一样新建package和类,不过这里的类是以groovy结尾,新建类的时候选择file,并且以.groovy作为后缀
-
- 自定义Plugin:
package com.hotpatch.pluginimport com.android.build.api.transform.*
import com.android.build.gradle.internal.pipeline.TransformManager
import org.apache.commons.codec.digest.DigestUtils
import org.apache.commons.io.FileUtils
import org.gradle.api.Projectpublic class PreDexTransform extends Transform {Project project;public PreDexTransform(Project project1) {this.project = project1;def libPath = project.project(":hack").buildDir.absolutePath.concat("/intermediates/classes/debug")println libPathInject.appendClassPath(libPath)Inject.appendClassPath("/Users/liyazhou/Library/Android/sdk/platforms/android-24/android.jar")}@OverrideString getName() {return "preDex"}@OverrideSet<QualifiedContent.ContentType> getInputTypes() {return TransformManager.CONTENT_CLASS}@OverrideSet<QualifiedContent.Scope> getScopes() {return TransformManager.SCOPE_FULL_PROJECT}@Overrideboolean isIncremental() {return false}@Overridevoid transform(Context context, Collection<TransformInput> inputs, Collection<TransformInput> referencedInputs, TransformOutputProvider outputProvider, boolean isIncremental) throws IOException, TransformException, InterruptedException {// 遍历transfrom的inputs// inputs有两种类型,一种是目录,一种是jar,需要分别遍历。inputs.each {TransformInput input ->input.directoryInputs.each {DirectoryInput directoryInput->//TODO 注入代码Inject.injectDir(directoryInput.file.absolutePath)def dest = outputProvider.getContentLocation(directoryInput.name,directoryInput.contentTypes, directoryInput.scopes, Format.DIRECTORY)// 将input的目录复制到output指定目录FileUtils.copyDirectory(directoryInput.file, dest)}input.jarInputs.each {JarInput jarInput->//TODO 注入代码String jarPath = jarInput.file.absolutePath;String projectName = project.rootProject.name;if(jarPath.endsWith("classes.jar")&& jarPath.contains("exploded-aar/"+projectName)// hotpatch module是用来加载dex,无需注入代码&& !jarPath.contains("exploded-aar/"+projectName+"/hotpatch")) {Inject.injectJar(jarPath)}// 重命名输出文件(同目录copyFile会冲突)def jarName = jarInput.namedef md5Name = DigestUtils.md5Hex(jarInput.file.getAbsolutePath())if(jarName.endsWith(".jar")) {jarName = jarName.substring(0,jarName.length()-4)}def dest = outputProvider.getContentLocation(jarName+md5Name, jarInput.contentTypes, jarInput.scopes, Format.JAR)FileUtils.copyFile(jarInput.file, dest)}}}
}- 8.Inject.groovy, JarZipUtil.groovy
package com.hotpatch.pluginimport javassist.ClassPool
import javassist.CtClass
import org.apache.commons.io.FileUtilspublic class Inject {private static ClassPool pool = ClassPool.getDefault()/*** 添加classPath到ClassPool* @param libPath*/public static void appendClassPath(String libPath) {pool.appendClassPath(libPath)}/*** 遍历该目录下的所有class,对所有class进行代码注入。* 其中以下class是不需要注入代码的:* --- 1. R文件相关* --- 2. 配置文件相关(BuildConfig)* --- 3. Application* @param path 目录的路径*/public static void injectDir(String path) {pool.appendClassPath(path)File dir = new File(path)if(dir.isDirectory()) {dir.eachFileRecurse { File file ->String filePath = file.absolutePathif (filePath.endsWith(".class")&& !filePath.contains('R$')&& !filePath.contains('R.class')&& !filePath.contains("BuildConfig.class")// 这里是application的名字,可自行配置&& !filePath.contains("HotPatchApplication.class")) {// 应用程序包名,可自行配置int index = filePath.indexOf("com/hotpatch/plugin")if (index != -1) {int end = filePath.length() - 6 // .class = 6String className = filePath.substring(index, end).replace('\\', '.').replace('/','.')injectClass(className, path)}}}}}/*** 这里需要将jar包先解压,注入代码后再重新生成jar包* @path jar包的绝对路径*/public static void injectJar(String path) {if (path.endsWith(".jar")) {File jarFile = new File(path)// jar包解压后的保存路径String jarZipDir = jarFile.getParent() +"/"+jarFile.getName().replace('.jar','')// 解压jar包, 返回jar包中所有class的完整类名的集合(带.class后缀)List classNameList = JarZipUtil.unzipJar(path, jarZipDir)// 删除原来的jar包jarFile.delete()// 注入代码pool.appendClassPath(jarZipDir)for(String className : classNameList) {if (className.endsWith(".class")&& !className.contains('R$')&& !className.contains('R.class')&& !className.contains("BuildConfig.class")) {className = className.substring(0, className.length()-6)injectClass(className, jarZipDir)}}// 从新打包jarJarZipUtil.zipJar(jarZipDir, path)// 删除目录FileUtils.deleteDirectory(new File(jarZipDir))}}private static void injectClass(String className, String path) {CtClass c = pool.getCtClass(className)if (c.isFrozen()) {c.defrost()}def constructor = c.getConstructors()[0];constructor.insertAfter("System.out.println(com.hotpatch.hack.AntilazyLoad.class);")c.writeFile(path)}}
package com.hotpatch.pluginimport java.util.jar.JarEntry
import java.util.jar.JarFile
import java.util.jar.JarOutputStream
import java.util.zip.ZipEntry/*** Created by hp on 2016/4/13.*/
public class JarZipUtil {/*** 将该jar包解压到指定目录* @param jarPath jar包的绝对路径* @param destDirPath jar包解压后的保存路径* @return 返回该jar包中包含的所有class的完整类名类名集合,其中一条数据如:com.aitski.hotpatch.Xxxx.class*/public static List unzipJar(String jarPath, String destDirPath) {List list = new ArrayList()if (jarPath.endsWith('.jar')) {JarFile jarFile = new JarFile(jarPath)Enumeration<JarEntry> jarEntrys = jarFile.entries()while (jarEntrys.hasMoreElements()) {JarEntry jarEntry = jarEntrys.nextElement()if (jarEntry.directory) {continue}String entryName = jarEntry.getName()if (entryName.endsWith('.class')) {String className = entryName.replace('\\', '.').replace('/', '.')list.add(className)}String outFileName = destDirPath + "/" + entryNameFile outFile = new File(outFileName)outFile.getParentFile().mkdirs()InputStream inputStream = jarFile.getInputStream(jarEntry)FileOutputStream fileOutputStream = new FileOutputStream(outFile)fileOutputStream << inputStreamfileOutputStream.close()inputStream.close()}jarFile.close()}return list}/*** 重新打包jar* @param packagePath 将这个目录下的所有文件打包成jar* @param destPath 打包好的jar包的绝对路径*/public static void zipJar(String packagePath, String destPath) {File file = new File(packagePath)JarOutputStream outputStream = new JarOutputStream(new FileOutputStream(destPath))file.eachFileRecurse { File f ->String entryName = f.getAbsolutePath().substring(packagePath.length() + 1)outputStream.putNextEntry(new ZipEntry(entryName))if(!f.directory) {InputStream inputStream = new FileInputStream(f)outputStream << inputStreaminputStream.close()}}outputStream.close()}
}
-
- 在app module下build.gradle文件中添加新插件:
apply plugin: com.hotpatch.plugin.Register
- 在app module下build.gradle文件中添加新插件:
2. 创建hack.jar
创建一个单独的module,命名为com.hotpatch.plugin.AntilazyLoad:
package com.hotpatch.plugin
public class AntilazyLoad {
}
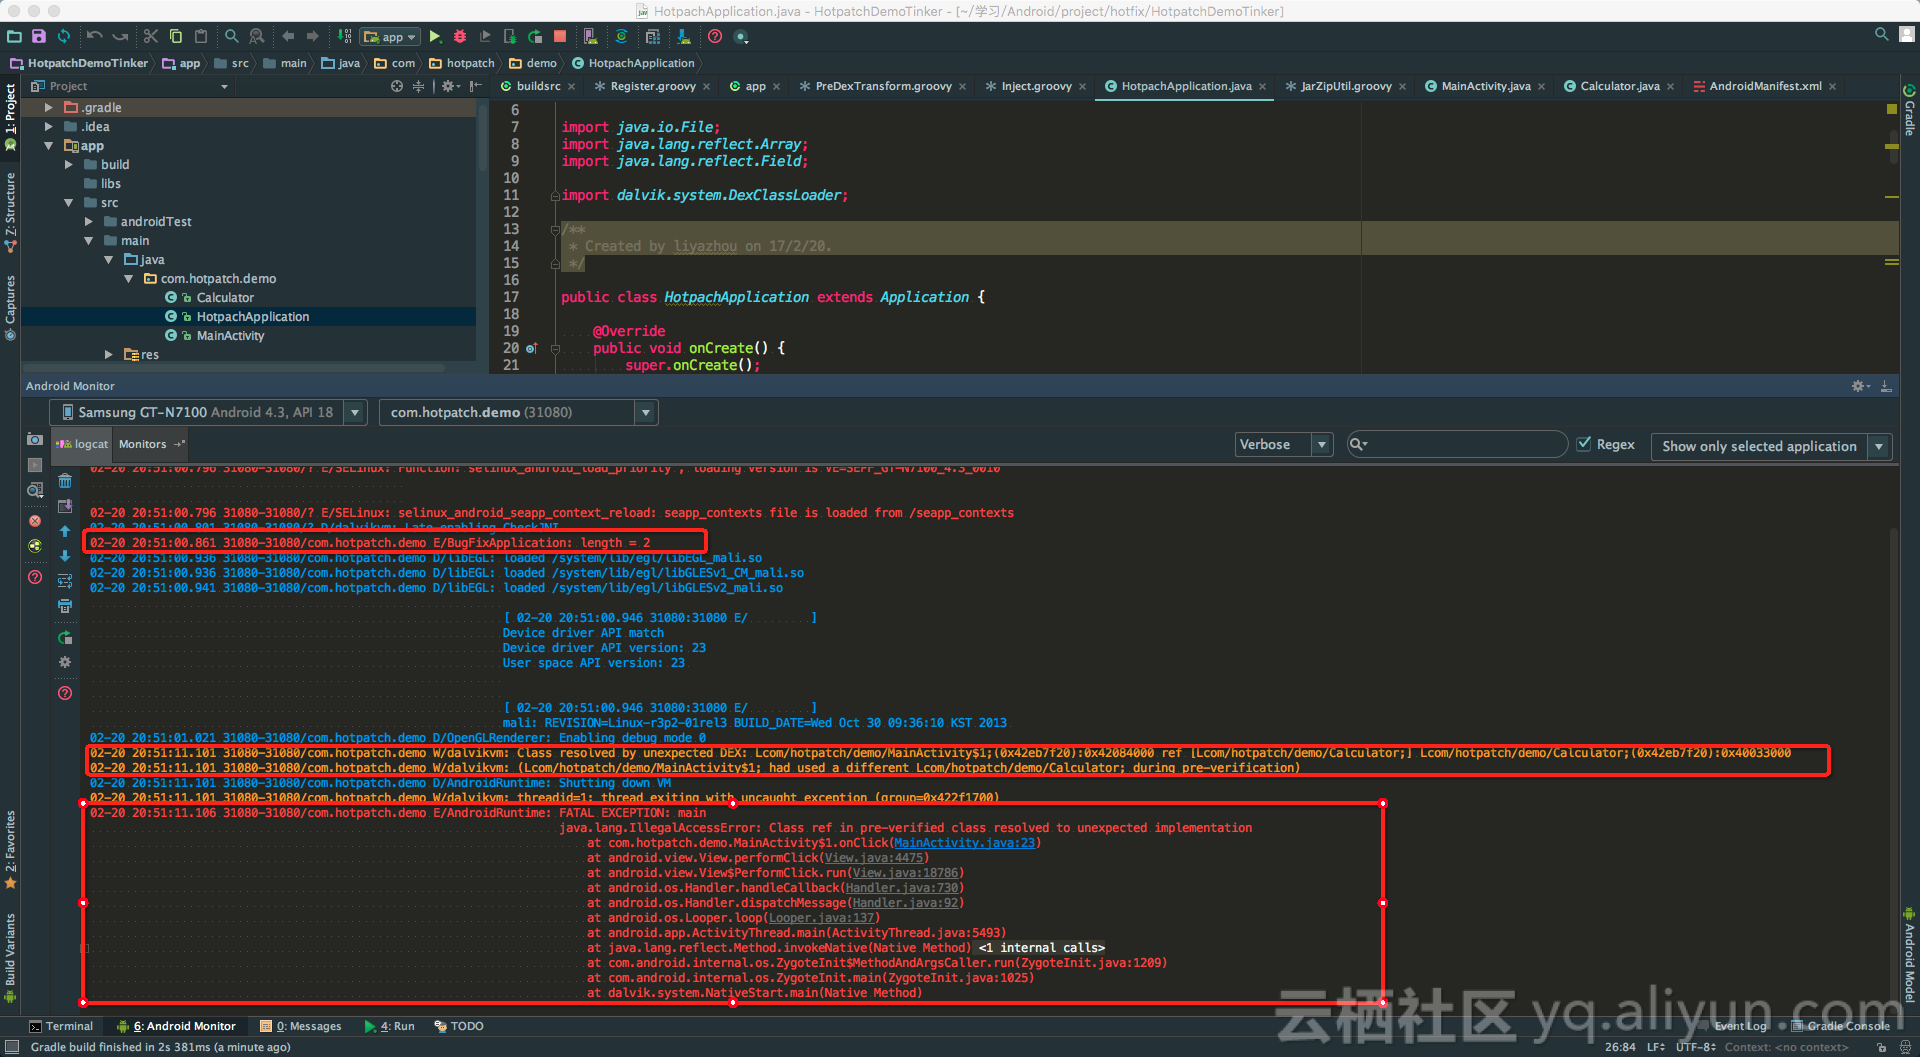
使用上一篇博客介绍的方法打包hack.jar。然后将hack.jar复制到app module下的assets目录中。另外注意:app module不能依赖hack module。之所以要创建一个hack module,同时人为地在dex打包过程中插入对其他hack.jar中类的依赖,就是要让apk文件在安装的时候不被打上CLASS_ISPREVERIFIED标记。
另外由于hack.jar位于assets中,所以必须要在加载patch_dex之前加载hack.jar。另外由于加载其他路径的dex文件都是在Application.onCreate()方法中执行的,此时还没有加载hack.jar,所以这就是为什么在上一章节插桩的时候不能在Application中插桩的原因。
插桩的过程介绍完了,整个热修复的过程也就差不多了,读者可以参考完整的代码进行demo试用:Hotpatch Demo


