1.简介:
CEPH:统一的分布式存储系统;
存储类型:文件存储,块存储,对象存储;
优点:统一的(支持以上三种存储类型),分布式(在集群中,没有中心节点,所有的节点的地位相等),扩展性强,可靠性高;
2.关于ceph的一些问题:
为什么要使用分布式存储(ceph)?
优点即可回答此问题
应用场景?
在使用三种存储类型的场景中都可以使用ceph;
3.CEPH的体系结构:
总体来说分为四个层次,从下到上依次为:
RADOS:基础存储系统:可靠的,自动的,分布式的,对象存储;由两部分组成,第一部分是OSD(对象存储设备),还有一部分是monitor(监控),由OSD+monitor得出工作状态,也就是 cluster map;
#:ceph的最大特点:无需查表,算算就好;
LIBRADOS:基础库;
高层应用接口:包括了三部分;RADOSGW, RBD, CEPHFS;
应用层;
4.CEPH的寻址流程:
需要进行三次映射:
FILE --> OBJECT --> PG --> OSD
# : file 就是要操作的对象;
#:object 就是RADOS看到的对象,object 将file分为大小相同的切片,object的大小由RADOS来限定,通常为2M或者4M;
为啥要限定切片,为了让文件的大小一致,方便管理,存储,提高效率,从串行转为并行状态;
#:PG就是对object的存储进行组织和位置映射(通过算法),一个PG可以有多个object,但是每个object必须对应到一个PG,1对多的关系;
#:OSD,对象存储设备,和PG是多对多的关系;
串行和并行:
简单来说:现在有三个文件,
A : 10M
B: 20M
C: 2M
串行:先传输完10M的再传输20M的最后传输2M,
并行:文件同时进行传输,将每个文件分为大小相同的切片,比如每次传输2M,第一次传输后,C就传完了,接着是A,最后是B,也就是提高了小文件的传输效率,总体上提升了整体的传输效率
5.配置部署:
规划:
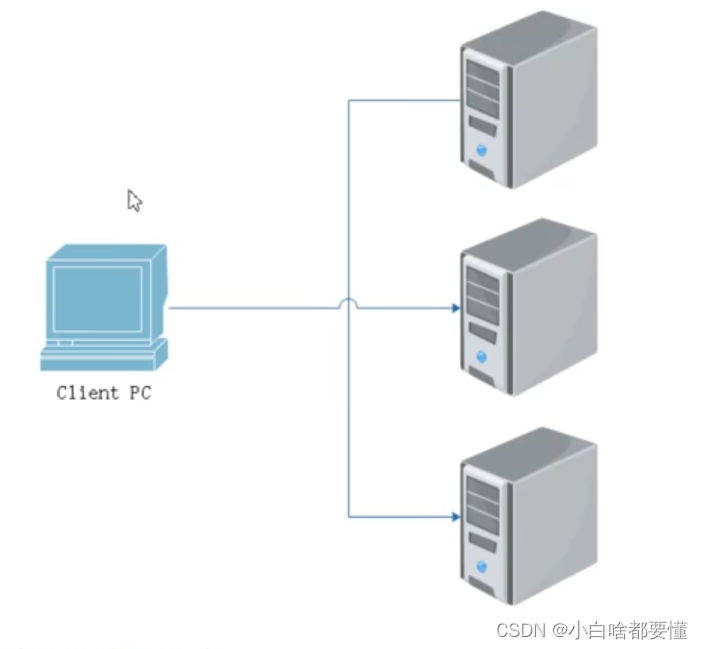
一般三台即可,如果想要客户端操作,那四台也可以,至少需要三台;
(1):基本配置
//基本配置
IP
[root@localhost ~]# getenforce
Permissive
[root@localhost ~]#
[root@localhost ~]# systemctl stop firewalld.service
[root@localhost ~]# systemctl disable firewalld.service
Removed /etc/systemd/system/multi-user.target.wants/firewalld.service.
Removed /etc/systemd/system/dbus-org.fedoraproject.FirewallD1.service.
[root@localhost ~]#
[root@localhost ~]#
(2):域名解析配置,每台机器都需要配置
[root@node3 ~]# cat >> /etc/hosts <<eof
> 192.168.159.130 node1
> 192.168.159.131 node2
> eof
[root@node3 ~]#
(3):配置免密钥互相通信:
[root@node1 ~]# ssh-keygen -f ~/.ssh/id_rsa -N '' -q
[root@node1 ~]# for i in node2 node3
> do
> ssh-copy-id $i
> done
root@node2's password: Number of key(s) added: 1Now try logging into the machine, with:   "ssh 'node2'"
and check to make sure that only the key(s) you wanted were added.
root@node3's password: Number of key(s) added: 1Now try logging into the machine, with:   "ssh 'node3'"
and check to make sure that only the key(s) you wanted were added.[root@node1 ~]#
#:每一台机器都需要能够互相免密登录;
(4):配置时间同步,必须配;
[root@node1 ~]# yum install -y chrony
[root@node1 ~]# vim /etc/chrony.conf //
pool ntp1.aliyun.com iburst
//[root@node1 ~]# systemctl restart chronyd.service
[root@node1 ~]# systemctl enable chronyd.service
[root@node1 ~]# chronyc sources
210 Number of sources = 1
MS Name/IP address         Stratum Poll Reach LastRx Last sample
===============================================================================
^* 120.25.115.20                 2   6    17     9   -326us[ -265us] +/-   18ms
[root@node1 ~]#
其他几台机器可以同步同样的时间pool,也可以同步这台的,保持时间一样;
(5):安装ceph-deploy工具来简化安装过程:
[root@node3 ~]# wget -c https://mirrors.aliyun.com/ceph/rpm-15.1.1/el7/noarch/ceph-deploy-2.0.1-0.noarch.rpm(6):现在第一个机器上创建集群工作目录:
[root@node1 ~]# mkdir /ceph-cluster/
[root@node1 ~]# cd /ceph-cluster/
[root@node1 ceph-cluster]#
床架你集群,首先要设置monitor节点,
[root@node1 ceph-cluster]# ceph-deploy new node2 node3#:在这里会遇到问题,显示缺少模块,解决方法如下所示:
//首先使用yum安装python2-pip
[root@node1 ceph-cluster]# wget -O /etc/yum.repos.d/epel.repo http://mirrors.aliyun.com/repo/epel-7.repo
[root@node1 ceph-cluster]# yum install -y phthon2-pip//再安装模块
[root@node1 ceph-cluster]# pip install distribute -i http://mirrors.aliyun.com/pypi/simple/ --trusted-host mirrors.aliyun.com//再次执行
[root@node1 ceph-cluster]# ceph-deploy new node2 node3
(7)给所有的节点安装ceph-deploy的包:
[root@node2 ceph-cluster]# ceph-deploy install node2 node3//添加监控节点
[root@node2 ceph-cluster]# ceph-deploy mon create-initial
[root@node2 ceph-cluster]# systemctl is-active ceph-mon@node2.service//node3同理
[root@node3 ceph-cluster]# ceph-deploy install node2 node3//添加监控节点
[root@node3 ceph-cluster]# ceph-deploy mon create-initial
[root@node3 ceph-cluster]# systemctl is-active ceph-mon@node3.service
(8):创建ceph管理节点(mgr)
#:每个节点上运行了mon的节点都需要安装mgr节点
[root@node2 ceph-cluster]# ceph-deploy mgr create node2 node3(9):准备日志磁盘分区
#:两个分区用来做存储服务器的缓存盘,生产中固态用于缓存,sas用户共享;
//格式化
[root@node2 ceph-cluster]# for i in node2 node3
>do
>ssh $i parted /dev/nvmOn1p1 primary 1 50%
>ssh $i parted /dev/nvmOn1p1 primary 50% 100%
>done//修改磁盘权限
[root@node2 ceph-cluster]# for i in node2 node3
>do
>ssh $i chown ceph.ceph /dev/nvmon1p1 /dev/nvmon1p2
>done
