Macbook Pro 外接显卡实现Tensorflow GPU运行–内屏输出
- MacOS 重装
- 外接显卡(内屏输出)👆
- 环境配置(重点)
- Tensorflow GPU 配置
外接显卡(内屏输出)
本文主要参考翻译自:
https://egpu.io/how-to-egpu-accelerated-internal-display-macos/
准备工作
- 硬件:
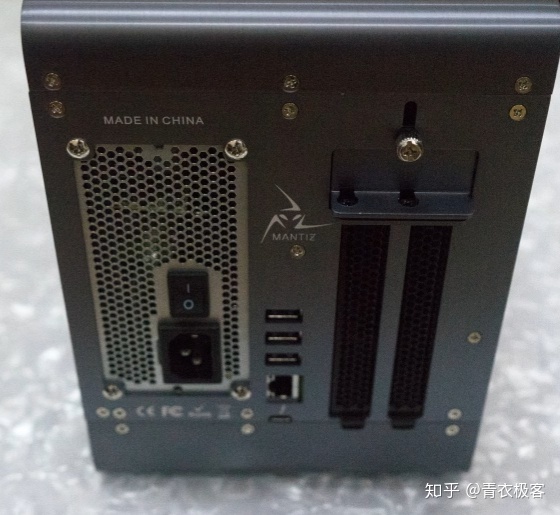
- 显卡坞+显卡+电源
- 显卡欺骗器(插在显卡坞上)
- 软件:
- Spectacle
- DisableMonitor
- automate-eGPU.sh v1.0.0 script
安装
- 外接显卡后,下载automate-eGPU脚本
Download the script on your desktop:
curl -o ~/Desktop/[automate-eGPU.sh](https://egpu.io/forums/mac-setup/automate-egpu-sh-is-reborn-with-amd-polaris-fiji-support-for-macos/ "Enables eGPU support for macOS Sierra and older OSes") [https://raw.githubusercontent.com/goalque/automate-eGPU/master/automate-eGPU.sh](https://raw.githubusercontent.com/goalque/automate-eGPU/master/automate-eGPU.sh)
chmod +x ~/Desktop/automate-eGPU.sh
cd ~/Desktop
sudo ./automate-eGPU.sh
- 下载并安装Spectacle
https://www.spectacleapp.com/ - 下载并安装DisableMonitor
https://github.com/Eun/DisableMonitor - 设置
- 系统偏好-> 程序坞(Dock)->置于屏幕上的位置 (position on screen) ->左边(Left)
- 插入显卡欺骗器并设置为优先显示(Plug the ghost display adapter in and set it as the primary display)p.s.插入后到系统偏好-显示器一项设置)
- 在DisableMonitor中设置分辨率来匹配内屏(Set the resolution to match internal screen in DisableMonitor)
如图:

- 从程序坞中开启一个程序如Valley benchmark,这样你可以看到它的子窗口(Launch an app such as Valley benchmark from the Dock (there you see its child window))p.s.我没做这一步,但是运行ok。
- 用键盘的快捷键“CONTROL OPTION COMMAND LEFT ”或者“RIGHT ARROW” 来切换下一个显示或者上一个显示。(Switch “Next Display” or “Previous Display” with a keyboard shortcut (CONTROL OPTION COMMAND LEFT or RIGHT ARROW))p.s. 就是切换内屏与外屏,有touch bar的可以直接在touch bar上切换。
- 注意事项:Spectacle switches apps between displays in both Windowed and Fullscreen mode. Matching the ghost display’s resolution with the internal display using DisableMonitor is therefore recommended.
问题&注意
- 外屏直接输出就好,无需转内屏输出。
- 起初连接时会很不稳定,出现死机或花屏的现象,多试几次就好,并且注意软件的安装顺序,显卡欺骗器的插入顺序。
- 内屏输出有损耗,具体没测过,感兴趣的同学可以测下内屏损耗率。
- 外接显卡不支持热插拔!开机进入登录界面后再接入显卡,关机黑屏后再拔掉显卡。
- 之后使用时,先接好显卡,依次打开转内屏输出的软件,确认CUDA后即可使用。
参考资料
- https://egpu.io/how-to-egpu-accelerated-internal-display-macos/
- https://www.bilibili.com/video/BV1ss411J7np/


