yum : Yellow dog Updater,Modified,是一种基于rpm包的自动升级和软件包管理工具。yum能从指定的服务器自动下载rpm包并安装,自动计算出程序之间的依赖关系和软件安装的步骤,自动一次安装所有依赖的软件包。yum便于管理大量软件更新,采用客户端/服务器工作机制。
yum源:yum旨在解决软件依赖关系,yum源就是软件安装来源或软件仓库,用来存放软件列表信息和软件包。
其中yum源的基本工作机制:
1)服务器端:在服务器上面存放了所有的RPM软件包,然后以相关的功能去分析每个RPM文件的依赖性关系,将这些数据记录成文件存放在服务器的某特定目录内。
2)客户端:如果需要安装某个软件时,先下载服务器上面记录的依赖性关系文件(可通过WWW或FTP方式),通过对服务器端下载的纪录数据进行分析,然后取得所有相关的软件,一次全部下载下来进行安装。
共享yum源就是在局域网内(或本地)搭建一个yum源,然后局域网内(或本地)所有的计算机在离线的环境下可以使用yum命令安装软件。
原文链接:https://blog.csdn.net/qq_28721869/article/details/115036342
- 系统:centos7
yum_23">(一)配置本地yum源和阿里源
[root@localhost ~]# rm -rf /etc/yum.repos.d/*.repo
[root@localhost yum.repos.d]# curl -o /etc/yum.repos.d/CentOS-Base.repo http://mirrors.aliyun.com/                    repo/Centos-7.repo% Total    % Received % Xferd  Average Speed   Time    Time     Time  CurrentDload  Upload   Total   Spent    Left  Speed
100  2523  100  2523    0     0    773      0  0:00:03  0:00:03 --:--:--   773
[root@localhost yum.repos.d]# curl -o /etc/yum.repos.d/epel.repo http://mirrors.aliyun.com/repo/epel-7.repo% Total    % Received % Xferd  Average Speed   Time    Time     Time  CurrentDload  Upload   Total   Spent    Left  Speed
100   664  100   664    0     0   1183      0 --:--:-- --:--:-- --:--:--  1185
//期间有报错可以不理会
[root@localhost ~]# yum clean all && yum makecache
[root@localhost ~]# yum repolist
[root@localhost ~]# yum -y install   yum-utils   createrepo plugin-priorities
(二)服务端
1.安装nginx
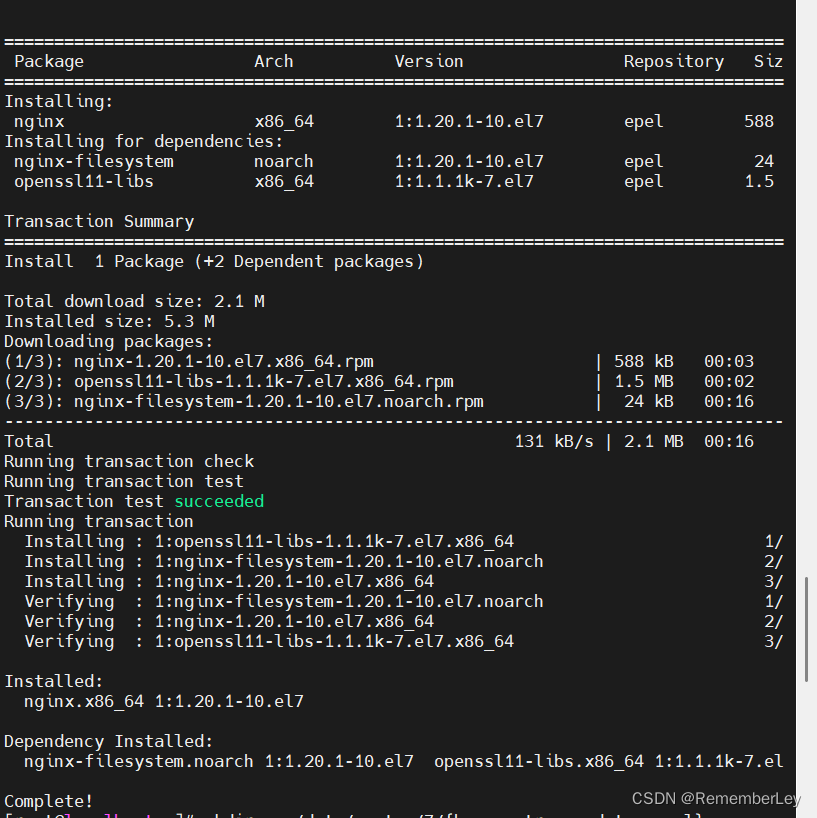
[root@localhost ~]# yum install -y nginx
yum_53">2.将公网镜像同步到本地私有yum仓库
- reposync 是 yum-utils 软件包中的一个工具,它允许用户将远程的 YUM 仓库内容同步到本地目录,从而创建一个本地的 YUM 仓库镜像。
//建立私有yum仓库的存放目录
[root@localhost ~]# mkdir -p /data/centos/7/{base,extras,updates,epel}
//使用nohup在后台运行reposync,将远程YUM仓库的内容(只同步更新的包)同步到/data/centos/7目录,并将所有输出(包括正常输出和错误消息)写入/opt/yum.log文件。
[root@localhost ~]# nohup reposync -np  /data/centos/7   > /opt/yum.log 2>&1&
[5] 11444
- 建本地私有库:在/data/centos/7/目录下的base、extras、updates和epel子目录中分别创建YUM仓库的元数据
[root@localhost ~]# cd /data/centos/7/
[root@localhost 7]# cd base && createrepo -p ./ && cd -
Spawning worker 0 with 192 pkgs
Spawning worker 1 with 192 pkgs
Workers Finished
Saving Primary metadata
Saving file lists metadata
Saving other metadata
Generating sqlite DBs
Sqlite DBs complete
/data/centos/7
[root@localhost 7]# cd extras && createrepo -p ./ && cd -
Saving Primary metadata
Saving file lists metadata
Saving other metadata
Generating sqlite DBs
Sqlite DBs complete
/data/centos/7
[root@localhost 7]# cd updates && createrepo -p ./ && cd -
Saving Primary metadata
Saving file lists metadata
Saving other metadata
Generating sqlite DBs
Sqlite DBs complete
/data/centos/7
[root@localhost 7]# cd epel && createrepo -p ./ && cd -
Saving Primary metadata
Saving file lists metadata
Saving other metadata
Generating sqlite DBs
Sqlite DBs complete
/data/centos/7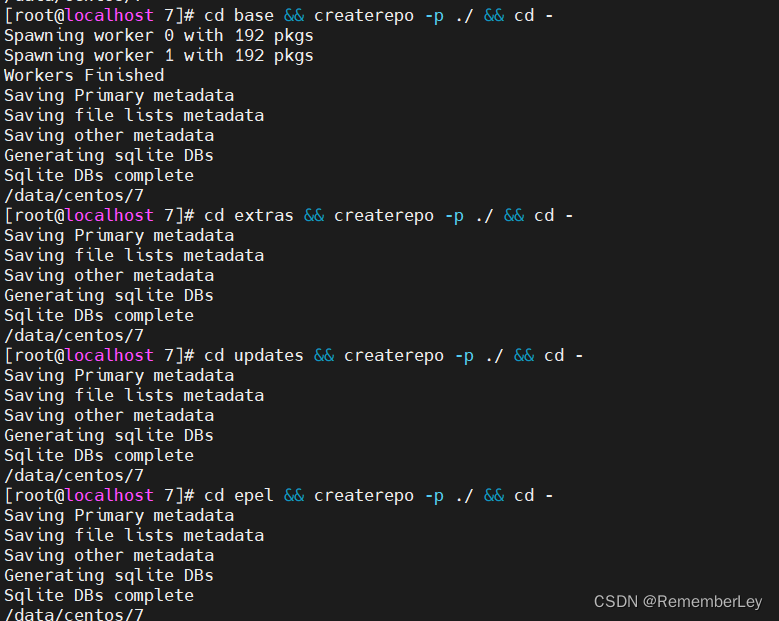
3.配置nginx
[root@localhost 7]# vim /etc/nginx/nginx.confuser root;
---server {listen       80;listen       [::]:80;server_name  mirrors.dfwlg.com;    #设置服务名root         /data/centos/7/;location / {autoindex on;        #打开目录浏览功能autoindex_exact_size off;  # off:以可读的方式显示文件大小autoindex_localtime on; # on、off:是否以服务器的文件时间作为显示的时>间charset utf-8,gbk; #展示中文文件名index index.html;}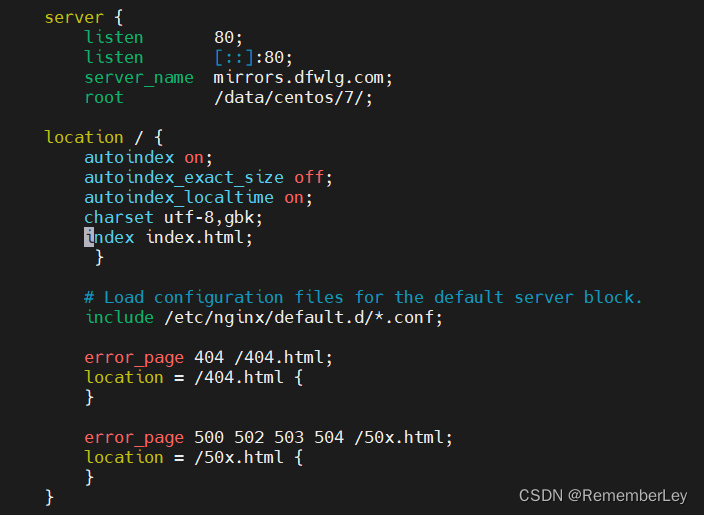
4.启动nginx
[root@localhost 7]# systemctl restart nginx
[root@localhost 7]# setenforce 0
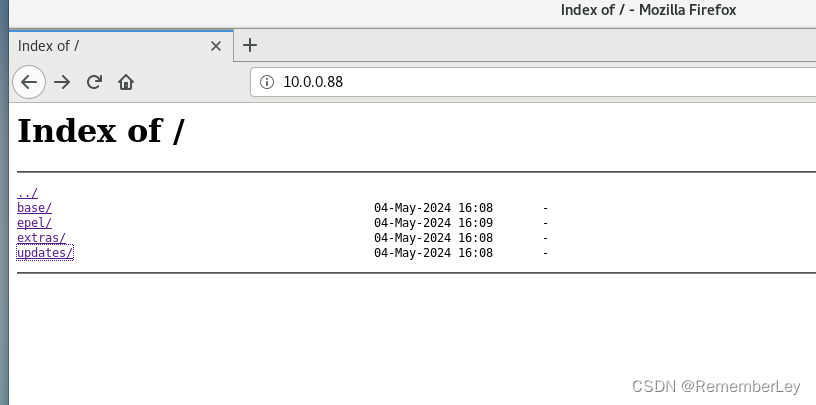
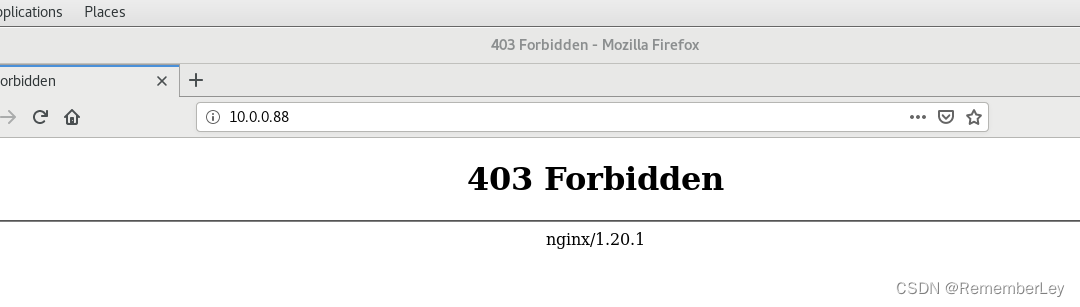
输入IP访问
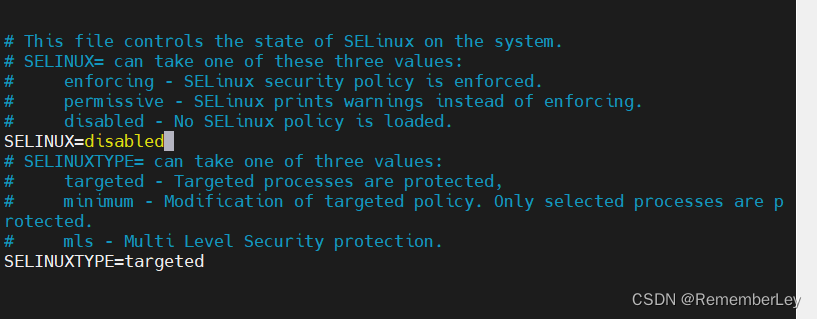
补充:出现403,问题是要禁用(selinux)
[root@localhost 7]# vim /etc/selinux/config
(三)客户端
cat > /etc/yum.repos.d/mirrors-dfwlg.repo <<EOF
[base]
name=CentOS-$releasever - Base - mirror.dfwlg.com
baseurl=http://10.0.0.88/base/
path=/
enabled=1
gpgcheck=0 [updates]
name=CentOS-$releasever - Updates - mirror.dfwlg.com
baseurl=http://10.0.0.88/updates/
path=/
enabled=1
gpgcheck=0 [extras]
name=CentOS-$releasever - Extras - mirrors.dfwlg.com
baseurl=http://10.0.0.88/extras/
path=/
enabled=1
gpgcheck=0 [epel]
name=CentOS-$releasever - epel - mirrors.dfwlg.com
baseurl=http://10.0.0.88/epel/
failovermethod=priority
enabled=1
gpgcheck=0
EOF[root@localhost ~]# yum clean all && yum makecache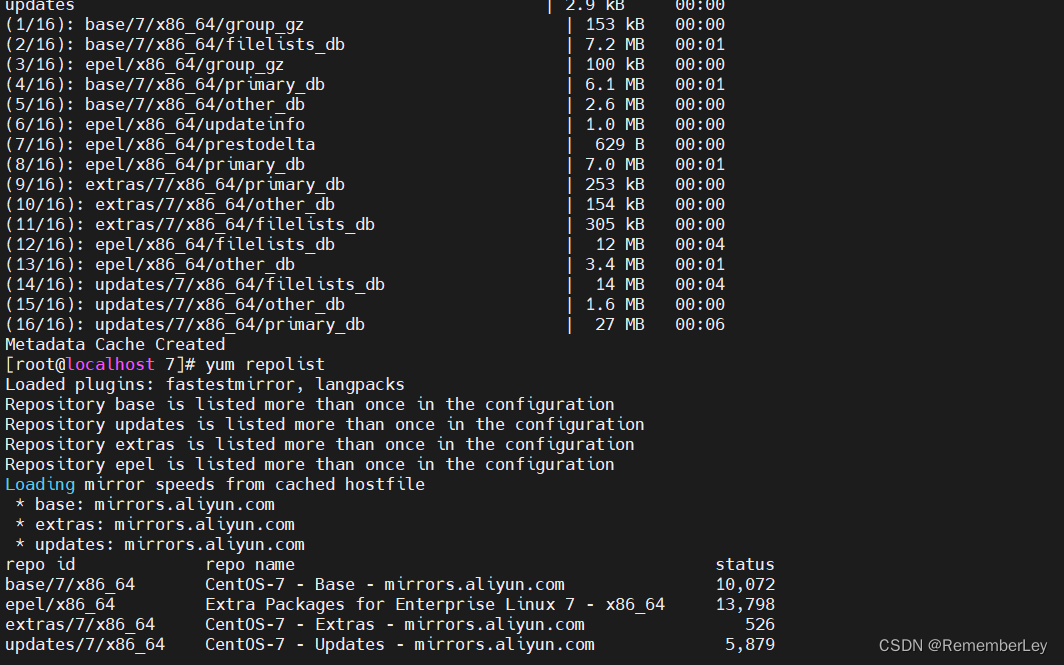
客户端测试:
[root@localhost ~]# yum install -y yum-utils
[root@localhost ~]# cd /etc/yum.repos.d/
[root@localhost yum.repos.d]# ls
mirrors-dfwlg.repo
[参考文章]
https://zhuanlan.zhihu.com/p/412791423
https://blog.csdn.net/qq_28721869/article/details/115036342