流程:

目录
1.文件服务器Minio的安装
1.1 下载Minio安装后,新建1个data文件夹。并在该安装目录cmd 敲命令。注意不要进错目录。依次输入
1.2 登录Minio网页端
1.3 先建1个桶(buckets),点击create a bucket
2. Springboot整合Minio
2.1 首先导入依赖。
2.2 yml文件配置
2.3 创建 MinioProp 类
2.4 创建Minio客户端(配置类)
2.5 创建上传文件的工具类 MinioUtils
2.6 上传图片的controller
2.7 如有网关,可以加白名单
3. 前端代码
3.1 图片上传 action 里调 图片上传controller 接口
3.2 data 区域
3.3 methods区域
3.4 style 区域
其他问题:
1.如果你显示这个,说明你没有把Minio的权限设置为公开。
2.网关拦截,可以开白名单。
1.文件服务器Minio的安装
官网下载:
http://minio.org.cn
1.1 下载Minio安装后,新建1个data文件夹。并在该安装目录cmd 敲命令。注意不要进错目录。依次输入
set MINIO_ACCESS_KEY=minioadmin
set MINIO_SECRET_KEY=minioadminminio.exe server D:\003vue\minio\data --console-address ":9001" --address ":9000"
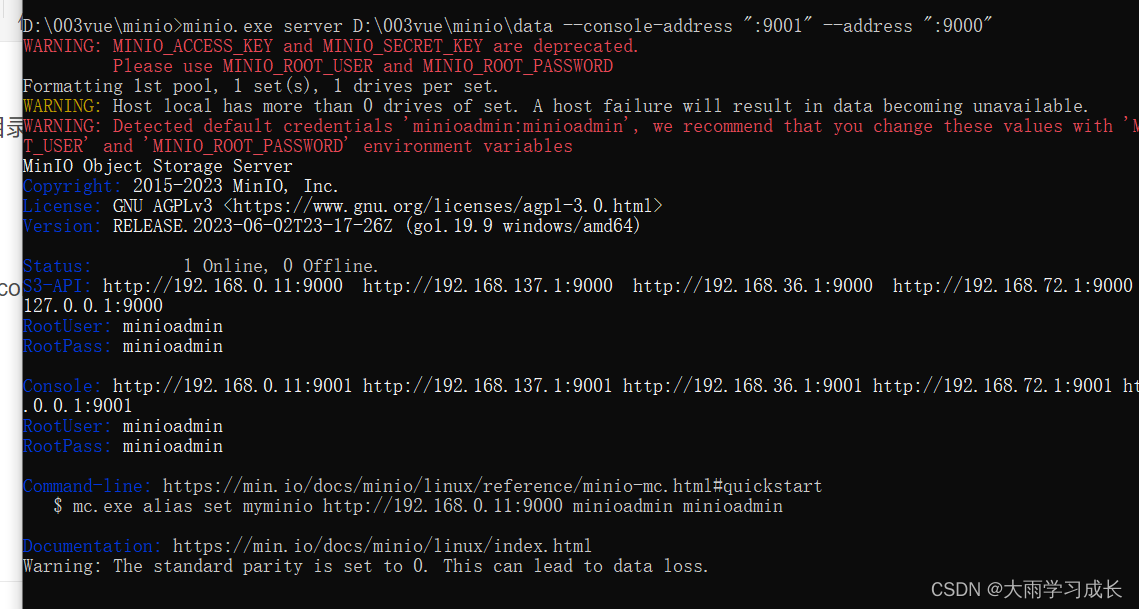
看到这个界面,就说明minio安全完毕。
1.2 登录Minio网页端
打开http://127.0.0.1:9001/browser,初次可能需要登陆,账号密码均输入minioadmin 即可。
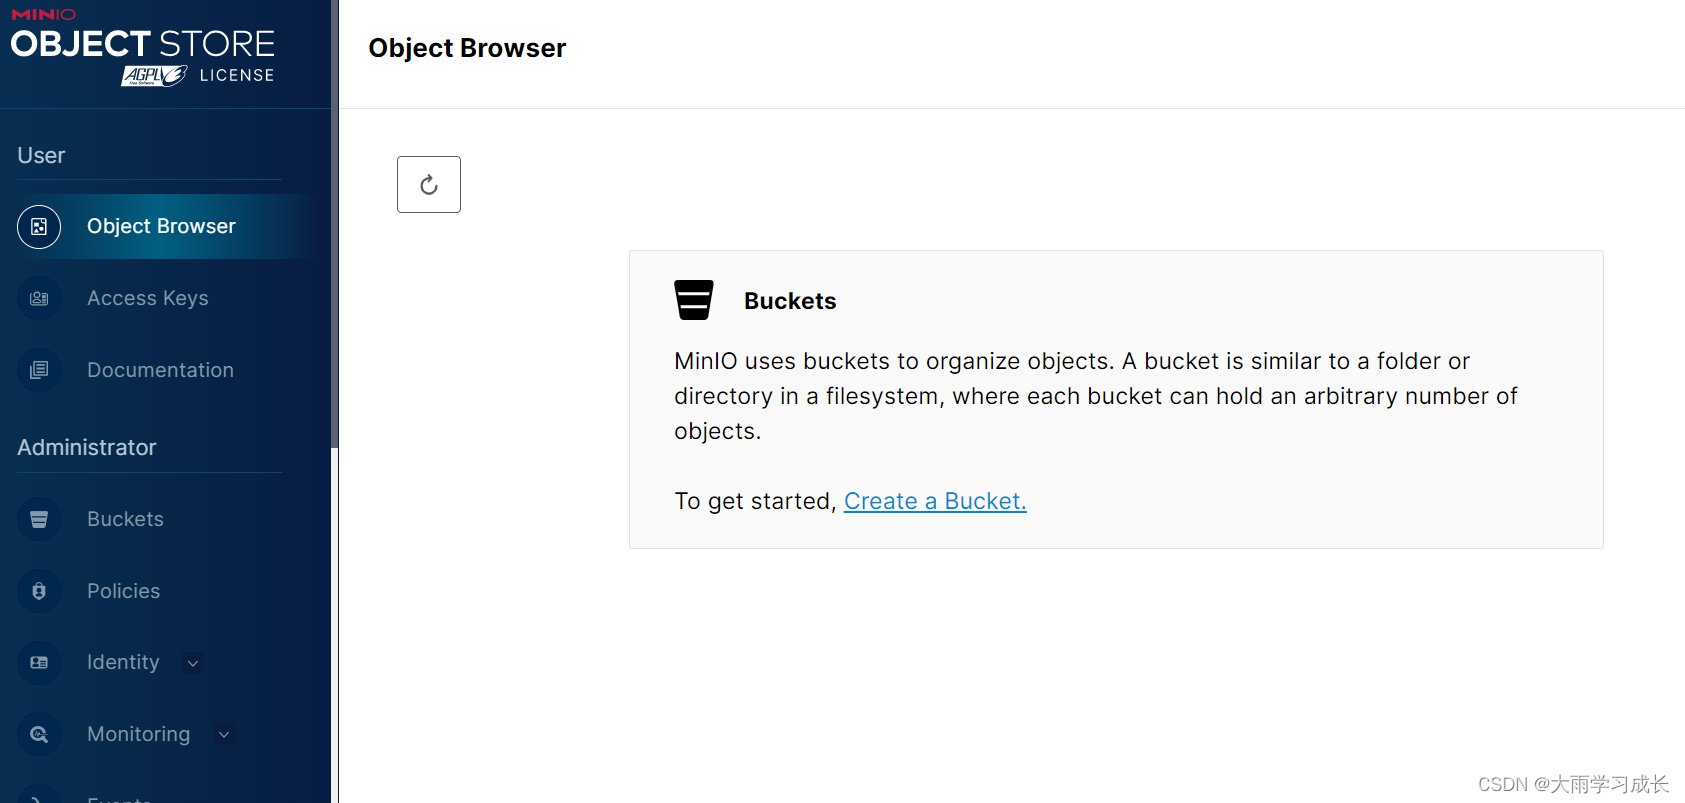
1.3 先建1个桶(buckets),点击create a bucket
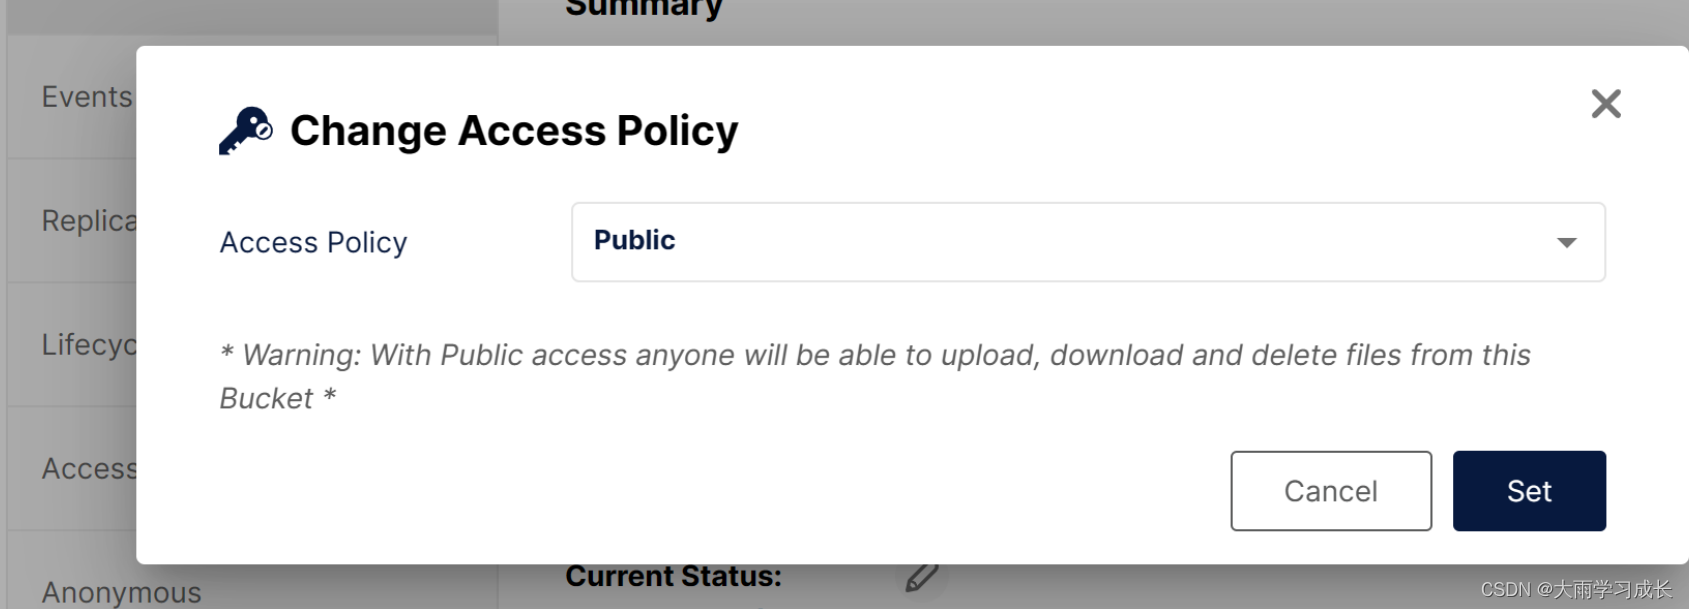
取名 后点击create,Access policy权限改为public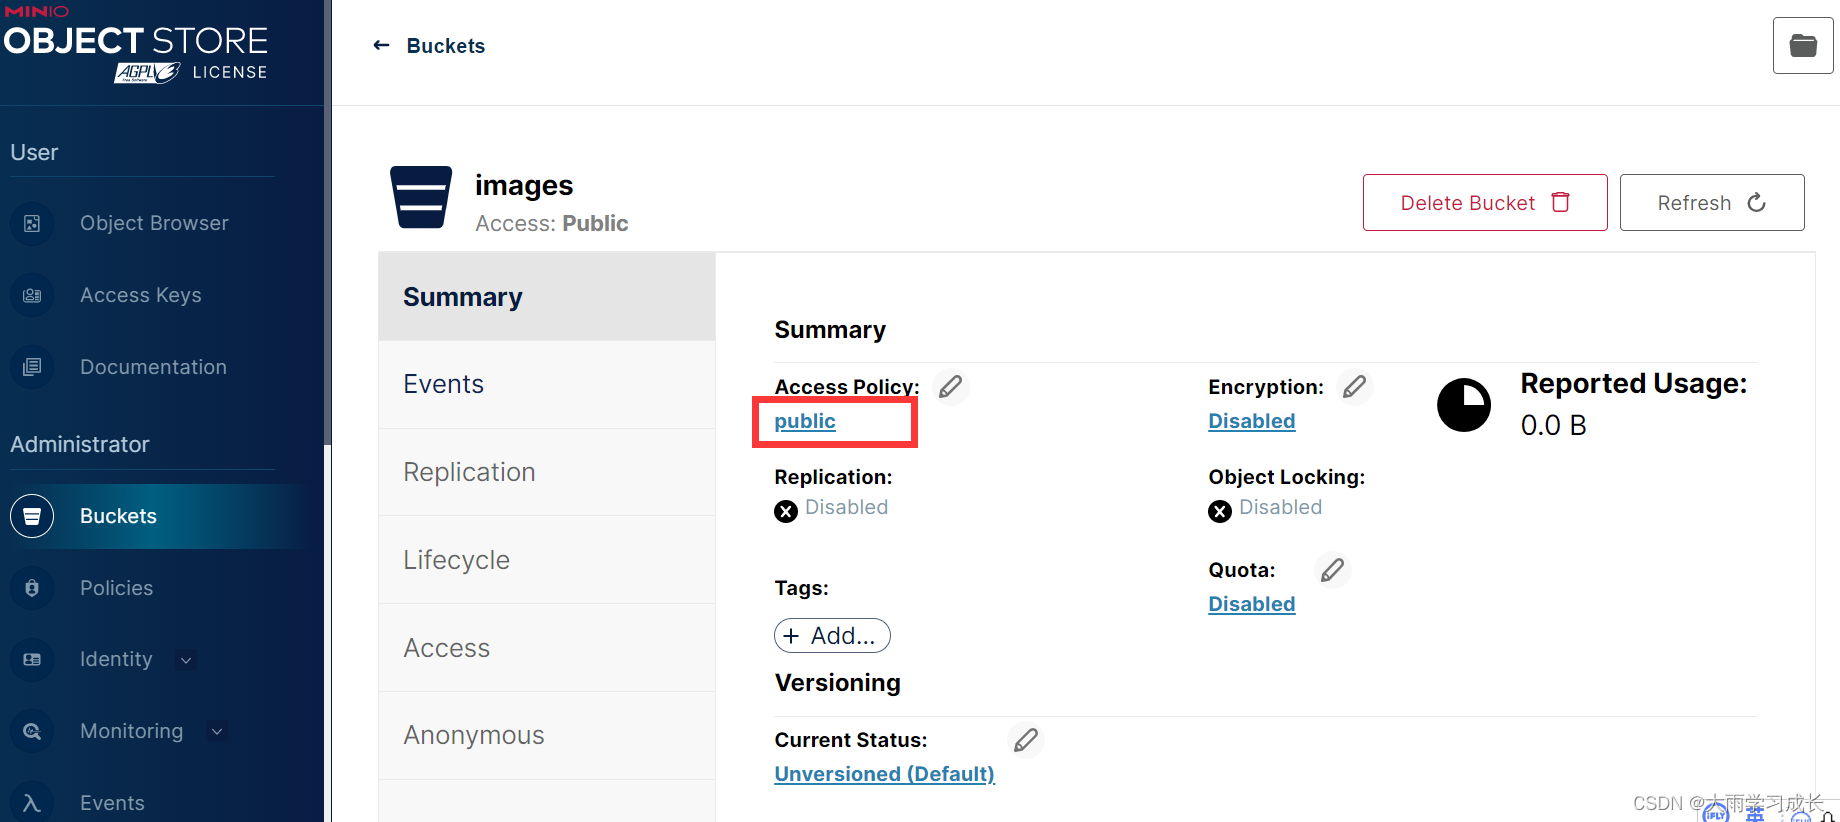
2. Springboot整合Minio
我们用的是Springboot框架 ,SpringBoot框架已经整合 minio,所以使用起来还是很方便的。
2.1 首先导入依赖。
 <dependency><groupId>com.squareup.okhttp3</groupId><artifactId>okhttp</artifactId><version>4.8.1</version> <!-- minio 依赖于 okhttp 且版本较高。注意,spring-boot-dependencies 中的不够高 -->
</dependency><dependency><groupId>com.alibaba</groupId><artifactId>easyexcel</artifactId><version>3.0.5</version></dependency>
<dependency><groupId>io.minio</groupId><artifactId>minio</artifactId><version>8.3.9</version>
</dependency>
2.2 yml文件配置
spring:application:name: xxxxservlet:multipart:max-file-size: 200MB  #设置单个文件的大小  因为springboot内置tomact的的文件传输默认为10MBmax-request-size: 500MB   #设置单次请求的文件总大小enabled: true    #千万注意要设置该参数,否则不生效
minio:endpoint: http://127.0.0.1:9000accesskey: minioadminsecretKey: minioadmin
2.3 创建 MinioProp 类
@Data
@Component
@ConfigurationProperties(prefix = "minio") //批量读取配置文件中的属性值,前缀为minio
public class MinioProp {
//        @Value()//一个一个读配置文件中的属性值private String endpoint;private String accesskey;private String secretKey;}
2.4 创建Minio客户端(配置类)
package com.config;import com.entity.MinioProp;
import io.minio.MinioClient;
import org.springframework.beans.factory.annotation.Autowired;
import org.springframework.boot.context.properties.EnableConfigurationProperties;
import org.springframework.context.annotation.Bean;
import org.springframework.context.annotation.Configuration;@Configuration
@EnableConfigurationProperties(MinioProp.class)
public class MinioConfig {@Autowiredprivate MinioProp minioProp;@Beanpublic MinioClient minioClient() throws Exception {return MinioClient.builder().endpoint(minioProp.getEndpoint()).credentials(minioProp.getAccesskey(), minioProp.getSecretKey()).build();}
}
2.5 创建上传文件的工具类 MinioUtils
import com.alibaba.fastjson.JSONObject;
import com.entity.MinioProp;
import io.minio.BucketExistsArgs;
import io.minio.MakeBucketArgs;
import io.minio.MinioClient;
import io.minio.PutObjectArgs;
import lombok.extern.slf4j.Slf4j;
import org.springframework.beans.factory.annotation.Autowired;
import org.springframework.stereotype.Component;
import org.springframework.web.multipart.MultipartFile;import java.io.InputStream;@Slf4j
@Component
public class MinioUtils {@Autowiredprivate MinioClient client;@Autowiredprivate MinioProp minioProp;/*** 创建bucket*/public void createBucket(String bucketName) {BucketExistsArgs bucketExistsArgs = BucketExistsArgs.builder().bucket(bucketName).build();MakeBucketArgs makeBucketArgs = MakeBucketArgs.builder().bucket(bucketName).build();try {if (client.bucketExists(bucketExistsArgs))return;client.makeBucket(makeBucketArgs);} catch (Exception e) {log.error("创建桶失败:{}", e.getMessage());throw new RuntimeException(e);}}/*** @param file       文件* @param bucketName 存储桶* @return*/public JSONObject uploadFile(MultipartFile file, String bucketName) throws Exception {JSONObject res = new JSONObject();res.put("code", 0);// 判断上传文件是否为空if (null == file || 0 == file.getSize()) {res.put("msg", "上传文件不能为空");return res;}// 判断存储桶是否存在createBucket(bucketName);// 文件名String originalFilename = file.getOriginalFilename();// 新的文件名 = 存储桶名称_时间戳.后缀名String fileName = bucketName + "_" + System.currentTimeMillis() + originalFilename.substring(originalFilename.lastIndexOf("."));// 开始上传InputStream inputStream = file.getInputStream();PutObjectArgs args = PutObjectArgs.builder().bucket(bucketName).object(fileName).stream(inputStream,inputStream.available(),-1).build();client.putObject(args);res.put("code", 1);//getEndpoint前缀 + bucketName 桶名称 + fileName文件名称res.put("msg", minioProp.getEndpoint() + "/" + bucketName + "/" + fileName);return res;}
}
2.6 上传图片的controller
图片上传到服务器成功后,会返回一个图片链接url用于回显。
@RestController
@Slf4j
public class UploadController {@AutowiredMinioUtils minioUtils;@RequestMapping("/uploadImages")public ResData<?> uploadImages(MultipartFile file){log.info("触发上传图片controller");JSONObject images=null;try {images = minioUtils.uploadFile(file, "images"); //这里记得填你自己的bucket容器} catch (Exception e) {e.printStackTrace();}return ResData.ok(images);}
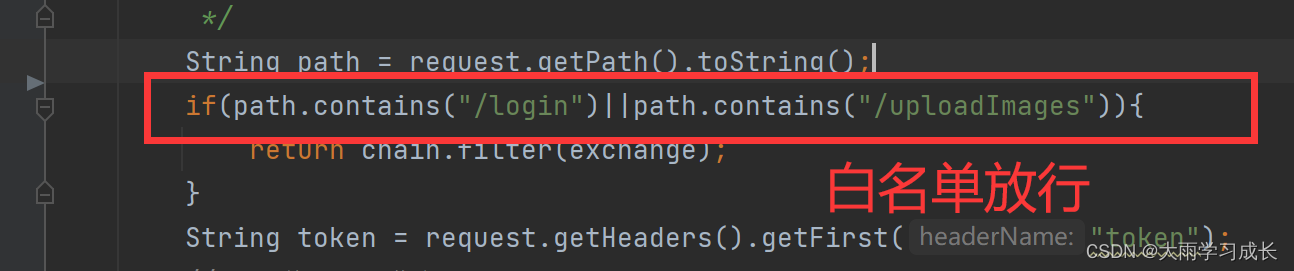
}2.7 如有网关,可以加白名单
3. 前端代码
3.1 图片上传 action 里调 图片上传controller 接口
<el-descriptions-item :span="2"><template slot="label"> 头像 </template><el-uploadclass="avatar-uploader"action="/api/pc-zdy-sys/uploadImages":show-file-list="false":on-success="handleSuccess":on-error="handleError":before-upload="beforeUpload"><div slot="tip" class="el-upload__tip">只能上传jpg/png文件,且不超过10MB</div><imgv-if="imageUrl":src="imageUrl"alt="已上传的图片"class="avatar" /> ##src 用于回显图片<i v-else class="el-icon-plus avatar-uploader-icon"></i> </el-upload>
</el-descriptions-item>
3.2 data 区域
imageUrl:'' //回显图片链接3.3 methods区域
//图片上传成功后执行的方法,拿到图片链接
handleAvatarSuccess(res, file) {console.log(res.data)this.imageUrl = res.data.msg //后端返回的图片链接赋值给imageUrl
},//修改信息前的回显 这个根据你自己的方法来,主要是给this.imageUrl赋值
edit(userId) {//先打开弹窗setTimeout(() => {this.dialogEdit = true;}, 500);this.itemId = userId;//然后根据id 找人this.$axios.get("/api/pc-zdy-sys/admin/" + userId).then((res) => {if (res.data.code == 200) {this.UserEdit = res.data.data.userVO;this.allRoleList = res.data.data.allRoleList; //系统里所有的角色this.checkedRoleList1 = this.UserEdit.roleList; //我们选中这个人的所有角色this.imageUrl = this.UserEdit.url; //头像url回显赋值this.checkedRoleList = this.checkedRoleList1.map((e) => {//过滤角色集合,只留下其中的id,方便后续勾选return e.id;});}});},
3.4 style 区域
<style scoped>
.avatar-uploader .el-upload {border: 1px dashed #d9d9d9;border-radius: 6px;cursor: pointer;position: relative;overflow: hidden;
}
.avatar-uploader .el-upload:hover {border-color: #409eff;
}
.avatar-uploader-icon {font-size: 28px;color: #8c939d;width: 178px;height: 178px;line-height: 178px;text-align: center;
}
.avatar {width: 178px;height: 178px;display: block;
}
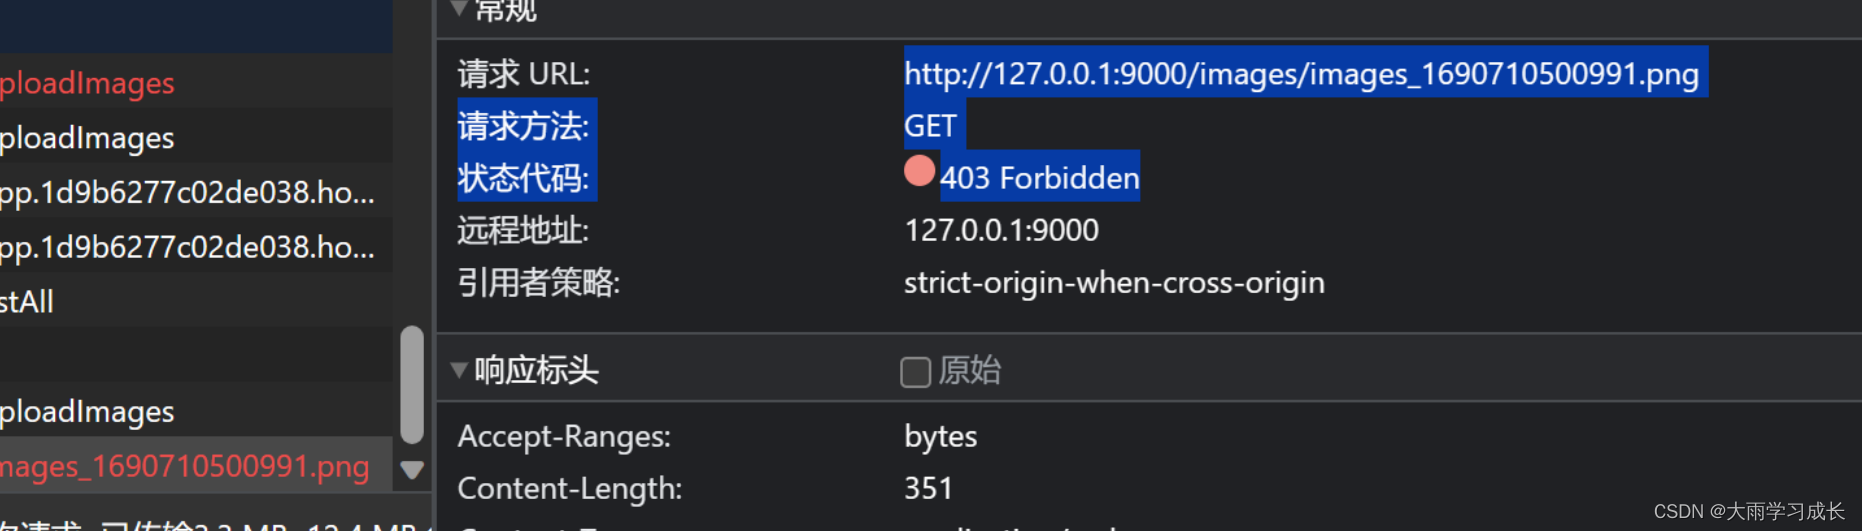
</style>其他问题:
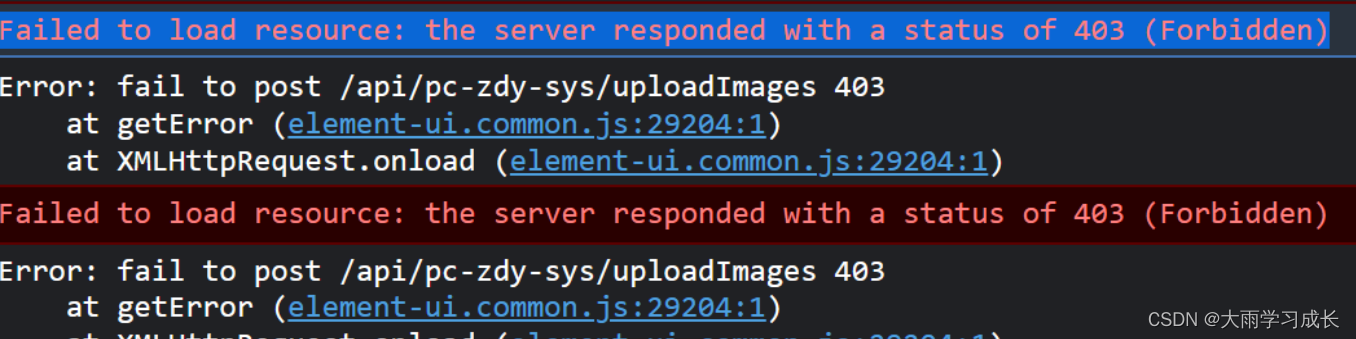
1.如果你显示这个,说明你没有把Minio的权限设置为公开。
2.网关拦截,可以开白名单。