系统环境:
Ubuntu18.04
ROS Melodic
gcc 7.5.0
1.安装思岚ROS包
1.1 clone并编译
cd catkin_ws/src/
git clone https://github.com/Slamtec/rplidar_ros.git
cd ..
catkin_make
1.2 修改rplidar_ros/launch/rplidar.launch中的波特率

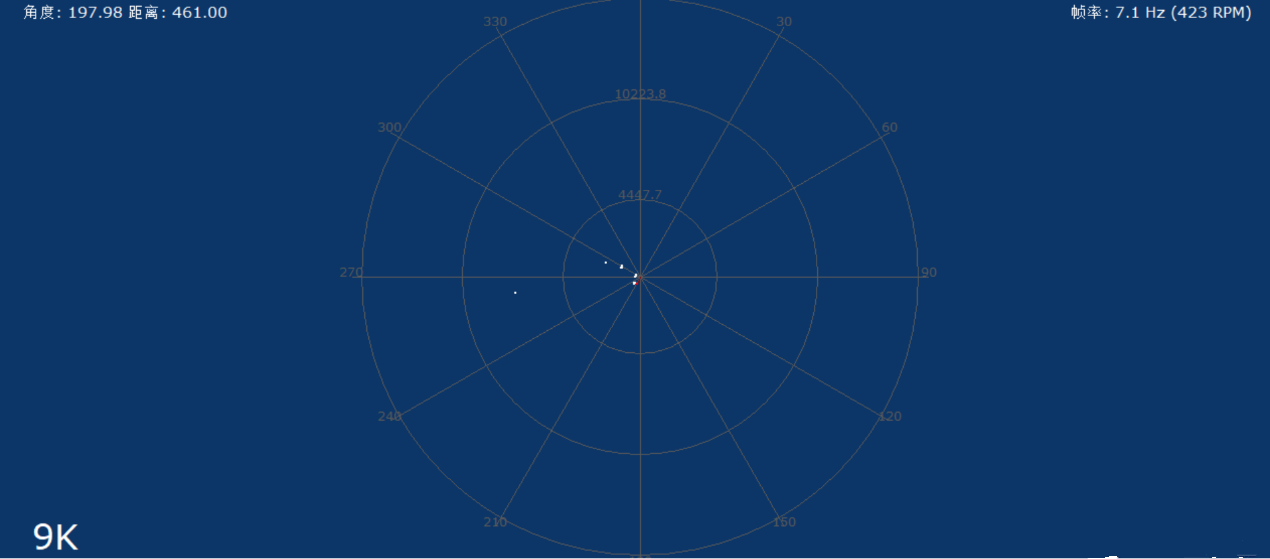
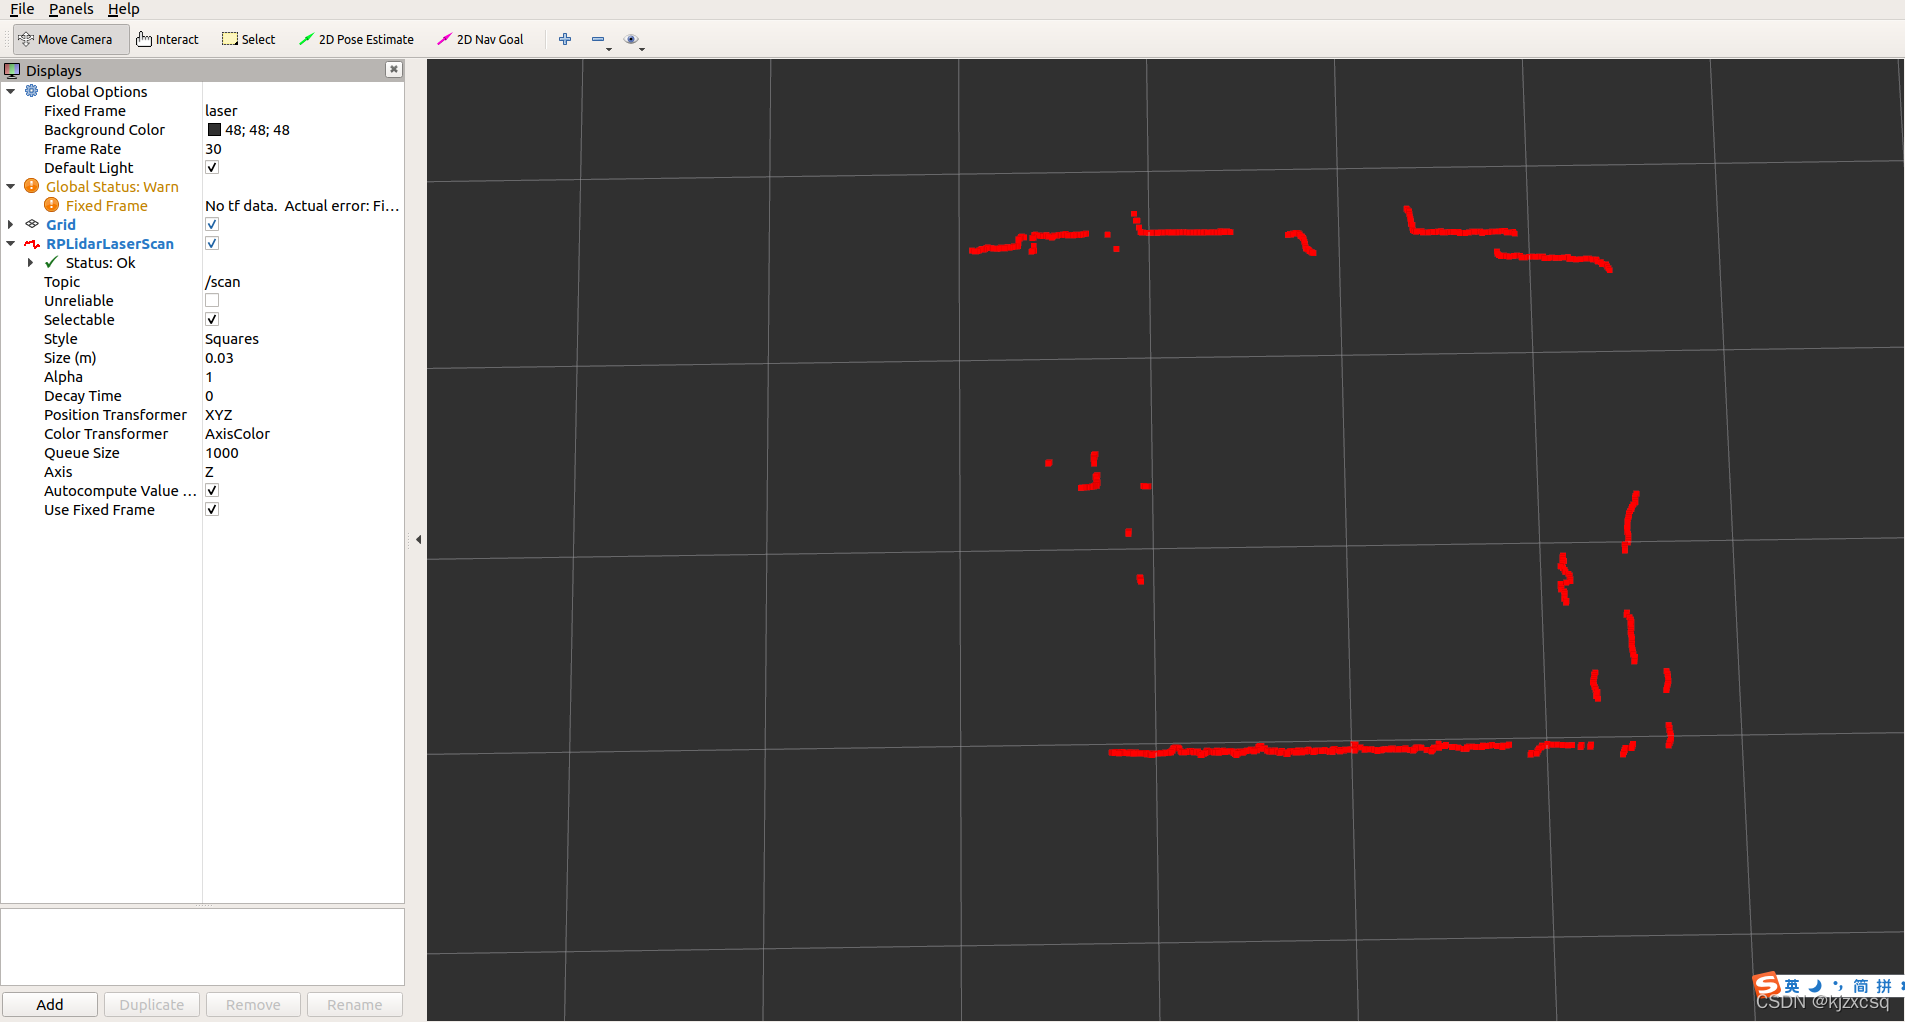
1.3 试一下效果
source devel/setup.bash
roslaunch rplidar_ros view_rplidar.launch
效果如图
2.部署cartographer
参考官方文档
sudo apt-get update
sudo apt-get install -y python3-wstool python3-rosdep ninja-build stow# 此处为cartographer新建了一个ws
mkdir carto_ws
cd carto_ws
wstool init src
wstool merge -t src https://raw.githubusercontent.com/cartographer-project/cartographer_ros/master/cartographer_ros.rosinstall
wstool update -t src# 安装依赖
# 如果安装ROS的时候执行过'sudo rosdep init',那么这里会报错,报错可以忽略
sudo rosdep init
rosdep update
rosdep install --from-paths src --ignore-src --rosdistro=${ROS_DISTRO} -y# 安装abseil-cpp library
src/cartographer/scripts/install_abseil.sh# 编译并安装
catkin_make_isolated --install --use-ninja
试一下官方给的demo
wget -P ~/Downloads https://storage.googleapis.com/cartographer-public-data/bags/backpack_2d/cartographer_paper_deutsches_museum.bag
source install_isolated/setup.bash
roslaunch cartographer_ros demo_backpack_2d.launch bag_filename:=${HOME}/Downloads/cartographer_paper_deutsches_museum.bag
这里是2D的bag,3D的文件太大,故没有下载
如果成功了则可进行下一步
3.使用自己的激光雷达数据
3.1 修改revo_lds.lua
gedit carto_ws/src/cartographer_ros/cartographer_ros/configuration_files/revo_lds.lua我的lua如下:
include "map_builder.lua"
include "trajectory_builder.lua"options = {
map_builder = MAP_BUILDER,
trajectory_builder = TRAJECTORY_BUILDER,
map_frame = "map",
tracking_frame = "laser",
published_frame = "laser",
odom_frame = "base_link",
provide_odom_frame = true,
publish_frame_projected_to_2d = false,
use_pose_extrapolator = true,
use_odometry = false,
use_nav_sat = false,
use_landmarks = false,
num_laser_scans = 1,
num_multi_echo_laser_scans = 0,
num_subdivisions_per_laser_scan = 1,
num_point_clouds = 0,
lookup_transform_timeout_sec = 0.2,
submap_publish_period_sec = 0.3,
pose_publish_period_sec = 5e-3,
trajectory_publish_period_sec = 30e-3,
rangefinder_sampling_ratio = 1.,
odometry_sampling_ratio = 1.,
fixed_frame_pose_sampling_ratio = 1.,
imu_sampling_ratio = 1.,
landmarks_sampling_ratio = 1.,
}MAP_BUILDER.use_trajectory_builder_2d = true
TRAJECTORY_BUILDER_2D.submaps.num_range_data = 35
TRAJECTORY_BUILDER_2D.min_range = 0.3
TRAJECTORY_BUILDER_2D.max_range = 8.
TRAJECTORY_BUILDER_2D.missing_data_ray_length = 1.
TRAJECTORY_BUILDER_2D.use_imu_data = false
TRAJECTORY_BUILDER_2D.use_online_correlative_scan_matching = true
TRAJECTORY_BUILDER_2D.real_time_correlative_scan_matcher.linear_search_window = 0.1
TRAJECTORY_BUILDER_2D.real_time_correlative_scan_matcher.translation_delta_cost_weight = 10.
TRAJECTORY_BUILDER_2D.real_time_correlative_scan_matcher.rotation_delta_cost_weight = 1e-1POSE_GRAPH.optimization_problem.huber_scale = 1e2
POSE_GRAPH.optimize_every_n_nodes = 35
POSE_GRAPH.constraint_builder.min_score = 0.65return options
3.2 修改demo_revo_lds.launch
gedit carto_ws/src/cartographer_ros/cartographer_ros/launch/demo_revo_lds.launch我的launch如下:
<launch>
<param name="/use_sim_time" value="false" /><node name="cartographer_node" pkg="cartographer_ros"
type="cartographer_node" args="
-configuration_directory $(find cartographer_ros)/configuration_files
-configuration_basename revo_lds.lua"
output="screen">
<remap from="scan" to="scan" />
</node><node name="cartographer_occupancy_grid_node" pkg="cartographer_ros"
type="cartographer_occupancy_grid_node" args="-resolution 0.05" /><node name="rviz" pkg="rviz" type="rviz" required="true"
args="-d $(find cartographer_ros)/configuration_files/demo_2d.rviz" />
</launch>
3.3 再次编译
cd carto_ws
catkin_make_isolated --install --use-ninja
4.试一下效果
roslaunch rplidar_ros rplidar.launch
roslaunch cartographer_ros demo_revo_lds.launch
如果找不到包,记得source setup.bash
效果如下

5.参考文章
Cartographer ROS Integration — Cartographer ROS documentation
使用思岚A2激光雷达结合cartographer建图算法手持建图_这个昵称已已已存在的博客-CSDN博客_cartographer手持建图
