目录
背景
环境
宿主机环境安装
创建与安装Centos7.8虚机
虚机设置
安全相关
安装ACPI服务
安装cloud-init
安装cloud-utils-growpart
停⽌虚拟机
删除个性化信息
模板化与压缩
登录与验证
背景
今天早上在Centos官网下载的CentOS-7-aarch64-GenericCloud-2003.qcow2疑似没法用于在博主的yoga版本OpenStack,想着自己做一个得了
一般的镜像文件在上传OpenStack之后也无法正常进行安装,有官方提供云镜像的下载会限定OpenStack版本,可能出现无法兼容的情况,也可以通过自己根据需要虚拟化安装之后打包,这里介绍的是centos9-stream环境下通过kvm对Centos7.8版本镜像进行打包的操作。
之所以使用图形化是因为还有很多不熟悉virsh工具的兄弟,也不会使用vnc访问kvm虚机,直接使用virt-manager更为直观也更容易理解
环境
VMwareworkstation 17 Pro(打开VT)
CentOS Stream release 9
——网络NAT,用以管理
——100G硬盘,不要太小就行随意
——4G内存4Core,随意
镜像:
CentOS-7-x86_64-DVD-2003.iso
宿主机环境安装
#我这是个刚安装的stream系统,相当于从零开始了
#安装kvm的环境
yum update
yum -y install qemu-kvm qemu-kvm-tools virt-install qemu-img libvirt virt-manager#一些安全方面的设置
sed -i 's/#PermitRootLogin.*/PermitRootLogin yes/' /etc/ssh/sshd_config
systemctl restart sshd
systemctl disable firewalld.service --now
sed -i 's/^SELINUX=.*/SELINUX=disable/' /etc/selinux/config
setenforce 0#libvirtd守护进程默认没有启动会报错,将其启动
systemctl enable libvirtd --now#获取镜像,我使用的是CentOS-7-x86_64-DVD-2003.iso,也就是Centos7.8的镜像,上传到根目录下#正经封装时候可以选择minimal镜像,体积比较小#打开virt-manager
virt-manager
创建与安装Centos7.8虚机
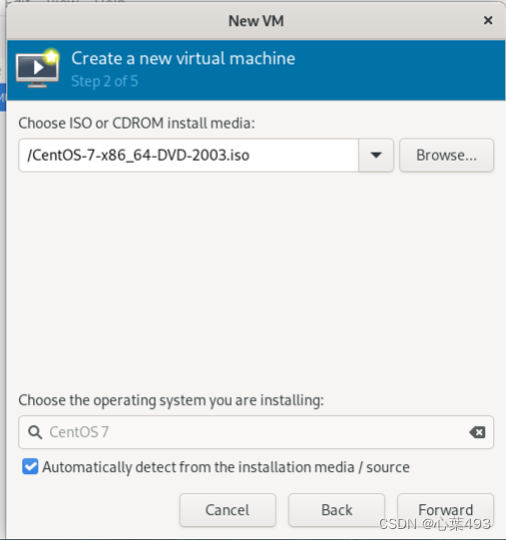
设置内存4G、CPU 4core、硬盘10G 博主刚刚用2G内存直接卡住了,所以设大了点,你们操作中如果用的是minimal的iso可以设小点

网络默认NAT即可,直接开装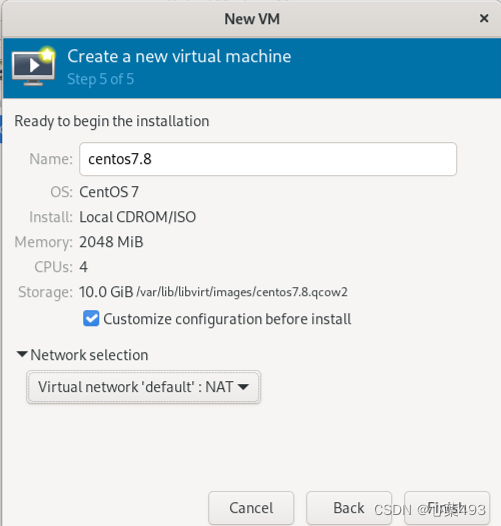
安装Centos7.8虚机
——英文
——时区上海
——minimal安装
——内核捕捉KDUMP随意
——打开网络
——主机名自定义成centos7.8-template
——手动分区,使用标准分区 如图所示swap分2G,boot分2G,根目录分6G

虚机设置
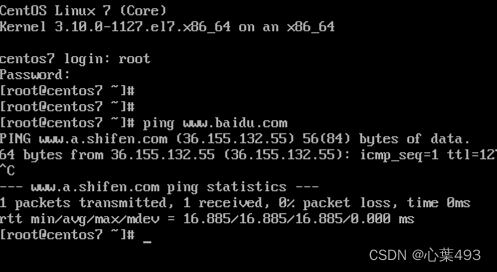
#看下能不能连上网
#我这个镜像直接就有yum源了,不需要再修改repo,意思一下
yum repolist
yum makecache
安全相关
systemctl disable firewalld.service --now
sed -i 's/^SELINUX=.*/SELINUX=disable/' /etc/selinux/config
setenforce 0
安装ACPI服务
#用于控制重启和关闭实例
yum install -y acpid
systemctl enable acpid --now
安装cloud-init
yum install -y cloud-init
systemctl enable cloud-init
安装cloud-utils-growpart
#允许分区调整
yum -y install cloud-utils-growpart
停⽌虚拟机
init 0
删除个性化信息
#宿主机安装工具
yum install -y libguestfs-tools
yum install -y guestfs-tools#使用virt-sysprep删除bash-history
#我的VM名就是centos7.8,所以用的是centos7.8
virt-sysprep -d centos7.8
virt-sysprep --enable bash-history -d centos7.8#释放虚拟机,脱离virsh纳管
virsh undefine centos7.8
模板化与压缩
释放后磁盘位置在/var/lib/libvirt/images/
#精简置备磁盘
mkdir /iso
qemu-img convert -c -O qcow2 /var/lib/libvirt/images/centos7.8.qcow2 /iso/centos7.8.qcow2#压缩前11G,压缩后880M


登录与验证
拷⻉镜像到openstack环境
glance image-create --name centos7.8-template --disk-format qcow2 --container-format bare --visibility public --progress < /image/openstack/centos7.8.qcow2
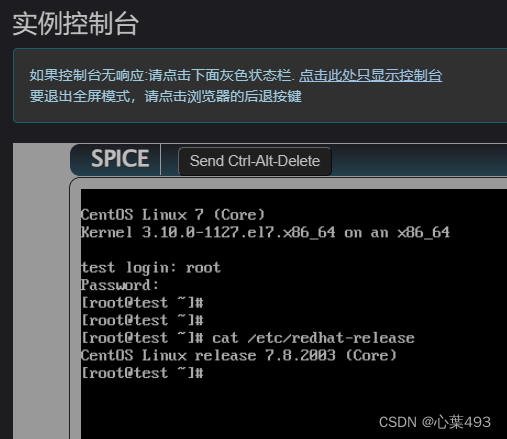
创建实例时,可以使用cloud-init脚本,对实例的账号密码,域名等进行修改
lsblk
可以看到boot和swap都还是2G,根分区随着我实例给了它30G,动态增大到了26G同时,fs文件系统也动态变大了


