一、LinkedList(无头双向链表)
在之前的学习中,我们已经学习过"单向链表"并通过做题加深了对"单向链表"的认知,而今天我们继续来学习链表,也就是"无头双向链表"~
在了解"无头双向链表"之前,我们先回想一下,之前的"单向链表"是何种形状的了?

是的,就是这种通过存储下一位地址的形式,结点与结点之间相连接的链表~
而"无头双向链表"和它的区别都有什么呢?
📕 无头双向链表没有头结点
📕 双向链表能够进行前后访问,所以应该存储两个结点的地址
那么找到了不同点,让我们思考一下"无头双向链表"应该是何种形状的吧:

这下我们就清楚了双向链表的结构,并且也清楚了双向链表中的"结点"应该如何构造了~
二、LinkedList的模拟实现
① 双向链表的基本框架
我们先看一下,想要模拟实现LinkedList,我们需要实现的方法都有哪些:
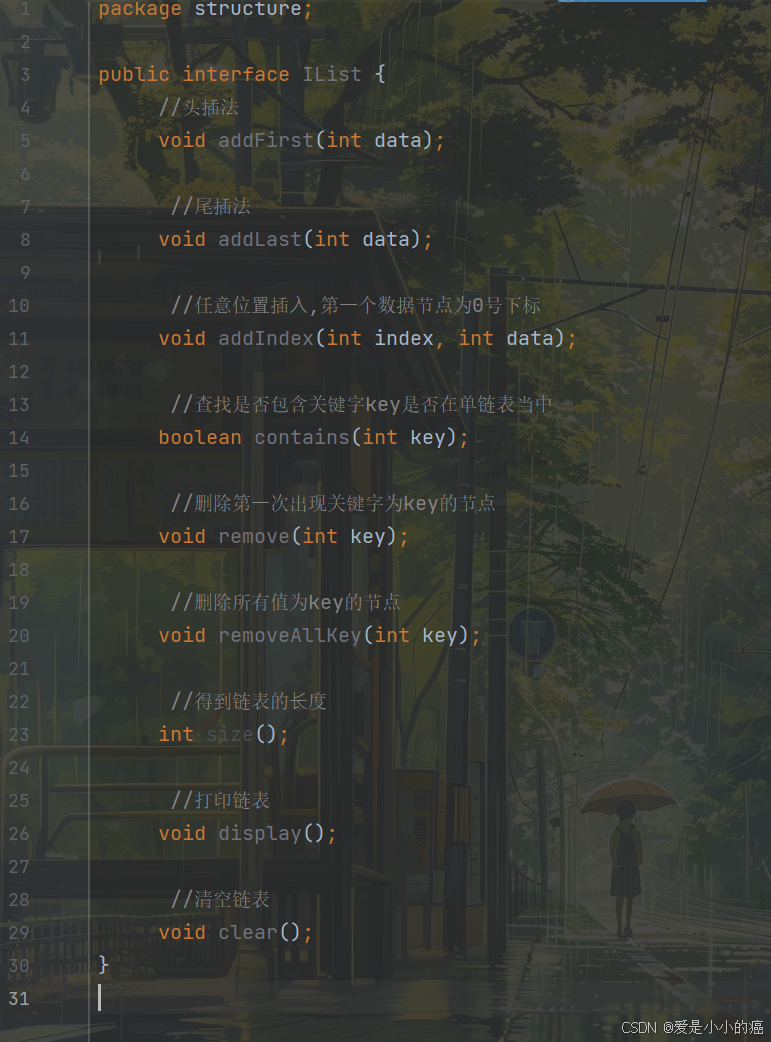
然后我们再将LinkedList作为IList的实现类,在LinkedList中将这些方法一一实现~
上面我们分析过,双向链表的结构是可左右访问的,并且我们的双向链表可以从前往后遍历,也可以从后往前遍历。则可以知道结点包含的基本要素:
📕 结点需要包含"next"(上一结点地址),"prev"(下一结点地址)。
同时别忘了在链表中还要加上"head"(头结点),"last"(尾结点)。
所以我们现在能够确定"MyLinkedList"的基本框架大概是这样:
java">public class MyLinkedList implements IList {static class ListNode {private int val;private ListNode next;private ListNode prev;public ListNode(int val) {this.val = val;}}public ListNode head;public ListNode last;
}
② addFirst 方法
"addFirst"方法的作用是将一个元素添加到链表的头部位置,该元素成为链表中的第一个结点,并且原先的头结点也将成为新插入元素的下一个结点。
虽然书写的是双向链表模拟实现,但其实与单向链表也是一个思想~就是在头部插入一个元素。
而与单向链表的addFirst稍有不同的是,我们除了对next(后继)进行操作,还需要对prev(前驱)进行操作。
📕 使新头结点node后接原来的头结点head,再使旧头结点head前驱设置为node
📕 最后将head = node
你以为这就完啦?别忘了,还有种可能是head == null呀:
📕 当链表为空时,node既是头结点也是尾结点
📖 代码示例:
java"> public void addFirst(int data) {ListNode node = new ListNode(data);if(head == null){head = node;last = node;return;}node.next = head;head.prev = node;head = node;}③ display 方法
"display"方法的作用是将链表中的元素从头到尾遍历并打印出来。
打印链表的方法,和单链表其实是一样的,我们只需要创建一个等于head的结点,使它不为null的时候一直向后访问即可~
📖 代码示例:
java"> public void display() {System.out.print("[");ListNode cur = head;while(cur != null){System.out.print(cur.val);if(cur.next != null){System.out.print(", ");}cur = cur.next;}System.out.print("]");}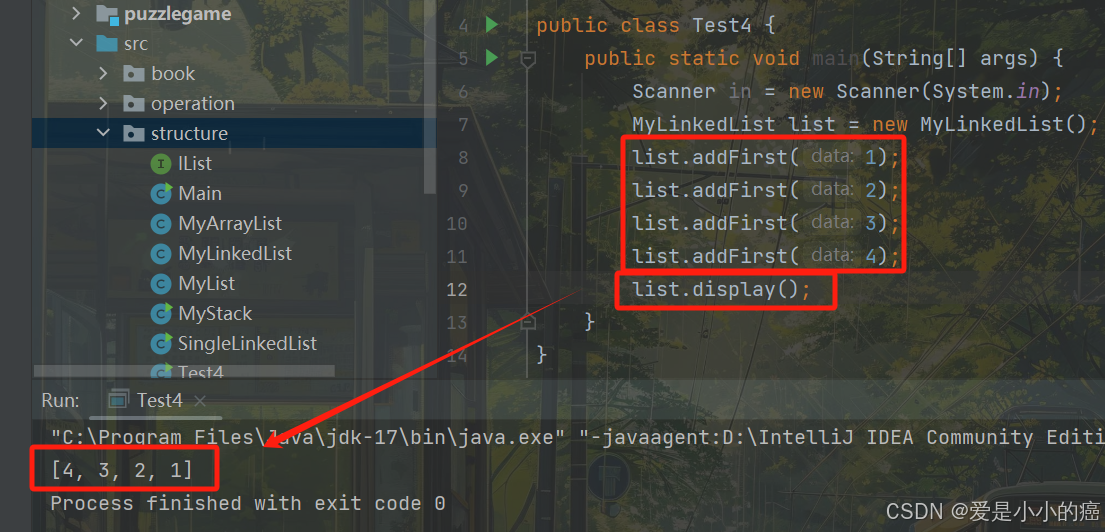
这样看来,addFirst方法和display方法都没问题~
④ addLast 方法
"addLast"方法的作用是将一个元素添加到链表的尾部。
和单向链表也是基本上一致的,尾部插入新结点后,将last改换成新结点,但注意有以下注意点:
📕 当链表为空时,node既是头结点也是尾结点
📕 切换尾结点时,记得将新结点的prev设成原来的last
📖 代码示例:
java"> public void addLast(int data) {ListNode node = new ListNode(data);if(head == null){head = node;last = node;return;}last.next = node;node.prev = last;last = node;}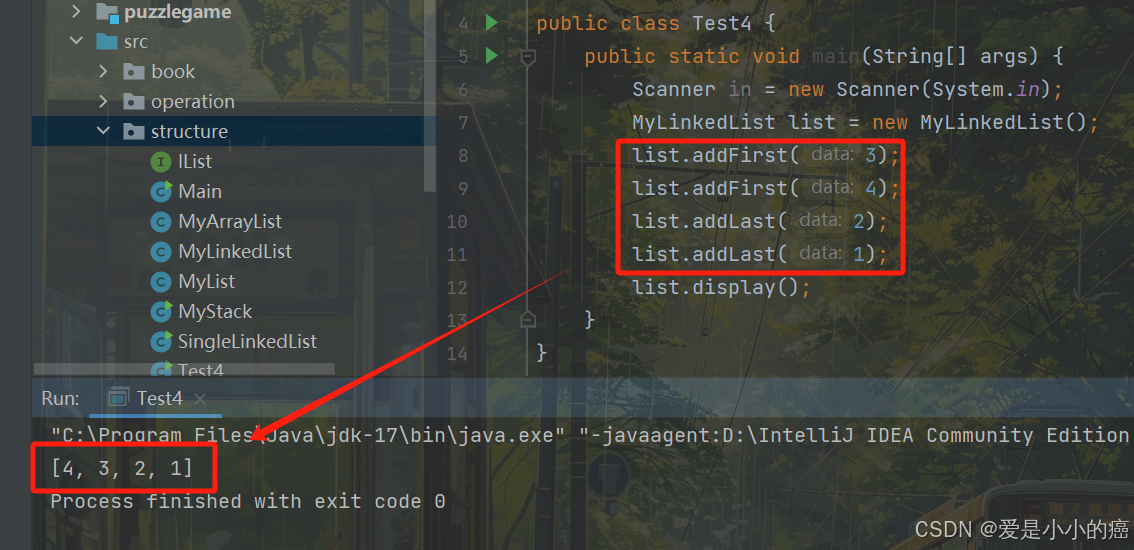
⑤ addIndex 方法
"addIndex"方法的作用是在链表的指定位置处插入元素。
双向链表的addIndex就和单向链表不太一样了,之前我们使用单向链表时,如果想在位置3插入一个结点,那么我们就要找到它的前一个结点进行操作,而这是因为"单向链表无法对上一结点进行访问,只能对下一个结点进行访问"。
而我们的双向链表则不同了,我们既可以访问前驱,也可以访问后继,所以我们直接找到对应位置的结点进行操作就可以了,而具体怎么操作,我们来看图:
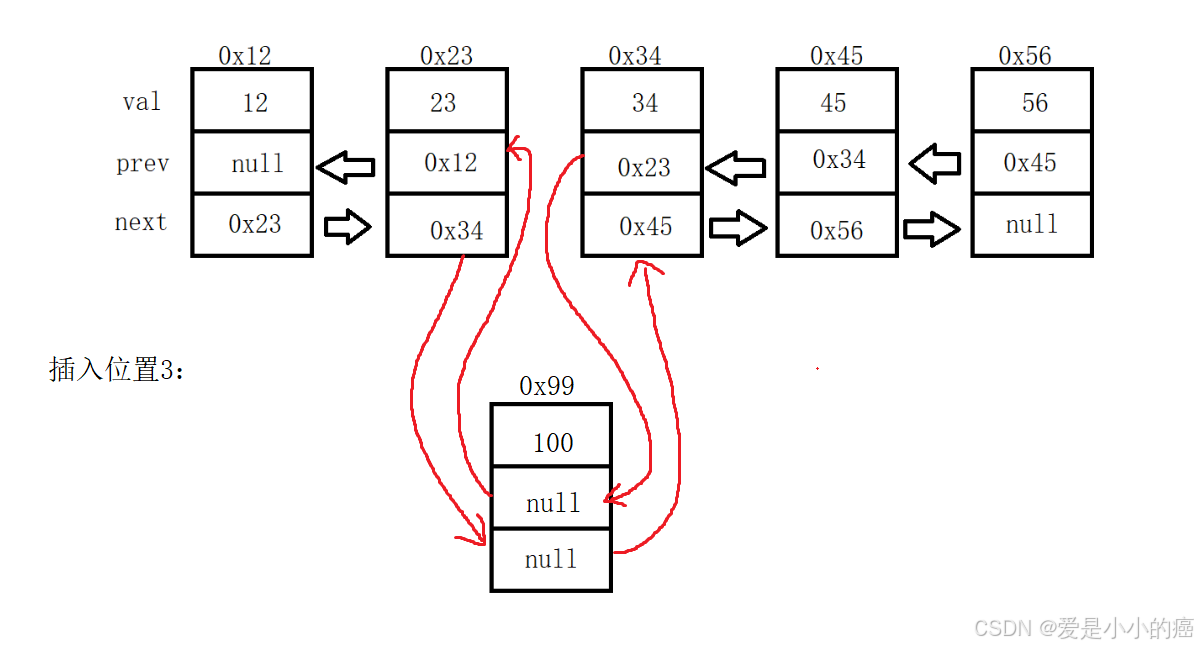
大概就是这样的操作,但是想要实现这样的操作,还是必须要对步骤严格要求的,接下来我们看步骤:
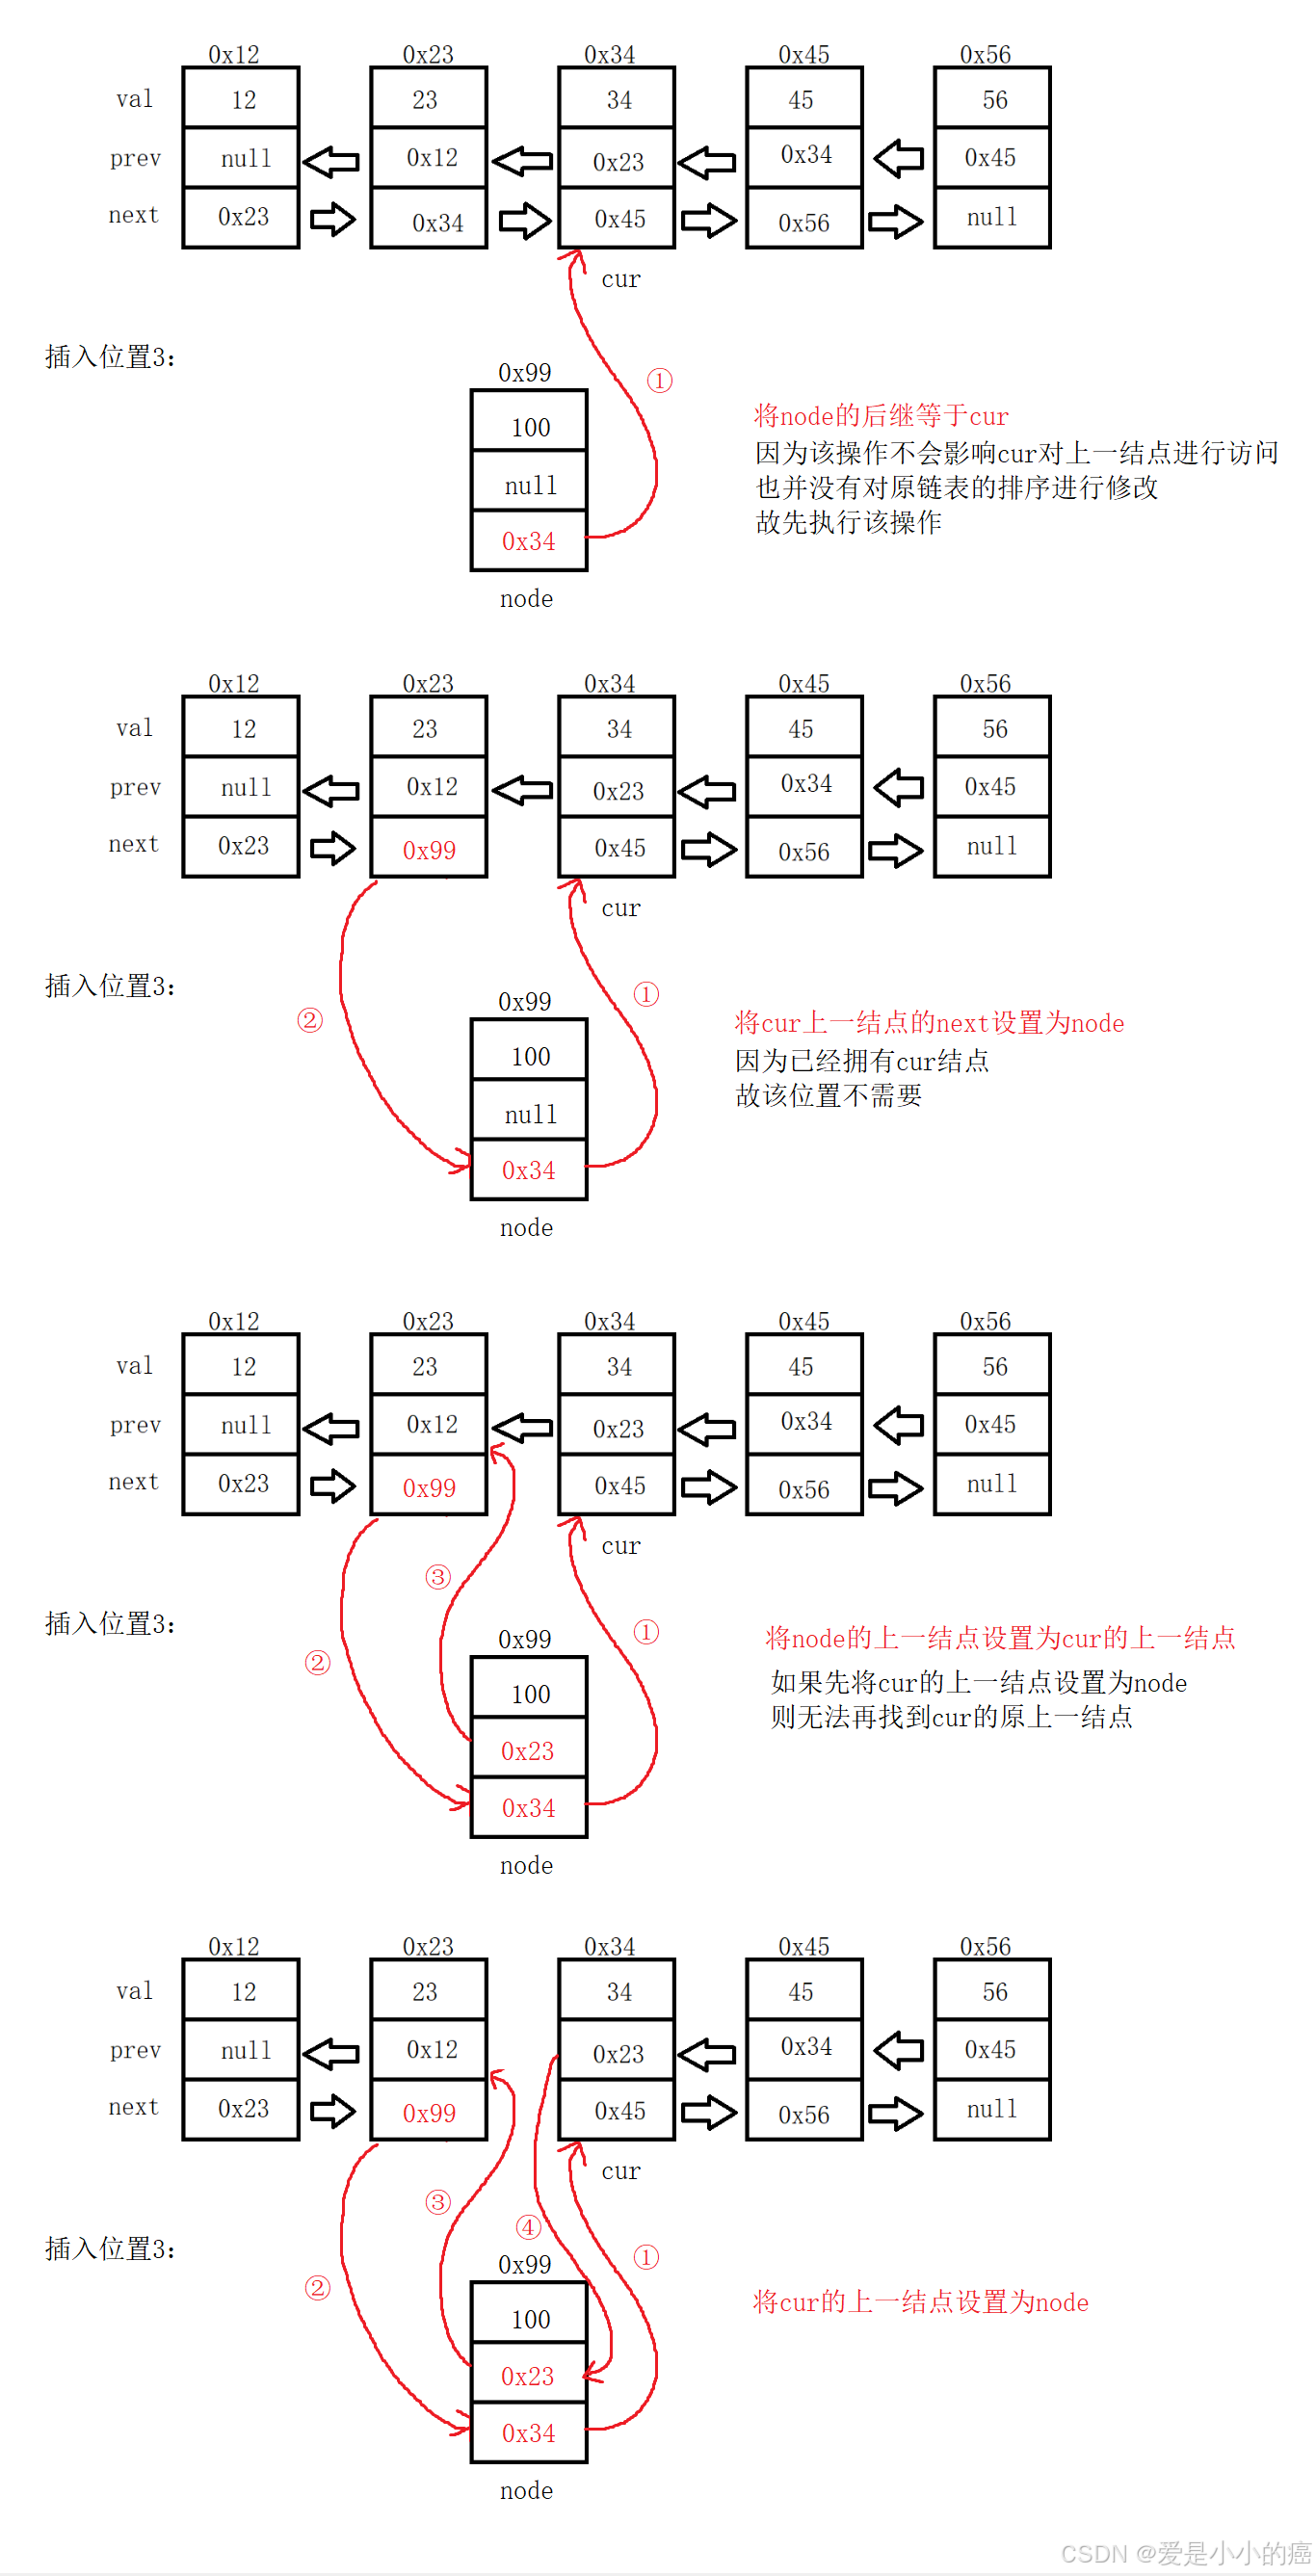
同时还需要注意一些其他情况:
📕 输入的位置 == 1,则直接头插
📕 输入的位置 == 链表长度,则直接尾插
📕 当链表为空时,node既是头结点也是尾结点
(为了方便讲解,我们这边就顺便写一些辅助方法)
① size方法:方法的作用是获取链表的长度
size就不用多提啦,很简单的,遍历链表就好了。
📖 代码示例(size):
java"> public int size() {int len = 0;ListNode node = head;while(node != null){len++;node = node.next;}return len;}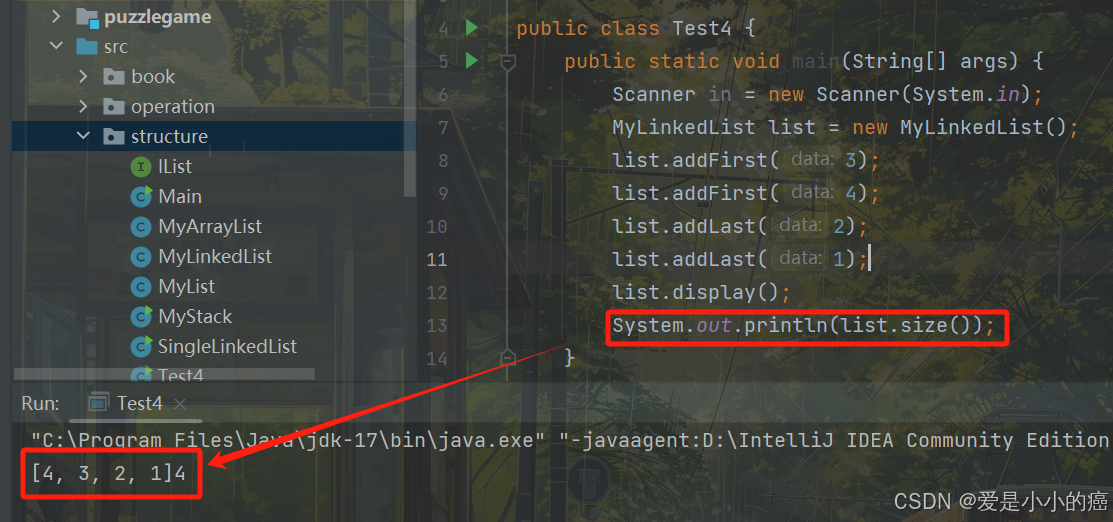
② findIndex方法:方法的作用是获取对应位置的结点
同样的,也是遍历链表就足够了,当我们遍历到目标位置的时候,返回该结点就可以啦~
📖 代码示例(findIndex):
java"> public ListNode findIndex(int index){ListNode cur = head;while(index-- > 0){cur = cur.next;}return cur;}③ 自定义异常:用于防止"index > size" 或者 "index < 0"等不合法的情况,并在适当时候抛出异常
📖 代码示例(自定义异常):
java">public class ListIndexOutOfBoundsException extends RuntimeException{public ListIndexOutOfBoundsException(){}public ListIndexOutOfBoundsException(String message){super(message);}
}
📖 代码示例(addIndex):
java"> public void addIndex(int index, int data) {if(index < 0 || index > size()){throw new ListIndexOutOfBoundsException("链表的index位置不合法");}if(index == 0){addFirst(data);return;}if(index == size()){addLast(data);return;}ListNode node = new ListNode(data);ListNode cur = findIndex(index);node.next = cur;cur.prev.next = node;node.prev = cur.prev;cur.prev = node;}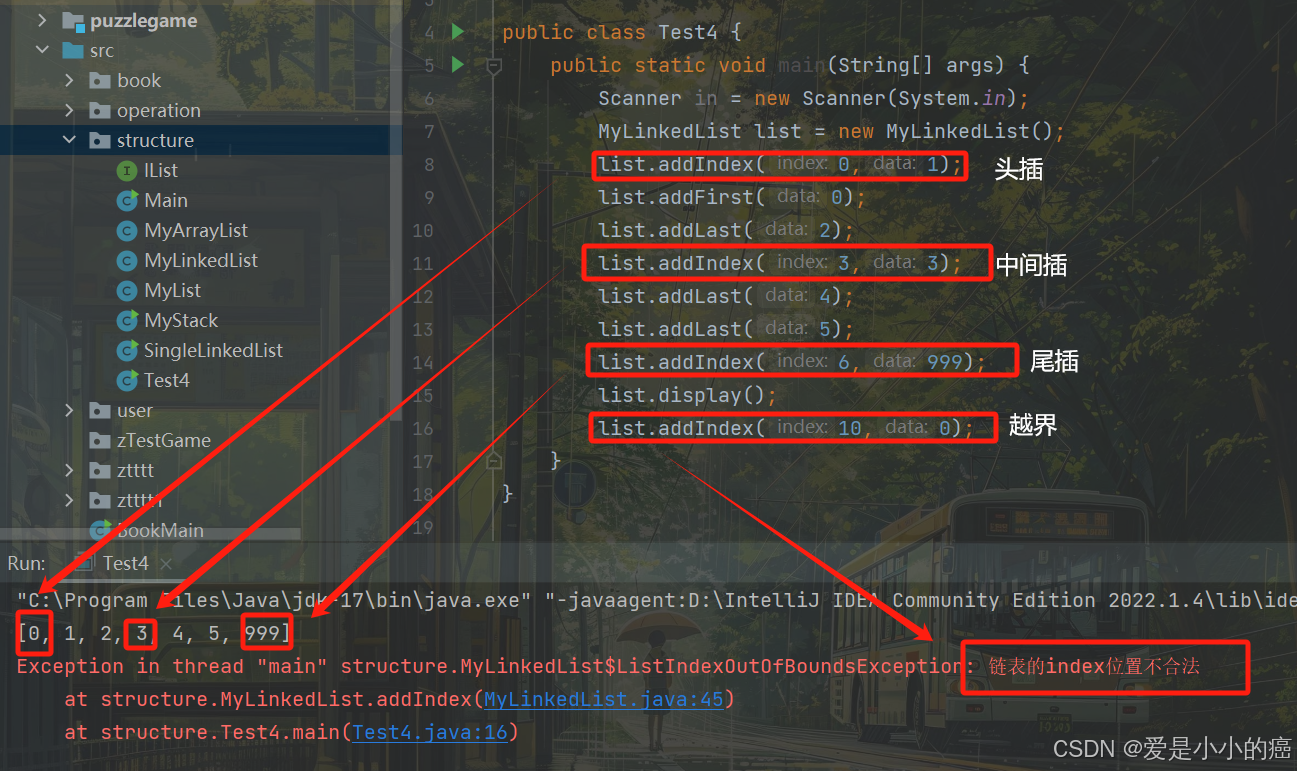
⑥ contains 方法
"contains"方法的作用是查找某元素是否存在链表中
这个方法与刚刚书写的"findIndex"差不多,同样遍历链表就足够了,如果遍历途中找到了对应的元素,我们就返回true,否则就返回false。
📖 代码示例:
java"> public boolean contains(int key) {ListNode cur = head;while(cur != null){if(cur.val == key){return true;}cur = cur.next;}return false;}⑦ remove 方法
"remove"方法的作用是将符合条件的第一个结点在链表中删除
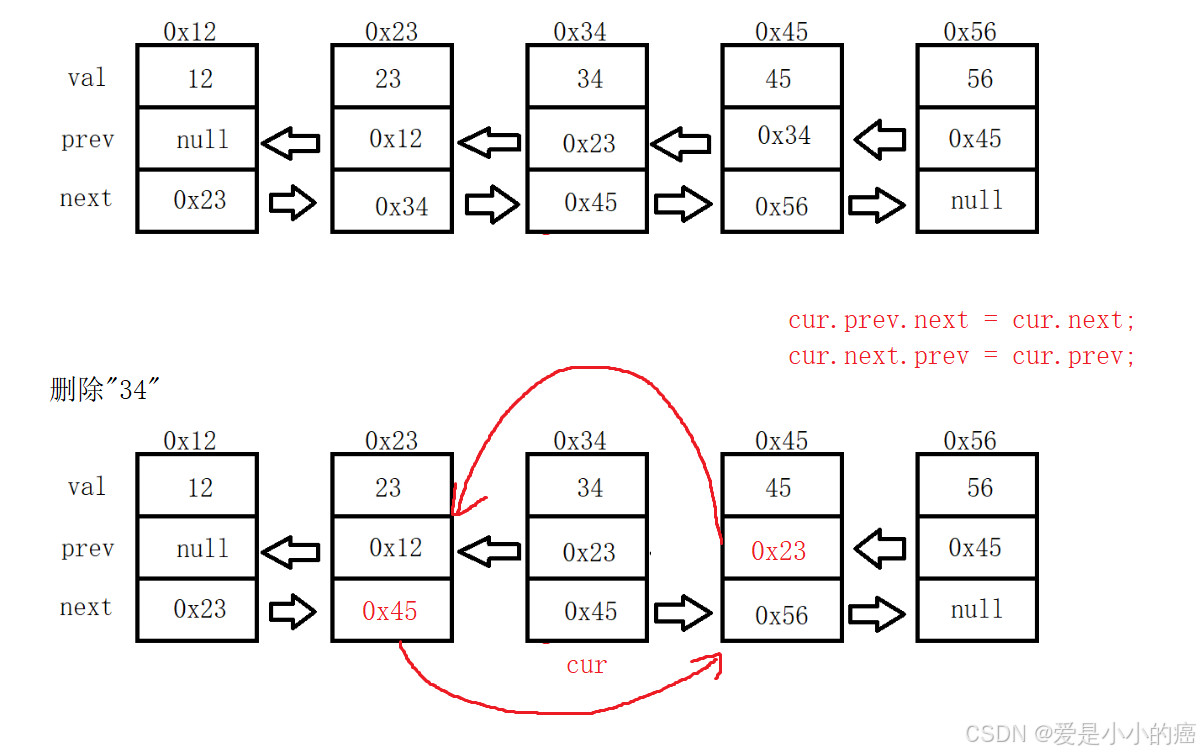
若是在之前,我们只需要将一个结点跳过就好了,而如今是双向链表,还是有一点不同的,除了考虑到next,我们还需要同时考虑到prev~
📕 找到指定结点,将它的"上一个的下一个"设置为它的"下一个"
📕 将它的"下一个的上一个"设置为它的"上一个"
那么我们接下来看看,流程是什么样的:
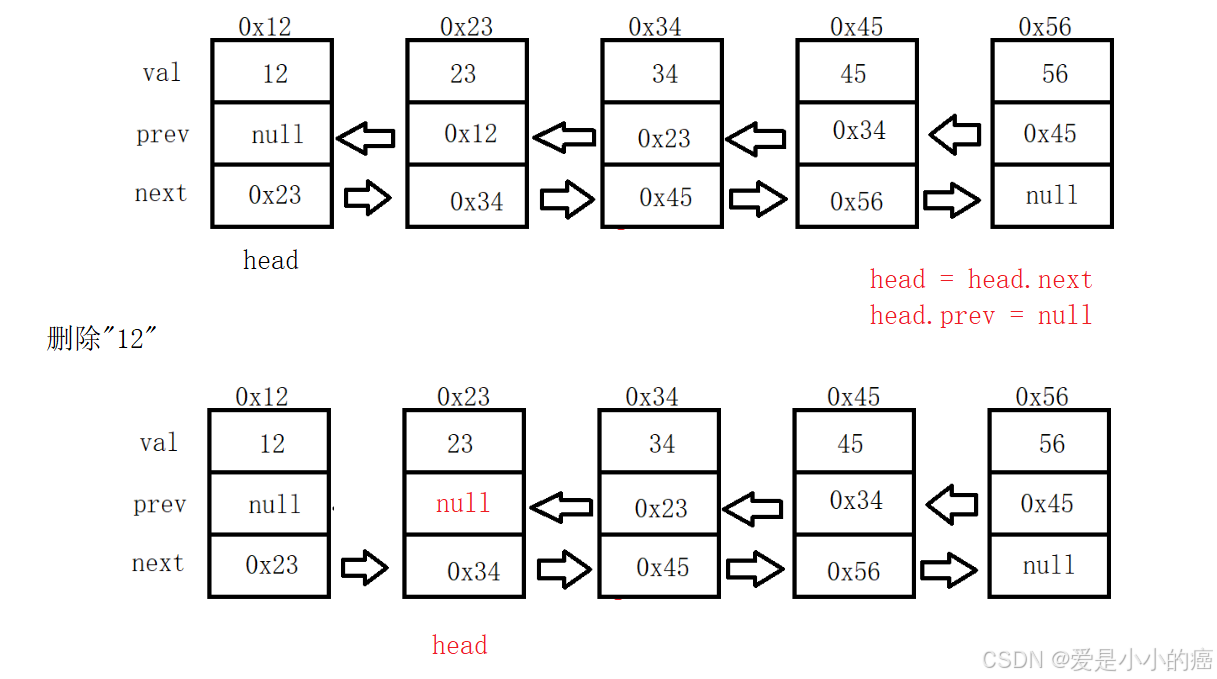
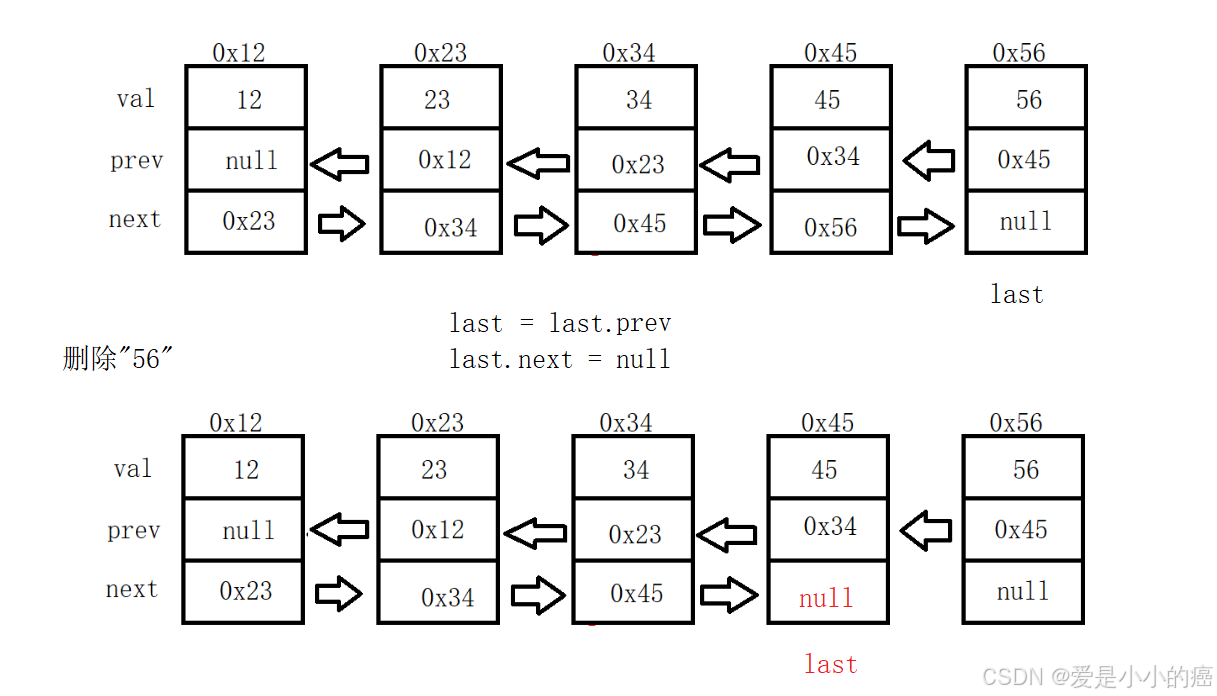
但这样可并不严谨哦,别忘了,使用链表时,记得时刻处理"头结点"和"尾结点"~
📕 当 cur == head 时
📕 当 cur == last 时
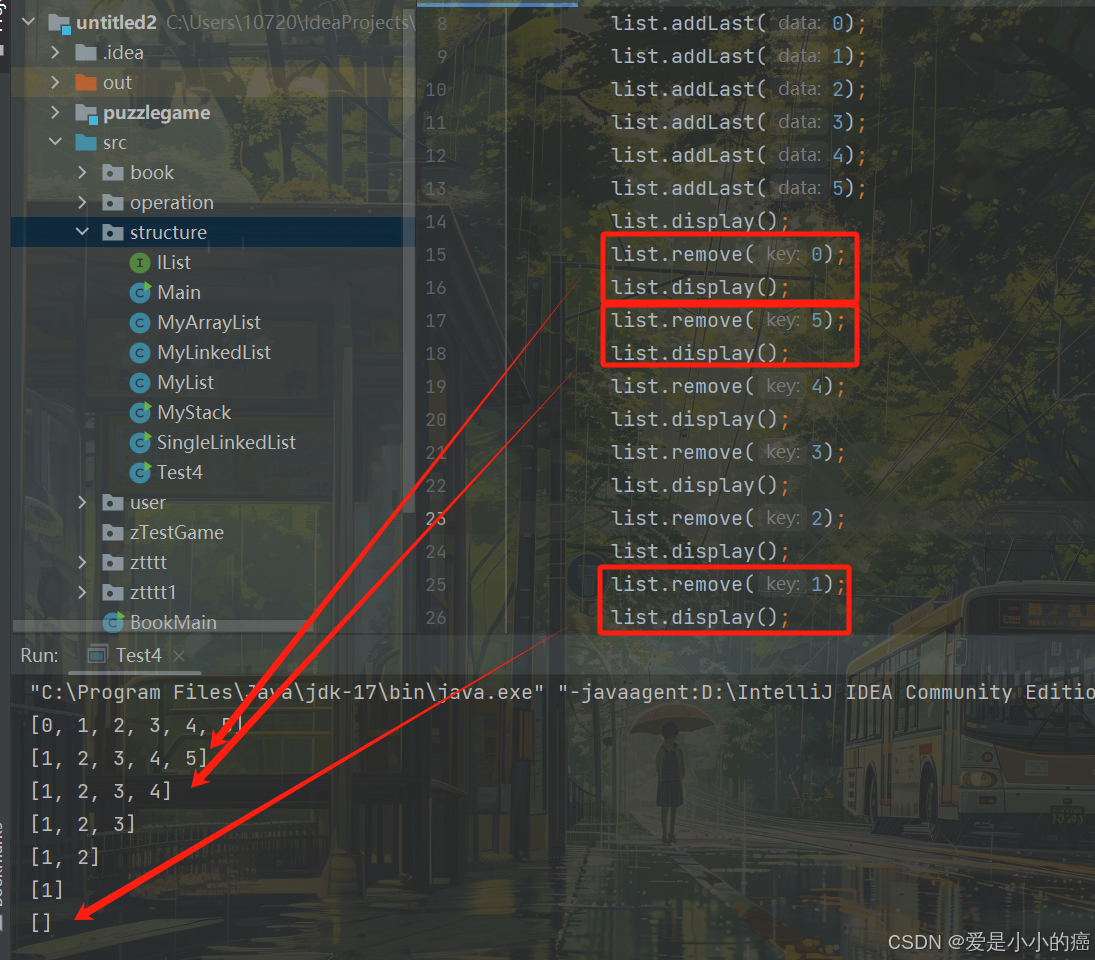
📕 当 cur == head && cur == last 时

📖 代码示例:
java"> public void remove(int key) {ListNode cur = head;while(cur != null){if(cur.val == key){//删除头结点if(cur == head) {head = head.next;if (head != null) {head.prev = null;}//删除尾结点}else if(cur == last){last = last.prev;if(last != null) {last.next = null;}}else{cur.prev.next = cur.next;cur.next.prev = cur.prev;}return;}cur = cur.next;}}
⑧ removeAllKey 方法
"removeAllKey"方法的作用是将全部符合要求的结点删除
该方法就和上面的remove方法基本上一致了,只不过在上面的remove中,删除一个结点后,我们就会通过return退出这个方法,而这个代码只需要将return删除就好了~
📖 代码示例:
java"> public void removeAllKey(int key) {ListNode cur = head;while(cur != null){if(cur.val == key){//删除头结点if(cur == head) {head = head.next;if (head != null) {head.prev = null;}//删除尾结点}else if(cur == last){last = last.prev;if(last != null) {last.next = null;}}else{cur.prev.next = cur.next;cur.next.prev = cur.prev;}}cur = cur.next;}}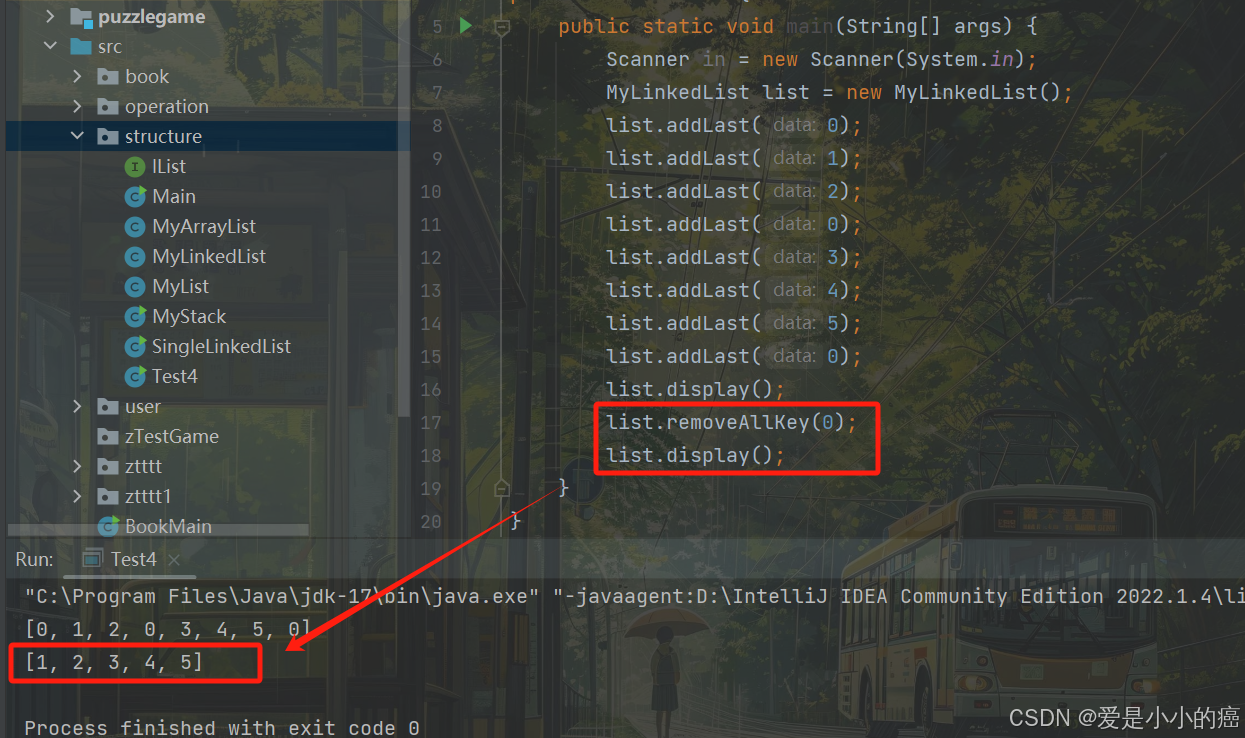
⑨ clear 方法
"clear"方法的作用是删除链表
对于删除链表,我们只需要遍历链表,将结点的next和prev都置空就好了~,别忘了,head和last也要都置空哦
📖 代码示例:
java"> public void clear() {ListNode cur = head;while(cur != null){ListNode curn = cur.next;cur.next = null;cur.prev = null;cur = curn;}head = null;last = null;}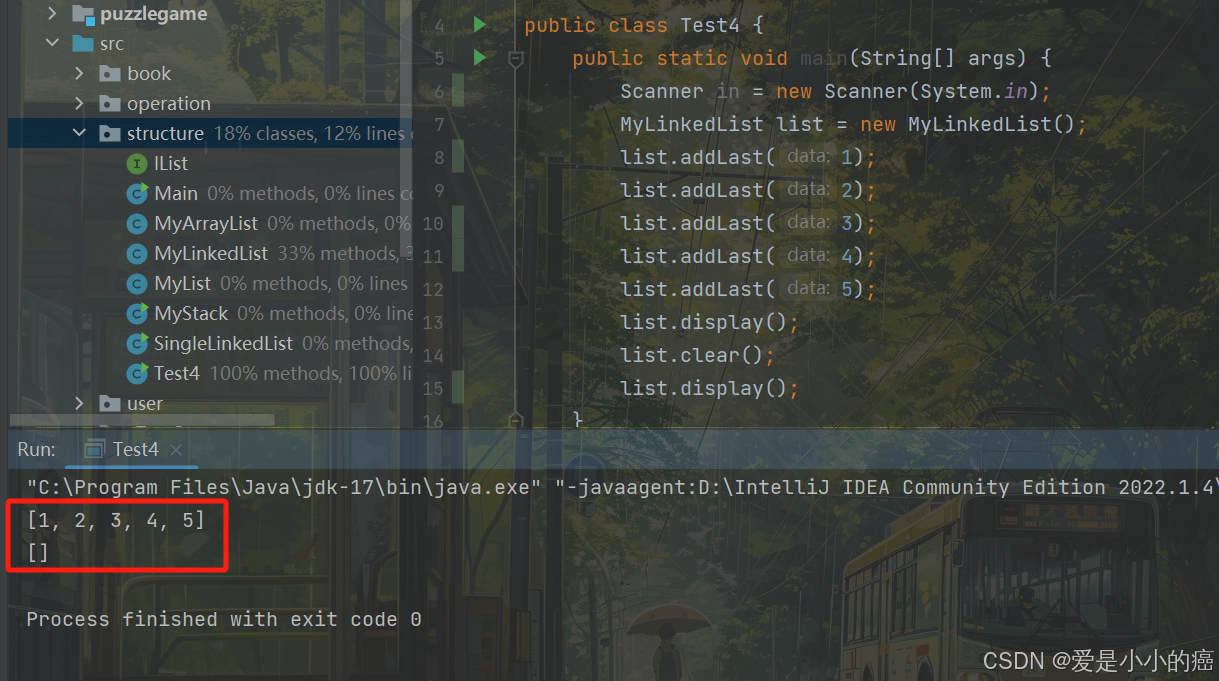
完整代码:
📖 Ilist接口
java">public interface IList {//头插法void addFirst(int data);//尾插法void addLast(int data);//任意位置插⼊,第⼀个数据节点为0号下标void addIndex(int index, int data);//查找是否包含关键字key是否在单链表当中boolean contains(int key);//删除第⼀次出现关键字为key的节点void remove(int key);//删除所有值为key的节点void removeAllKey(int key);//得到链表的⻓度int size();//打印链表void display();//清空链表void clear();
}
📖 MyLinkedList.java
java">public class MyLinkedList implements IList {static class ListNode {private int val;private ListNode next;private ListNode prev;public ListNode(int val) {this.val = val;}}public ListNode head;public ListNode last;@Overridepublic void addFirst(int data) {ListNode node = new ListNode(data);if(head == null){head = node;last = node;return;}node.next = head;head.prev = node;head = node;}@Overridepublic void addLast(int data) {ListNode node = new ListNode(data);if(head == null){head = node;last = node;return;}last.next = node;node.prev = last;last = node;}@Overridepublic void addIndex(int index, int data) {if(index < 0 || index > size()){throw new ListIndexOutOfBoundsException("链表的index位置不合法");}if(index == 0){addFirst(data);return;}if(index == size()){addLast(data);return;}ListNode node = new ListNode(data);ListNode cur = findIndex(index);node.next = cur;cur.prev.next = node;node.prev = cur.prev;cur.prev = node;}public ListNode findIndex(int index){ListNode cur = head;while(index-- > 0){cur = cur.next;}return cur;}@Overridepublic boolean contains(int key) {ListNode cur = head;while(cur != null){if(cur.val == key){return true;}cur = cur.next;}return false;}@Overridepublic void remove(int key) {ListNode cur = head;while(cur != null){if(cur.val == key){//删除头结点if(cur == head) {head = head.next;if (head != null) {head.prev = null;}//删除尾结点}else if(cur == last){last = last.prev;if(last != null) {last.next = null;}}else{cur.prev.next = cur.next;cur.next.prev = cur.prev;}return;}cur = cur.next;}}@Overridepublic void removeAllKey(int key) {ListNode cur = head;while(cur != null){if(cur.val == key){//删除头结点if(cur == head) {head = head.next;if (head != null) {head.prev = null;}//删除尾结点}else if(cur == last){last = last.prev;if(last != null) {last.next = null;}}else{cur.prev.next = cur.next;cur.next.prev = cur.prev;}}cur = cur.next;}}@Overridepublic int size() {int len = 0;ListNode node = head;while(node != null){len++;node = node.next;}return len;}@Overridepublic void display() {System.out.print("[");ListNode cur = head;while(cur != null){System.out.print(cur.val);if(cur.next != null){System.out.print(", ");}cur = cur.next;}System.out.print("]");System.out.println();}@Overridepublic void clear() {ListNode cur = head;while(cur != null){ListNode curn = cur.next;cur.next = null;cur.prev = null;cur = curn;}head = null;last = null;}public static class ListIndexOutOfBoundsException extends RuntimeException{public ListIndexOutOfBoundsException(){}public ListIndexOutOfBoundsException(String message){super(message);}}
}
三、LinkedList的使用
还记得我们之前学习顺序表时候,为了学习List所看的图嘛?
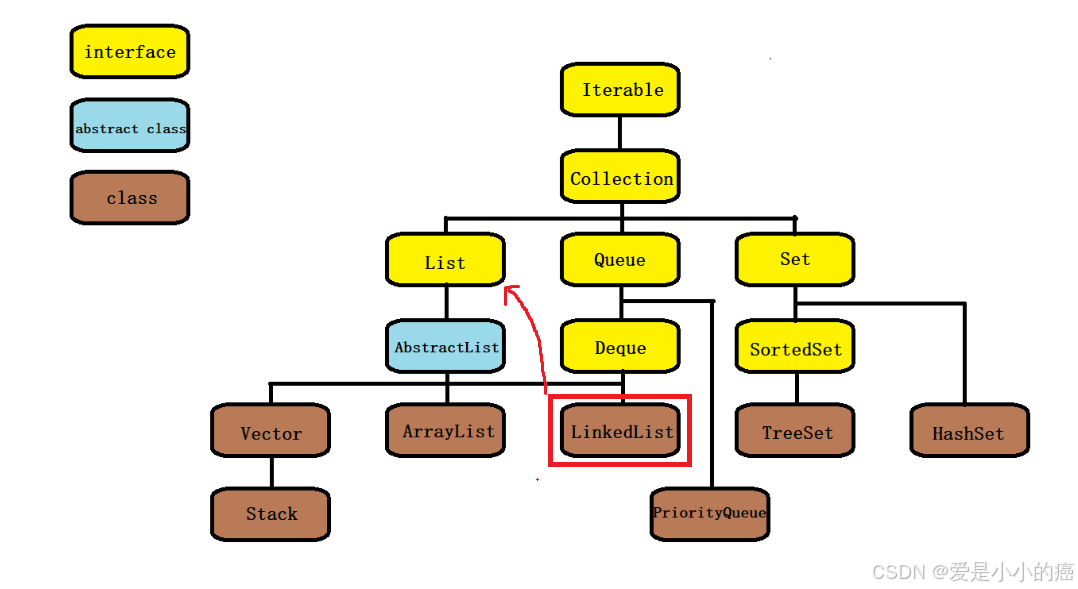
是的,由此图能够看出以下结论:
📕 LinkedList实现了List接口
📕 LinkedList的底层使用了双向链表
📕 LinkedList的任意位置插入删除效率很高,时间复杂度为O(1)
📕 LinkedList适合频繁使用插入操作的场景
① LinkedList的构造
LinkedList():无参构造
java"> public static void main(String[] args) {Scanner in = new Scanner(System.in);//无参构造LinkedList<Integer> list = new LinkedList<>();}public LinkedList(Collection<? extends E>c):使用其他集合容器中元素构造List
java"> public static void main(String[] args) {Scanner in = new Scanner(System.in);//使用其他集合容器中元素构造ListList<String> list1 = new ArrayList<>();List<String> list2 = new LinkedList<>(list1);LinkedList<String> list3 = new LinkedList<>(list1);}② LinkedList的常用方法
1. add 方法
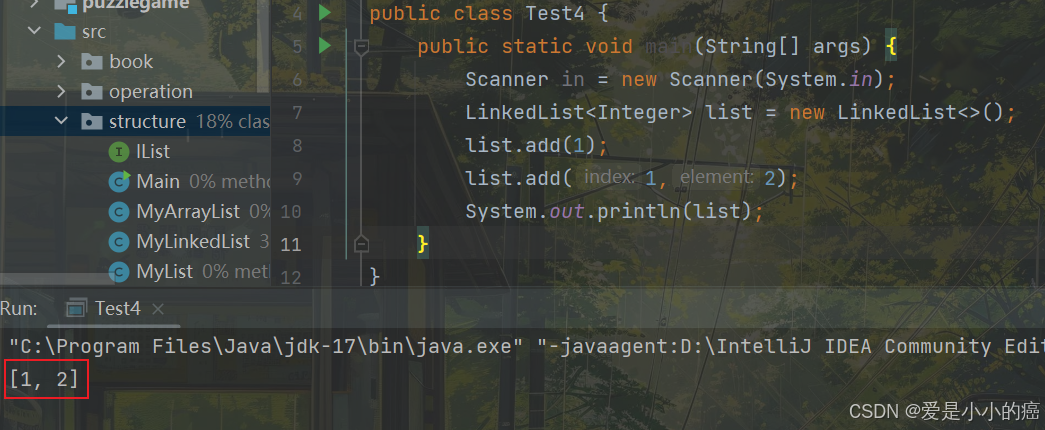
add(E e):尾插元素 e
add(int index,E element):将 e 插入到 index 位置
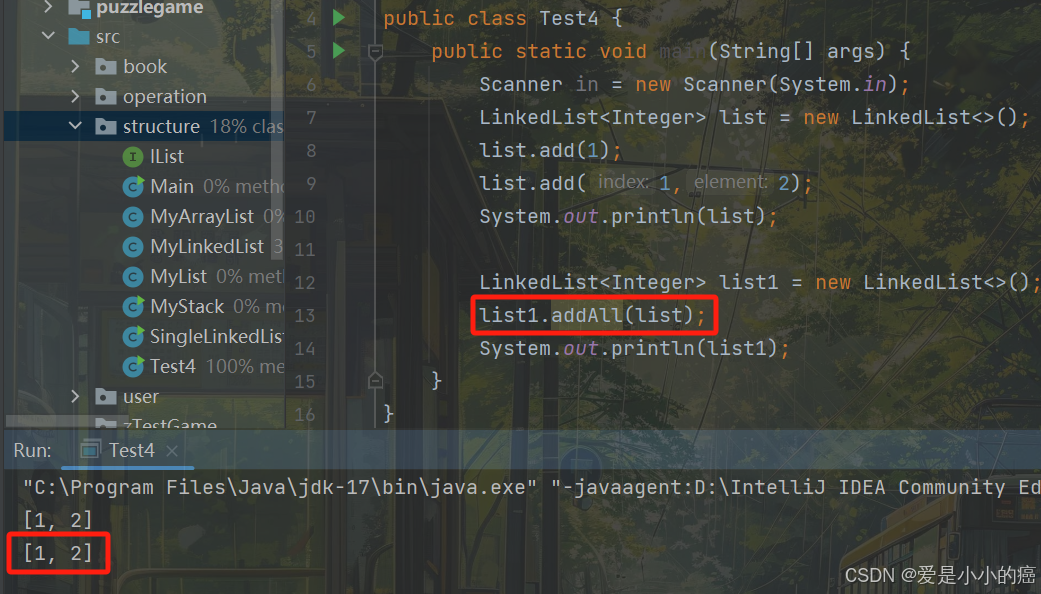
2. addAll 方法
boolean addAll(Collection<? extends E> c):尾插 c 中的元素
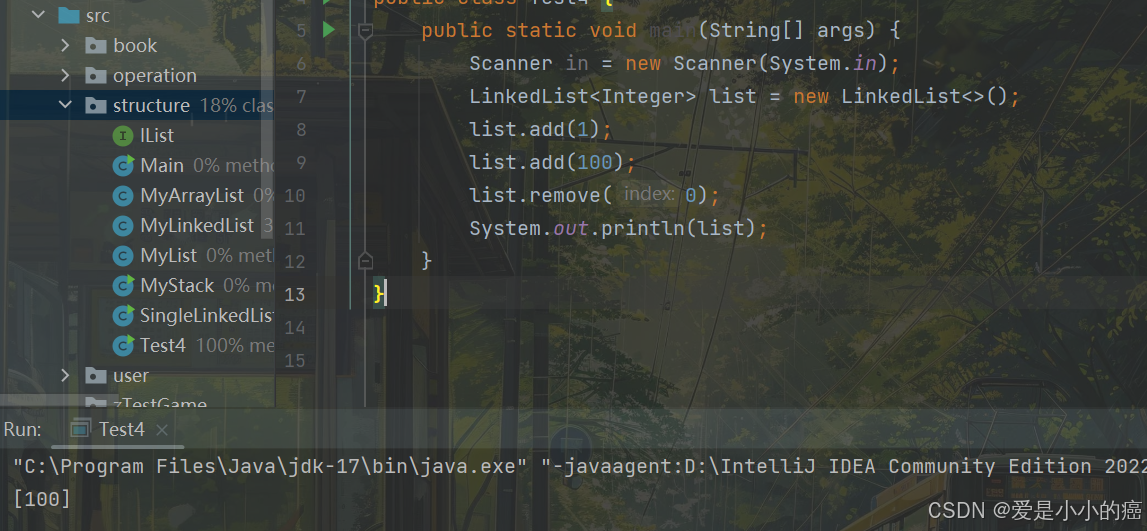
3. remove 方法
E remove(int index):删除 index 位置元素
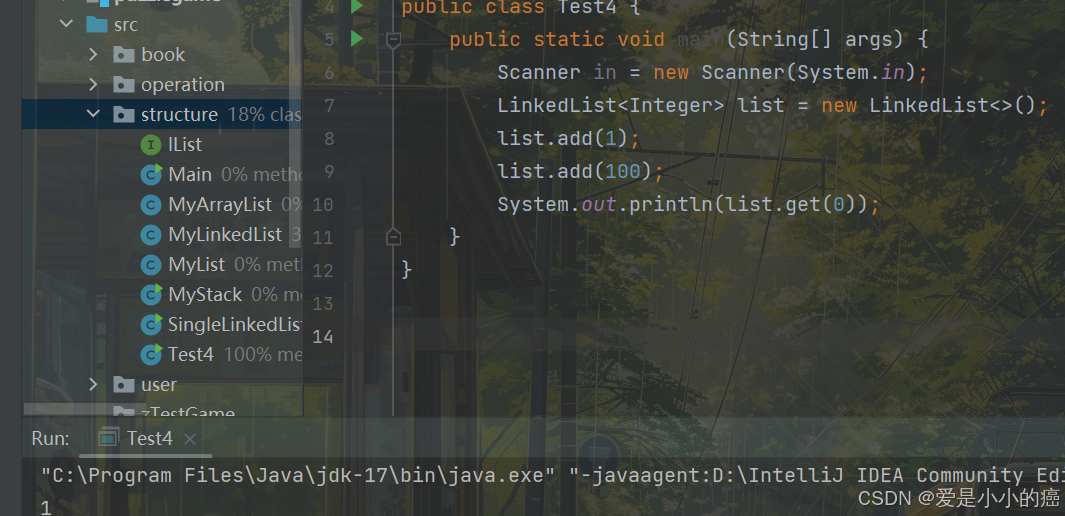
4. get 方法
E get(int index):获取下标 index 位置元素
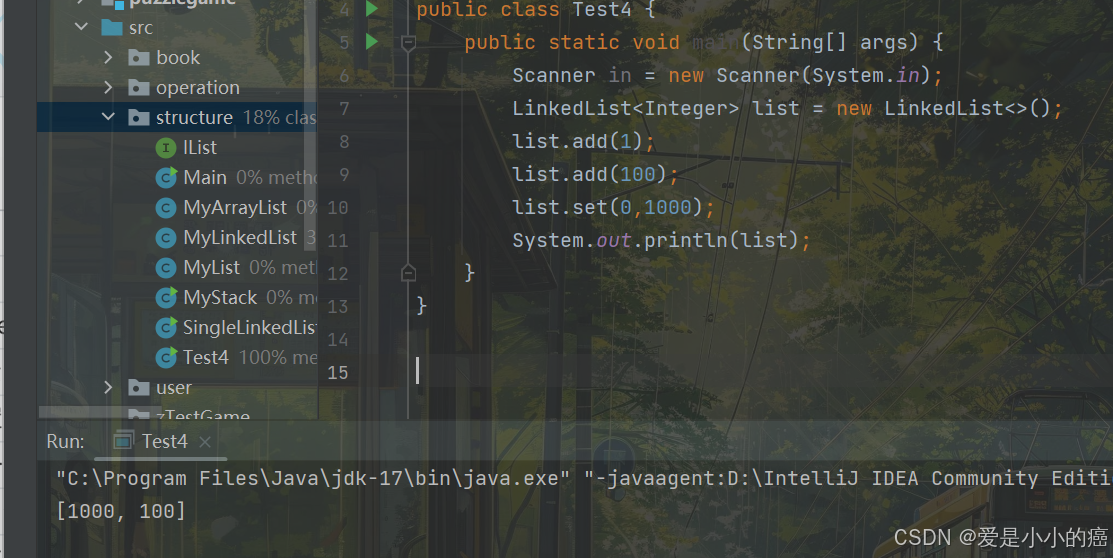
5. set 方法
E set(int index, E element):将下标 index 位置元素设置为element
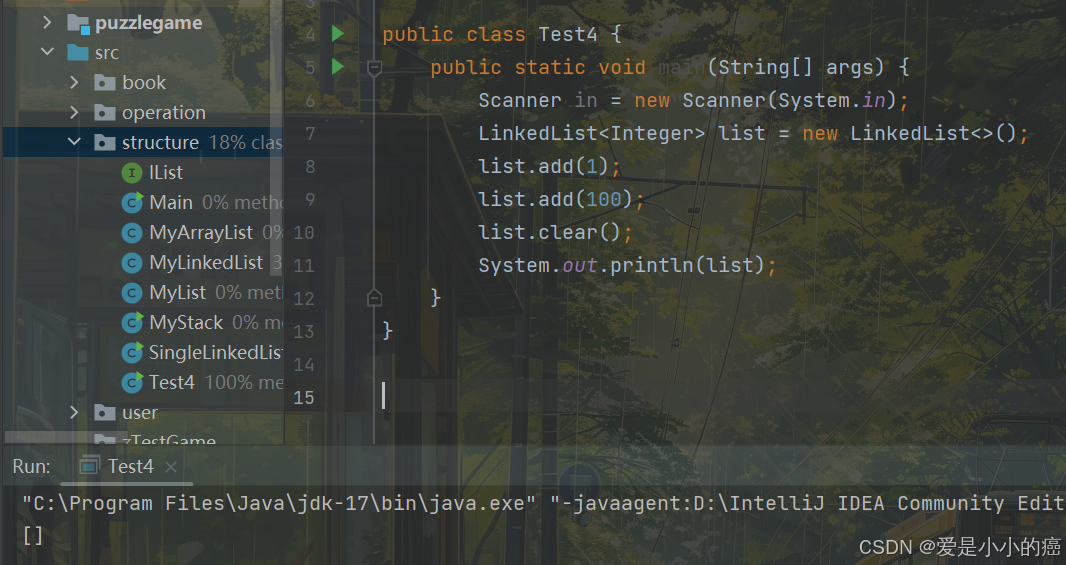
6. clear 方法
void clear():清空链表
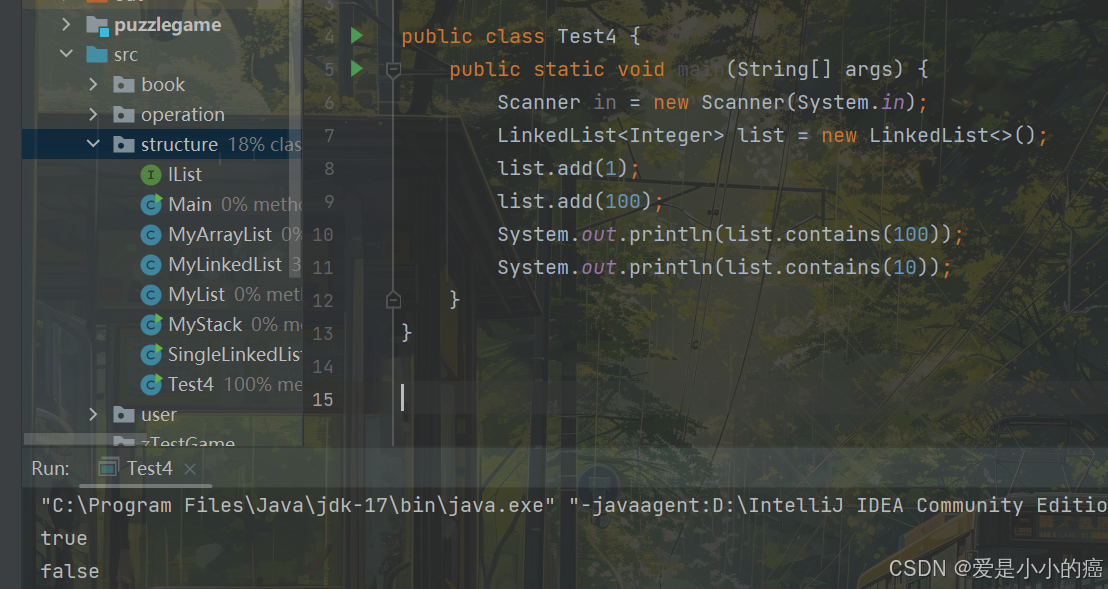
7. contains 方法
boolean contains(Object o):判断 o 是否在线性表中
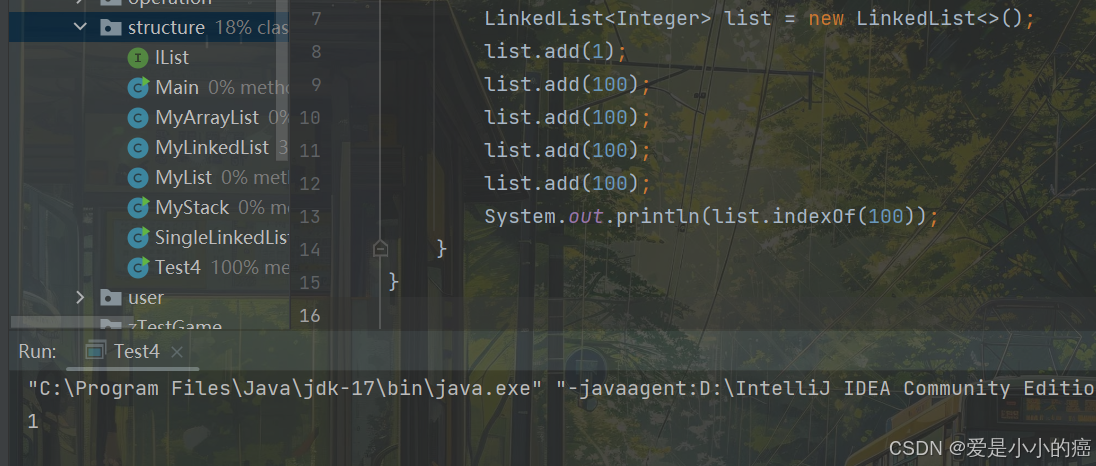
8. indexOf 方法
int indexOf(Object o):返回第一个 o 所在下标
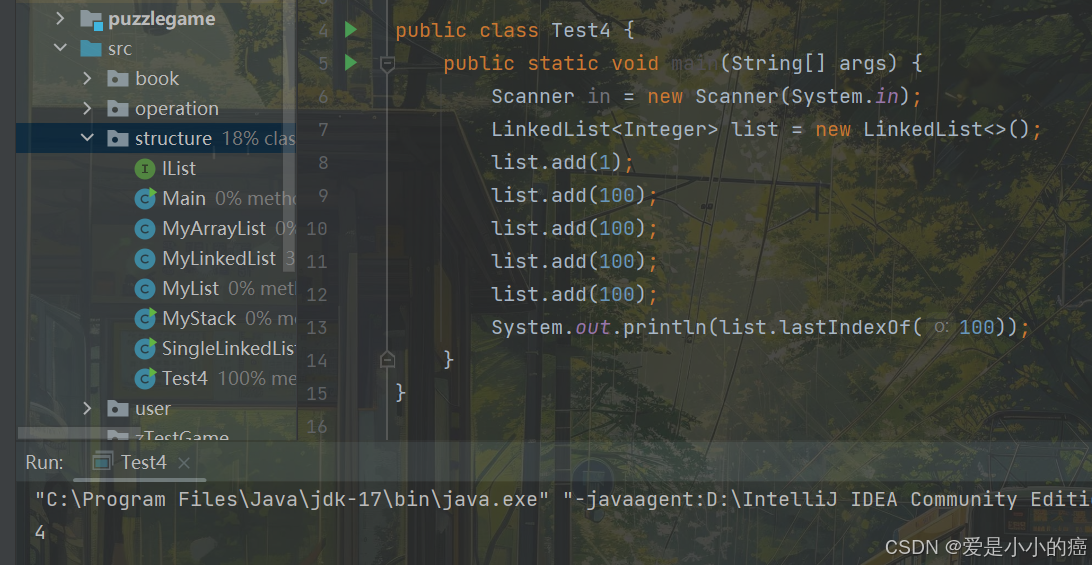
9. lastIndexOf 方法
int lastindexOf(Object o):返回最后一个o的下标
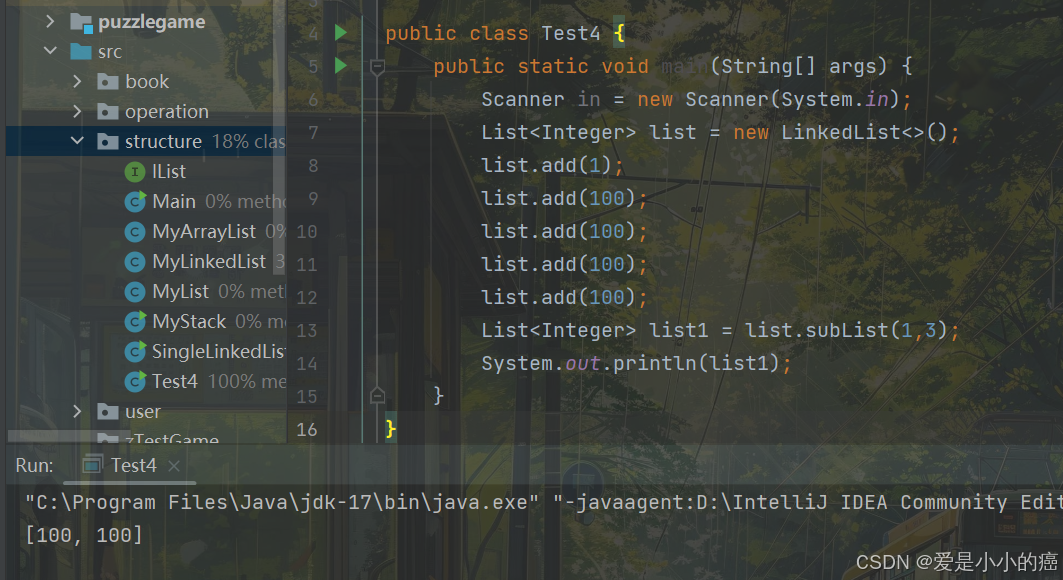
10. subList 方法
List<E> subList(int fromIndex, int tolndex):截取部分 list
那么这次关于双向链表的知识,就为大家分享到这里啦,作者能力有限,如果有讲得不清晰或者不正确的地方,还请大家在评论区多多指出,我也会虚心学习的!那我们下次再见哦~


