文章目录
- 一、设置中文
- 1.1、添加中文插件
- 1.2、配置显示中文语言
- 二、学习开始
- 2.1、创建项目文件夹
- 2.2、h1标签
- 示例:生成HTML框架
- 示例:添加h1标签
- 2.3、h2标签
- 示例:在h1标签下添加h2标签
- 2.4、h1标签到h6标签层次解析
- 2.5、p标签
- 示例:h2下面添加p标签(文本)
- 2.6、注释
- 示例:注释掉一句话
- 2.7、main标签
- 示例:添加main标签
- 2.8、img元素标签
- 示例:使用img标签嵌入图片
- 示例:在img元素中添加alt元素
- 2.9、a元素标签
- 示例:添加a元素标签
- 示例:a标签嵌入p表签中
- 示例:添加target属性
- 示例:将img元素转换为herf属性
- 3.1、section元素
- 3.2、ul元素
- 示例:添加一个ul元素
- 示例:在ul标签中添加li标签
- 3.3、figure元素
- 示例:将刚刚添加的图像嵌套在 figure 元素中
- 示例:添加figcaption元素
- 示例:使用em元素
- 3.4、ol元素
- 示例:添加ol元素有序列表
- 3.5、strong元素
- 示例:在figcaption中嵌套strong元素
使用工具:Visual Studio Code
一、设置中文
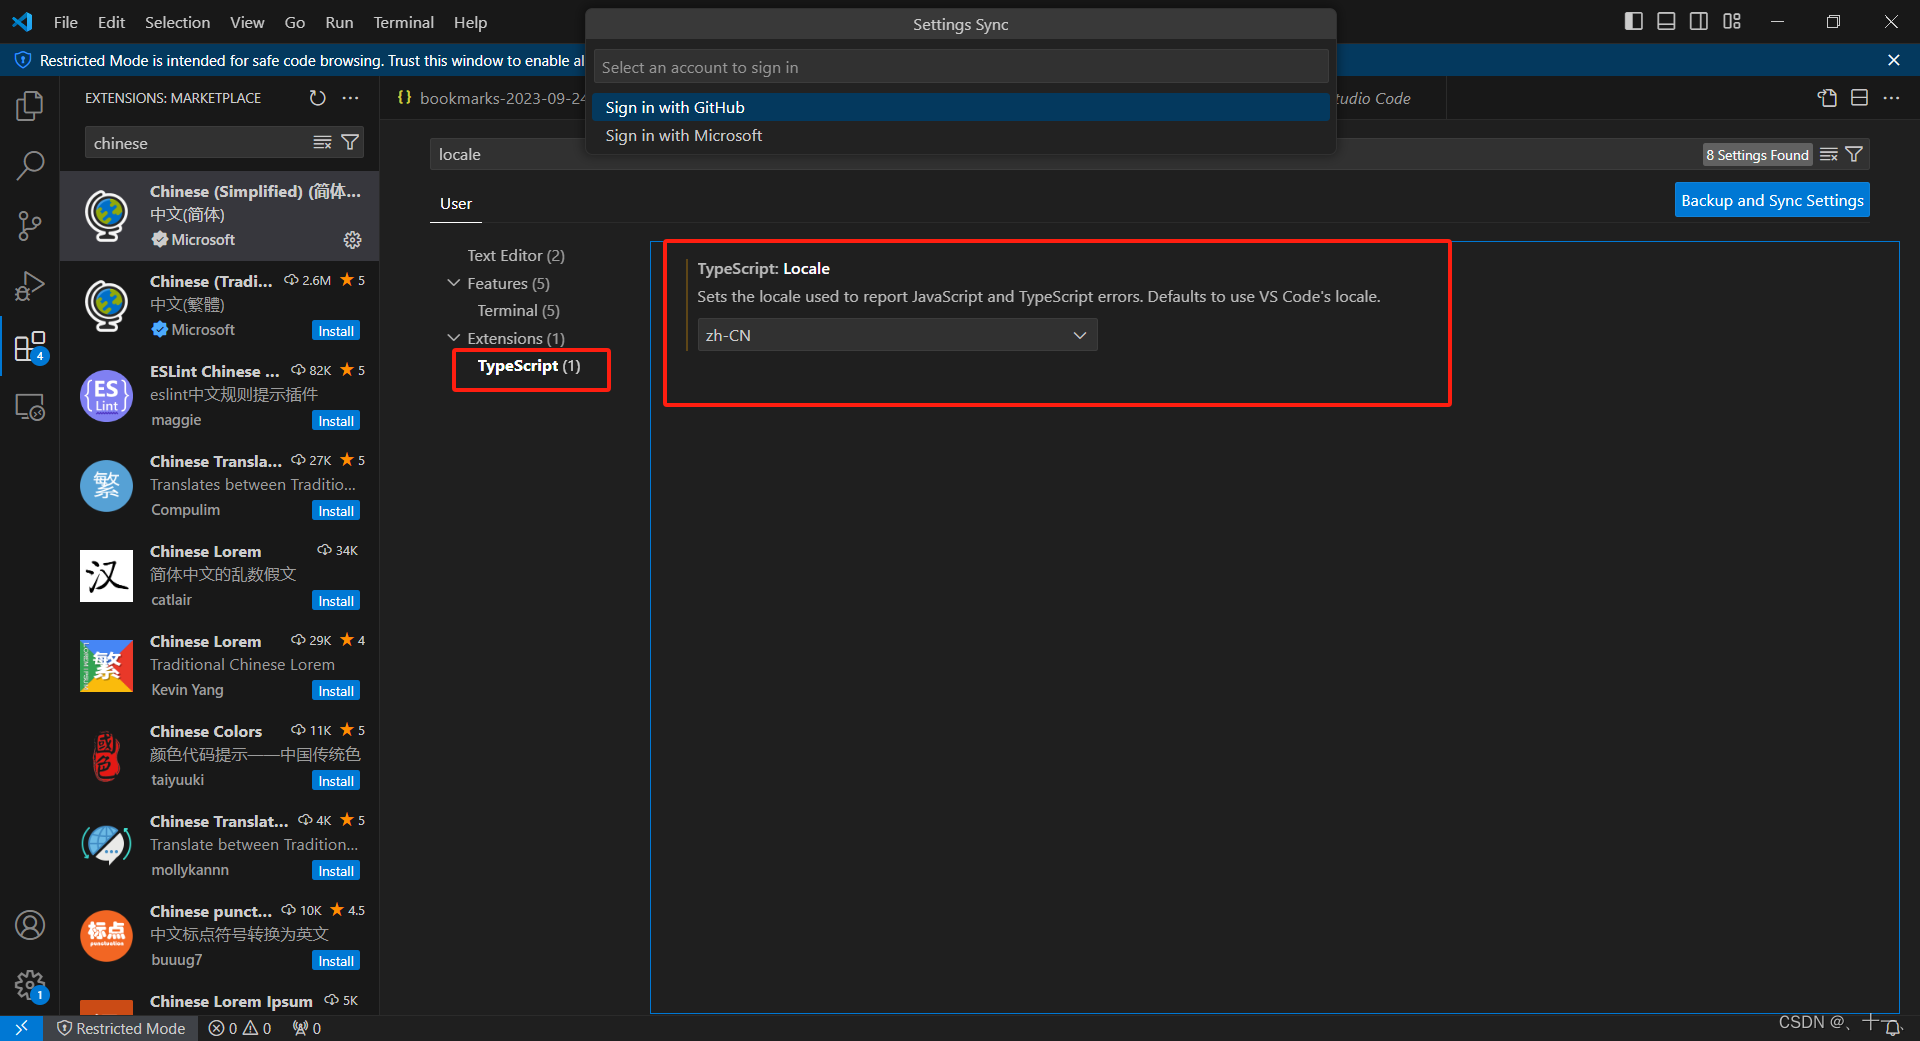
1.1、添加中文插件
在左侧选中扩展图标
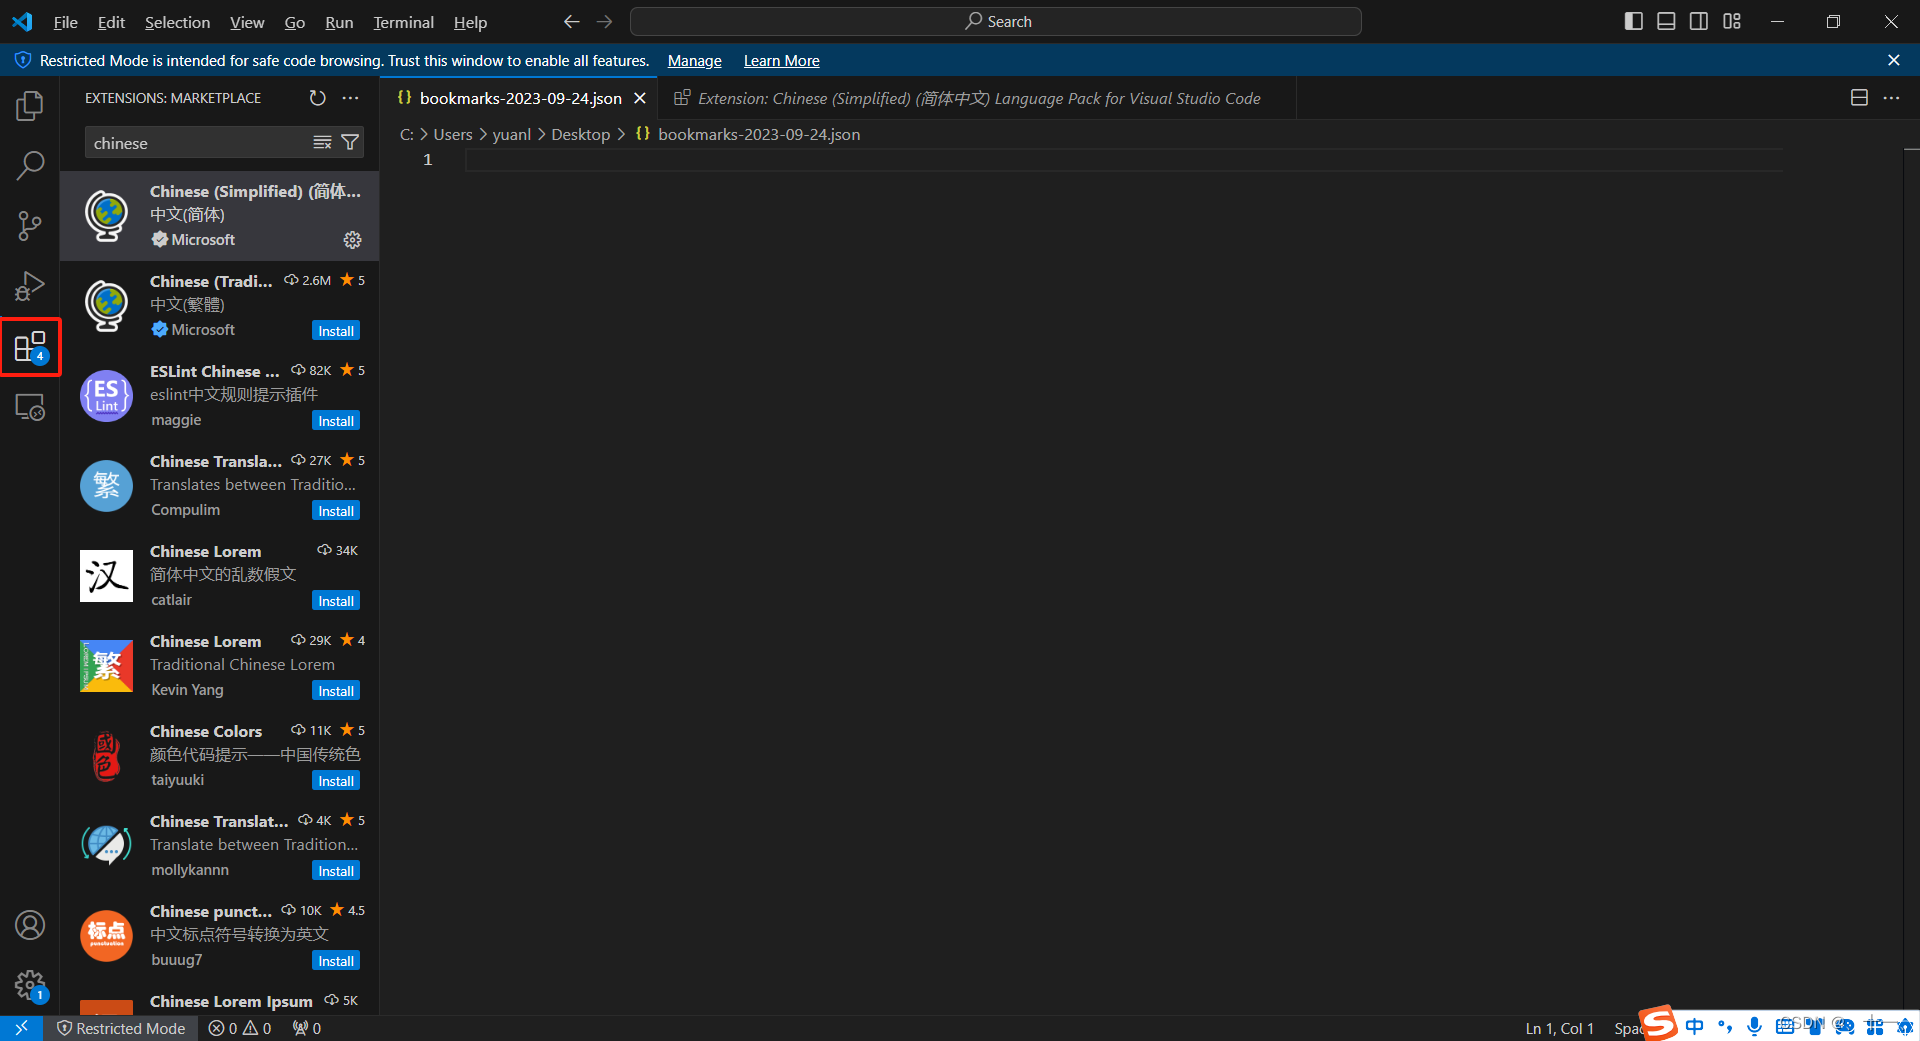
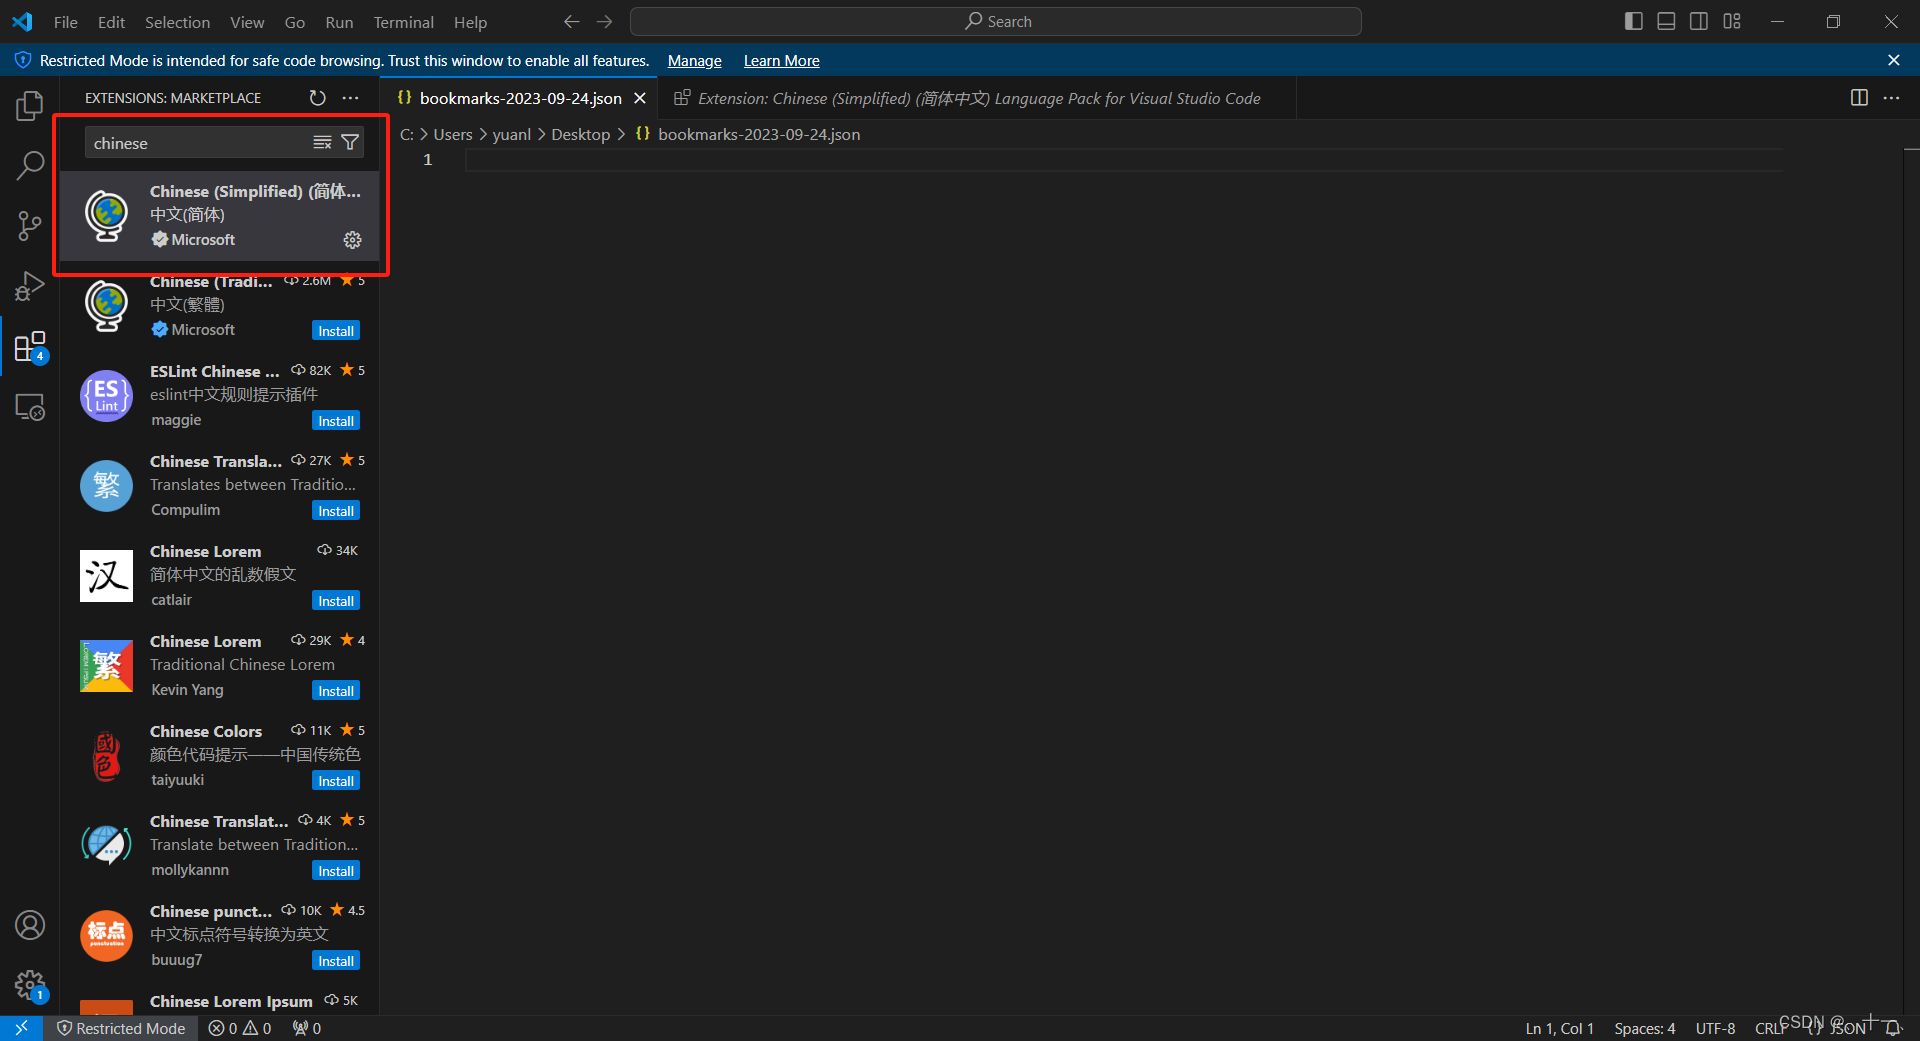
在搜索栏中输入chinese,然后选择简体中文
1.2、配置显示中文语言
安装完中文语言包后,需要配置VS Code的显示语言
在菜单栏中选择“File”(文件) > “Preferences”(首选项) > “Settings”(设置)
在设置页面搜索“locale”,找到“Locale”设置项,将其值更改为“zh-cn”(简体中文)
修改后,VS Code会提示您重新启动编辑器以完成语言更改
二、学习开始
2.1、创建项目文件夹
创建一个项目文件夹在文件夹中使用Visual Studio Code打开,或者直接在Visual Studio Code中创建一个新的文件夹
2.2、h1标签
HTML中的h1标签用于表示页面的主标题,是定义文档结构和语义的重要元素之一。
h1标签在HTML中通常代表最高级别的标题,它向浏览器和搜索引擎传达了页面的主要内容。以下是一些关于h1标签的关键点:
使用原则:h1标签最好用在h2-h6标签之前,且一个页面只用一次,以避免造成关键词堆砌的负面效果。
位置摆放:h1标签应尽量靠近html中的body标签,越近越好,以便让搜索引擎最快地找到页面的主题。
内容强调:h1标签中使用的关键词应该是页面最主要的关键词或品牌词,并且应该在网页标题中使用的关键词。
样式调整:可以通过CSS来控制h1标签的显示位置、字体大小、加粗等视觉效果。
示例:生成HTML框架
html">// 生成HTML框架快捷键! + 回车键
<!DOCTYPE html>
<html lang="en">
<head><meta charset="UTF-8"><meta name="viewport" content="width=device-width, initial-scale=1.0"><title>Document</title>
</head>
<body></body>
</html>
示例:添加h1标签
HTML 元素有开始标签和结束标签。 元素将显示的文本位于其开始和结束标签之间。
保存代码快捷键:ctrl + s
html"><!DOCTYPE html>
<html lang="en">
<head><meta charset="UTF-8"><meta name="viewport" content="width=device-width, initial-scale=1.0"><title>Document</title>
</head>
<body><h1>hello World</h1>
</body>
</html>
2.3、h2标签
h2标签在语义上表示次一级的标题,它通常用于标识文章或章节的副标题。在HTML中,h2标签的重要性仅次于h1标签,后者代表页面的主要标题或主题。
示例:在h1标签下添加h2标签
html"><!DOCTYPE html>
<html lang="en">
<head><meta charset="UTF-8"><meta name="viewport" content="width=device-width, initial-scale=1.0"><title>Document</title>
</head>
<body><h1>hello World</h1><h2>hello world</h2>
</body>
</html>
剩下几个标签就不在依次列举了
2.4、h1标签到h6标签层次解析
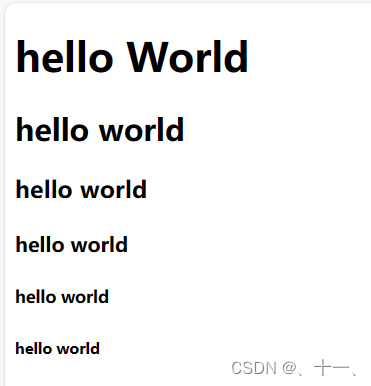
h1 到 h6 标题元素用于表明其下方内容的重要性。 数字越低,重要性越高,所以 h2 元素所具有的重要性要低于 h1 元素。 每页只使用一个 h1 元素,并将重要性较低的标题放在重要性较高的标题之下。
| 标签 | 作用 |
|---|---|
| h1 | 用于定义最重要的标题,通常代表页面的主标题或主题。在一个页面中,应该只有一个h1标签,它向搜索引擎和用户传达了页面的核心内容 |
| h2 | 用于定义次重要的标题,通常用于文章或章节的副标题。h2标签在页面中可以有多个,但应该按照结构顺序使用,即在h1标签之后 |
| h3 | 用于定义第三层次的标题,它可以进一步细分h2标签的内容 |
| h4 | 用于定义第四层次的标题,通常用于更详细的子标题 |
| h5 | 用于定义第五层次的标题,它比h4标签的层次更低 |
| h6 | 用于定义最不重要的标题,它是标题层次中的最低级别 |
下面图片则是h1到h6每个标签的变化
2.5、p标签
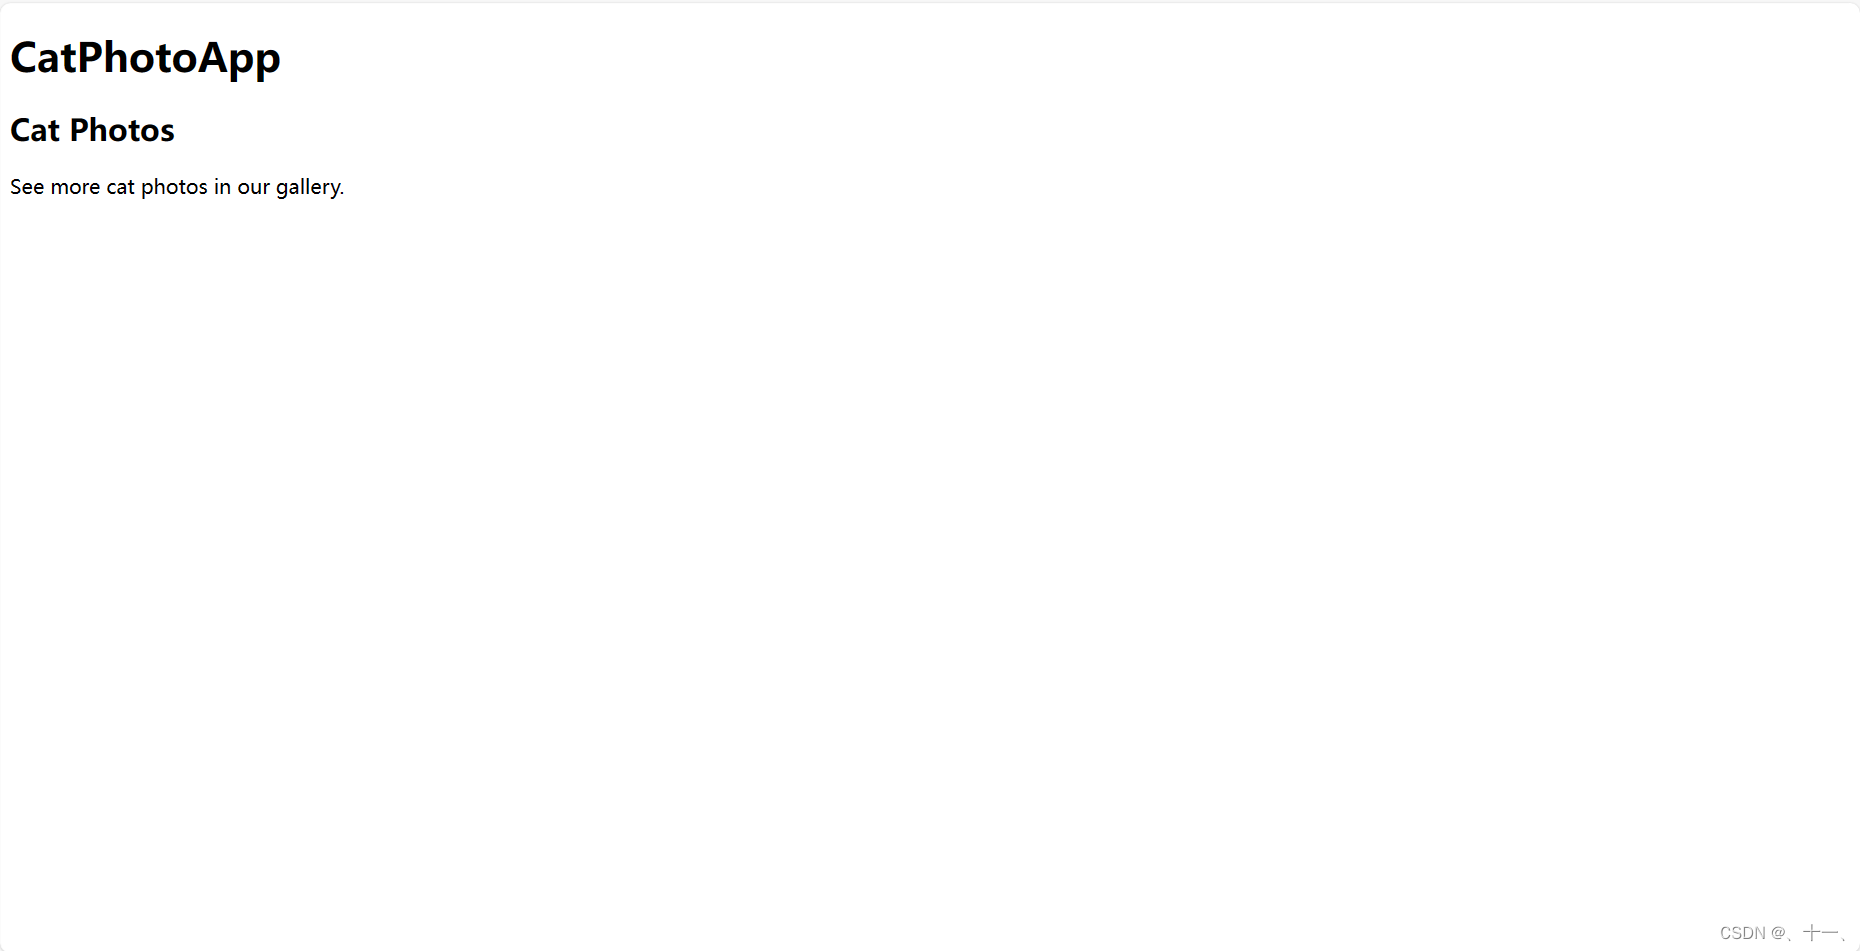
p 元素用于在网站上创建一段文本
示例:h2下面添加p标签(文本)
html"><!DOCTYPE html>
<html lang="en">
<head><meta charset="UTF-8"><meta name="viewport" content="width=device-width, initial-scale=1.0"><title>Document</title>
</head>
<body><h1>CatPhotoApp</h1><h2>Cat Photos</h2><p>See more cat photos in our gallery.</p>
</body>
</html>

2.6、注释
注释让你在不影响浏览器显示内容的情况下,留下信息。 它也能让你的代码失效。
示例:注释掉一句话
注释快捷键:ctrl + /
html"><!DOCTYPE html>
<html lang="en">
<head><meta charset="UTF-8"><meta name="viewport" content="width=device-width, initial-scale=1.0"><title>Document</title>
</head>
<body><h1>CatPhotoApp</h1><h2>Cat Photos</h2><!-- TODO: Add link to cat photos --><p>See more cat photos in our gallery.</p>
</body>
</html>
从下图中可以看出注释内容并未出现在web界面当中
2.7、main标签
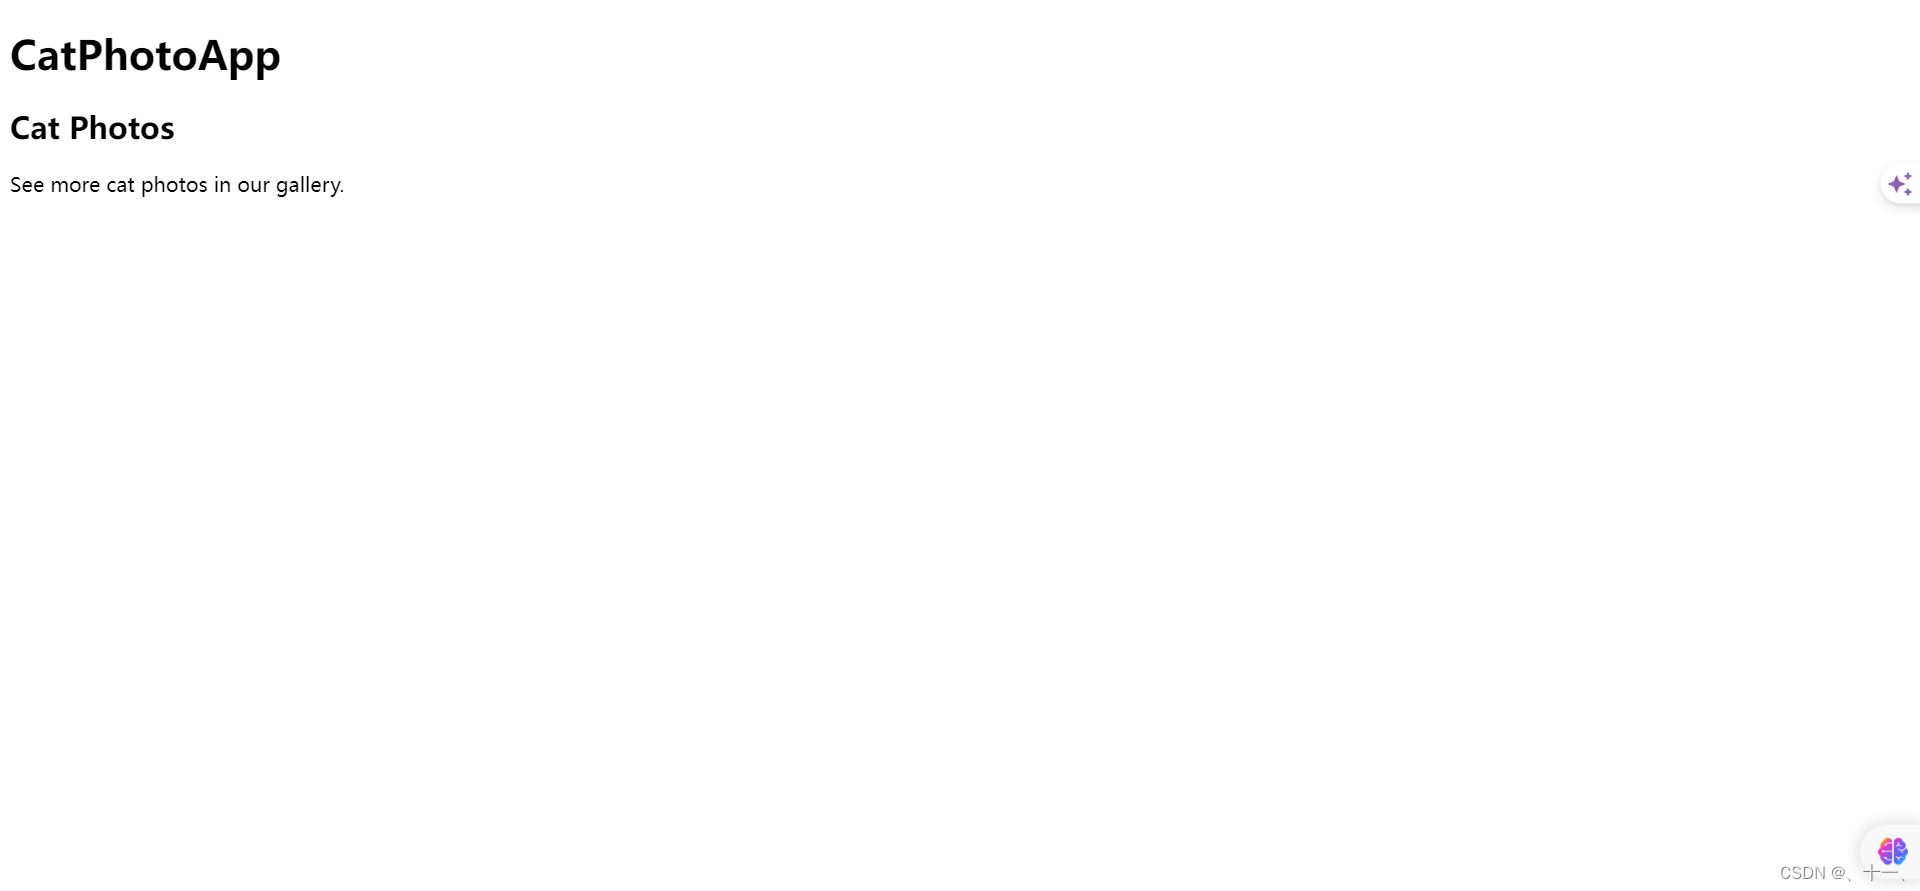
HTML中的main标签用于指定文档的主体内容,它不应该包含重复的元素,如侧边栏、导航栏或版权信息等。
main标签是HTML5中引入的一个重要的语义化标签,用于明确标识页面的主要内容部分。
以下是一些关于main标签的具体信息:
定义和用法:main标签是一个语义化标签,它帮助开发者和搜索引擎理解页面的主要内容是什么。这个标签应该包含每个页面独有的信息,而不是共享的模板或网站全局的导航链接等。
属性:main标签支持全局属性,这意味着所有通常可用的HTML属性都可以应用于main标签,例如id、class、style等。
浏览器兼容性:随着HTML5标准的普及,大多数现代浏览器都支持main标签。然而,对于旧版本的浏览器,特别是一些不支持HTML5的浏览器,使用main标签可能会导致显示问题或被忽略。
CSS样式设置:可以通过CSS对main标签进行样式设置,以适应页面的设计和布局需求。这包括调整宽度、高度、边距、背景色等视觉特性。
内容类型:main标签可以包含多种类型的内容,包括文本、图片、视频等,这使得它非常灵活,适用于不同类型的网页内容布局。
示例:添加main标签
html"><!DOCTYPE html>
<html lang="en">
<head><meta charset="UTF-8"><meta name="viewport" content="width=device-width, initial-scale=1.0"><title>Document</title>
</head>
<body><main><h1>CatPhotoApp</h1><h2>Cat Photos</h2><!-- TODO: Add link to cat photos --><p>See more cat photos in our gallery.</p></main>
</body>
</html>
2.8、img元素标签
img 元素只有一个开始标签,没有结束标签。 一个没有结束标签的元素,它的标签被称为自闭合标签
img元素用于在网页中嵌入图片
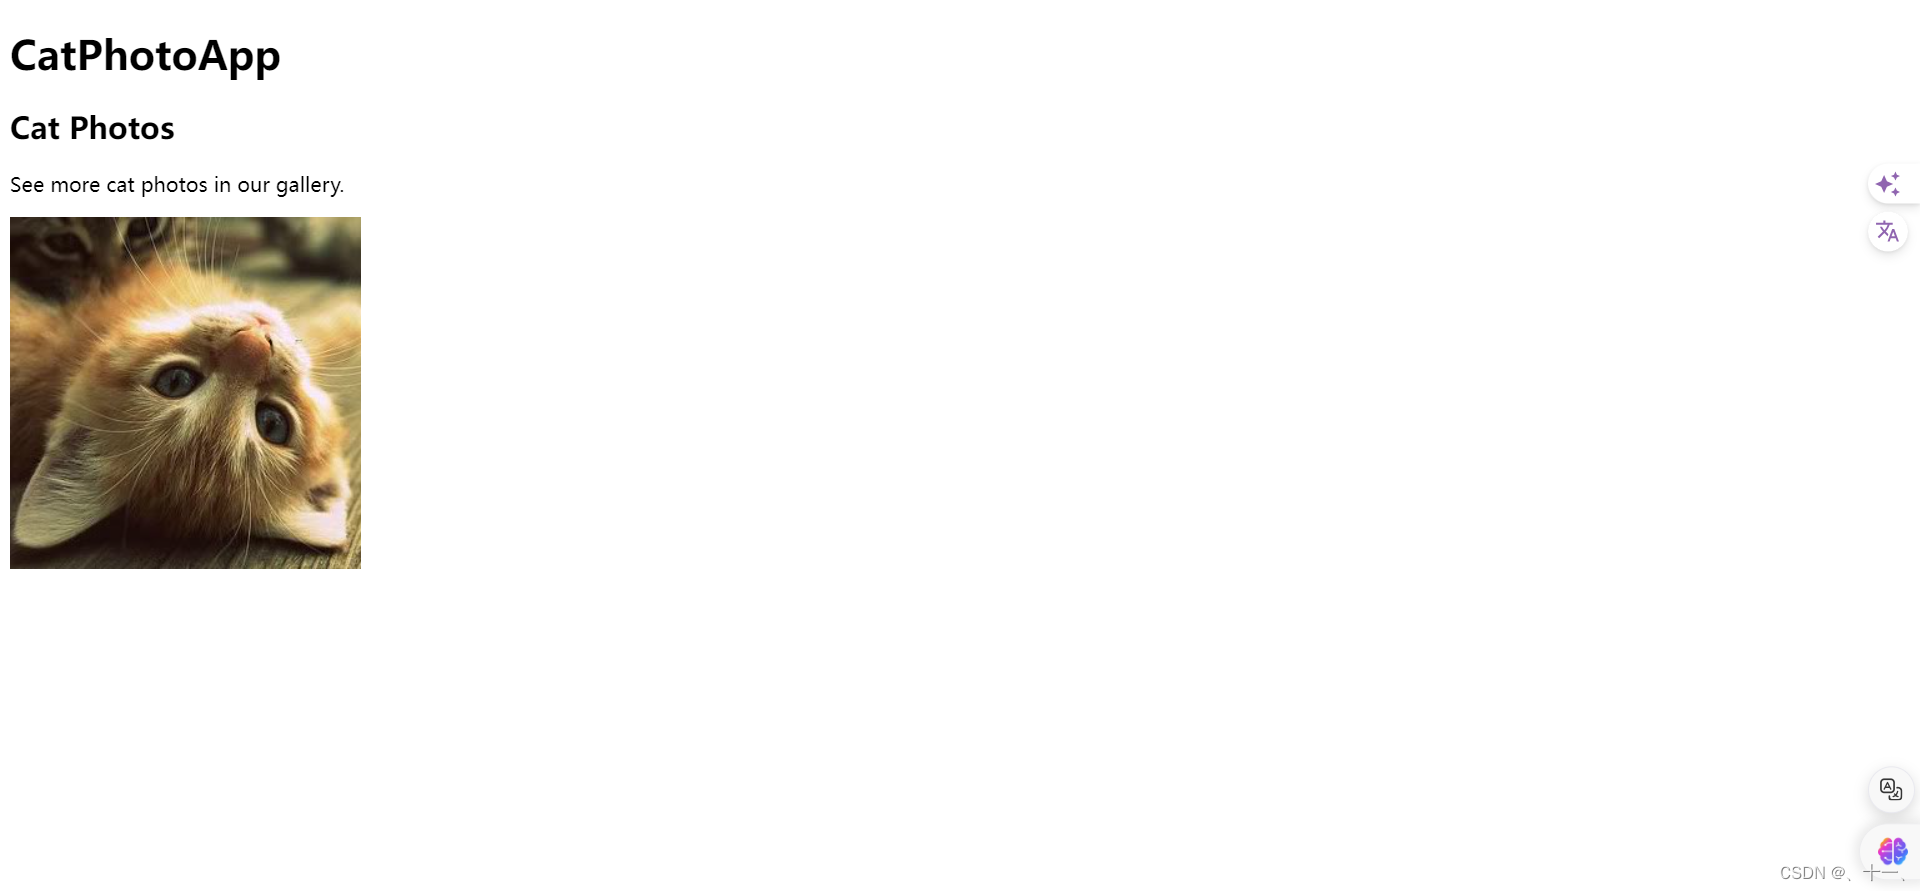
示例:使用img标签嵌入图片
在 img 元素中的 src 属性明确了一个图片的 URL
下列代码中,我是直接以网络图片的地址添加到我的网页中,而不是下载下来,将本地图片的地址添加进去
html"><!DOCTYPE html>
<html lang="en">
<head><meta charset="UTF-8"><meta name="viewport" content="width=device-width, initial-scale=1.0"><title>Document</title>
</head>
<body><main><h1>CatPhotoApp</h1><h2>Cat Photos</h2><!-- TODO: Add link to cat photos --><p>See more cat photos in our gallery.</p><img src="https://cdn.freecodecamp.org/curriculum/cat-photo-app/relaxing-cat.jpg"></main>
</body>
</html>
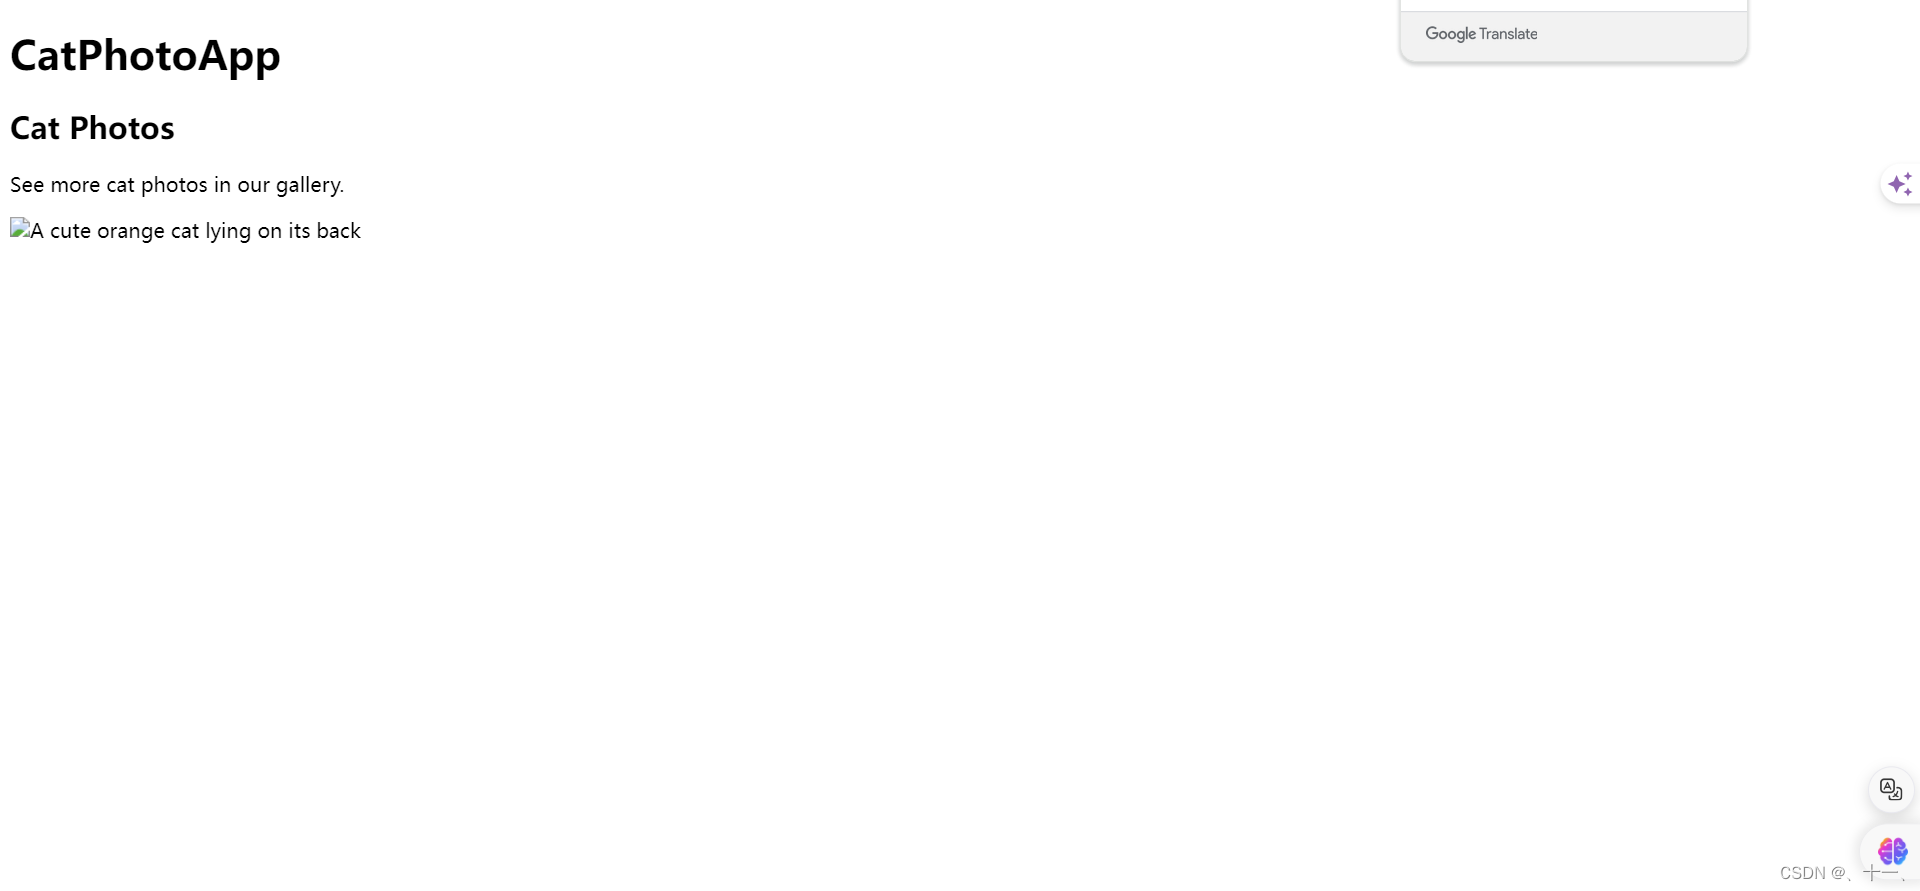
示例:在img元素中添加alt元素
alt 属性的文本(值)有两个作用,第一个作用是让屏幕阅读器可以知晓图片的内容,这会对网页的可访问性有很大提升;另一个作用是当图片无法加载时,页面需要显示的替代文本。
html"><!DOCTYPE html>
<html lang="en">
<head><meta charset="UTF-8"><meta name="viewport" content="width=device-width, initial-scale=1.0"><title>Document</title>
</head>
<body><main><h1>CatPhotoApp</h1><h2>Cat Photos</h2><!-- TODO: Add link to cat photos --><p>See more cat photos in our gallery.</p><img src="https://cdn.freecodecamp.org/curriculum/cat-photo-app/relaxing-cat.jpg" alt="A cute orange cat lying on its back"></main>
</body>
</html>
这里我是先将url给删除
2.9、a元素标签
a标签通过href属性指定链接的目标地址,用户点击该链接时,浏览器会跳转到href属性指定的地址。
示例:添加a元素标签
此时的a标签的跳转链接不会显示在网页中
html"><!DOCTYPE html>
<html lang="en">
<head><meta charset="UTF-8"><meta name="viewport" content="width=device-width, initial-scale=1.0"><title>Document</title>
</head>
<body><main><h1>CatPhotoApp</h1><h2>Cat Photos</h2><!-- TODO: Add link to cat photos --><p>See more cat photos in our gallery.</p><a href="https://freecatphotoapp.com"></a><img src="https://cdn.freecodecamp.org/curriculum/cat-photo-app/relaxing-cat.jpg" alt="A cute orange cat lying on its back"></main>
</body>
</html>
想要链接显示在网页中就必须添加一个链接文本
html"><!DOCTYPE html>
<html lang="en">
<head><meta charset="UTF-8"><meta name="viewport" content="width=device-width, initial-scale=1.0"><title>Document</title>
</head>
<body><main><h1>CatPhotoApp</h1><h2>Cat Photos</h2><!-- TODO: Add link to cat photos --><p>See more cat photos in our gallery.</p><a href="https://freecatphotoapp.com">https://freecatphotoapp.com</a><img src="https://cdn.freecodecamp.org/curriculum/cat-photo-app/relaxing-cat.jpg" alt="A cute orange cat lying on its back"></main>
</body>
</html>
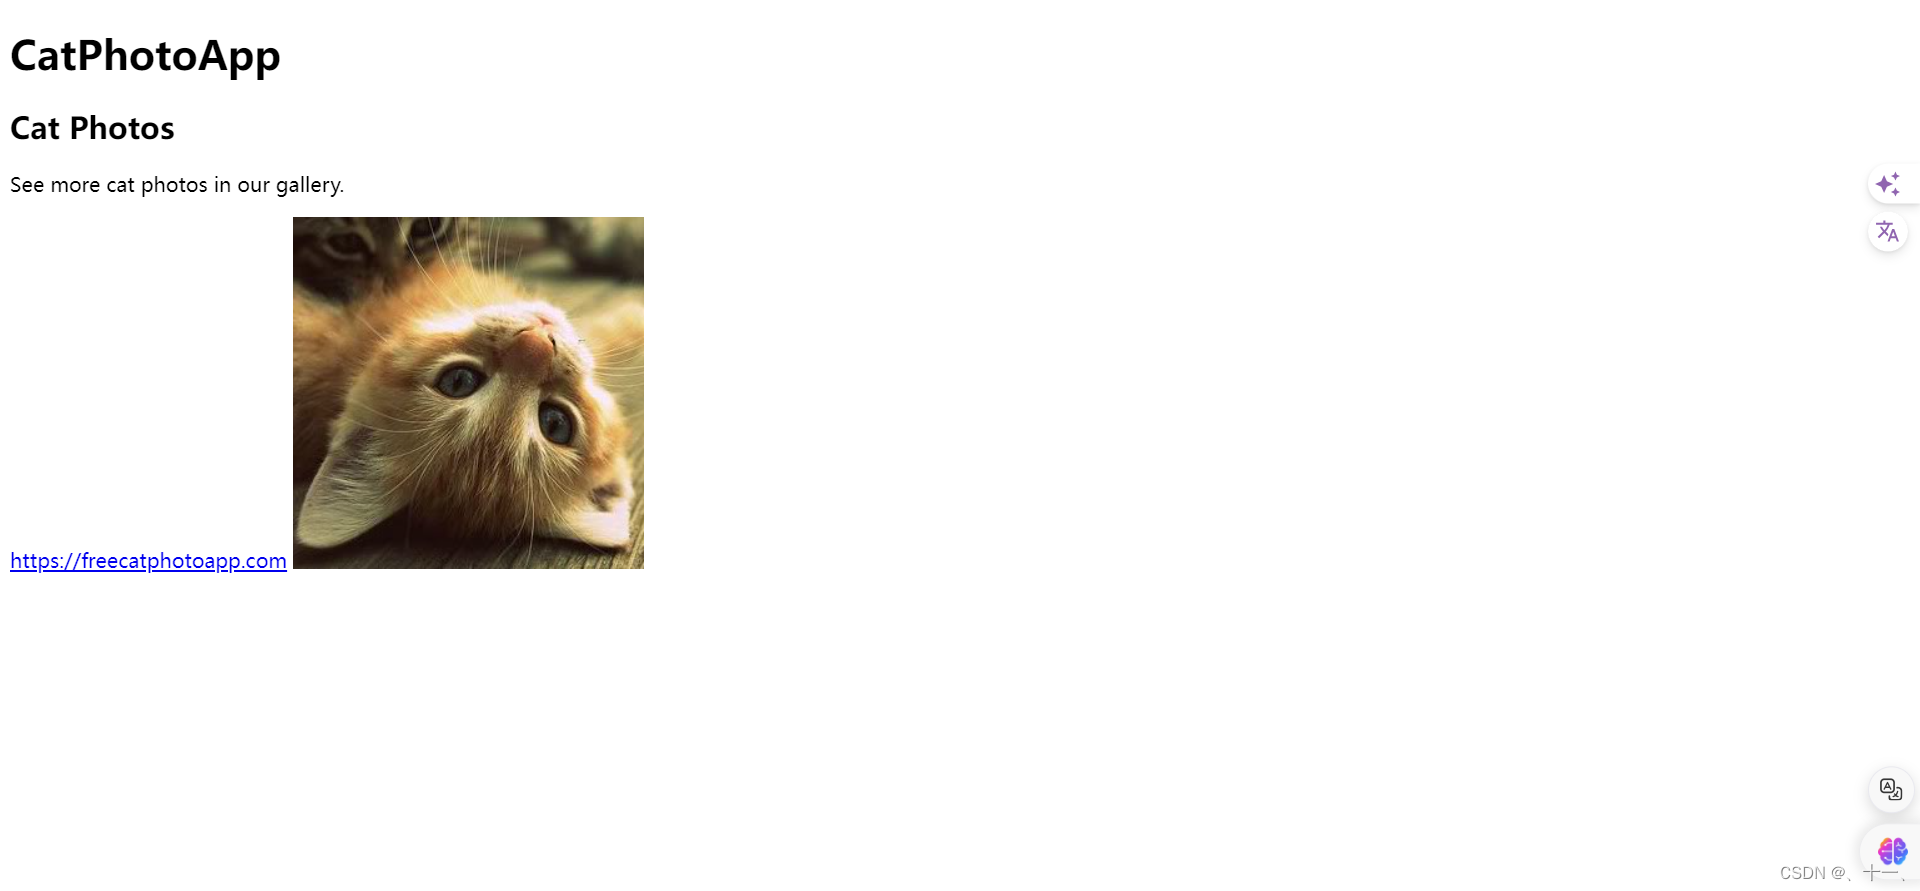
网页跳转后
示例:a标签嵌入p表签中
html"><!DOCTYPE html>
<html lang="en">
<head><meta charset="UTF-8"><meta name="viewport" content="width=device-width, initial-scale=1.0"><title>Document</title>
</head>
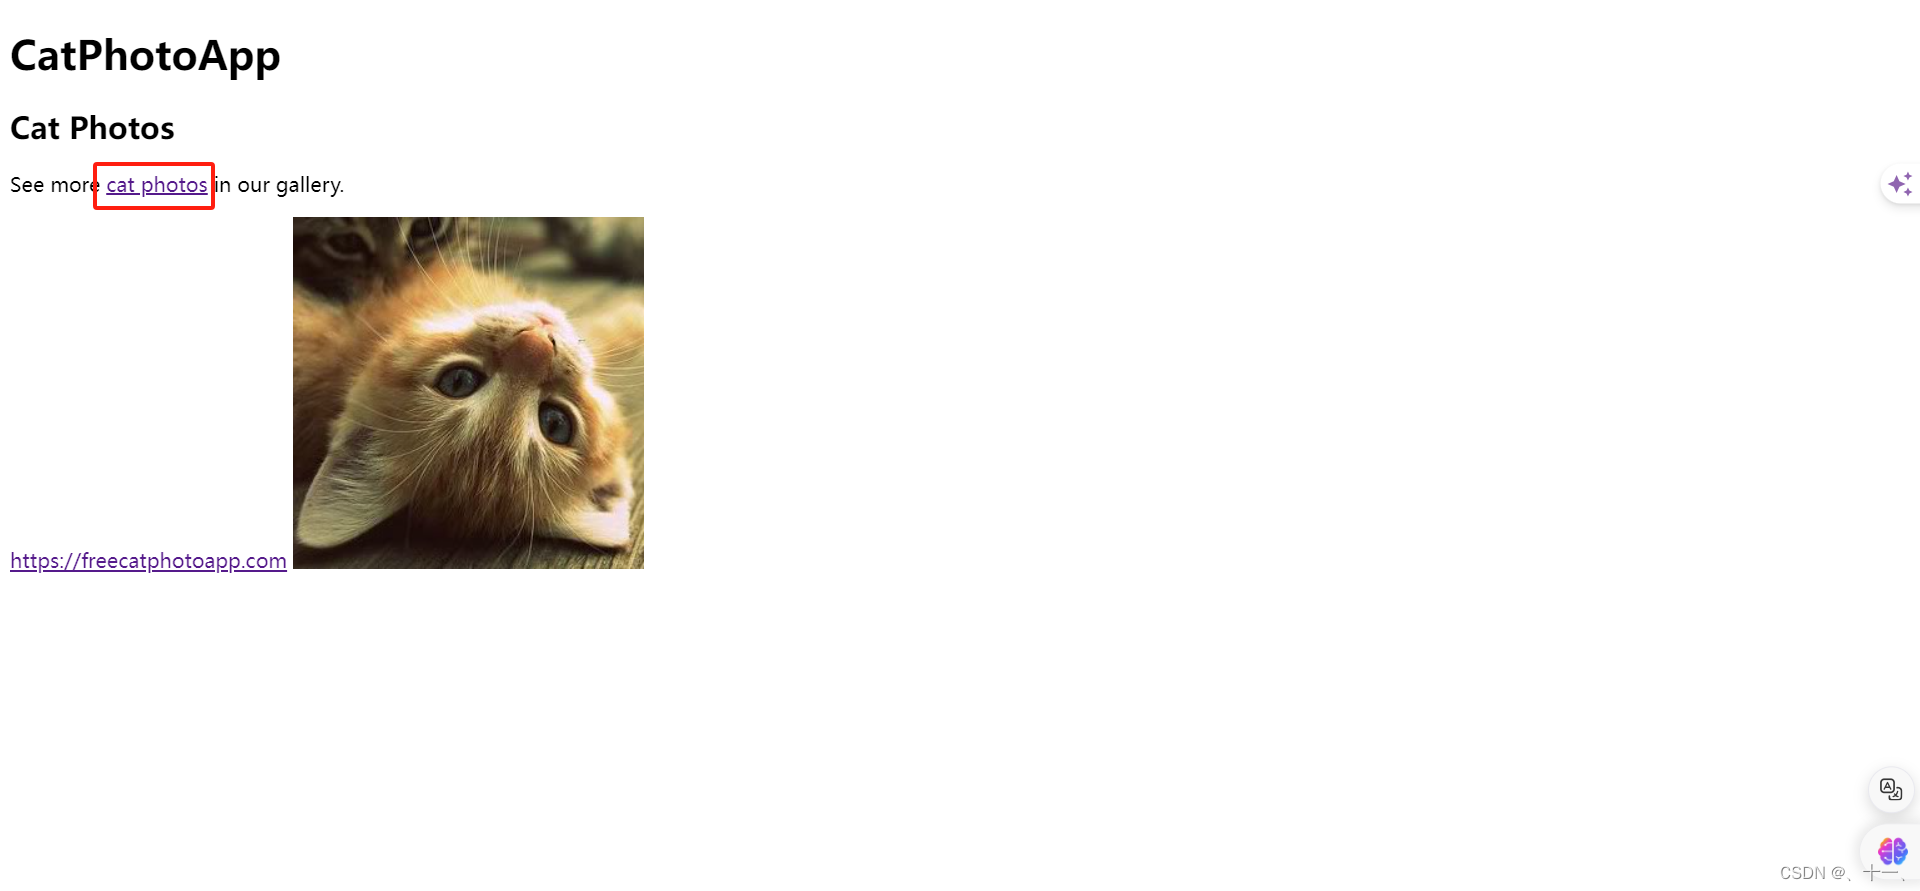
<body><main><h1>CatPhotoApp</h1><h2>Cat Photos</h2><!-- TODO: Add link to cat photos --><p>See more <a href="https://freecatphotoapp.com">cat photos</a> in our gallery.</p><a href="https://freecatphotoapp.com">https://freecatphotoapp.com</a><img src="https://cdn.freecodecamp.org/curriculum/cat-photo-app/relaxing-cat.jpg" alt="A cute orange cat lying on its back"></main>
</body>
</html>
红框中所示就是跳转链接
示例:添加target属性
target属性用于指定链接文档在何处显示
- _blank:在新窗口或新标签页中打开链接文档。这通常用于当点击链接时不离开当前页面的场景。
- _self:这是target属性的默认值。它会在当前窗口或标签页中打开链接文档,如果这个值被省略,浏览器会采取这种行为。
- _parent:在父框架中打开链接文档。这适用于使用框架集(frameset)的网页,不过需要注意的是现在大多数现代浏览器不再支持frame和frameset元素了。
- _top:在整个窗口中打开链接文档,忽略任何框架。这同样适用于框架集,但与_parent不同,它会替换掉所有的框架。
- framename:这是一个有效的框架名称。它允许你指定一个特定的框架来显示链接文档。然而,由于框架的使用已经逐渐减少,这个目标已经不再被推荐使用。
html"><!DOCTYPE html>
<html lang="en">
<head><meta charset="UTF-8"><meta name="viewport" content="width=device-width, initial-scale=1.0"><title>Document</title>
</head>
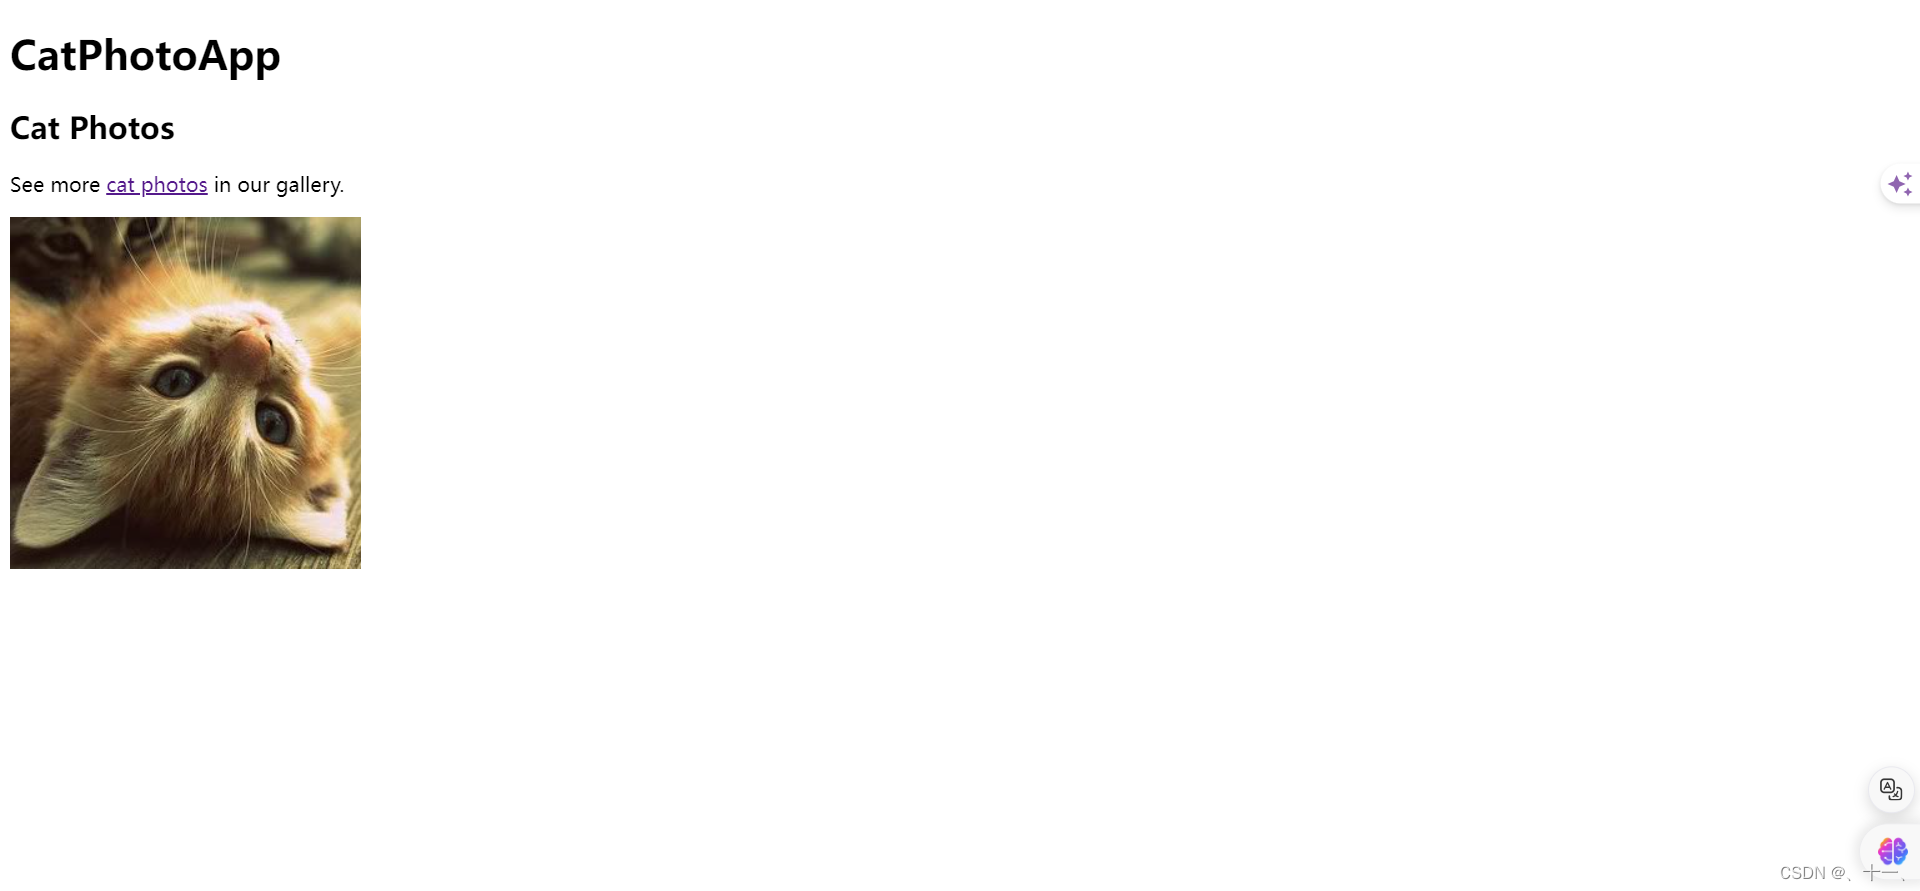
<body><main><h1>CatPhotoApp</h1><h2>Cat Photos</h2><!-- TODO: Add link to cat photos --><p>See more <a href="https://freecatphotoapp.com" target="_blank">cat photos</a> in our gallery.</p><img src="https://cdn.freecodecamp.org/curriculum/cat-photo-app/relaxing-cat.jpg" alt="A cute orange cat lying on its back"></main>
</body>
</html>
示例:将img元素转换为herf属性
将img元素转换为herf属性后,图片既显示在网页中,同时也是一个跳转链接
html"><!DOCTYPE html>
<html lang="en">
<head><meta charset="UTF-8"><meta name="viewport" content="width=device-width, initial-scale=1.0"><title>Document</title>
</head>
<body><main><h1>CatPhotoApp</h1><h2>Cat Photos</h2><!-- TODO: Add link to cat photos --><p>See more <a href="https://freecatphotoapp.com" target="_blank">cat photos</a> in our gallery.</p><a href="https://freecatphotoapp.com"><img src="https://cdn.freecodecamp.org/curriculum/cat-photo-app/relaxing-cat.jpg" alt="A cute orange cat lying on its back"></a></main>
</body>
</html>
3.1、section元素
section元素的作用是将网页分割成多个独立的部分,每个部分可以包含自己的标题、段落、图片等。这样做有助于提高页面的可读性和可维护性,同时也有利于搜索引擎更好地理解和索引页面内容
html"><!DOCTYPE html>
<html lang="en">
<head><meta charset="UTF-8"><meta name="viewport" content="width=device-width, initial-scale=1.0"><title>Document</title>
</head>
<body><main><h1>CatPhotoApp</h1><section><h2>Cat Photos</h2><!-- TODO: Add link to cat photos --><p>See more <a href="https://freecatphotoapp.com" target="_blank">cat photos</a> in our gallery.</p><a href="https://freecatphotoapp.com"><img src="https://cdn.freecodecamp.org/curriculum/cat-photo-app/relaxing-cat.jpg" alt="A cute orange cat lying on its back"></a></section></main>
</body>
</html>
3.2、ul元素
ul元素是HTML中的一个标签,它用于创建没有特定顺序的列表,通常称为无序列表。这种列表项前面通常会有项目符号,如实心圆点。ul元素与li元素一起使用,li元素代表列表中的每一项。ul元素有一些已经废弃的属性,如type属性,原来用于指定项目符号的样式,但现在推荐使用CSS来设置这些样式。
示例:添加一个ul元素
html"><!DOCTYPE html>
<html lang="en">
<head><meta charset="UTF-8"><meta name="viewport" content="width=device-width, initial-scale=1.0"><title>Document</title>
</head>
<body><main><h1>CatPhotoApp</h1><section><h2>Cat Photos</h2><!-- TODO: Add link to cat photos --><p>See more <a href="https://freecatphotoapp.com" target="_blank">cat photos</a> in our gallery.</p><a href="https://freecatphotoapp.com"><img src="https://cdn.freecodecamp.org/curriculum/cat-photo-app/relaxing-cat.jpg" alt="A cute orange cat lying on its back"></a></section><section><h2>Cat Lists</h2><h3>Things cats love:</h3><ul></ul></section></main>
</body>
</html>
示例:在ul标签中添加li标签
html"><!DOCTYPE html>
<html lang="en">
<head><meta charset="UTF-8"><meta name="viewport" content="width=device-width, initial-scale=1.0"><title>Document</title>
</head>
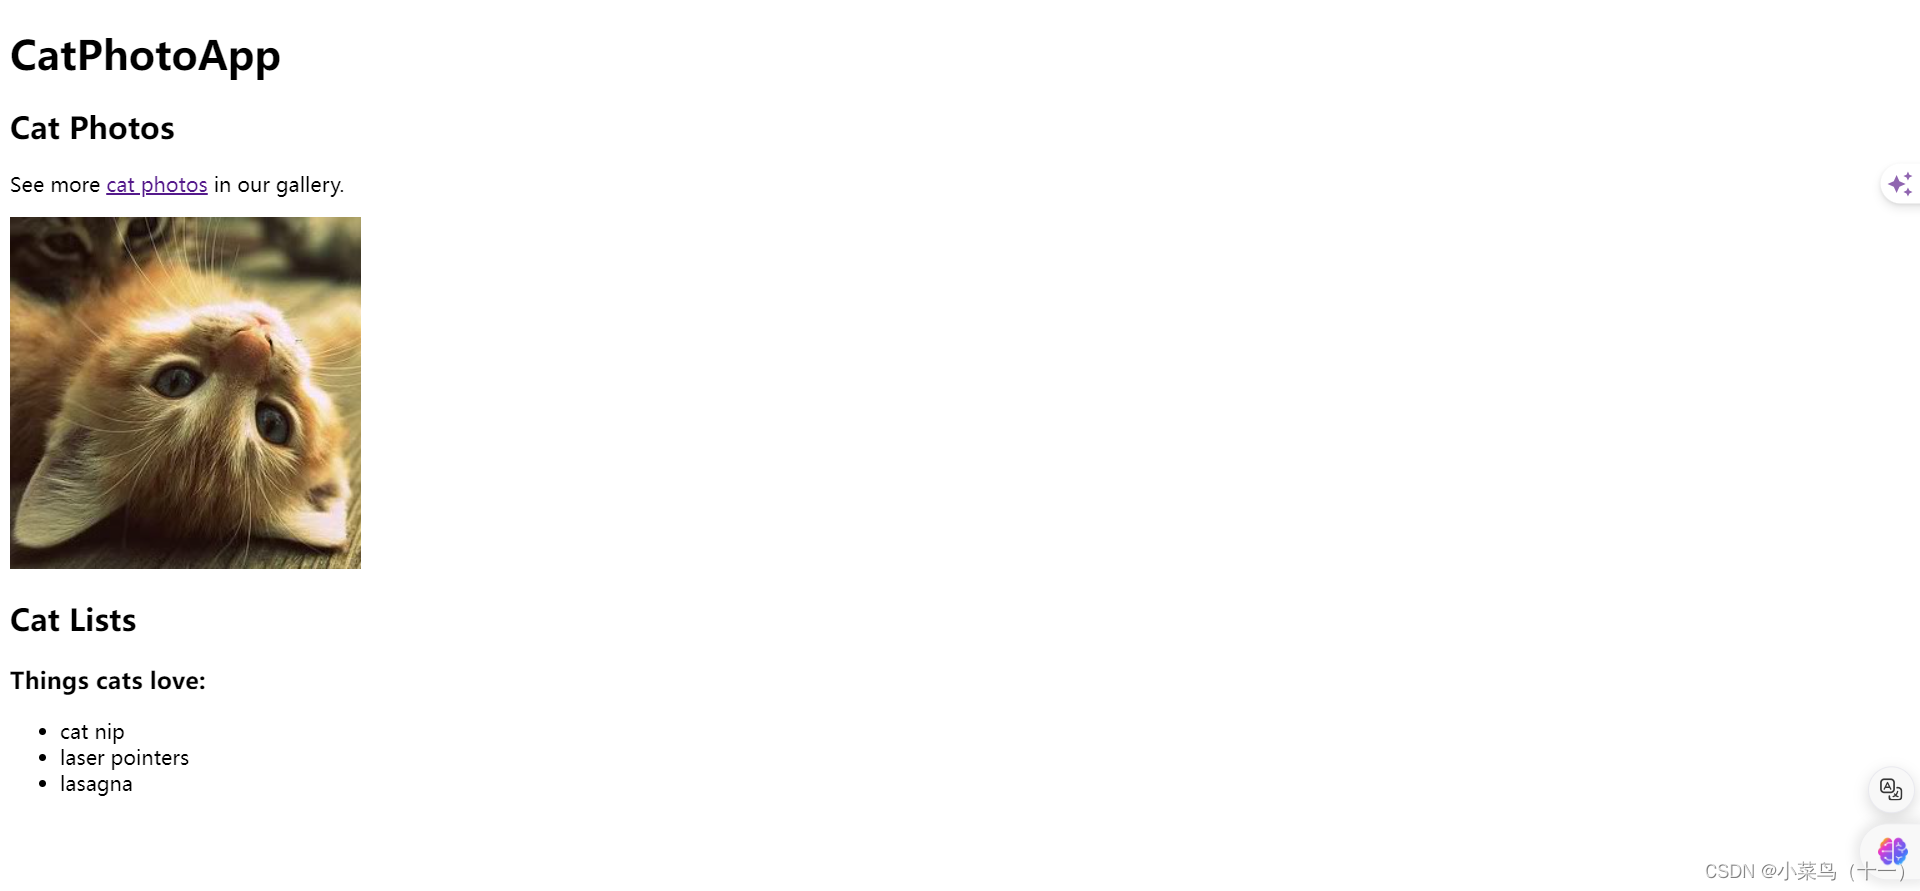
<body><main><h1>CatPhotoApp</h1><section><h2>Cat Photos</h2><!-- TODO: Add link to cat photos --><p>See more <a href="https://freecatphotoapp.com" target="_blank">cat photos</a> in our gallery.</p><a href="https://freecatphotoapp.com"><img src="https://cdn.freecodecamp.org/curriculum/cat-photo-app/relaxing-cat.jpg" alt="A cute orange cat lying on its back"></a></section><section><h2>Cat Lists</h2><h3>Things cats love:</h3><ul><li>cat nip</li><li>laser pointers</li><li>lasagna</li></ul></section></main>
</body>
</html>
3.3、figure元素
figure 元素代表独立的内容,并允许将图像与标题相关联
示例:将刚刚添加的图像嵌套在 figure 元素中
html"><!DOCTYPE html>
<html lang="en">
<head><meta charset="UTF-8"><meta name="viewport" content="width=device-width, initial-scale=1.0"><title>Document</title>
</head>
<body><main><h1>CatPhotoApp</h1><section><h2>Cat Photos</h2><!-- TODO: Add link to cat photos --><p>See more <a href="https://freecatphotoapp.com" target="_blank">cat photos</a> in our gallery.</p><a href="https://freecatphotoapp.com"><img src="https://cdn.freecodecamp.org/curriculum/cat-photo-app/relaxing-cat.jpg" alt="A cute orange cat lying on its back"></a></section><section><h2>Cat Lists</h2><h3>Things cats love:</h3><ul><li>cat nip</li><li>laser pointers</li><li>lasagna</li></ul><figure><img src="https://cdn.freecodecamp.org/curriculum/cat-photo-app/lasagna.jpg" alt="A slice of lasagna on a plate."></figure></section></main>
</body>
</html>
示例:添加figcaption元素
figcaption元素用于为figure元素中的图像、图表、代码块等提供标题或描述。它通常位于figure元素内部,作为第一个子元素。
html"><!DOCTYPE html>
<html lang="en">
<head><meta charset="UTF-8"><meta name="viewport" content="width=device-width, initial-scale=1.0"><title>Document</title>
</head>
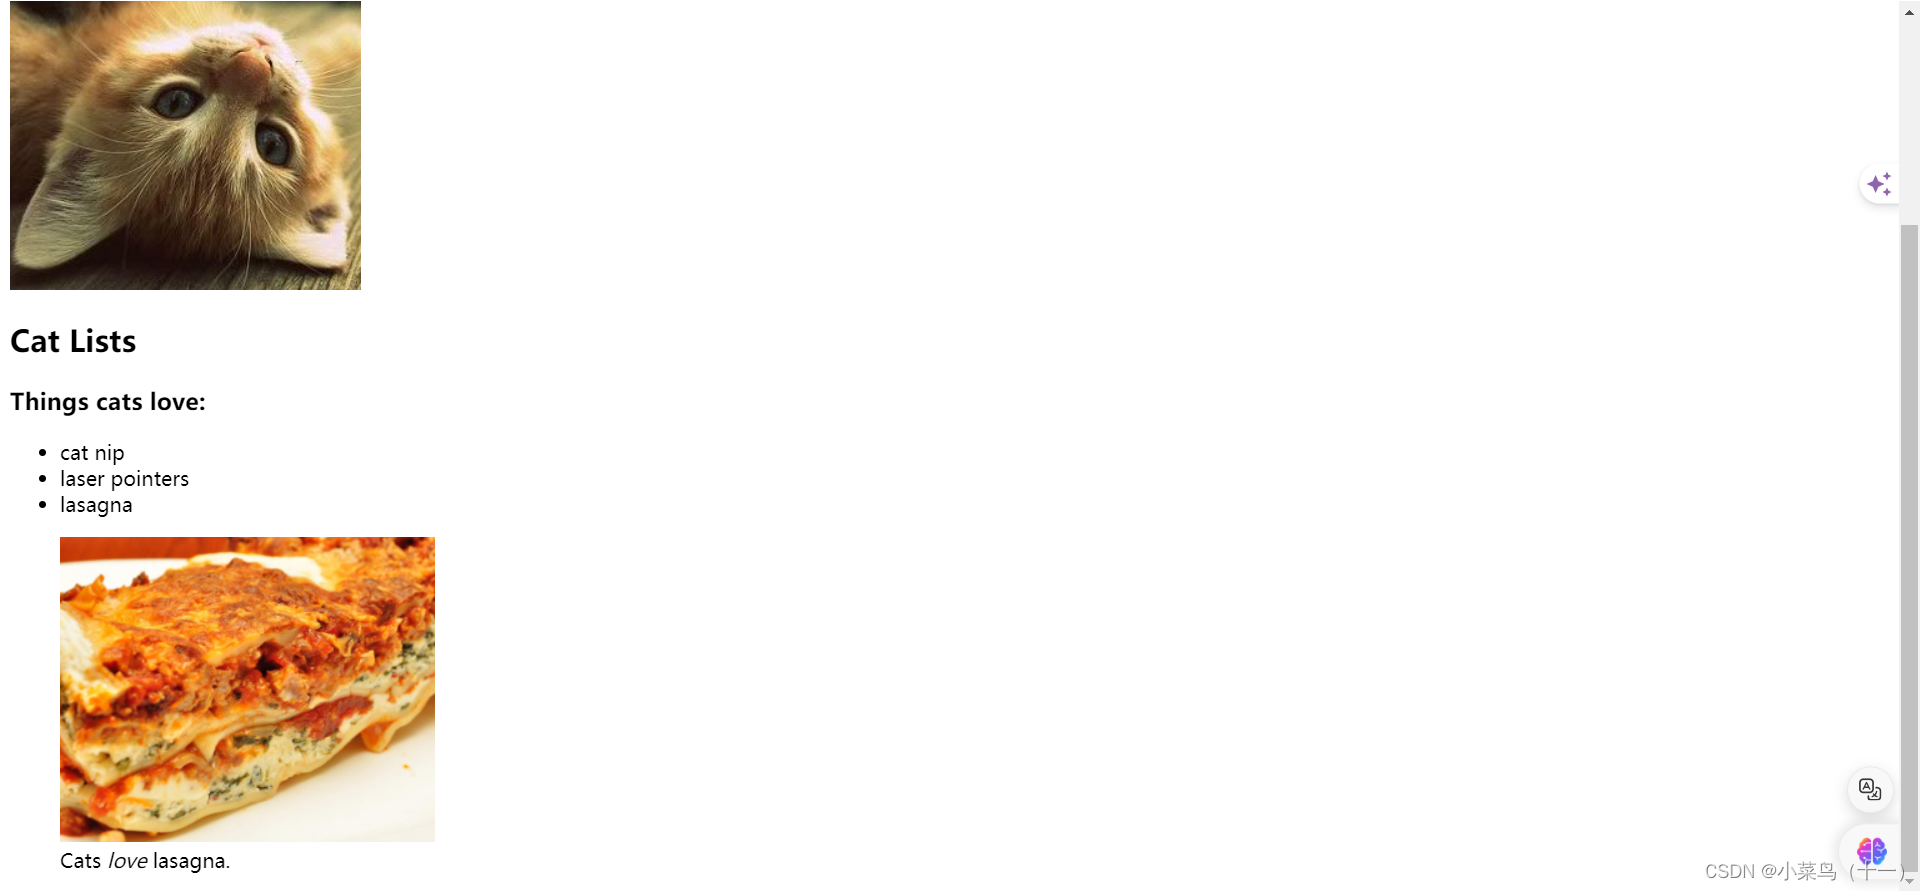
<body><main><h1>CatPhotoApp</h1><section><h2>Cat Photos</h2><!-- TODO: Add link to cat photos --><p>See more <a href="https://freecatphotoapp.com" target="_blank">cat photos</a> in our gallery.</p><a href="https://freecatphotoapp.com"><img src="https://cdn.freecodecamp.org/curriculum/cat-photo-app/relaxing-cat.jpg" alt="A cute orange cat lying on its back"></a></section><section><h2>Cat Lists</h2><h3>Things cats love:</h3><ul><li>cat nip</li><li>laser pointers</li><li>lasagna</li></ul><figure><img src="https://cdn.freecodecamp.org/curriculum/cat-photo-app/lasagna.jpg" alt="A slice of lasagna on a plate."><figcaption>Cats love lasagna.</figcaption></figure></section></main>
</body>
</html>

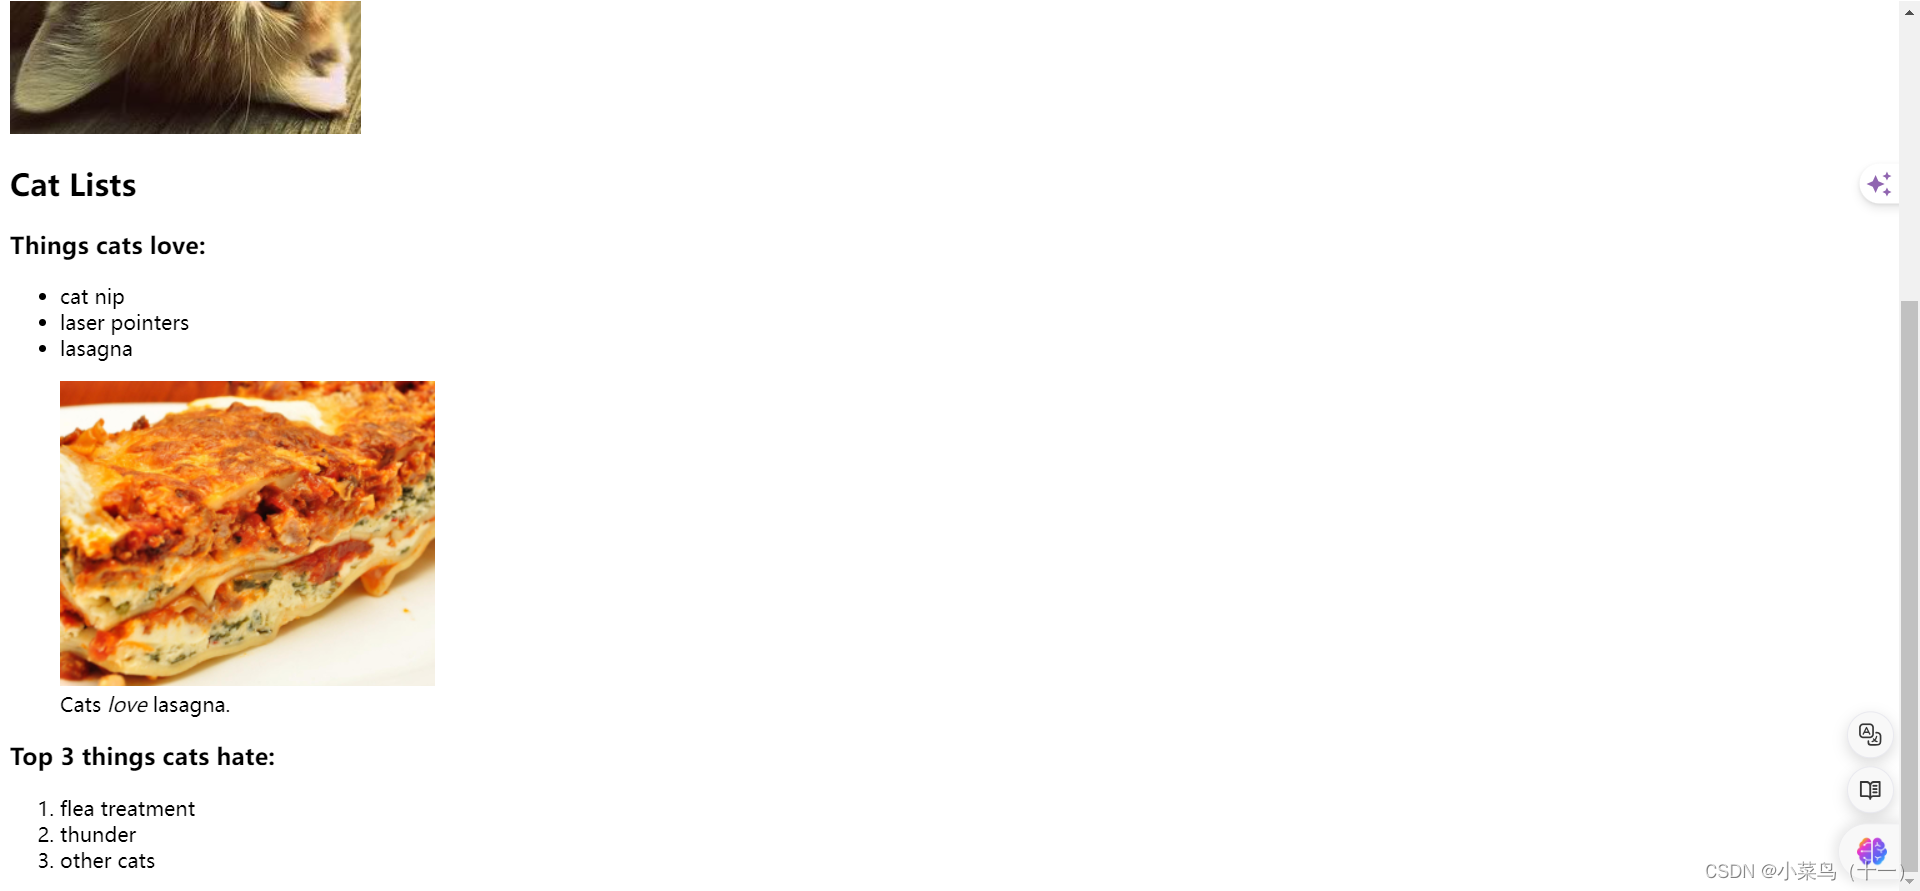
示例:使用em元素
html"><!DOCTYPE html>
<html lang="en">
<head><meta charset="UTF-8"><meta name="viewport" content="width=device-width, initial-scale=1.0"><title>Document</title>
</head>
<body><main><h1>CatPhotoApp</h1><section><h2>Cat Photos</h2><!-- TODO: Add link to cat photos --><p>See more <a href="https://freecatphotoapp.com" target="_blank">cat photos</a> in our gallery.</p><a href="https://freecatphotoapp.com"><img src="https://cdn.freecodecamp.org/curriculum/cat-photo-app/relaxing-cat.jpg" alt="A cute orange cat lying on its back"></a></section><section><h2>Cat Lists</h2><h3>Things cats love:</h3><ul><li>cat nip</li><li>laser pointers</li><li>lasagna</li></ul><figure><img src="https://cdn.freecodecamp.org/curriculum/cat-photo-app/lasagna.jpg" alt="A slice of lasagna on a plate."><figcaption>Cats <em>love</em> lasagna.</figcaption></figure></section></main>
</body>
</html>
3.4、ol元素
有序列表的代码类似于无序列表,但有序列表中的列表项在显示时会被编号。
示例:添加ol元素有序列表
html"><!DOCTYPE html>
<html lang="en">
<head><meta charset="UTF-8"><meta name="viewport" content="width=device-width, initial-scale=1.0"><title>Document</title>
</head>
<body><main><h1>CatPhotoApp</h1><section><h2>Cat Photos</h2><!-- TODO: Add link to cat photos --><p>See more <a href="https://freecatphotoapp.com" target="_blank">cat photos</a> in our gallery.</p><a href="https://freecatphotoapp.com"><img src="https://cdn.freecodecamp.org/curriculum/cat-photo-app/relaxing-cat.jpg" alt="A cute orange cat lying on its back"></a></section><section><h2>Cat Lists</h2><h3>Things cats love:</h3><ul><li>cat nip</li><li>laser pointers</li><li>lasagna</li></ul><figure><img src="https://cdn.freecodecamp.org/curriculum/cat-photo-app/lasagna.jpg" alt="A slice of lasagna on a plate."><figcaption>Cats <em>love</em> lasagna.</figcaption></figure><h3>Top 3 things cats hate:</h3><ol start="1"><li>flea treatment</li><li>thunder</li><li>other cats</li></ol></section></main>
</body>
</html>
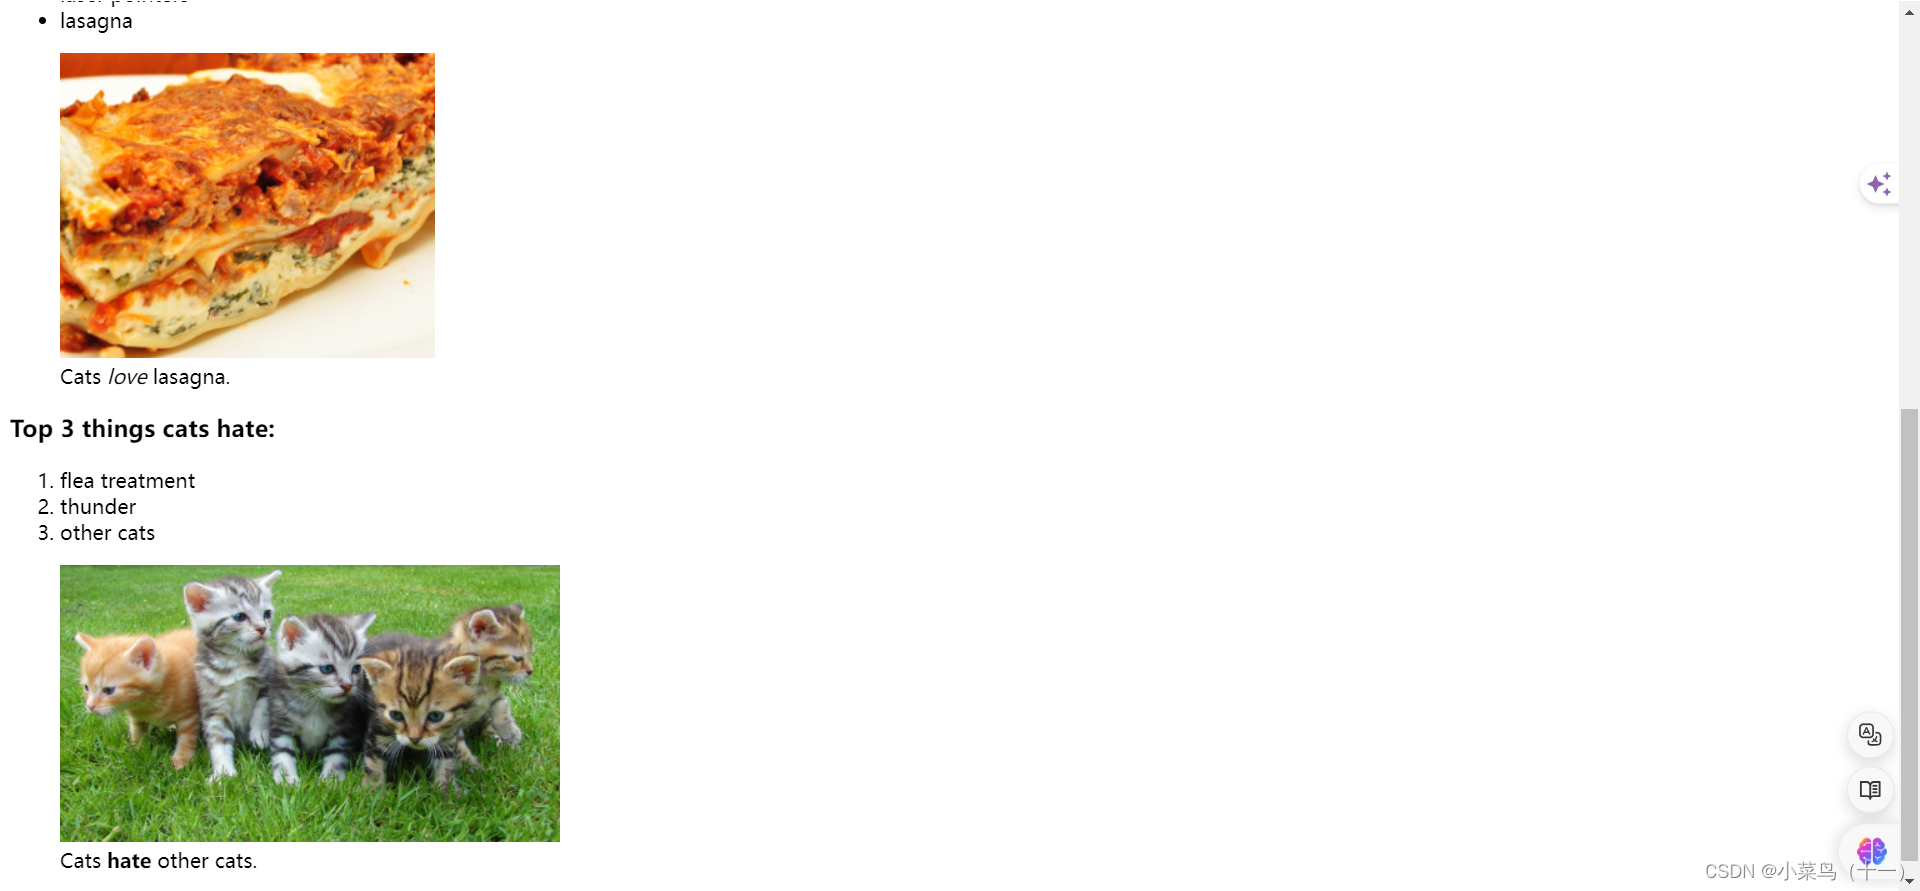
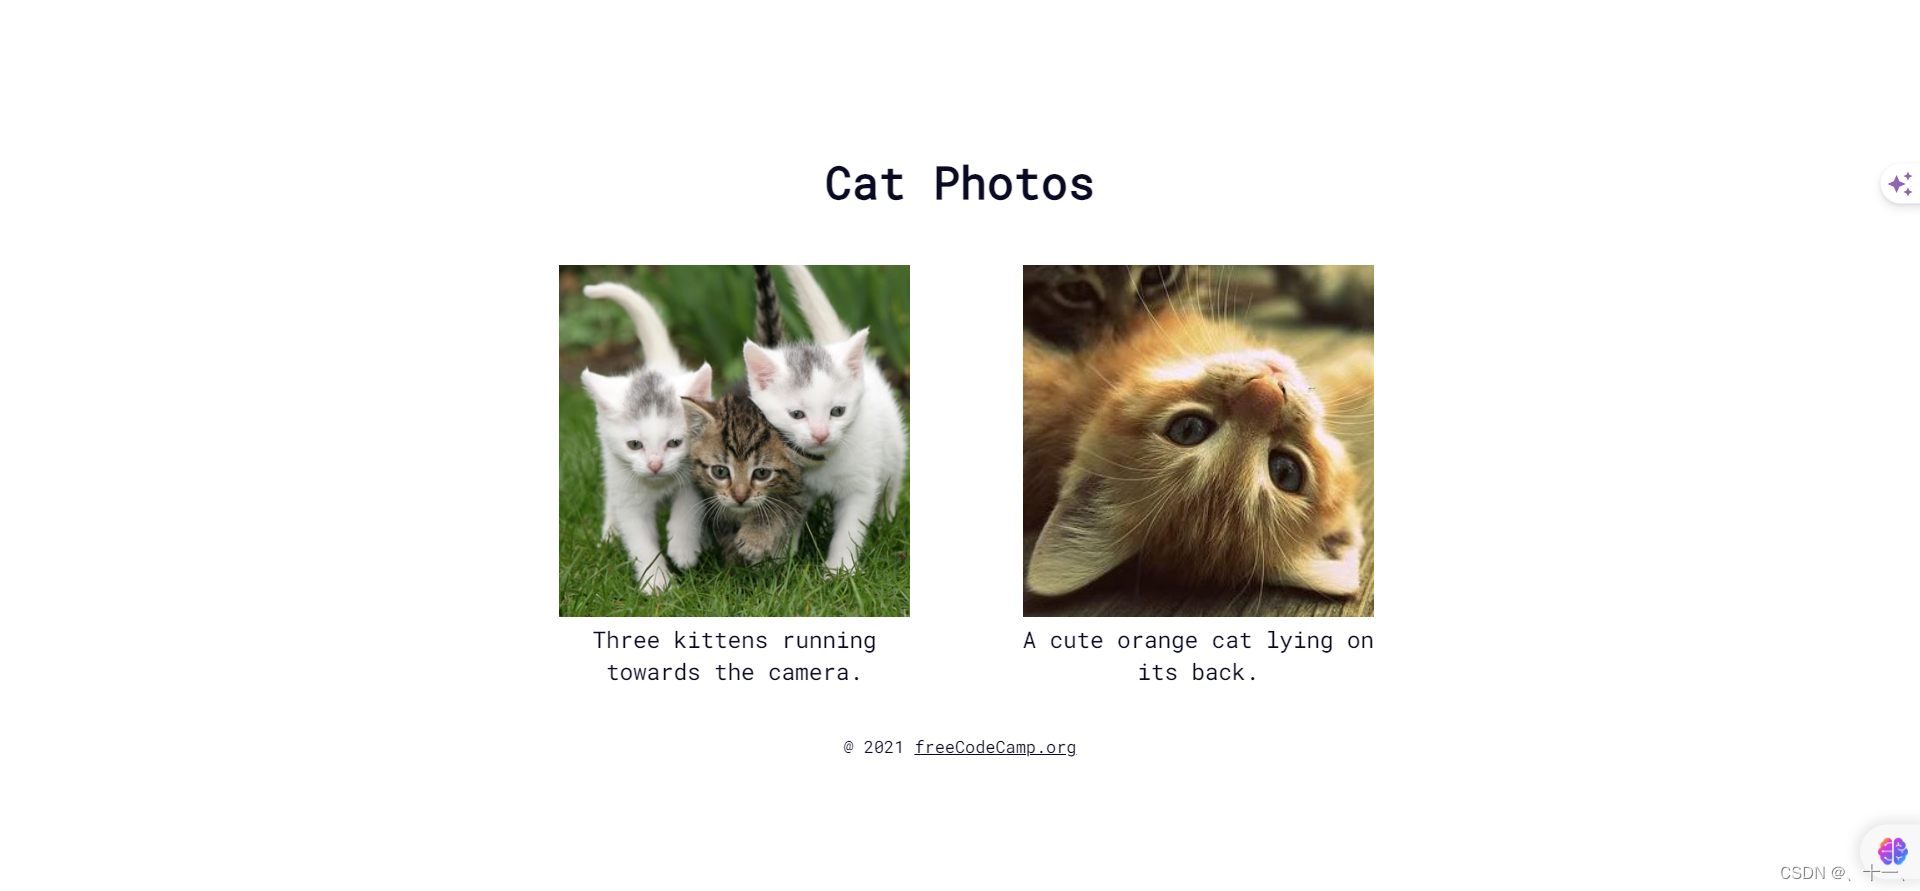
3.5、strong元素
strong元素在HTML中用于表示重要性或强烈强调的文本内容。与b元素仅提供视觉上的强调不同,strong元素不仅使文本加粗,还具有语义上的重要性,即它向浏览器和搜索引擎传达了所包围的文本具有较高的重要性或优先级。
示例:在figcaption中嵌套strong元素
html"><!DOCTYPE html>
<html lang="en">
<head><meta charset="UTF-8"><meta name="viewport" content="width=device-width, initial-scale=1.0"><title>Document</title>
</head>
<body><main><h1>CatPhotoApp</h1><section><h2>Cat Photos</h2><!-- TODO: Add link to cat photos --><p>See more <a href="https://freecatphotoapp.com" target="_blank">cat photos</a> in our gallery.</p><a href="https://freecatphotoapp.com"><img src="https://cdn.freecodecamp.org/curriculum/cat-photo-app/relaxing-cat.jpg" alt="A cute orange cat lying on its back"></a></section><section><h2>Cat Lists</h2><h3>Things cats love:</h3><ul><li>cat nip</li><li>laser pointers</li><li>lasagna</li></ul><figure><img src="https://cdn.freecodecamp.org/curriculum/cat-photo-app/lasagna.jpg" alt="A slice of lasagna on a plate."><figcaption>Cats <em>love</em> lasagna.</figcaption></figure><h3>Top 3 things cats hate:</h3><ol start="1"><li>flea treatment</li><li>thunder</li><li>other cats</li></ol><figure><img src="https://cdn.freecodecamp.org/curriculum/cat-photo-app/cats.jpg" alt="Five cats looking around a field."><figcaption>Cats <strong>hate</strong> other cats.</figcaption></figure></section></main>
</body>
</html>