基于RASC的keil电子时钟制作6_定时器驱动数码管
- 概述
- 硬件准备
- 视频教程
- 选择定时器
- 定时器做计数器配置
- 定时器回调函数
- timer_smg.c
- timer_smg.h
- 演示效果
- 主程序
概述
要想让每个数码管显示不同的数字,但是数码管必须依次地被持续驱动,数码管之间的刷新速度应该足够快,这样就看不出来数码管之间在闪烁。刷新频率可以设置为2ms刷新一次,这样人眼就看不出闪烁了。
硬件准备
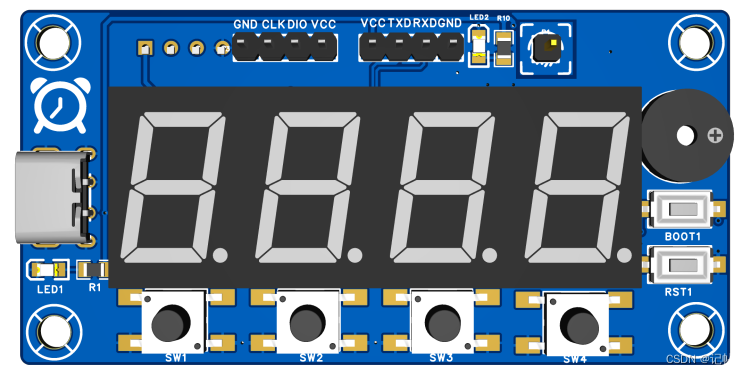
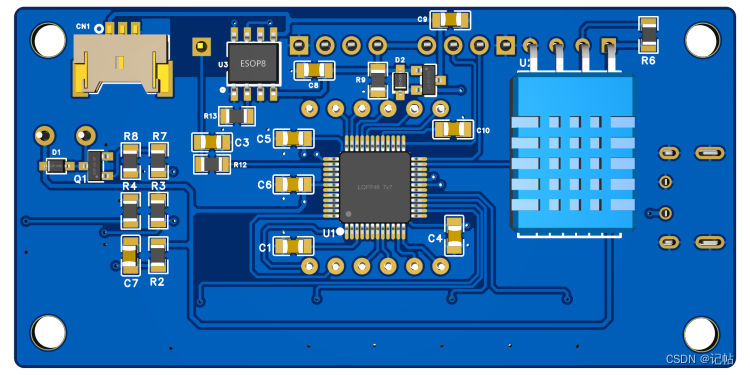
首先需要准备一个开发板,这里我准备的是芯片型号R7FA2E1A72DFL的开发板:
视频教程
https://www.bilibili.com/video/BV1rj41197iQ/
基于RASC的keil电子时钟制作(瑞萨RA)----(5)驱动LED数码管
选择定时器
RA MCU 有两个定时器外设:通用 PWM 定时器 (GPT) 和异步通用定时器 (AGT)。在它们之间进行选择时,请考虑以下因素

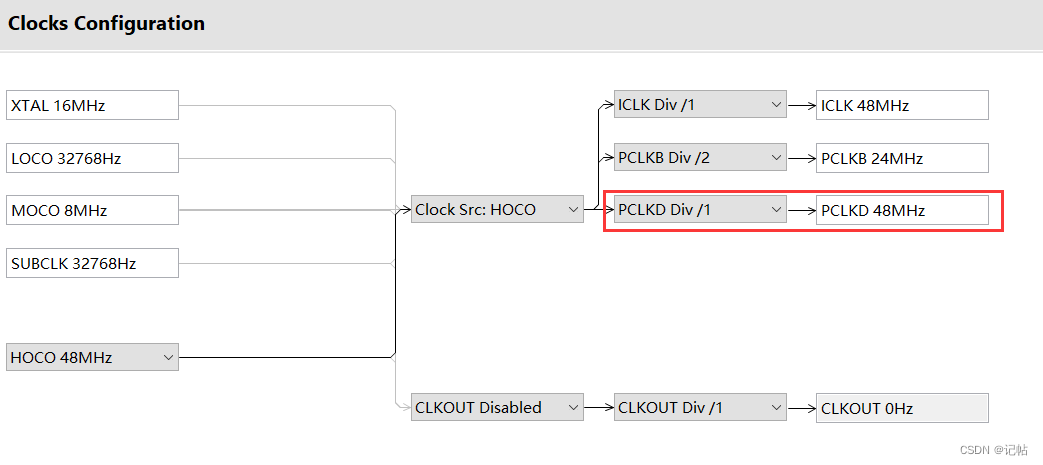
时钟源在这设置的是PCKLD 48M 。
可以通过修改该频率来修改占空比频率。
定时器做计数器配置
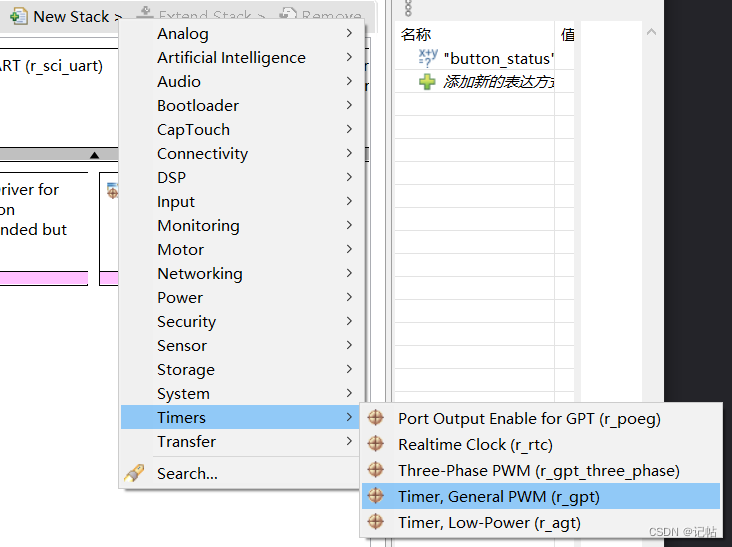
点击Stacks->New Stack->Timers->Timer, General PWM (r_gpt)。
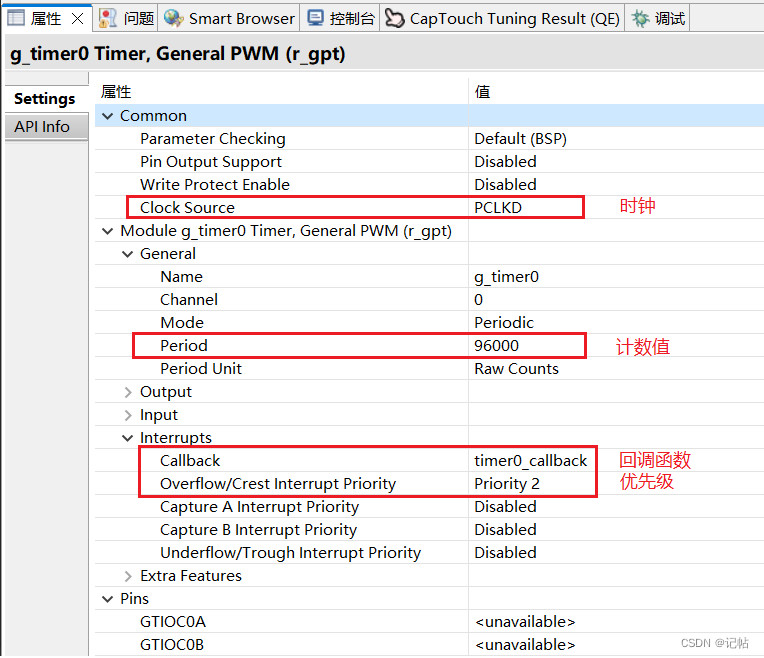
设置定时器制作计数器配置,例如2ms产生一个中断,由于不需要对上升沿和下降沿进行捕获,故只需配置为计数模式即可。
设置2ms刷新一次数码管。
频率=时钟源/period,若设置计数时间为2ms一次,频率为500Hz,则period=48M/500=96000
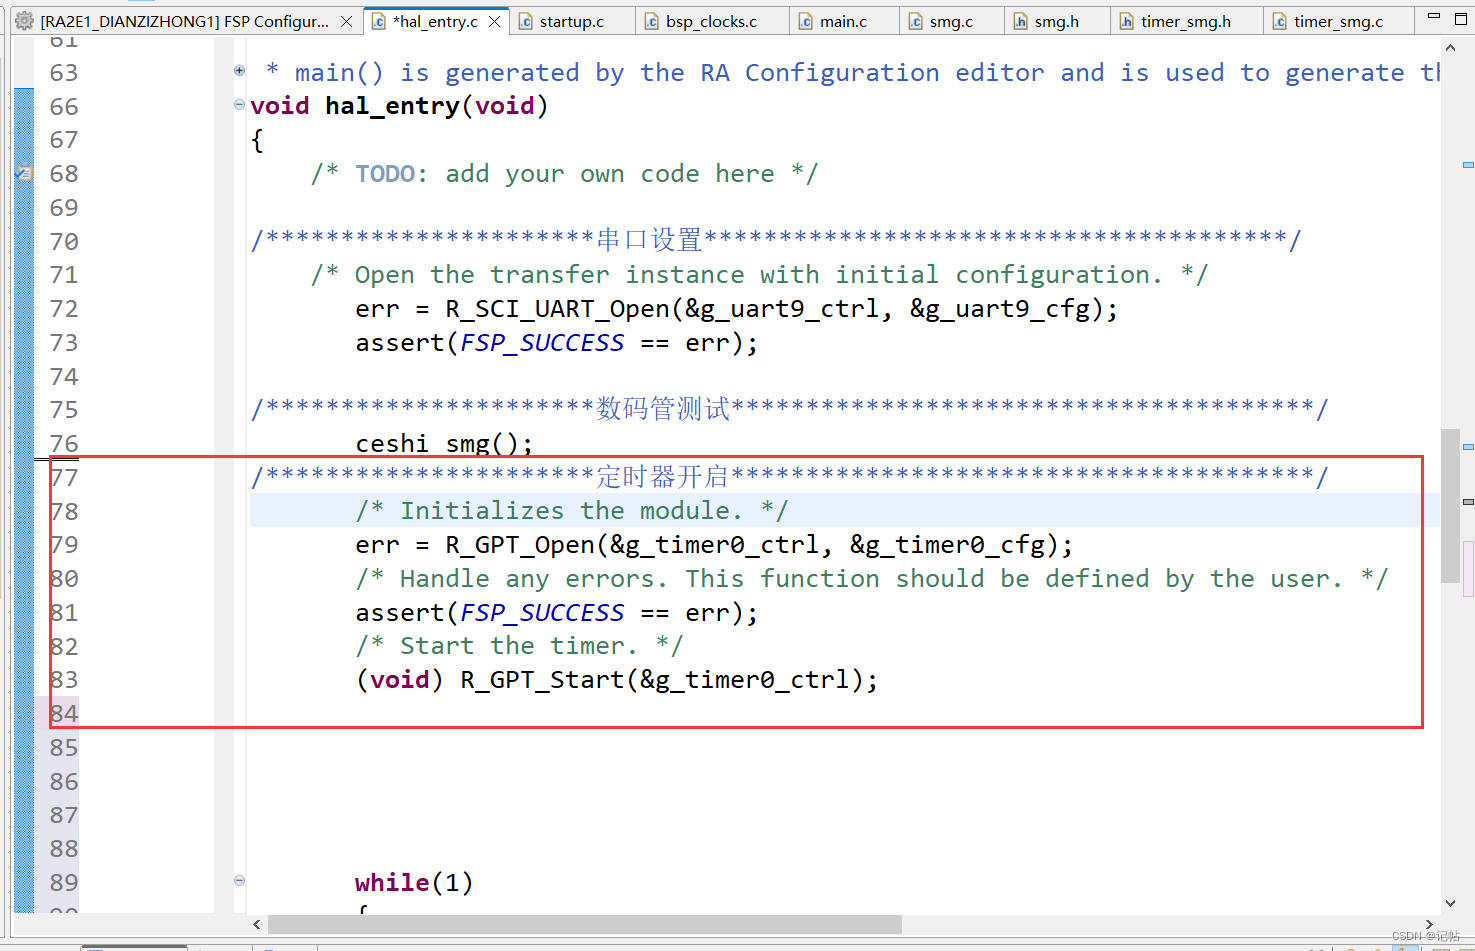
配置完毕之后需要在主程序中开启定时器以及开始计数。
/**********************定时器开启***************************************//* Initializes the module. */err = R_GPT_Open(&g_timer0_ctrl, &g_timer0_cfg);/* Handle any errors. This function should be defined by the user. */assert(FSP_SUCCESS == err);/* Start the timer. */(void) R_GPT_Start(&g_timer0_ctrl);
定时器回调函数
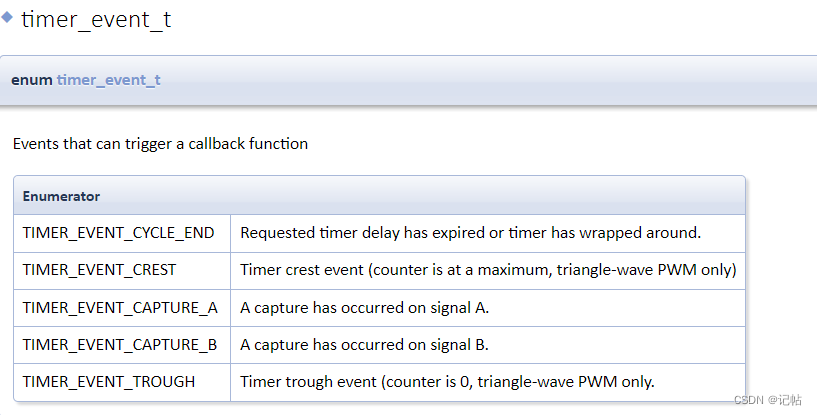
可以触发进入回调函数的事件如下所示,我们主要选择溢出事件TIMER_EVENT_CYCLE_END。
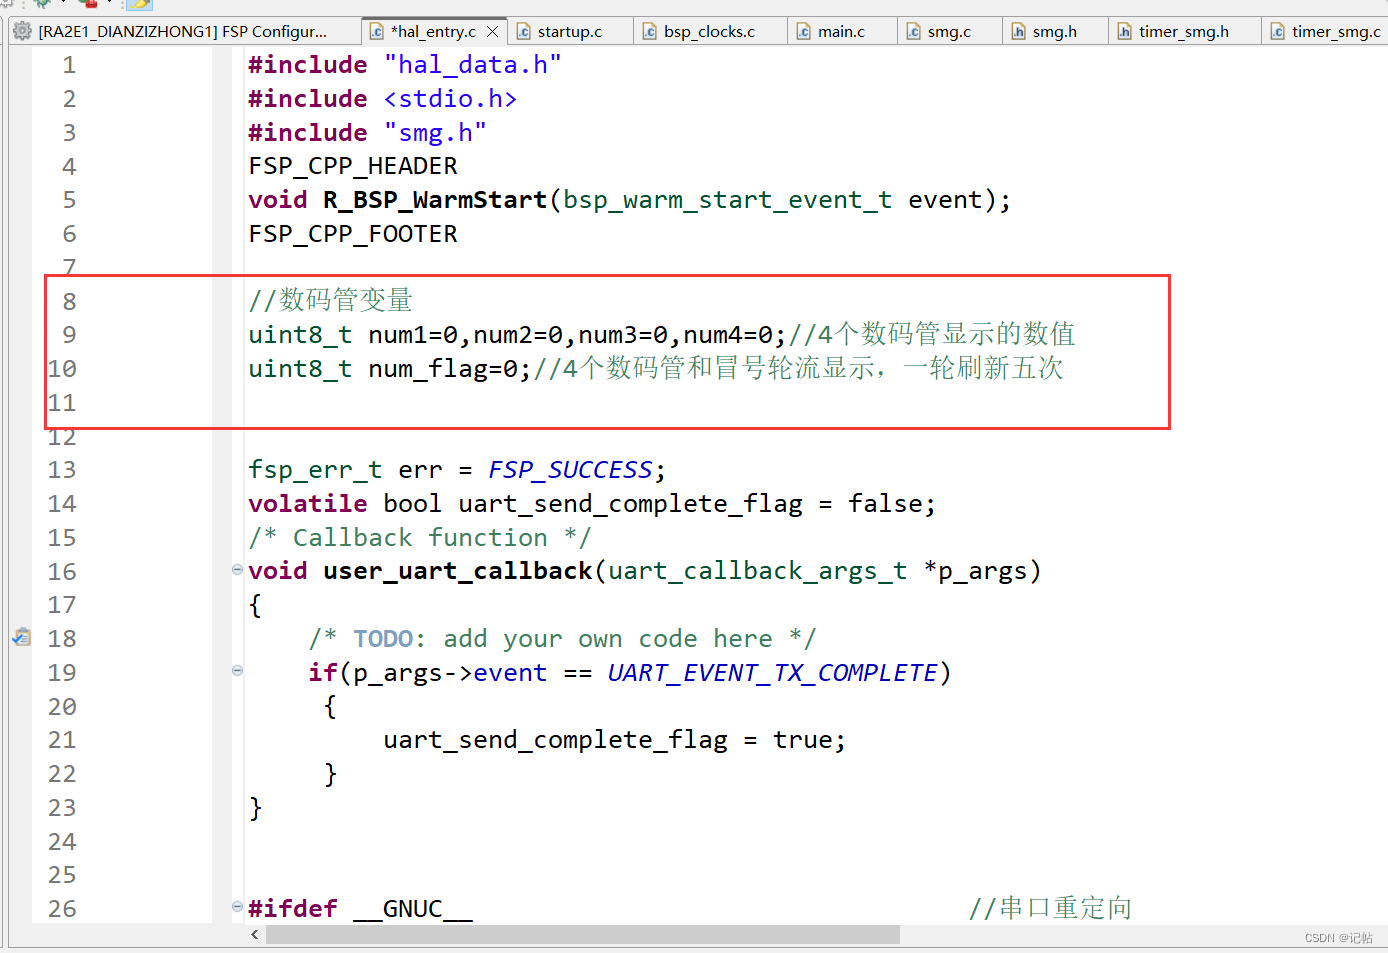
首先定义变量显示数值。
//数码管变量
uint8_t num1=0,num2=0,num3=0,num4=0;//4个数码管显示的数值
uint8_t num_flag=0;//4个数码管和冒号轮流显示,一轮刷新五次
新建timer_smg.c和timer_smg.h文件。
在回调函数中添加如下代码,每隔2ms刷新一次数码管,4个数字与一个冒号,一共要刷新5次。
timer_smg.c
/** timer_smg.c**  Created on: 2023年6月29日*      Author: a8456*/
#include "timer_smg.h"
//数码管变量
extern uint8_t num1,num2,num3,num4;//4个数码管显示的数值
extern uint8_t num_flag;//4个数码管和冒号轮流显示,一轮刷新五次void timer0_callback(timer_callback_args_t *p_args)
{/* TODO: add your own code here */if (TIMER_EVENT_CYCLE_END == p_args->event){if(num_flag==0)smg_1(num1);else if(num_flag==1)smg_2(num2);else if(num_flag==2)smg_3(num3);else if(num_flag==3)smg_4(num4);else if(num_flag==4)smg_maohao_open(1);   //冒号num_flag++;if(num_flag==5)num_flag=0;}
}
timer_smg.h
/** timer_smg.h**  Created on: 2023年6月29日*      Author: a8456*/#ifndef TIMER_SMG_H_
#define TIMER_SMG_H_#include "hal_data.h"#endif /* TIMER_SMG_H_ */
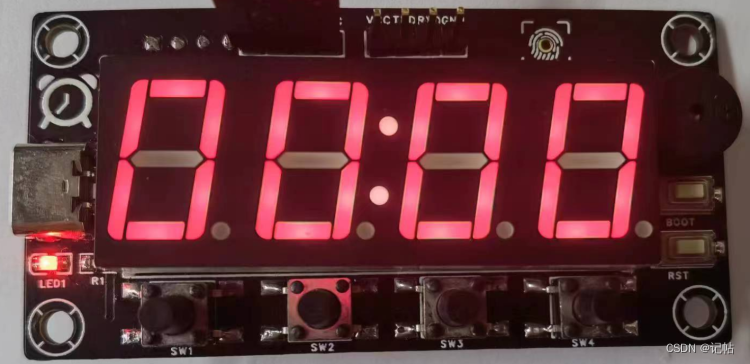
演示效果
主程序
#include "hal_data.h"
#include <stdio.h>
#include "smg.h"
#include "timer_smg.h"FSP_CPP_HEADER
void R_BSP_WarmStart(bsp_warm_start_event_t event);
FSP_CPP_FOOTER//数码管变量
uint8_t num1=0,num2=0,num3=0,num4=0;//4个数码管显示的数值
uint8_t num_flag=0;//4个数码管和冒号轮流显示,一轮刷新五次fsp_err_t err = FSP_SUCCESS;
volatile bool uart_send_complete_flag = false;
void user_uart_callback (uart_callback_args_t * p_args)
{if(p_args->event == UART_EVENT_TX_COMPLETE){uart_send_complete_flag = true;}
}#ifdef __GNUC__                                 //串口重定向#define PUTCHAR_PROTOTYPE int __io_putchar(int ch)
#else#define PUTCHAR_PROTOTYPE int fputc(int ch, FILE *f)
#endifPUTCHAR_PROTOTYPE
{err = R_SCI_UART_Write(&g_uart9_ctrl, (uint8_t *)&ch, 1);if(FSP_SUCCESS != err) __BKPT();while(uart_send_complete_flag == false){}uart_send_complete_flag = false;return ch;
}int _write(int fd,char *pBuffer,int size)
{for(int i=0;i<size;i++){__io_putchar(*pBuffer++);}return size;
}/*******************************************************************************************************************//*** main() is generated by the RA Configuration editor and is used to generate threads if an RTOS is used.  This function* is called by main() when no RTOS is used.**********************************************************************************************************************/
void hal_entry(void)
{/* TODO: add your own code here *//* Open the transfer instance with initial configuration. */err = R_SCI_UART_Open(&g_uart9_ctrl, &g_uart9_cfg);assert(FSP_SUCCESS == err);/**********************数码管测试***************************************/ceshi_smg();
/**********************定时器开启***************************************//* Initializes the module. */err = R_GPT_Open(&g_timer0_ctrl, &g_timer0_cfg);/* Handle any errors. This function should be defined by the user. */assert(FSP_SUCCESS == err);/* Start the timer. */(void) R_GPT_Start(&g_timer0_ctrl);while(1){printf("hello world!123\n");R_BSP_SoftwareDelay(1000U, BSP_DELAY_UNITS_MILLISECONDS);}#if BSP_TZ_SECURE_BUILD/* Enter non-secure code */R_BSP_NonSecureEnter();
#endif
}

