<template><div class="box"><!-- 使用儿子 --><!-- 传递参数给儿子使用用:msg --><!-- 在父级里面定义属性传给子集 --><!-- 父级定义的属性我们要在子集里面拿到 --><itemson@spendata='fn'v-for="(v,i) in dataList":key="i":imgActive="v.imgActive":imgSrc="v.imgSrc":title="v.title":url="v.url"></itemson></div>
</template><script>
// 引入儿子的模块
import itemson from "./components/Itemson.vue";
export default {// 注册儿子components: {itemson},data() {return {// 然后定义返回的数组是空的dataList: [{imgActive: require("./assets/imgs/api01-c.svg"),imgSrc: require("./assets/imgs/api01.svg"),title: "生活服务",url: "https://www.baidu.com"},{imgActive: require("./assets/imgs/api02-c.svg"),imgSrc: require("./assets/imgs/api02.svg"),title: "社会服务",url: "https://www.taobao.com"},{imgActive: require("./assets/imgs/api03-c.svg"),imgSrc: require("./assets/imgs/api03.svg"),title: "养老服务",url: "https://www.jd.com"},{imgActive: require("./assets/imgs/api04-c.svg"),imgSrc: require("./assets/imgs/api04.svg"),title: "医疗服务",url: "https://www.tianmao.com"},{imgActive: require("./assets/imgs/api05-c.svg"),imgSrc: require("./assets/imgs/api05.svg"),title: "售后服务",url: "https://www.baihe.com"},{imgActive: require("./assets/imgs/api06-c.svg"),imgSrc: require("./assets/imgs/api06.svg"),title: "出行服务",url: "https://www.4399.com"},{imgActive: require("./assets/imgs/api07-c.svg"),imgSrc: require("./assets/imgs/api07.svg"),title: "天气服务",url: "https://www.7k7k.com"}]};},methods:{fn(obj){console.log(obj);location.href=obj.url}
}
};
</script><style lang="less" scoped>
.box {display: flex;flex-wrap: wrap;
}
</style>
上面的是父页面的内容
下面是子页面的内容
<template><div><!-- 设置儿子页面 --><div class="itemson" @mouseenter="isActive = true" @mouseleave="isActive= false" @click="spendata"><img :src="imgActive" alt v-if="isActive" /><img :src="imgSrc" alt v-else /><p>{{title}}</p></div><!-- 然后使用它 --></div>
</template><script>
export default {data() {return {isActive: false,};},// 儿子接收父级传的参数用proposprops: {imgActive: {required: true,type: String,default: ""},imgSrc: {required: true,type: String,default: ""},title: {type: String,default: ""},url: {type: String,default: ""}},methods: {spendata() {this.$emit("spendata", {url: this.url,imgSrc: this.imgSrc,title: this.title});}}
};
</script><style lang="less" scoped>
.itemson {width: 220px;height: 138px;box-shadow: 1px 4px 8px 0 rgba(18, 113, 239, 0.6);margin: 0px 20px 20px 0px;display: flex;flex-direction: column;justify-content: center;align-items: center;&:hover {background: #1271ef;color: #fff;}
}
</style>
1.0 组件通信
组件为了实现交互,通过数据传递实现,这个就叫做组件通信
自定义组件的使用:
-
引入组件
-
注册组件
-
使用组件
1.1组件通信类型:
-
父传子【重点】: 在父页面的子组件标签上定义需要传递参数,在子组件页面通过配置选项props 进行接收参数,使用方法与data里的数据一样
<template><son 参数1=“表达式” :参数2=“msg12”></son>
</template>
<script>
import Son from 'xx/Son.vue' // 引入组件
export default{
// 注册组件
components:{ Son },
data(){
return {
msg:'xxx'
}
}
}
</script>
# 子组件接收参数
<template>
<div>
{{ msg }}
{{ 参数1 }}
</div>
</template>
<script>
// 子组件接收父组件传入的参数
export default{
// 数组接收方法1
props:['参数1','参数2']
// 对象接收方法2 【推荐】
props:{
参数1:{ // 配置选项
required:true, // 是否必传
type:String|Number|Boolean|Object|Array, // 数据类型:构造函数
default:''|0|false
// 注意:如果类型为引用类型 ()=>{return {}}、()=>{return []}
}
},
data(){
return {
msg:’xxx‘
}
}
}
</script>
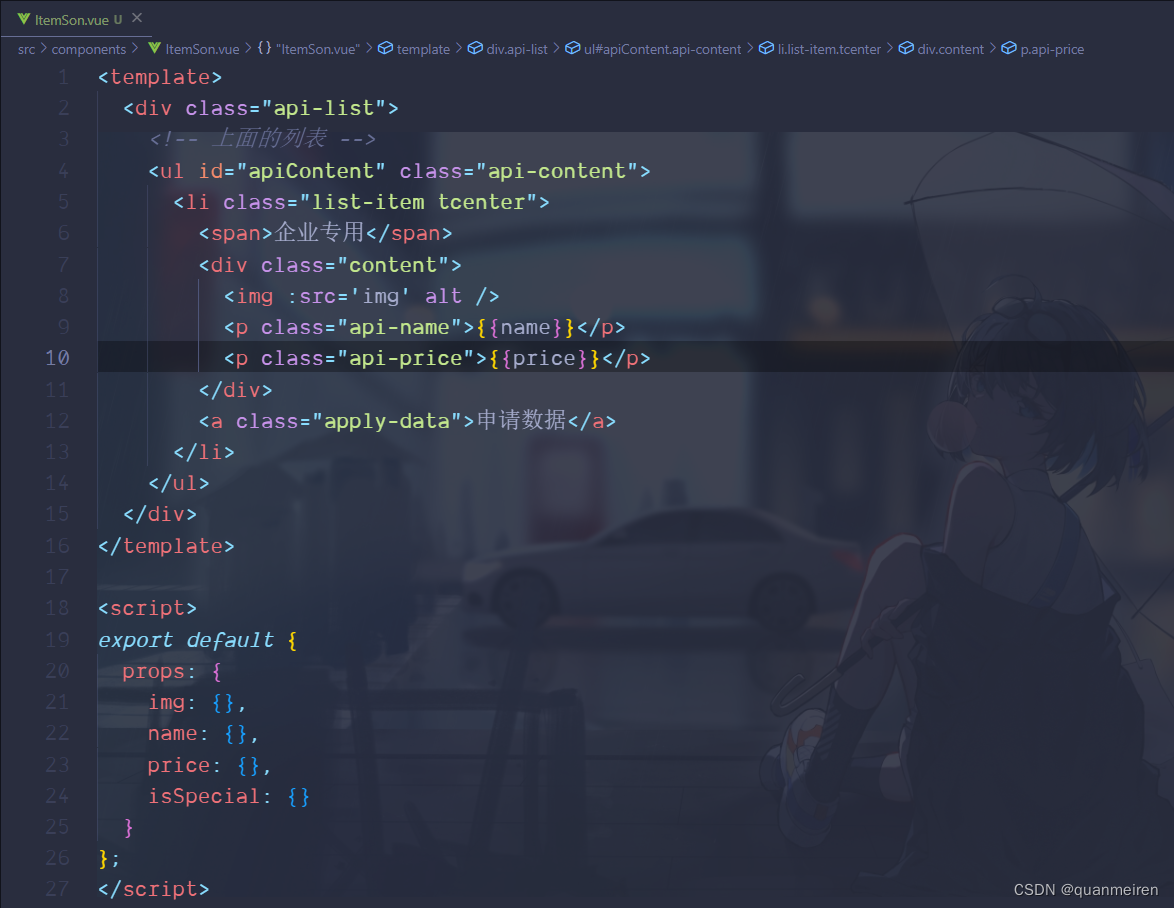
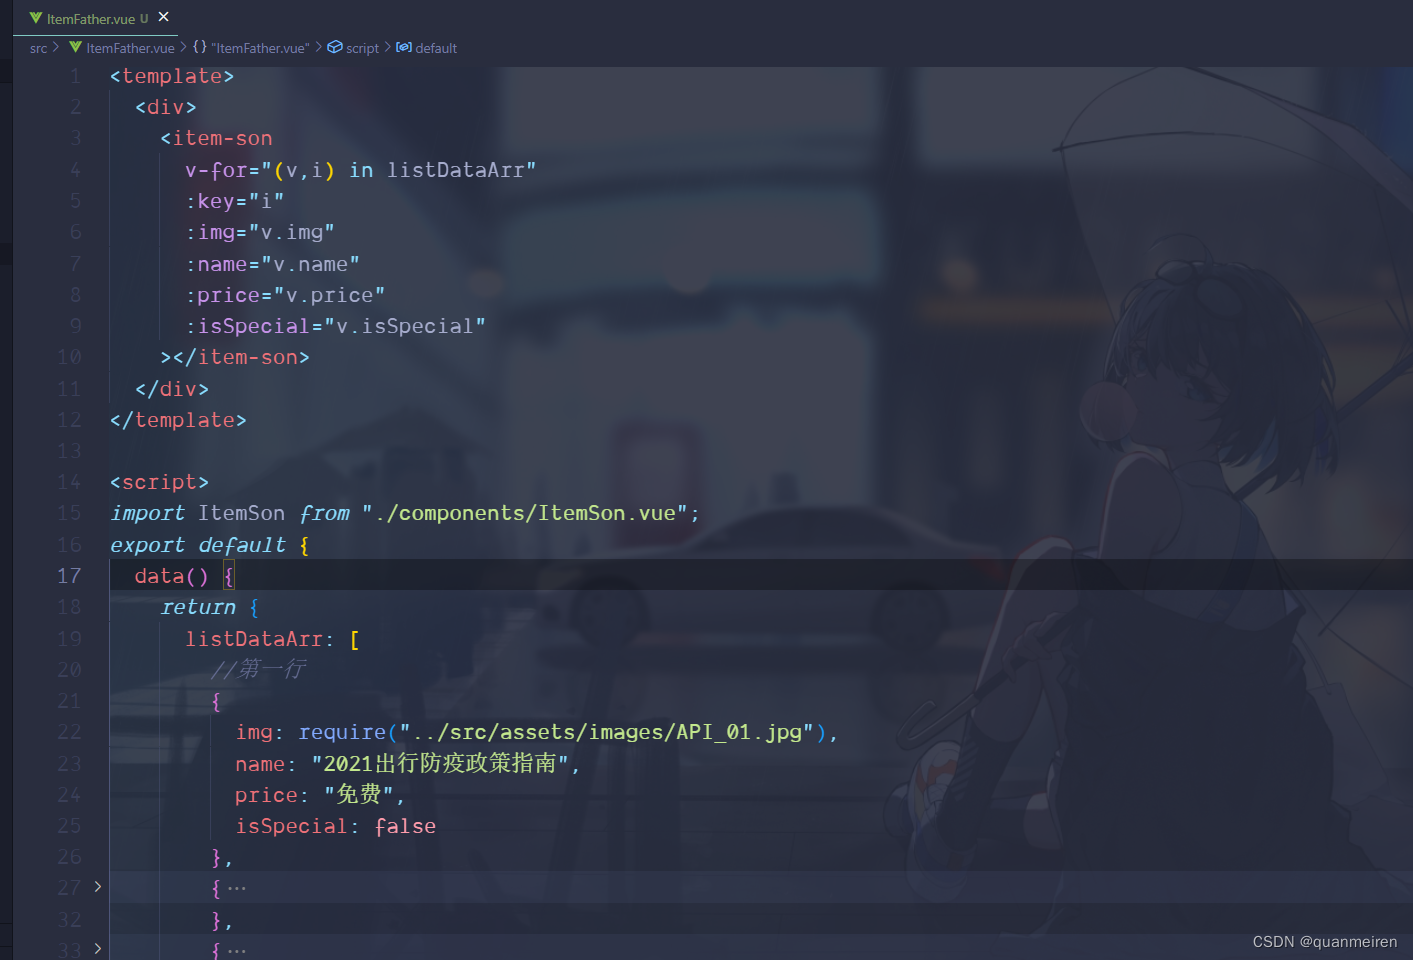
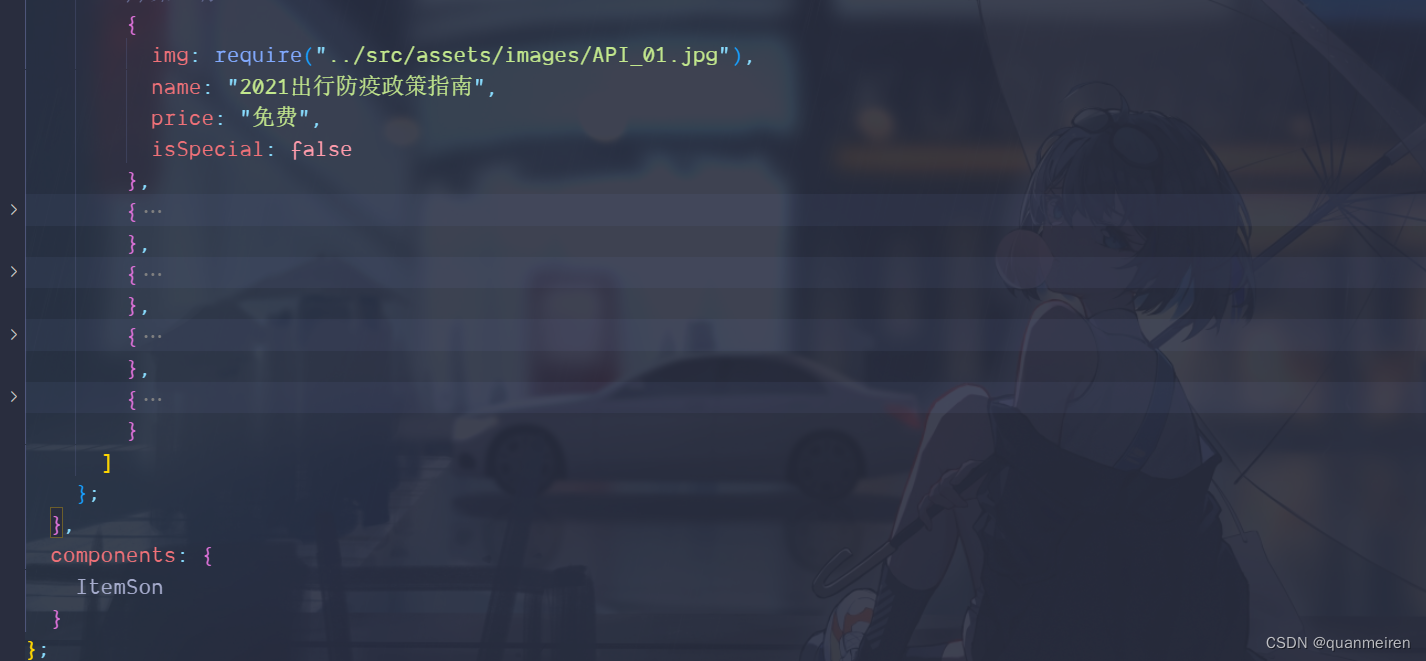
注意注意:发送图片的时候一定要记住用require包住
-
子传父【重点】:vue是单向数据流,子组件不可以直接修改父组件传入的数据,只能通过触发事件进行数据修改;
发送:通过this.$emit('自定义事件名',参数),将参数传递给父组件;
接收:父组件页面在子组件的标签上绑定自定义事件名接收传入参数;
# son.vue
<template><div>...内容<button @click="处理函数"> 修改 </button>
</div>
</template>
<script>
export default{...// 方法methods:{处理函数(){// 通过$emit触发自定义事件,携带对应参数给父组件this.$emit('自定义事件名',参数1,参数2...)}}
}
</script>
#父组件
<template><son 参数1=“表达式” :参数2=“msg12” @自定义事件名="处理函数"></son>
</template>
<script>
import Son from 'xx/Son.vue' // 引入组件export default{// 注册组件components:{ Son },data(){return {msg:'xxx'}},// 方法methods:{处理函数(参数1,参数2){// 处理逻辑后修改数据this.msg = 参数1}}
}
</script>
-
乱传(中央事件总线bus)【理解】: 找一个Vue实例当中介,通过这个中介进行数据的传递和接收
特点: 用起来非常简单,缺点就是乱,维护成本极高
1、创建中介 -- 创建vue的实例 挂载到Vue的原型上
Vue.prototype.$bus =  new Vue()
2、传递信息
this.$bus.$emit('自定义事件名',参数)
3、接收信息
created(){this.$bus.$on('自定义事件名',(参数)=>{  // 处理数据  })
}
父子关系确定: 如果你在我的页面引入,注册,使用,那么我就是你爸爸
-
依赖注入【不讲】:祖先组件注入某个属性,在子孙组件依赖这个变量
-
vuex 状态管理库
-
插槽 :他传递元素
-
路由传参: Router
2.0 插槽的基本使用 【掌握】
在子组件里挖坑,在父组件使用时填坑就可以了,这就是插槽的作用
2.1 插槽的类型
-
匿名插槽
#子组件 son.vue <template><div><slot></slot></div> </template> #父组件 father.vue <template><div><son>写入你想写内容包括元素标签</son></div> </template>
-
具名插槽
#子组件 son.vue <template><div><slot name='插槽名1'></slot><slot name='插槽名2'></slot></div> </template> #父组件 father.vue <template><div><son><写入你想写内容包括元素标签 slot="插槽名2" /><写入你想写内容包括元素标签 slot="插槽名1" /></son></div> </template>
-
作用域插槽 (相当于将子组件的数组 传给父组件)
#子组件 son.vue
<template><div><slot name='插槽名1' :需要传出去的属性1=“属性值1” :需要传出去的属性2=“属性值2” ></slot><slot :需要传出去的属性1=“属性值1” :需要传出去的属性2=“属性值2”></slot></div>
</template>
#父组件 father.vue
<template><div><son># 具名插槽<写入你想写内容包括元素标签 slot="插槽名1" slot-scope="scoped">{{ scoped }}</写入你想写内容包括元素标签># 匿名插槽<写入你想写内容包括元素标签 slot-scope="scoped" >{{ scoped }}</写入你想写内容包括元素标签></son></div>
</template>
3.0 组件库的使用【掌握】
去相应的官网找到合适的组件, C + V
-
根据你选择的元素,查看对应的属性、方法、事件文档
Element UI (Element - The world's most popular Vue UI framework)
1、下载 npm i element-ui -S 或 yarn add element-ui -S 2、引入及使用(在main.js引入) import ElementUI from 'element-ui'; import 'element-ui/lib/theme-chalk/index.css'; Vue.use(ElementUI);
Vant UI (Vant 2 - Mobile UI Components built on Vue)
1、下载 npm i vant@latest-v2 -S 或 yarn add vant@latest-v2 -S 2、引入及使用(在main.js引入) import Vant from 'vant'; // js import 'vant/lib/index.css'; // css Vue.use(Vant);
