前言
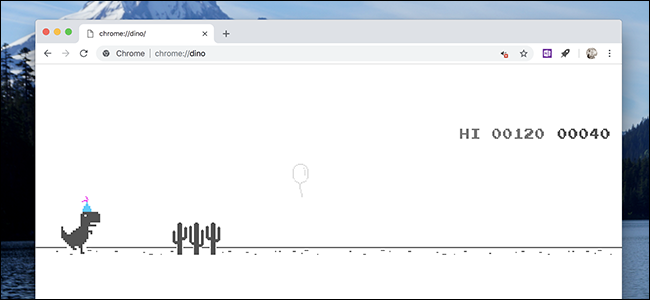
几年前,Google 给 Chrome 浏览器加了一个有趣的彩蛋:如果你在未联网的情况下访问网页,会看到 “Unable to connect to the Internet” 或 “No internet” 的提示,旁边是一只像素恐龙。
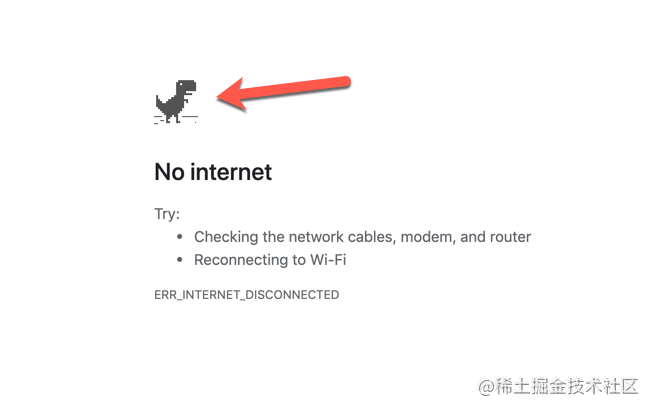
许多人可能觉得这只恐龙只是一个可爱的小图标,在断网的时候陪伴用户。但是后来有人按下空格键,小恐龙开始奔跑!
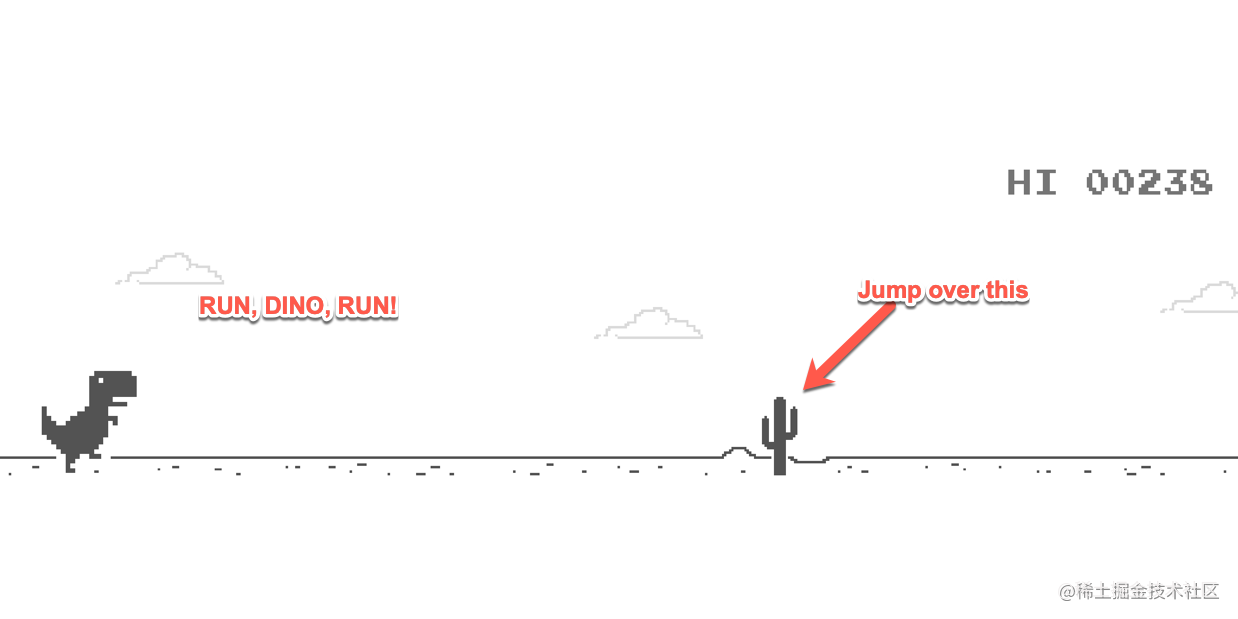
这只可爱的小恐龙是设计师 Sebastien Gabriel 的作品。他在一次访谈中说,他觉得没有 wifi 的年代就像是史前时代,很多人都已经忘记那个只能在公司、学校或者网吧才能上网的年代,所以他就以史前时代的代表——恐龙,作为断网的图标。
本文的主要内容就是如何使用Vue实现这个小彩蛋游戏,感兴趣的同学可以直接看下效果:游戏地址
复刻画面
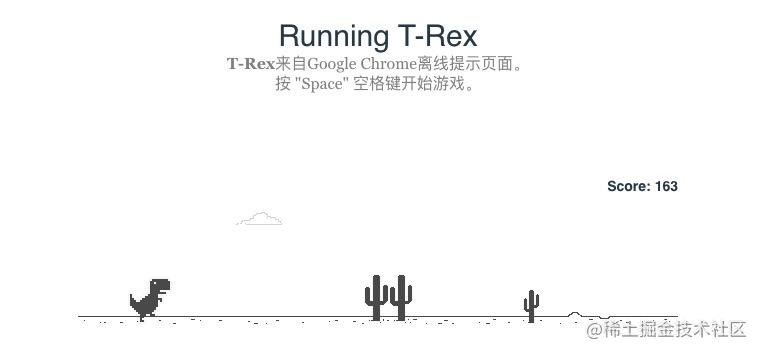
我们首先把这个小游戏的样式摆出来,可以看出,主要包括下面几种元素
- 恐龙
- 路面
- 云彩
- 障碍物
- 积分
主要就是这些内容,我们通过css将其放在合适的位置即可
动画效果
路面动画
在初步将小游戏的画面复刻了之后,我们需要把画面动起来,可以看出,其实在游戏过程中,小恐龙水平方向是不动的,只是路面一直在平移,看起来小恐龙在移动了,因此我们需要给路面添加动画效果
get roadStyle() {return { transform: `translateX(${this.roadTranslate}px)` };}startGamerInterval() {clearInterval(this.timer);this.timer = setInterval(() => {if (this.gameStatus === GameStatus.RUNNING) {this.updateGameStatus();}}, 100);}updateGameStatus() {if (this.roadTranslate <= -600) {this.roadTranslate = 0;}this.roadTranslate -= GameConfig.ROAD_VELOCITY;//...}
可以看出,主要是通过setInterval启动一个定时任务,然后在其中修改roadTranslate即可
障碍物动画
障硬物同样会随着路面一起做水平移动,这部分跟路面的动画部分基本一样,不同的部分在于,障碍物可能有1棵树或者多棵树,这其实是通过雪碧图和background-position实现的,通过雪碧图可以有效的减少我们的切图数量
updateGameStatus() {this.treeItems.forEach((item) => {if (item.treeTranslateX < 0) {const isBigTree = GetRandomNum(0, 100) % 2 ? true : false;const itemWidth = isBigTree ? 25 : 17;const itemHeight = isBigTree ? 50 : 35;const itemCount = GetRandomNum(1, 3);const offsetPosition = GetRandomNum(0, 2);item.treeTranslateX = GetRandomNum(600, 1200);item.isBigTree = isBigTree;item.width = itemWidth * itemCount;item.height = itemHeight;item.backgroundPosition = -itemWidth * offsetPosition;} else {item.treeTranslateX -= GameConfig.TREE_VELOCITY;}});}
同样是定时在updateGameStatus中修改障碍物的treeTranslateX,不同之处在于障碍物还需要通过随机树设置宽度与backgroundPosition。
同时当treeTranslateX < 0时,说明障碍物已经运行过去了,这时还需要重置状态
恐龙动画
除了路面背景在移动之外,为了让恐龙看起来在移动,我们还需要给恐龙添加动画效果,其实就是通过切换图片,让恐龙看起来在跑步,这也是通过雪碧图实现的。
除此之外,还有就是当我们按下空格键时,恐龙需要做一个跳跃动画
updateGameStatus() {if (this.rexItem.isInJump) {//跳跃动画 this.rexItem.rexTranslateY -= this.rexItem.rexVelocity;if (this.rexItem.rexTranslateY <= -GameConfig.REX_MAX_JUMP) {this.rexItem.rexVelocity = -GameConfig.REX_VELOCITY;} else if (this.rexItem.rexTranslateY >= 0) {this.rexItem.isInJump = false;this.rexItem.rexTranslateY = 0;this.rexItem.rexVelocity = 0;}} else {//跳步动画 if (this.rexItem.rexBackgroundPostion <= -220) {this.rexItem.rexBackgroundPostion = 0;} else {this.rexItem.rexBackgroundPostion -= 44;}}}
如上,主要就是跑步与跳跃动画,其中跳跃动画在达到最大高度后,需要修改速度的方向
响应事件
在这个小游戏中,我们还需要响应键盘事件
- 游戏未开始时,按空格键开始
- 游戏中,按空格键跳跃
- 游戏结束后,按空格键重新开始
created() {window.addEventListener("keyup", this.submit);}submit(event: KeyboardEvent) {if (event.code === "Space") {if (this.gameStatus === GameStatus.WAIT ||this.gameStatus === GameStatus.END) {this.gameStatus = GameStatus.RUNNING;this.initGame();this.startGame();} else if (this.gameStatus === GameStatus.RUNNING) {if (this.rexItem.rexTranslateY === 0) {if (this.rexItem.isInJump === false) {this.rexItem.isInJump = true;this.rexItem.rexVelocity = GameConfig.REX_VELOCITY;}}}}}
碰撞检测
在完成画面复刻与让画面动起来之后,接下来要做的就是恐龙与障碍物的碰撞检测了,这其实就是判断两个矩形有没有相交。我们可以通过判断不重叠的情况,然后取反就可以了
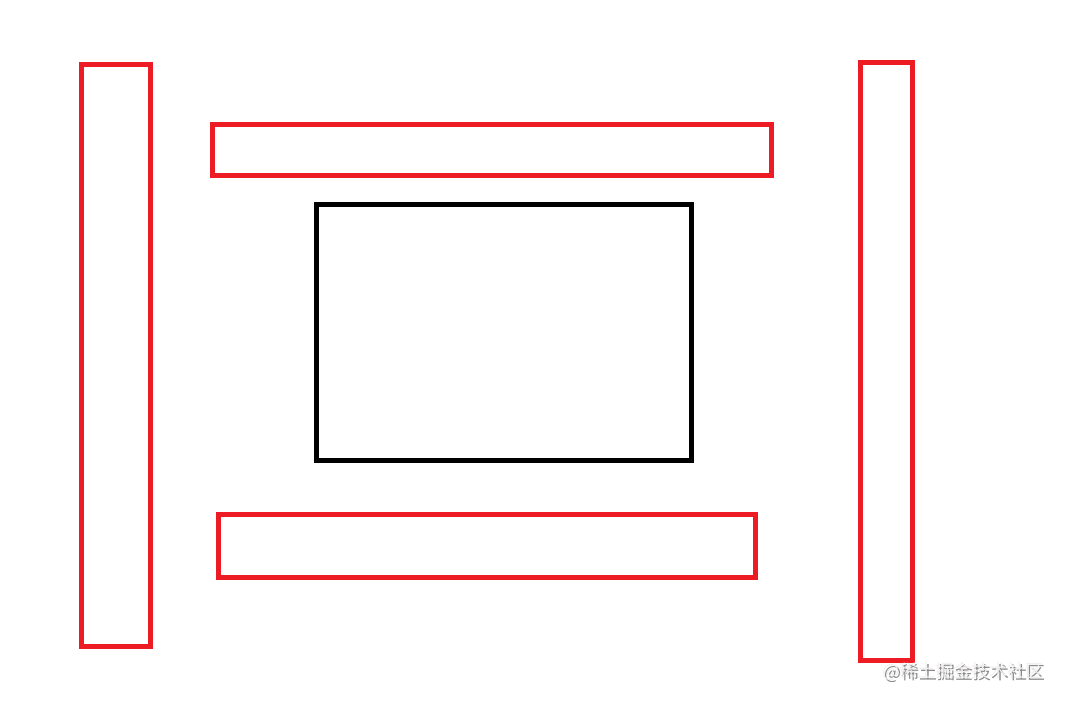
isOverlap(rect1: Rect, rect2: Rect) {const startX1 = rect1.x;const startY1 = rect1.y;const endX1 = startX1 + rect1.width;const endY1 = startY1 + rect1.height;const startX2 = rect2.x;const startY2 = rect2.y;const endX2 = startX2 + rect2.width;const endY2 = startY2 + rect2.height;return !(endY2 < startY1 ||endY1 < startY2 ||startX1 > endX2 ||startX2 > endX1);}
部署
通过以上步骤,我们的小游戏就基本开发完成了,接下来就是部署了,在没有自己的服务器的情况下,我们可以利用GitHub Pages来部署我们的项目
我们将打包出来的dist目录作为Github Pages的根目录,从而实现发布与部署。关于Vue项目打包部署到GitHub Pages的具体步骤,可以参考:Vue项目打包部署到GitHub Pages
总结
代码地址:github.com/shenzhen201…
游戏地址:shenzhen2017.github.io/vue-rex/

