1.添加依赖
<!--添加Swagger依赖 --><dependency><groupId>io.springfox</groupId><artifactId>springfox-swagger2</artifactId><version>2.7.0</version></dependency><!--添加Swagger-UI依赖 --><dependency><groupId>io.springfox</groupId><artifactId>springfox-swagger-ui</artifactId><version>2.7.0</version></dependency>
2.创建SwaggerConfig类
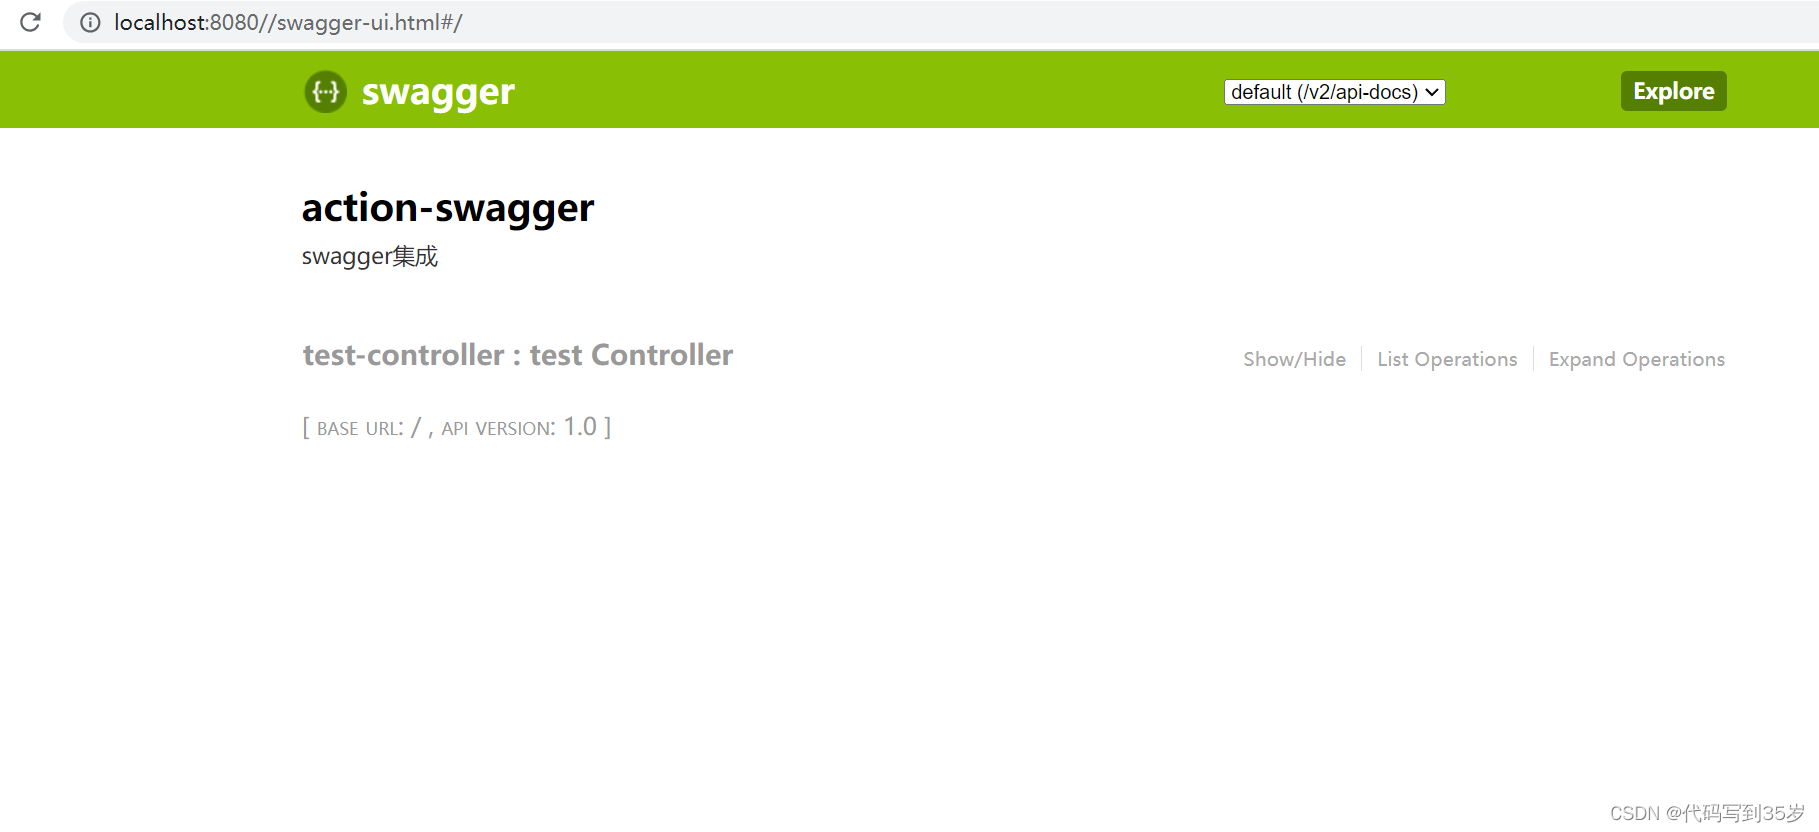
在启动程序同一层建立一个Config文件夹,在文件里建立一个SwaggerConfig类
package com.example.mytest22.config;import org.springframework.context.annotation.Bean;
import org.springframework.context.annotation.Configuration;
import springfox.documentation.builders.ApiInfoBuilder;
import springfox.documentation.builders.ParameterBuilder;
import springfox.documentation.builders.PathSelectors;
import springfox.documentation.builders.RequestHandlerSelectors;
import springfox.documentation.schema.ModelRef;
import springfox.documentation.service.ApiInfo;
import springfox.documentation.service.Parameter;
import springfox.documentation.spi.DocumentationType;
import springfox.documentation.spring.web.plugins.Docket;
import springfox.documentation.swagger2.annotations.EnableSwagger2;import java.util.ArrayList;
import java.util.List;@Configuration
@EnableSwagger2
public class SwaggerConfig {@Beanpublic Docket createRestApi() {return new Docket(DocumentationType.SWAGGER_2).apiInfo(apiInfo()).select().apis(RequestHandlerSelectors.basePackage("com.example.mytest22.controller")).paths(PathSelectors.any()).build().globalOperationParameters(setHeaderToken());}private ApiInfo apiInfo() {return new ApiInfoBuilder().title("action-swagger").description("swagger集成").termsOfServiceUrl("").version("1.0").build();}/*** @Description: 设置swagger文档中全局参数* @param* @Date: 2023/07/10 10:15* @return: java.util.List<springfox.documentation.service.Parameter>*/private List<Parameter> setHeaderToken() {List<Parameter> pars = new ArrayList<>();ParameterBuilder userId = new ParameterBuilder();userId.name("token").description("用户的Token").modelRef(new ModelRef("string")).parameterType("header").required(true).build();pars.add(userId.build());return pars;}}
3启动项目
输入地址 http://localhost:8080//swagger-ui.html#/

注意:如果运行项目,打开地址提示错误:Unable to infer base url. This is common when using dynamic servlet registration or when the API is behind an API Gateway. The base url is the root of where all the swagger resources are served.
检查自己的SwaggerConifg的注解是否填写
@Configuration
@EnableSwagger2


