1. 自定义拖拽:data-tauri-drag-region
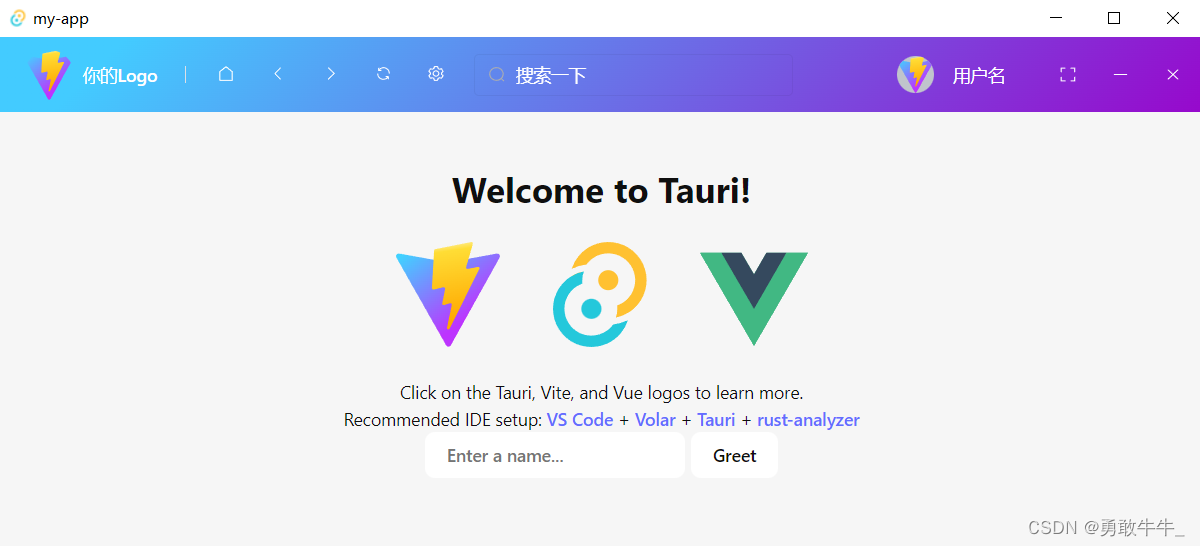
tauri默认的顶部可拖拽,有时候我们不需要这个拖拽,或者需要自定义拖拽区域时,就需要通过tauri提供的data-tauri-drag-region属性来自定义拖拽区。
" class="flex-center"><el-avatar class="image ml20" src="/vite.svg"/><el-link :underline="false" class="title">你的Logo</el-link></div></template><template #content><el-row><el-col :span="10" none-drag-region><div style="width: 400px"><el-button icon="house" circle@click="this.$router.push('/')"/><el-button icon="ArrowLeft" circletitle="后退"/><el-button icon="ArrowRight" circletitle="前进"/><el-button icon="refresh" circle title="刷新"/><el-button icon="setting" circletitle="设置"/></div></el-col><el-col :span="12" none-drag-region><el-input prefix-icon="search"placeholder="搜索一下"/></el-col></el-row></template><template #extra><div class="flex-center"><el-avatar :size="30" class="" src="/vite.svg"/><div none-drag-region><el-button type="" class="mr20">用户名</el-button></div><div none-drag-region class="flex"><el-button icon="FullScreen" circle/><el-button icon="minus" circle/><el-button icon="close" circleclass="mr10"/></div></div></template></el-page-header></div></div>
</template><script>export default {name: '',
}
</script><style>
</style>
<style scoped lang="scss">
.box {height: 60px;position: relative;user-select: none;background: var(--theme-color-primary, linear-gradient(135deg, #43CBFF 10%, #9708CC 100%));
}.header {position: absolute;top: 50%;transform: translate(0, -50%);width: 100%;z-index: 1;.title {width: 73px;color: var(--theme-color-header-text, #ffffff);}.el-button {background: transparent;color: var(--theme-color-header-text, #ffffff);border: none;}:deep(.el-badge__content) {top: 3px;border: none;scale: 0.9;}:deep(.el-input__wrapper) {background: transparent;box-shadow: none;--el-input-text-color: var(--theme-color-header-text, #FFFFFF);--el-input-placeholder-color: var(--theme-color-header-placeholder, #FFFFFF);border: rgba(0, 0, 0, .05) solid 1px;color: white;}
}.image {background: transparent;
}</style>
3. 关闭tauri默认的顶部栏
由于默认的顶部栏是开启的,所以需要手动关闭。
在tauri.conf.json配置文件中,启用window相关的所有配置(设置"all": true),并找到windows配置项,添加decorations:false即可。具体配置项请参考官方文档:https://tauri.app/v1/api/config
"tauri": {"allowList": {..."window": {"all": true}}..."windows": [{"decorations": false,...}]
}
4. 添加拖拽功能
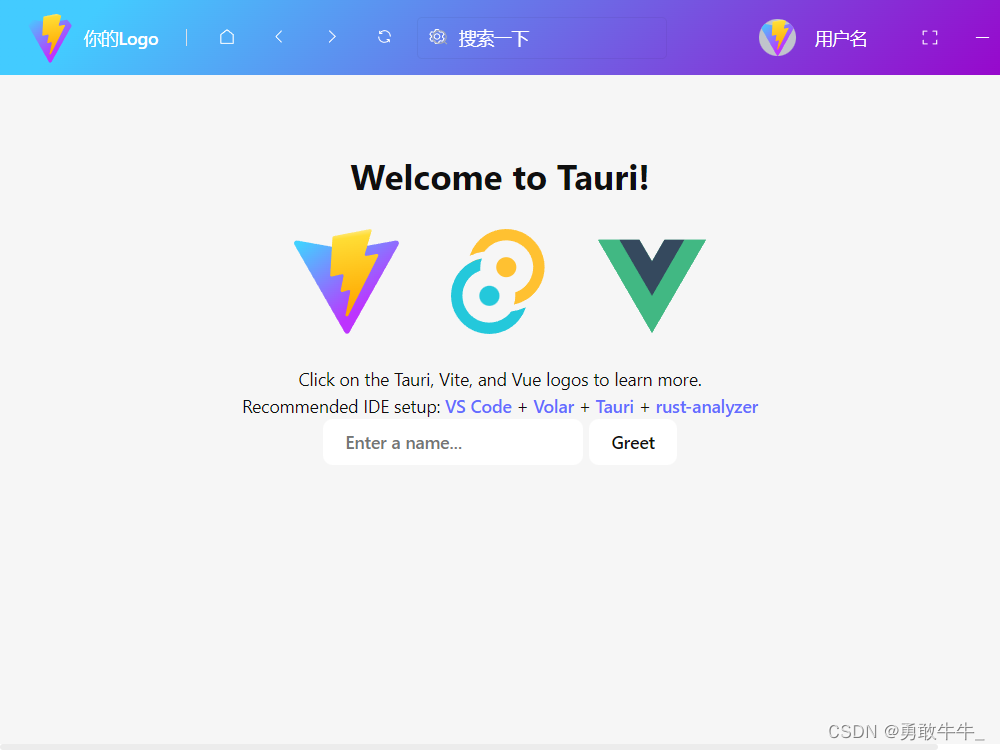
上文提到:data-tauri-drag-region在多层级的div下是不生效的,所以我们通过递归的方式为每个子元素设置data-tauri-drag-region属性。并在不需要拖拽的元素上添加none-drag-region属性。
<script setup>
import {onMounted, getCurrentInstance} from 'vue'const {proxy} = getCurrentInstance();const loadTree = (parent, excludeClassNames, callback) => {if (parent.getAttributeNames().includes(...excludeClassNames)) {return;}for (let i = 0; i < parent.children.length; i++) {let child = parent.children[i];loadTree(child, excludeClassNames, callback);}if (callback) {callback(parent);}
}onMounted(() => {loadTree(proxy.$el, ['none-drag-region'], (ele) => {ele.setAttribute("data-tauri-drag-region", "")})
})
</script>


