KataGo 项目地址: https://github.com/lightvector/KataGo/releases
计算平台选择
最新版本为 v1.8.2
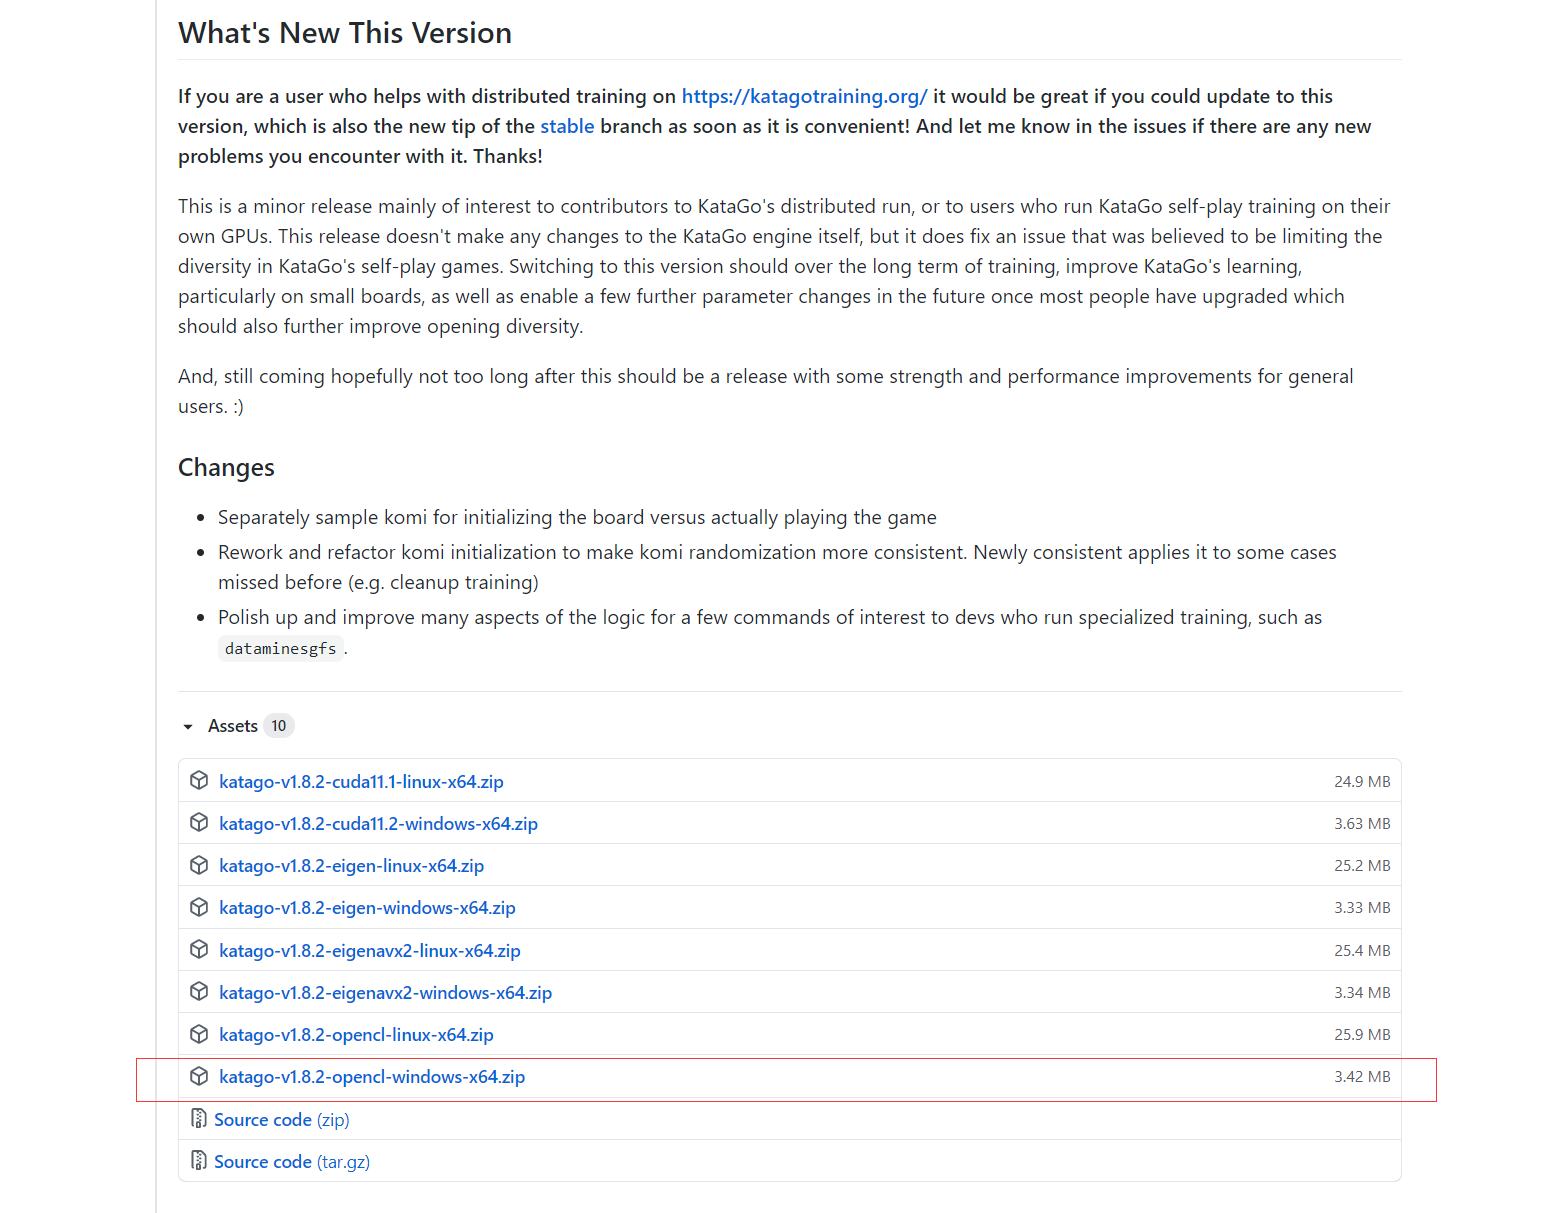
有三种版本: OpenCL vs CUDA vs Eigen
项目说明中的描述如下
KataGo has three backends, OpenCL (GPU), CUDA (GPU), and Eigen (CPU).
The quick summary is:
Use OpenCL if you have any good or decent GPU.
Use Eigen with AVX2 if you don’t have a GPU or if your GPU is too old/weak to work with OpenCL, and you just want a plain CPU KataGo.
Use Eigen without AVX2 if your CPU is old or on a low-end device that doesn’t support AVX2.
You can try CUDA you have a top-end NVIDIA FP16 + tensor-core GPU and you are willing to go through the hassle to install CUDA+CUDNN. It might or might not be faster than OpenCL, you can try it out to see.
因此对于有 GPU 的电脑来说,选择 OpenCL 比较好,如下图
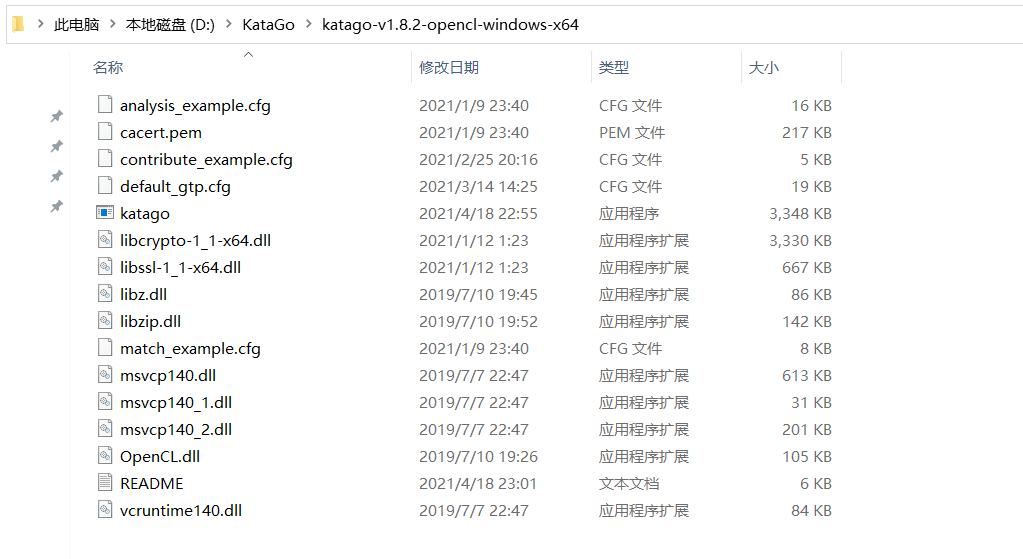
下载解压后,KataGo 目录内的内容如下
模型选择
最近的有新模型发布的版本为 v1.4.5,截图如下
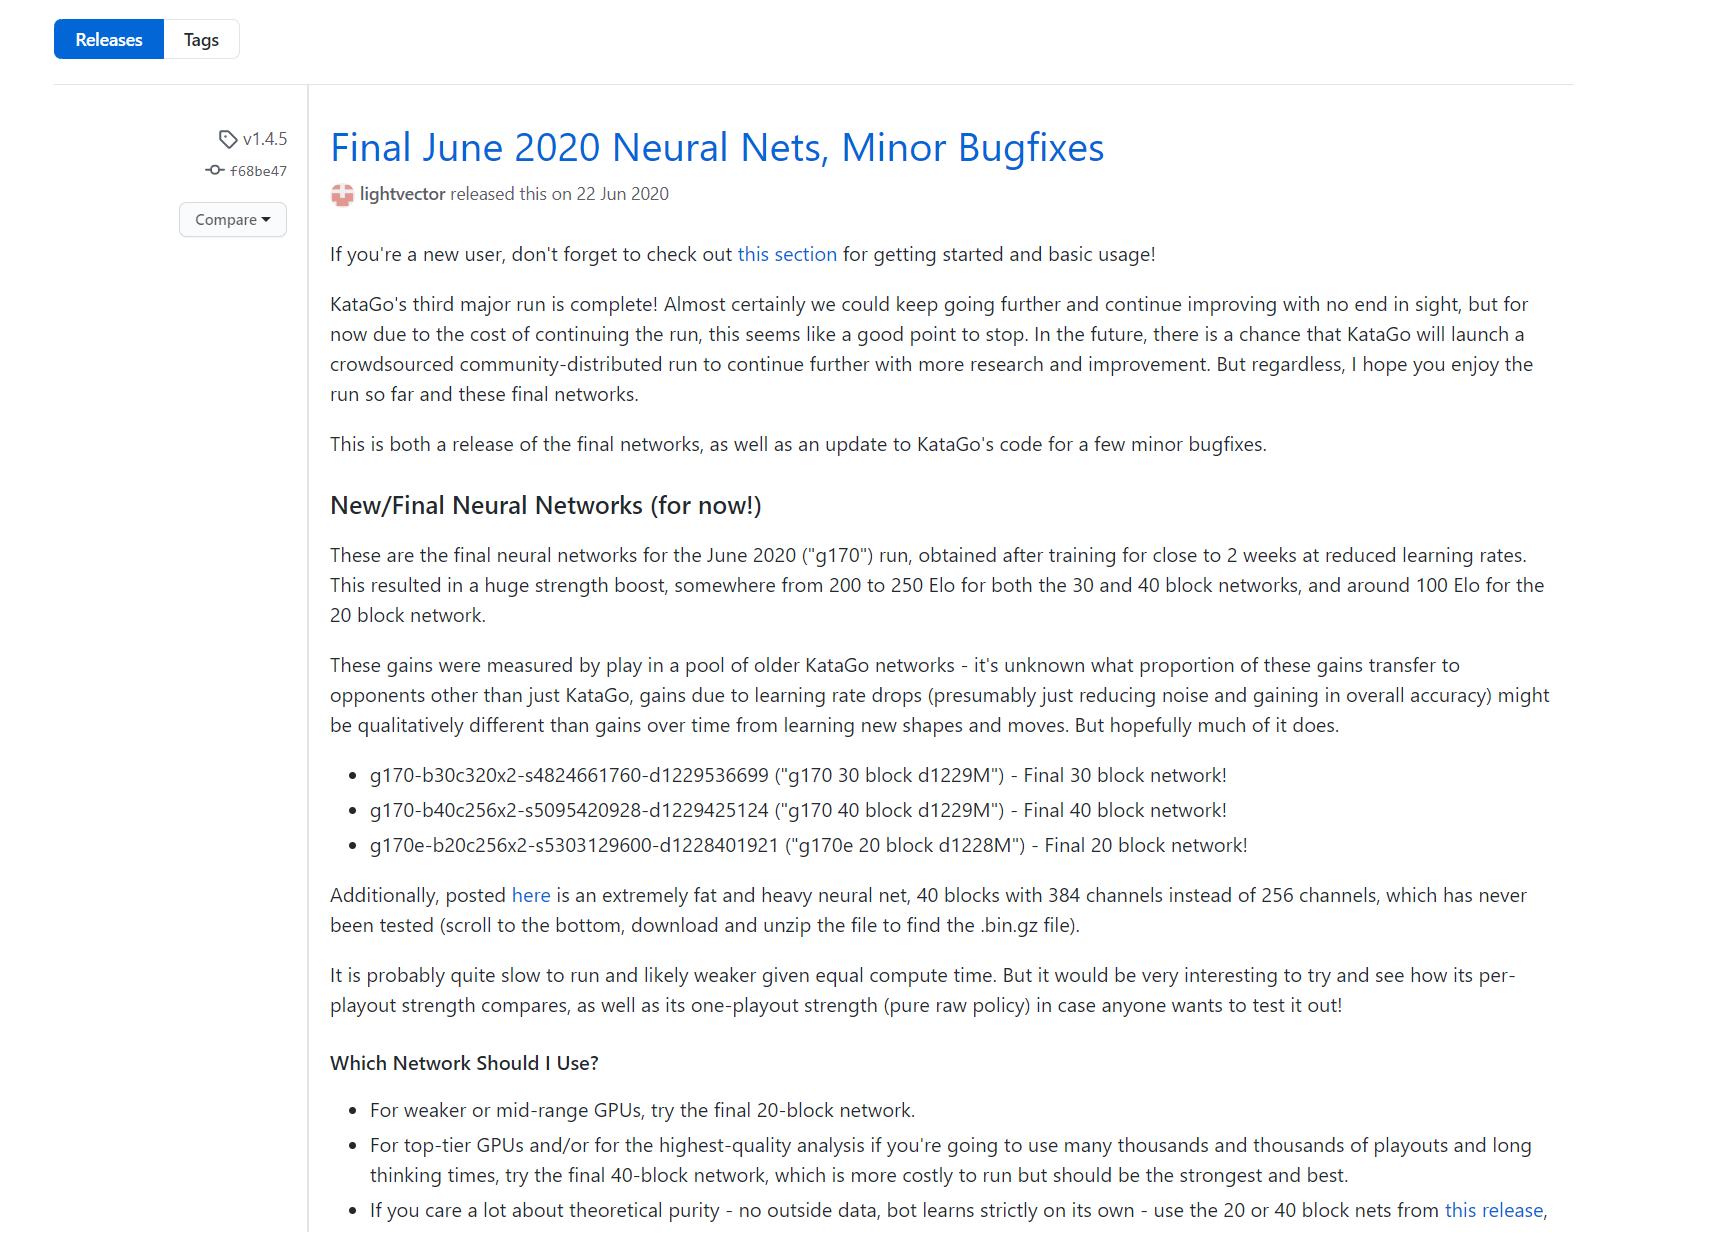
项目说明中的描述
Which Network Should I Use?
For weaker or mid-range GPUs, try the final 20-block network.
For top-tier GPUs and/or for the highest-quality analysis if you’re going to use many thousands and thousands of playouts and long thinking times, try the final 40-block network, which is more costly to run but should be the strongest and best.
If you care a lot about theoretical purity - no outside data, bot learns strictly on its own - use the 20 or 40 block nets from this release, which are pure in this way and still much stronger than Leela Zero, but also not quite as strong as these final nets here.
If you want some nets that are much faster to run, and each with their own interesting style of play due to their unique stages of learning, try any of the “b10c128” or “b15c192” Extended Training Nets here which are 10 block and 15 block networks from earlier in the run that are much weaker but still pro-level-and-beyond.
And if you want to see how a super ultra large/slow network performs that nobody has tested until now, try the fat 40-block 384 channel network mentioned a little up above.
总结下来就是, b20,30,40 依次变强, 有显卡的就选择b40的模型就好,如下图

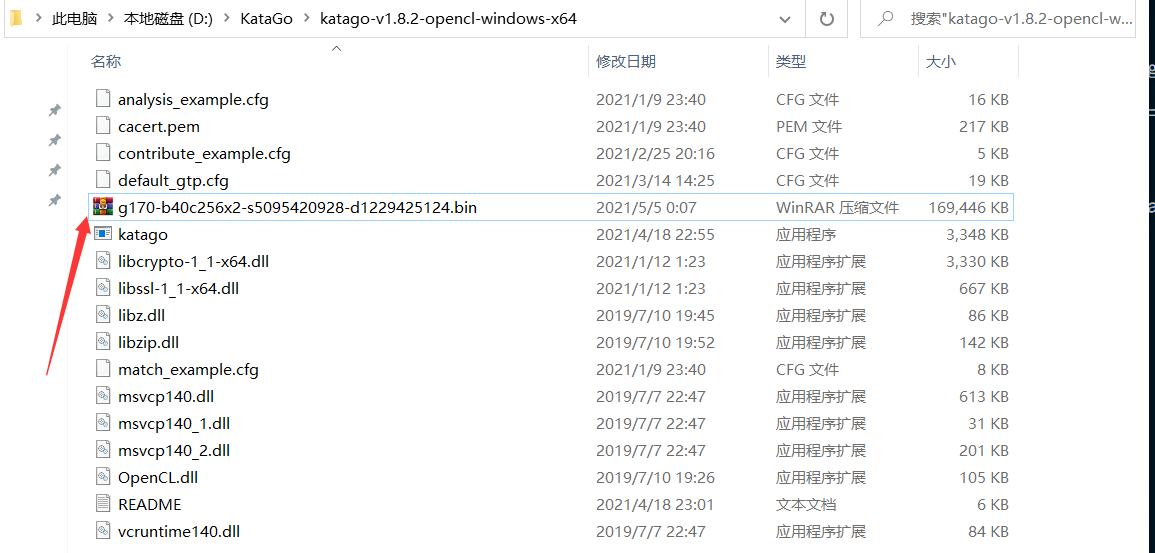
下载后,将下载的模型文件放到katago同一目录,如下图
sabaki GUI安装
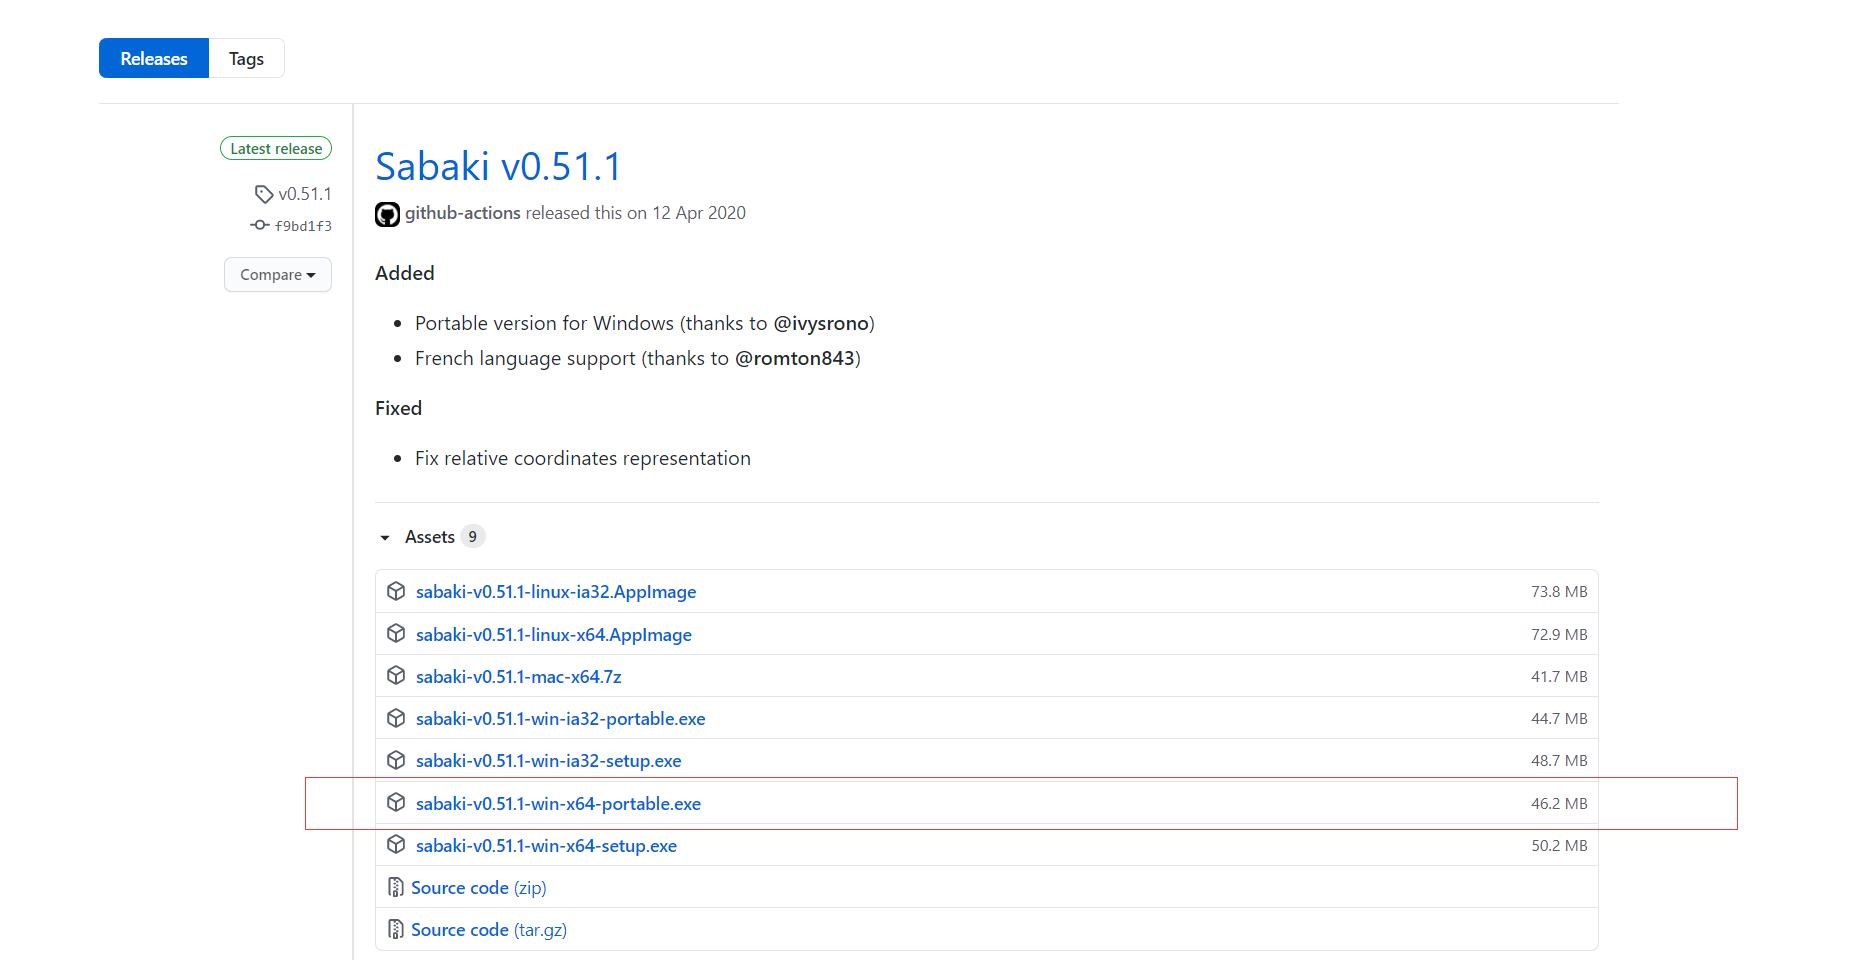
项目地址: https://github.com/SabakiHQ/Sabaki/releases
下载 portable 的那个,如下图:
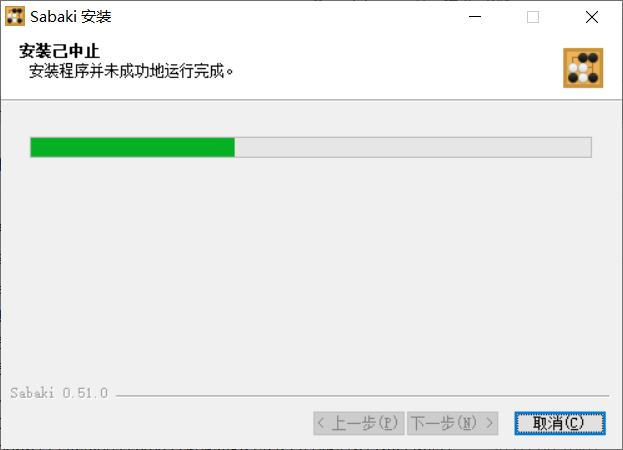
一开始我先下载的是 setup 的那个,但是安装的时候有问题,如下图:
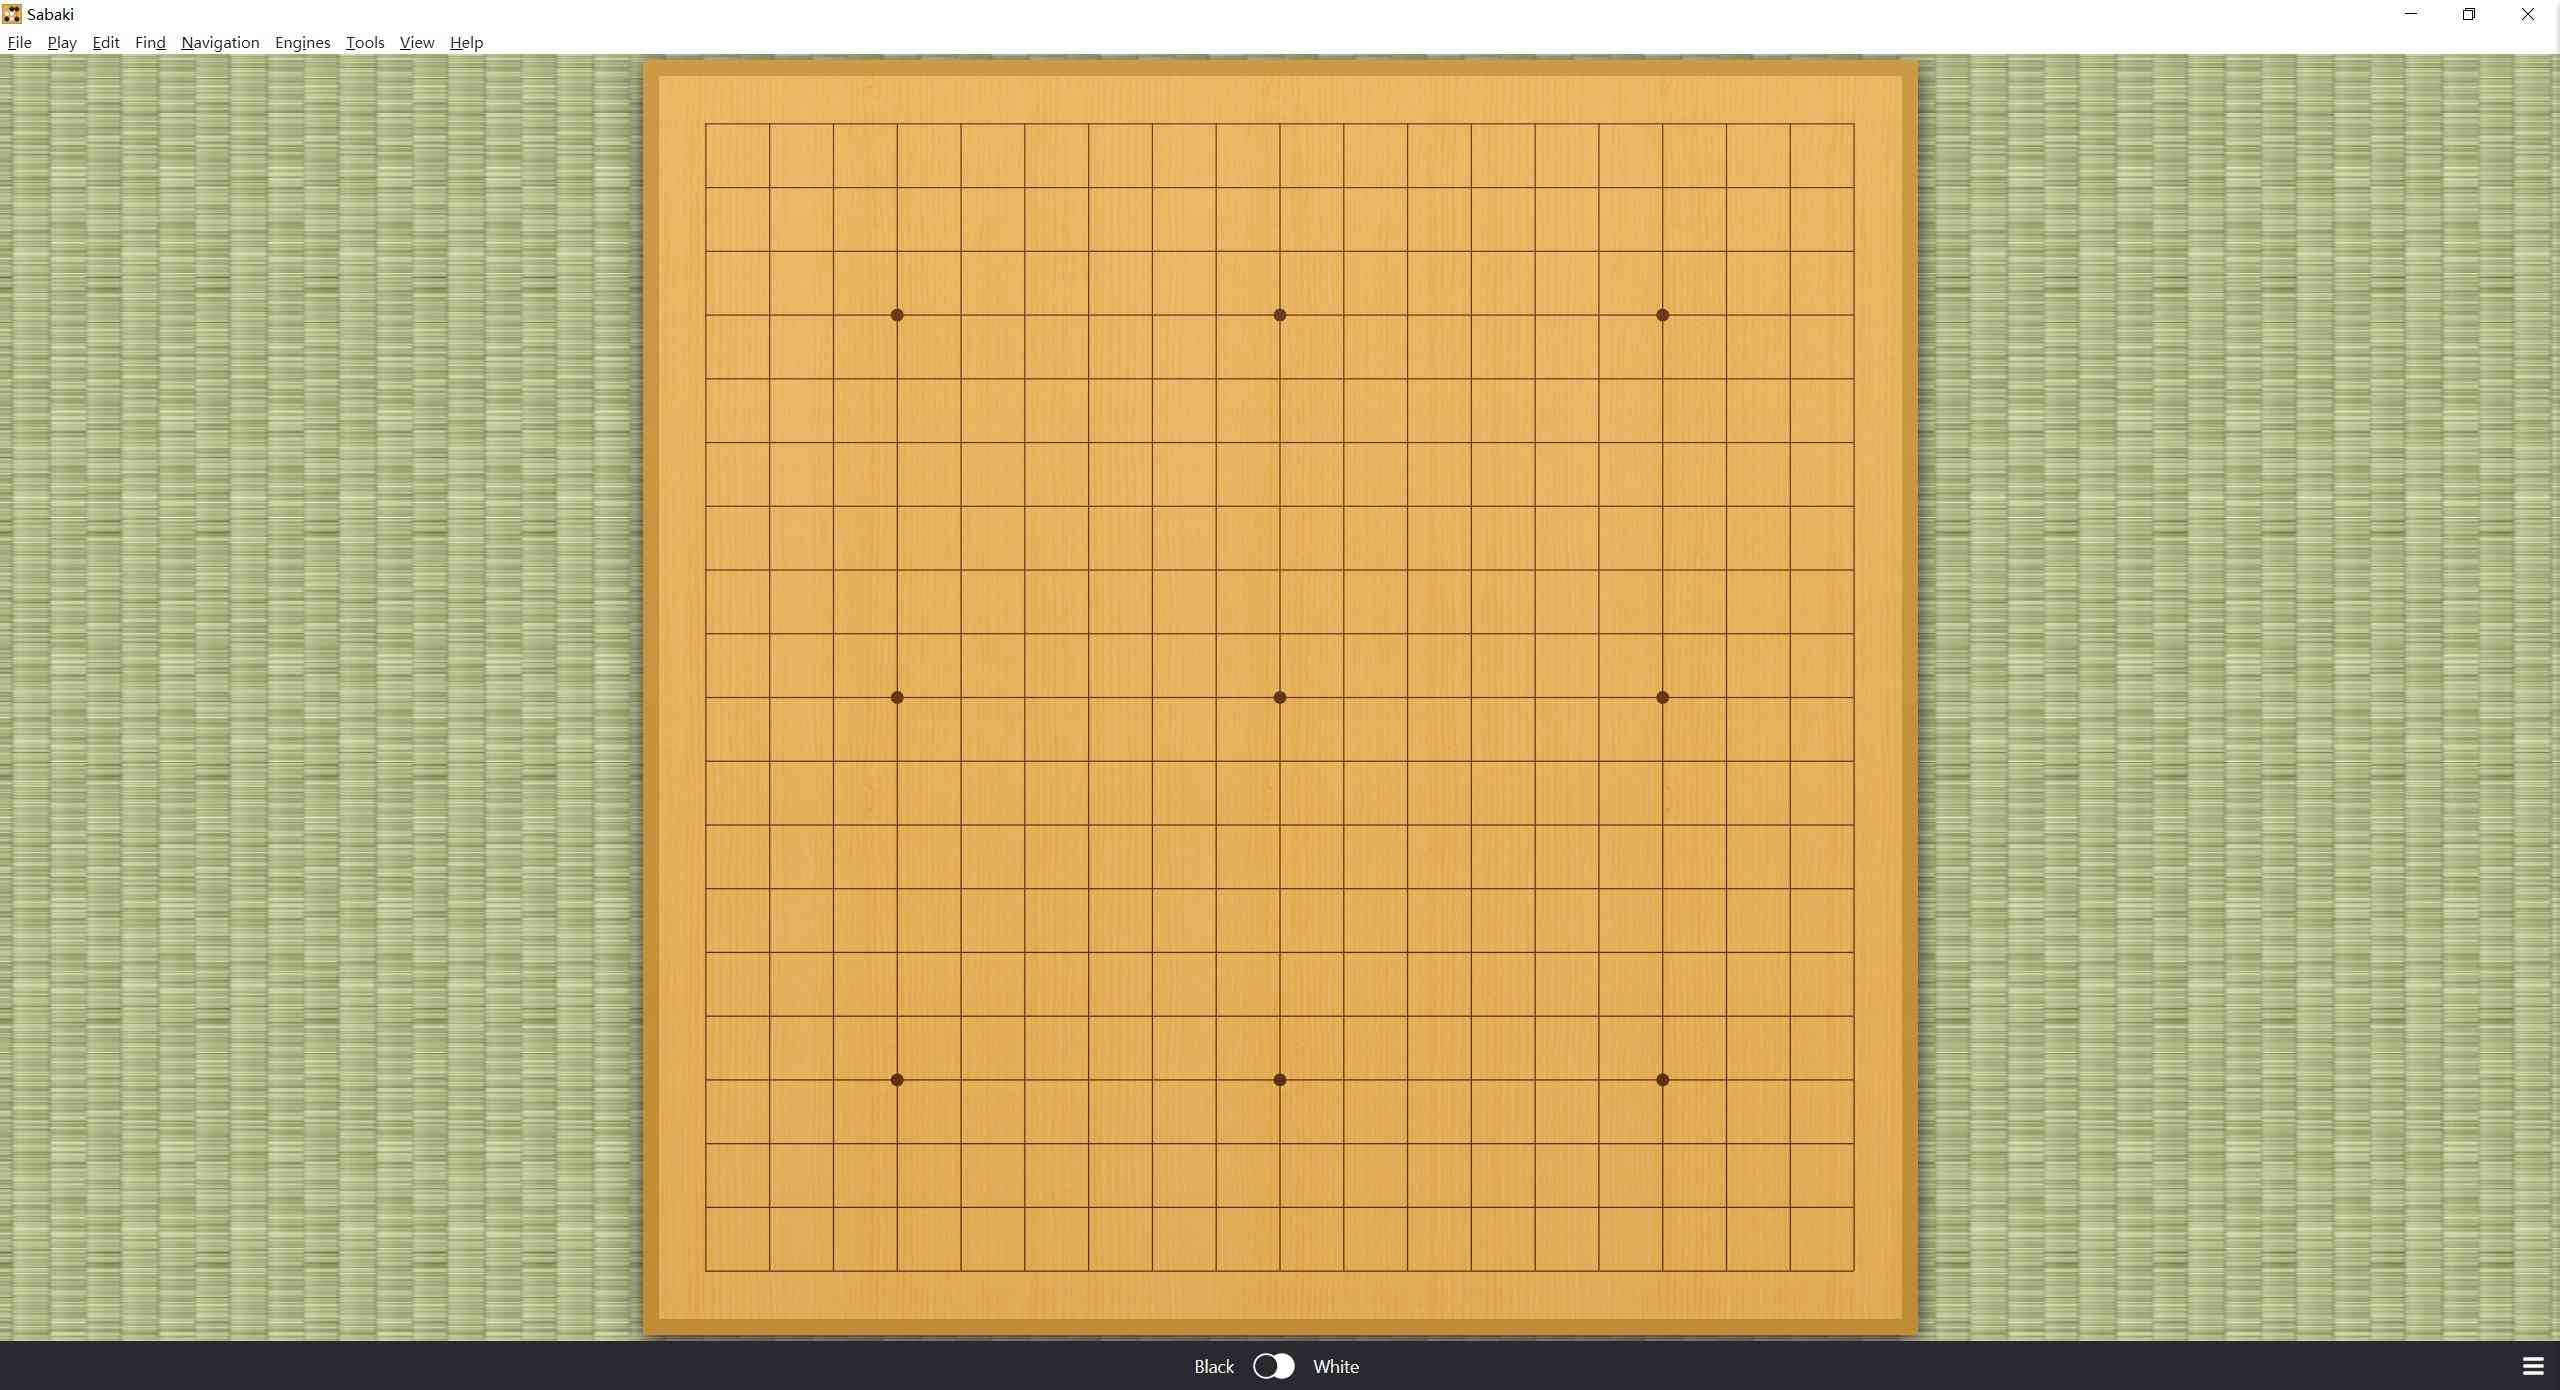
后来尝试下载 portable 的那个发现可以用,不用安装可以直接打开,如下图:
katago 配置
打开命令行(我用的 PowerShell),进入 KataGo 的目录,执行以下命令,文件名可以自定义
./kdatago.exe genconfig -model g170-b40c256x2-s5095420928-d1229425124.bin.gz -output gtp_g170_b40.cfg
执行后,命令行打印如下图

首先根据提示选择规则,写 chinese 即可
然后是读秒时间,写默认的 n 即可
再然后是是否可以利用对手的时间思考,选 y 允许即可
配置以上三项后,命令行打印如下图
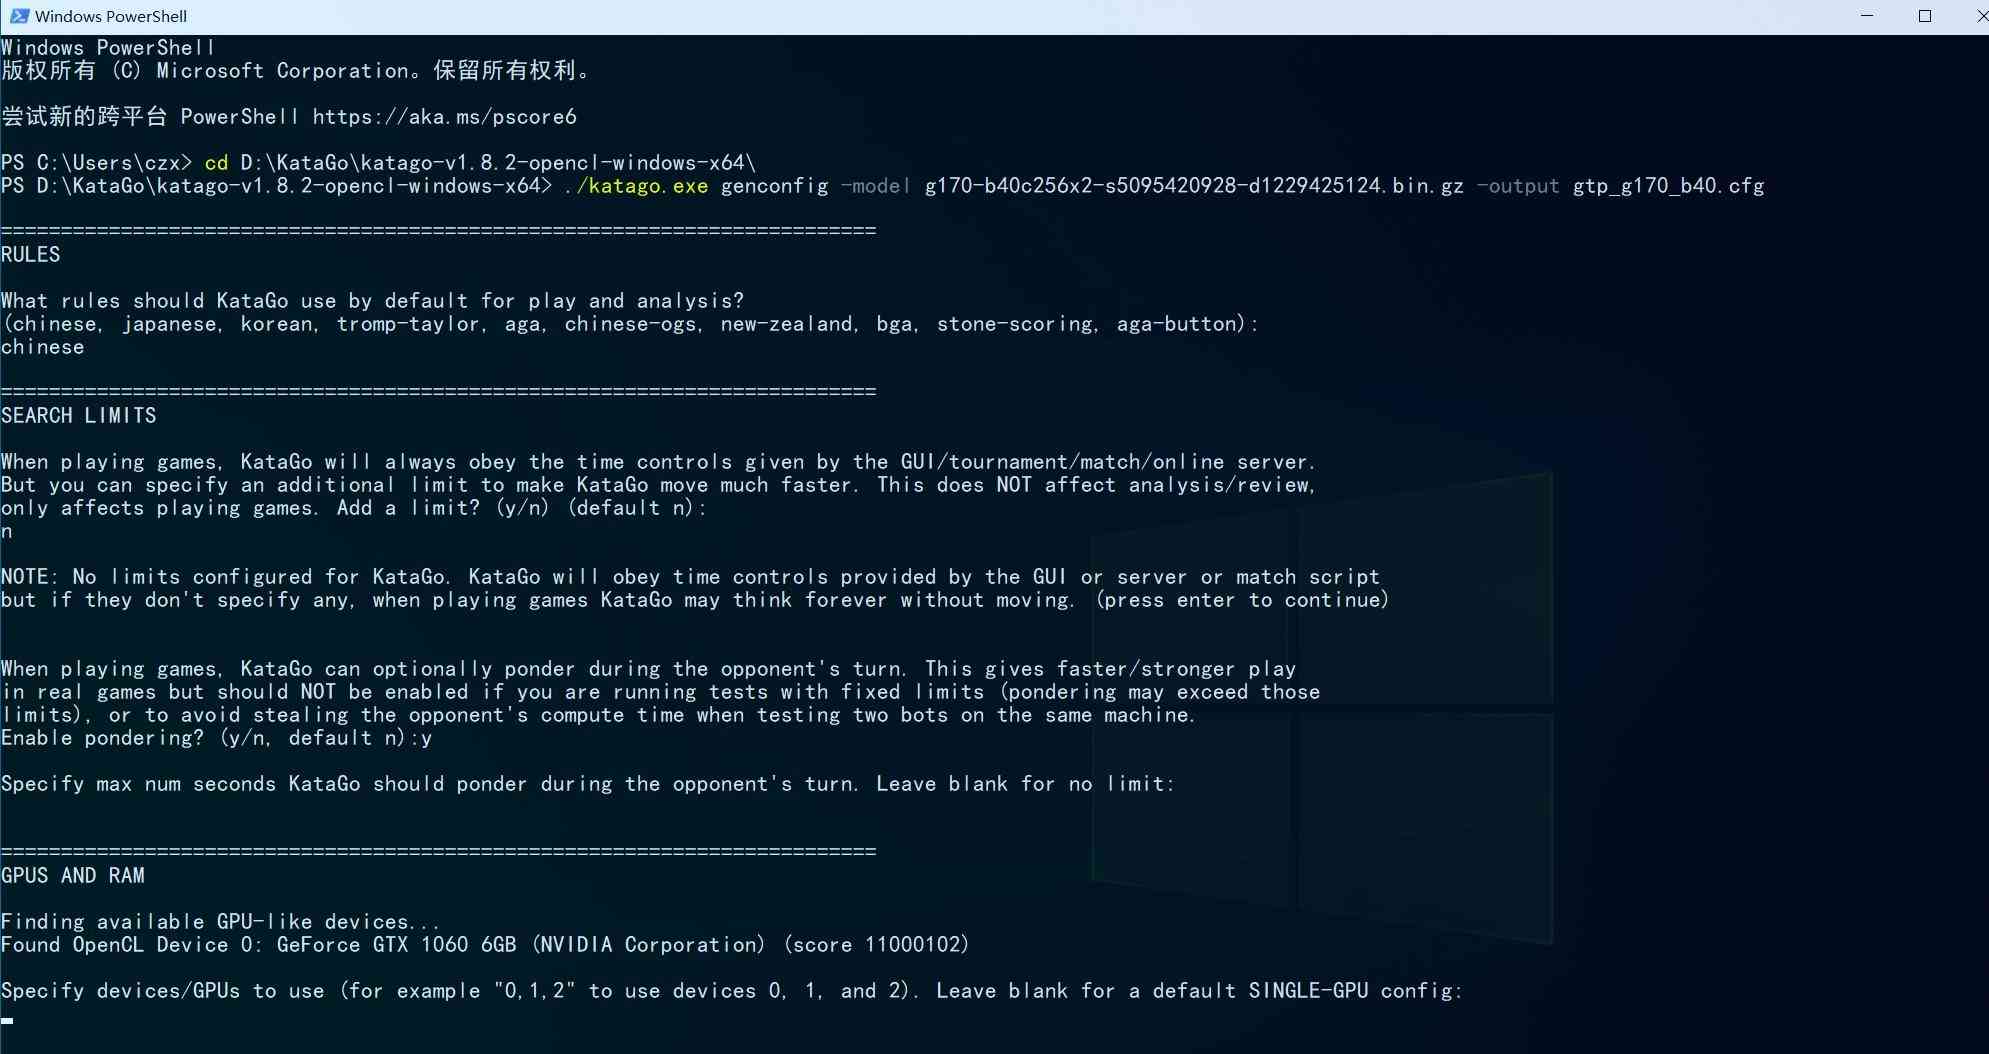
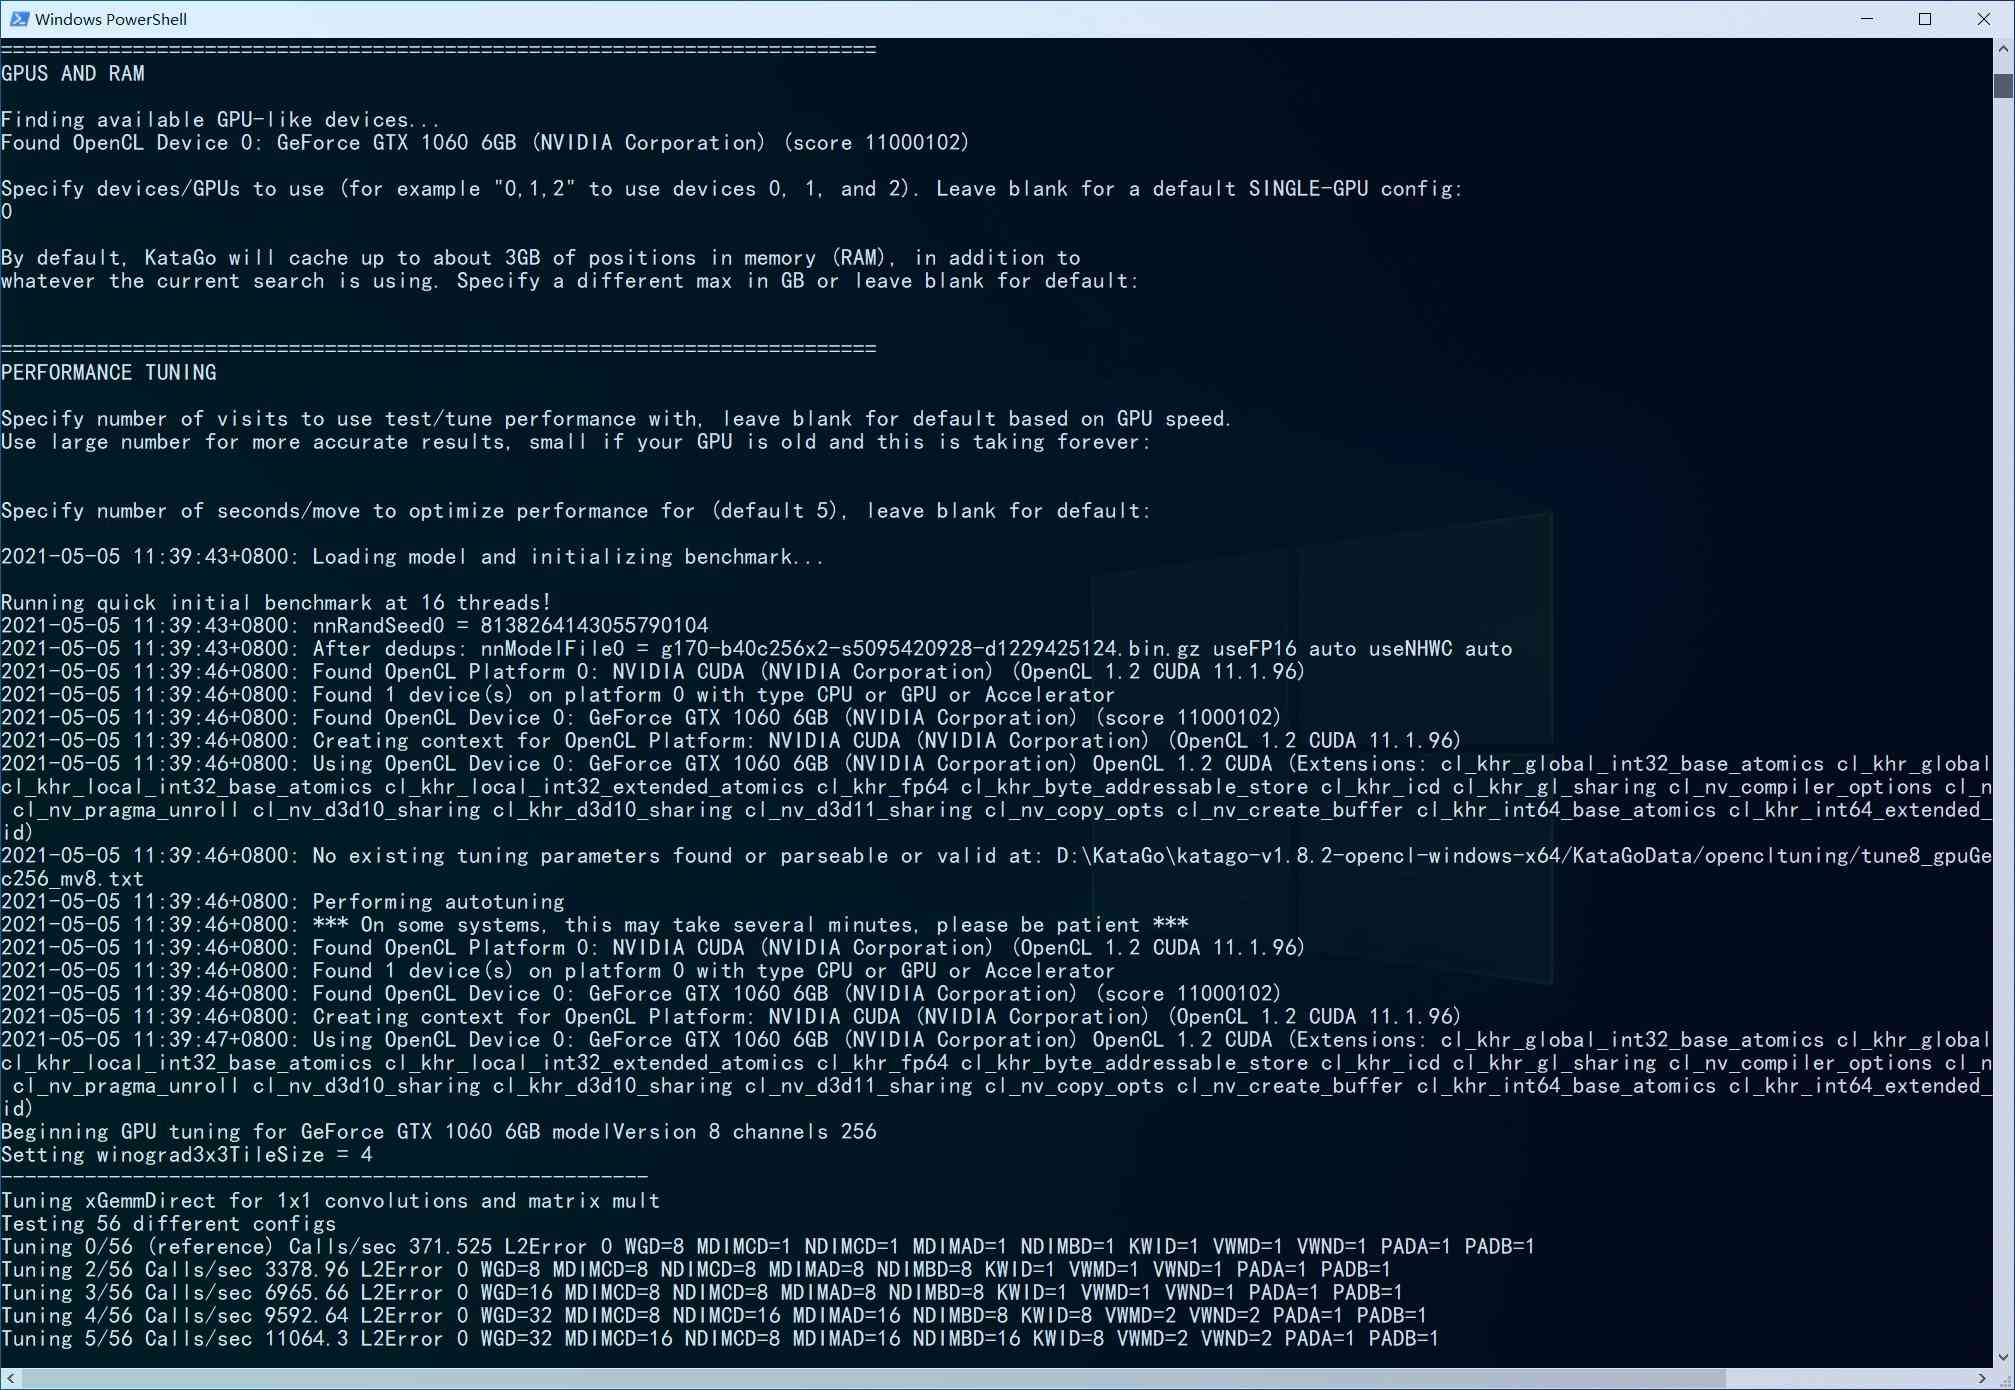
接下来是选择显卡, 根据实际情况选择即可, 例如我有一张1060的卡, 如上图,按照提示选择 0 即可。
选完显卡后会进行 Performance tuning 阶段,等待计算即可,如下图
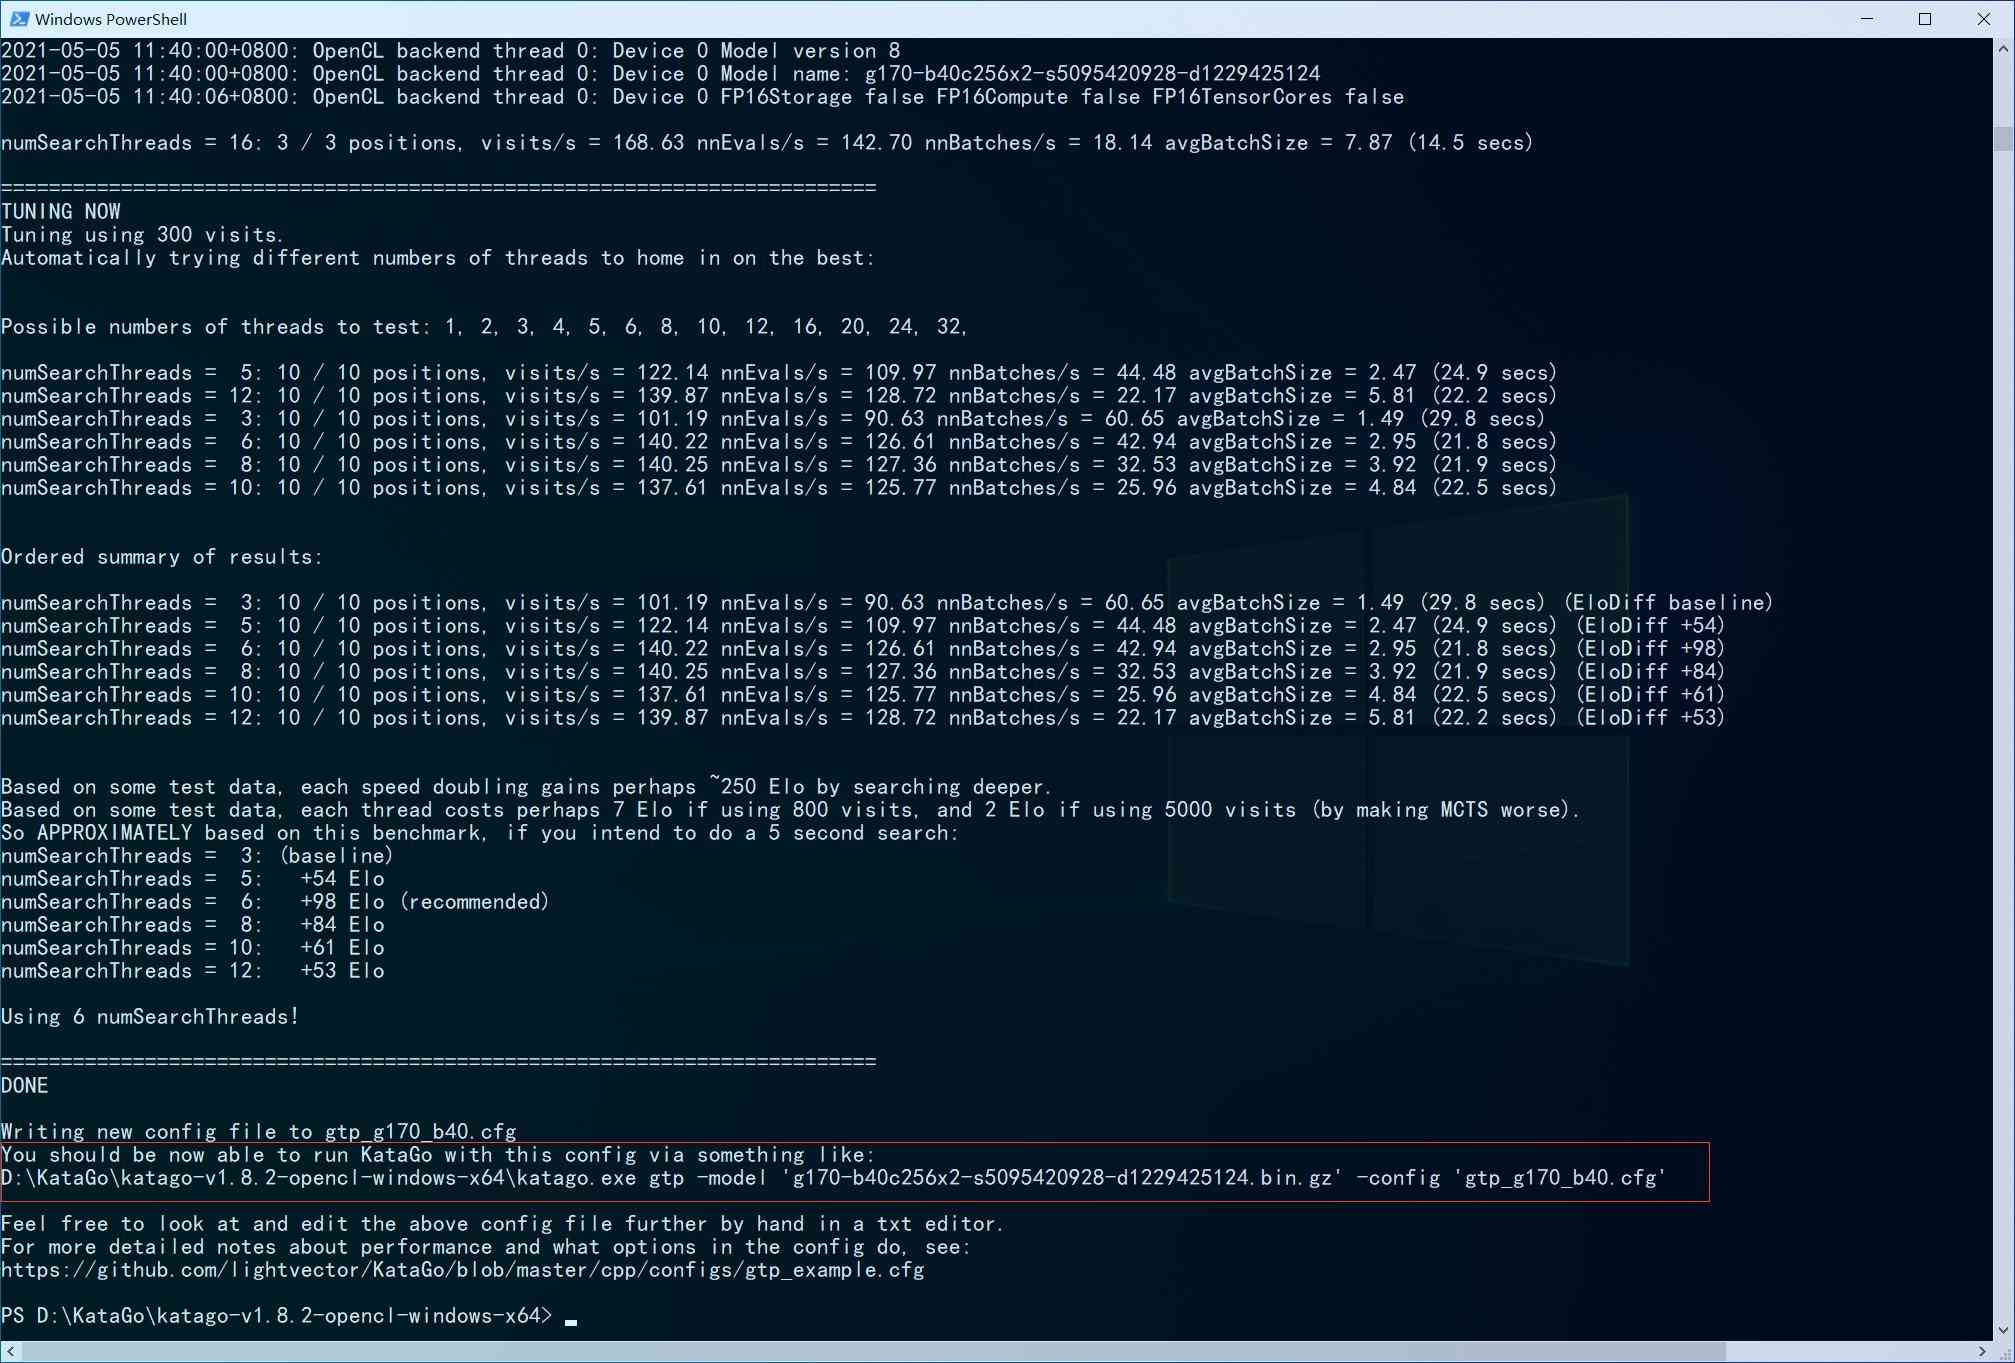
Performance tuning 结束后会有提示如何在sabaki进行配置,如下图
Sabaki 配置
首先在 File —>Preferences 中将语言改为中文,重启 Sabaki 后生效
然后选中 引擎-显示引擎侧边栏,如下图

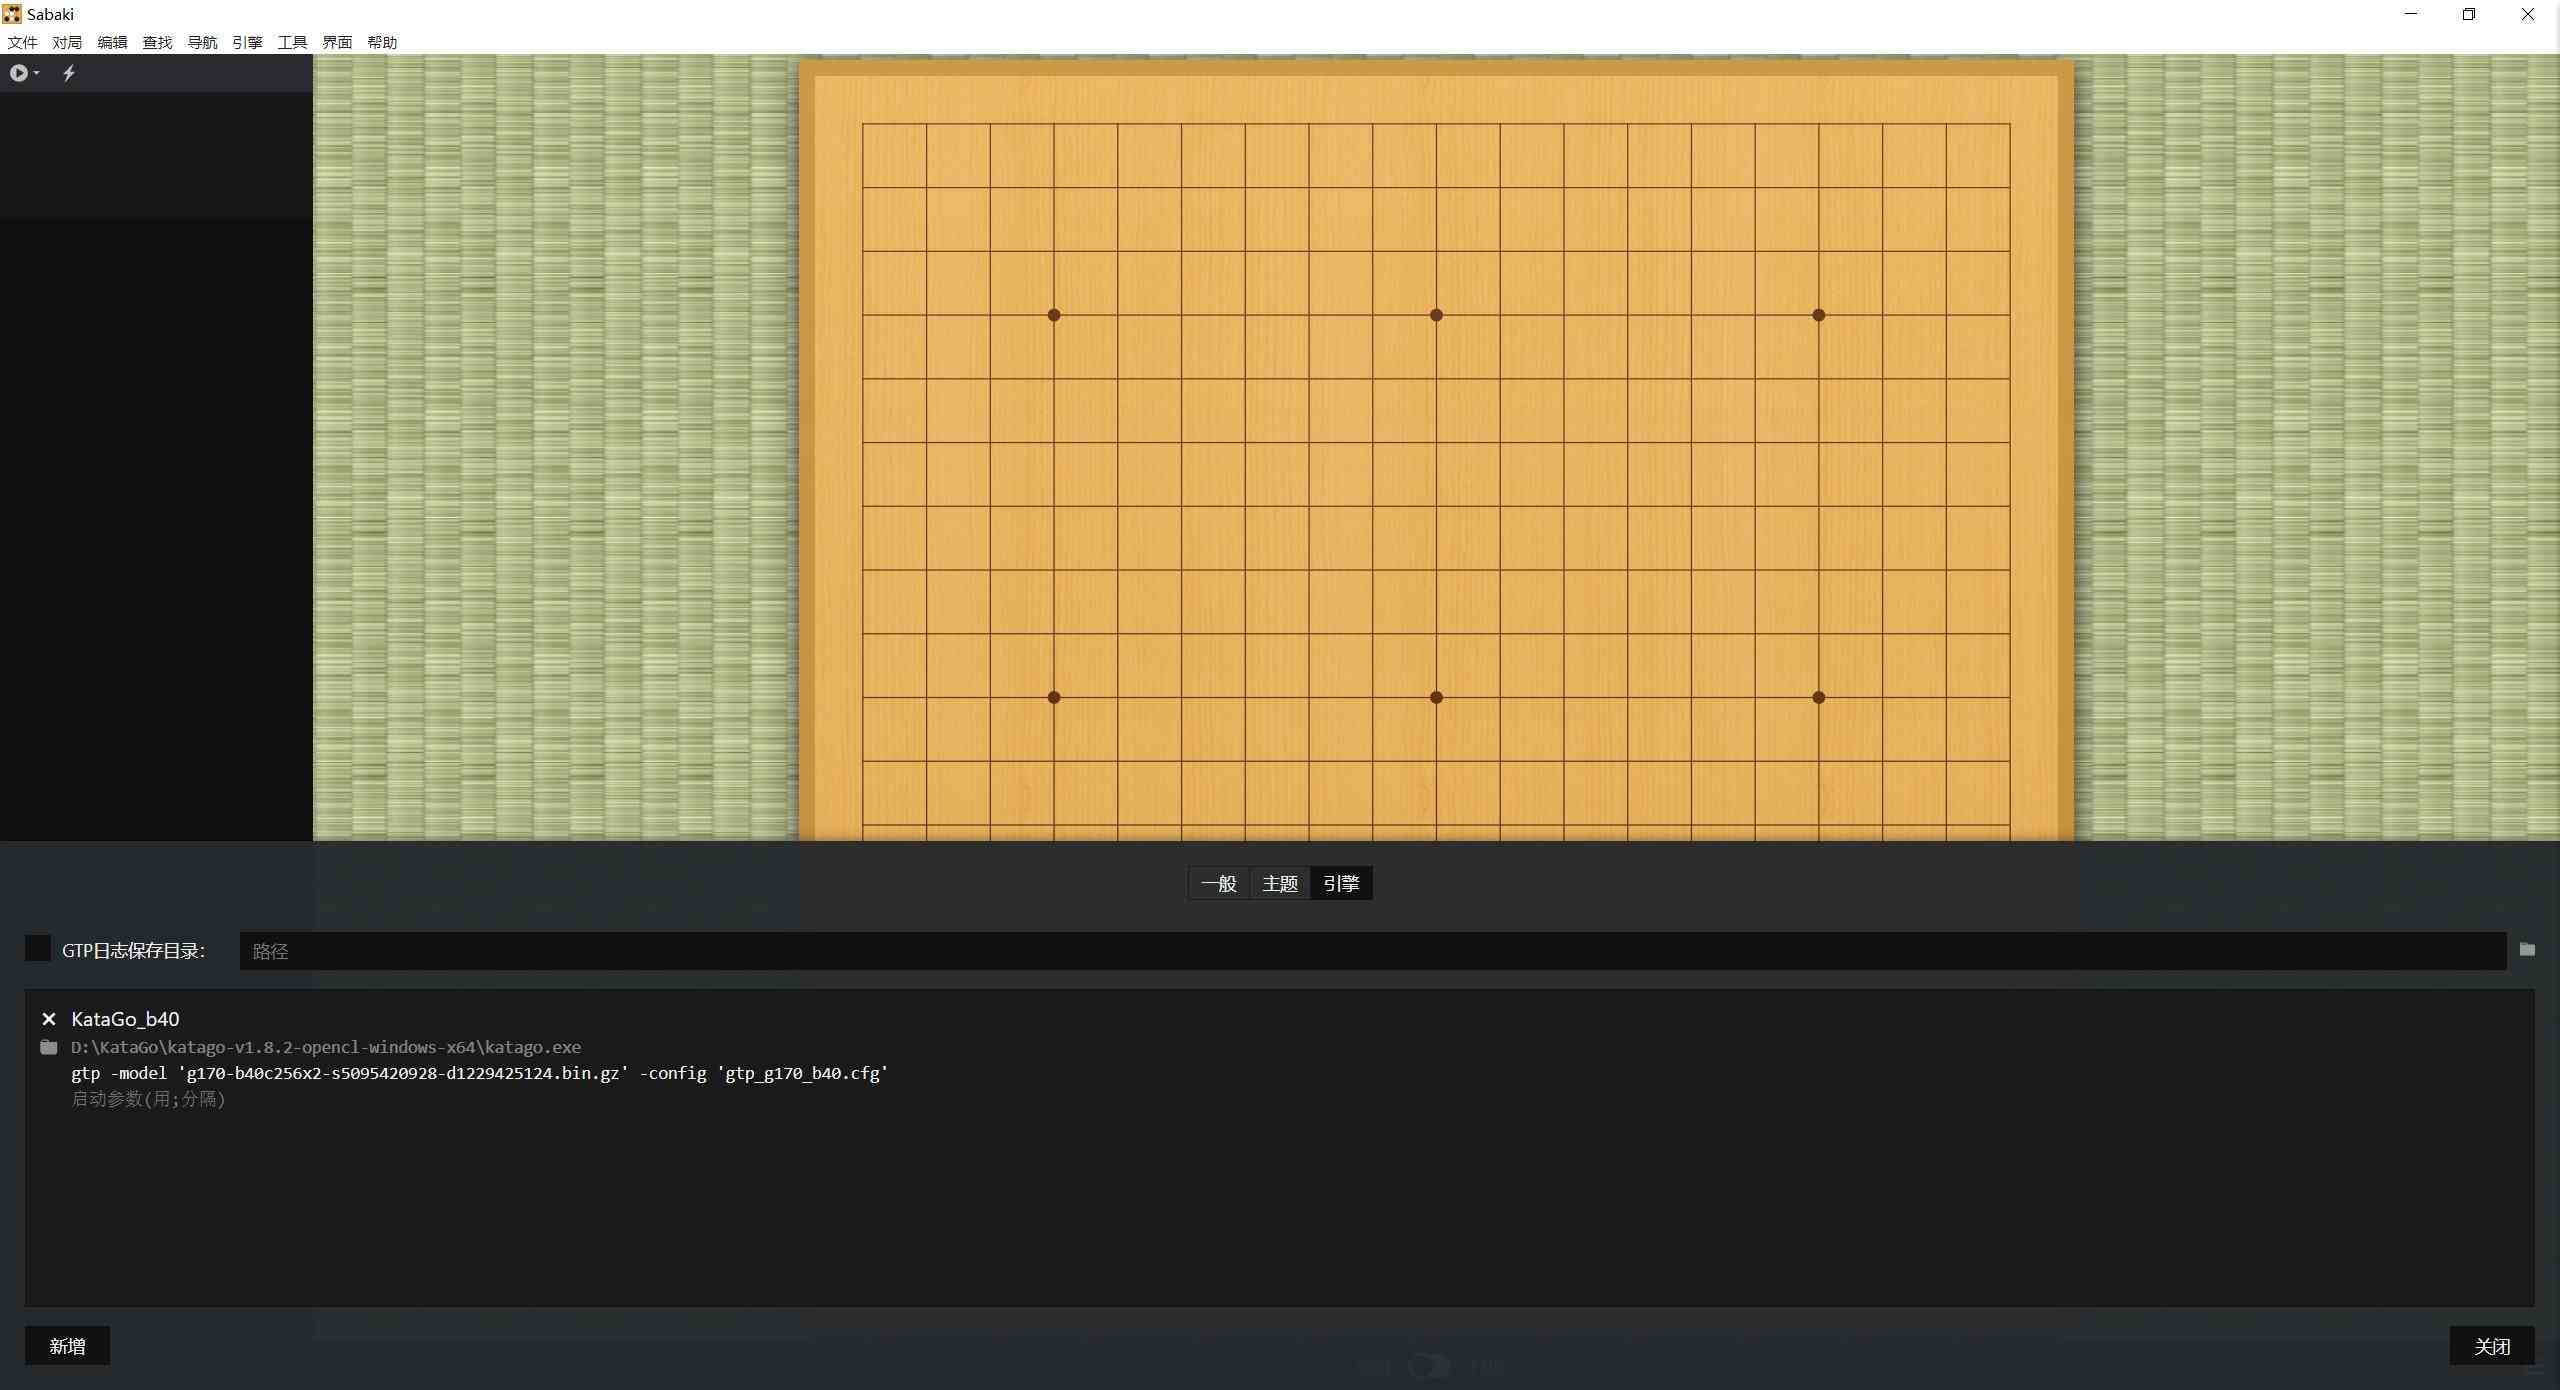
然后在左上的播放器符号中选中 管理引擎—>新增,填写配置信息
配置信息在上一节的 KataGo 配置结束后,命令行有打印,如上图,具体配置写法如下
D:\KataGo\katago-v1.8.2-opencl-windows-x64\katago.exe
gtp -model 'g170-b40c256x2-s5095420928-d1229425124.bin.gz' -config 'gtp_g170_b40.cfg'
将这两行复制到新增引擎的配置信息栏中,如下图
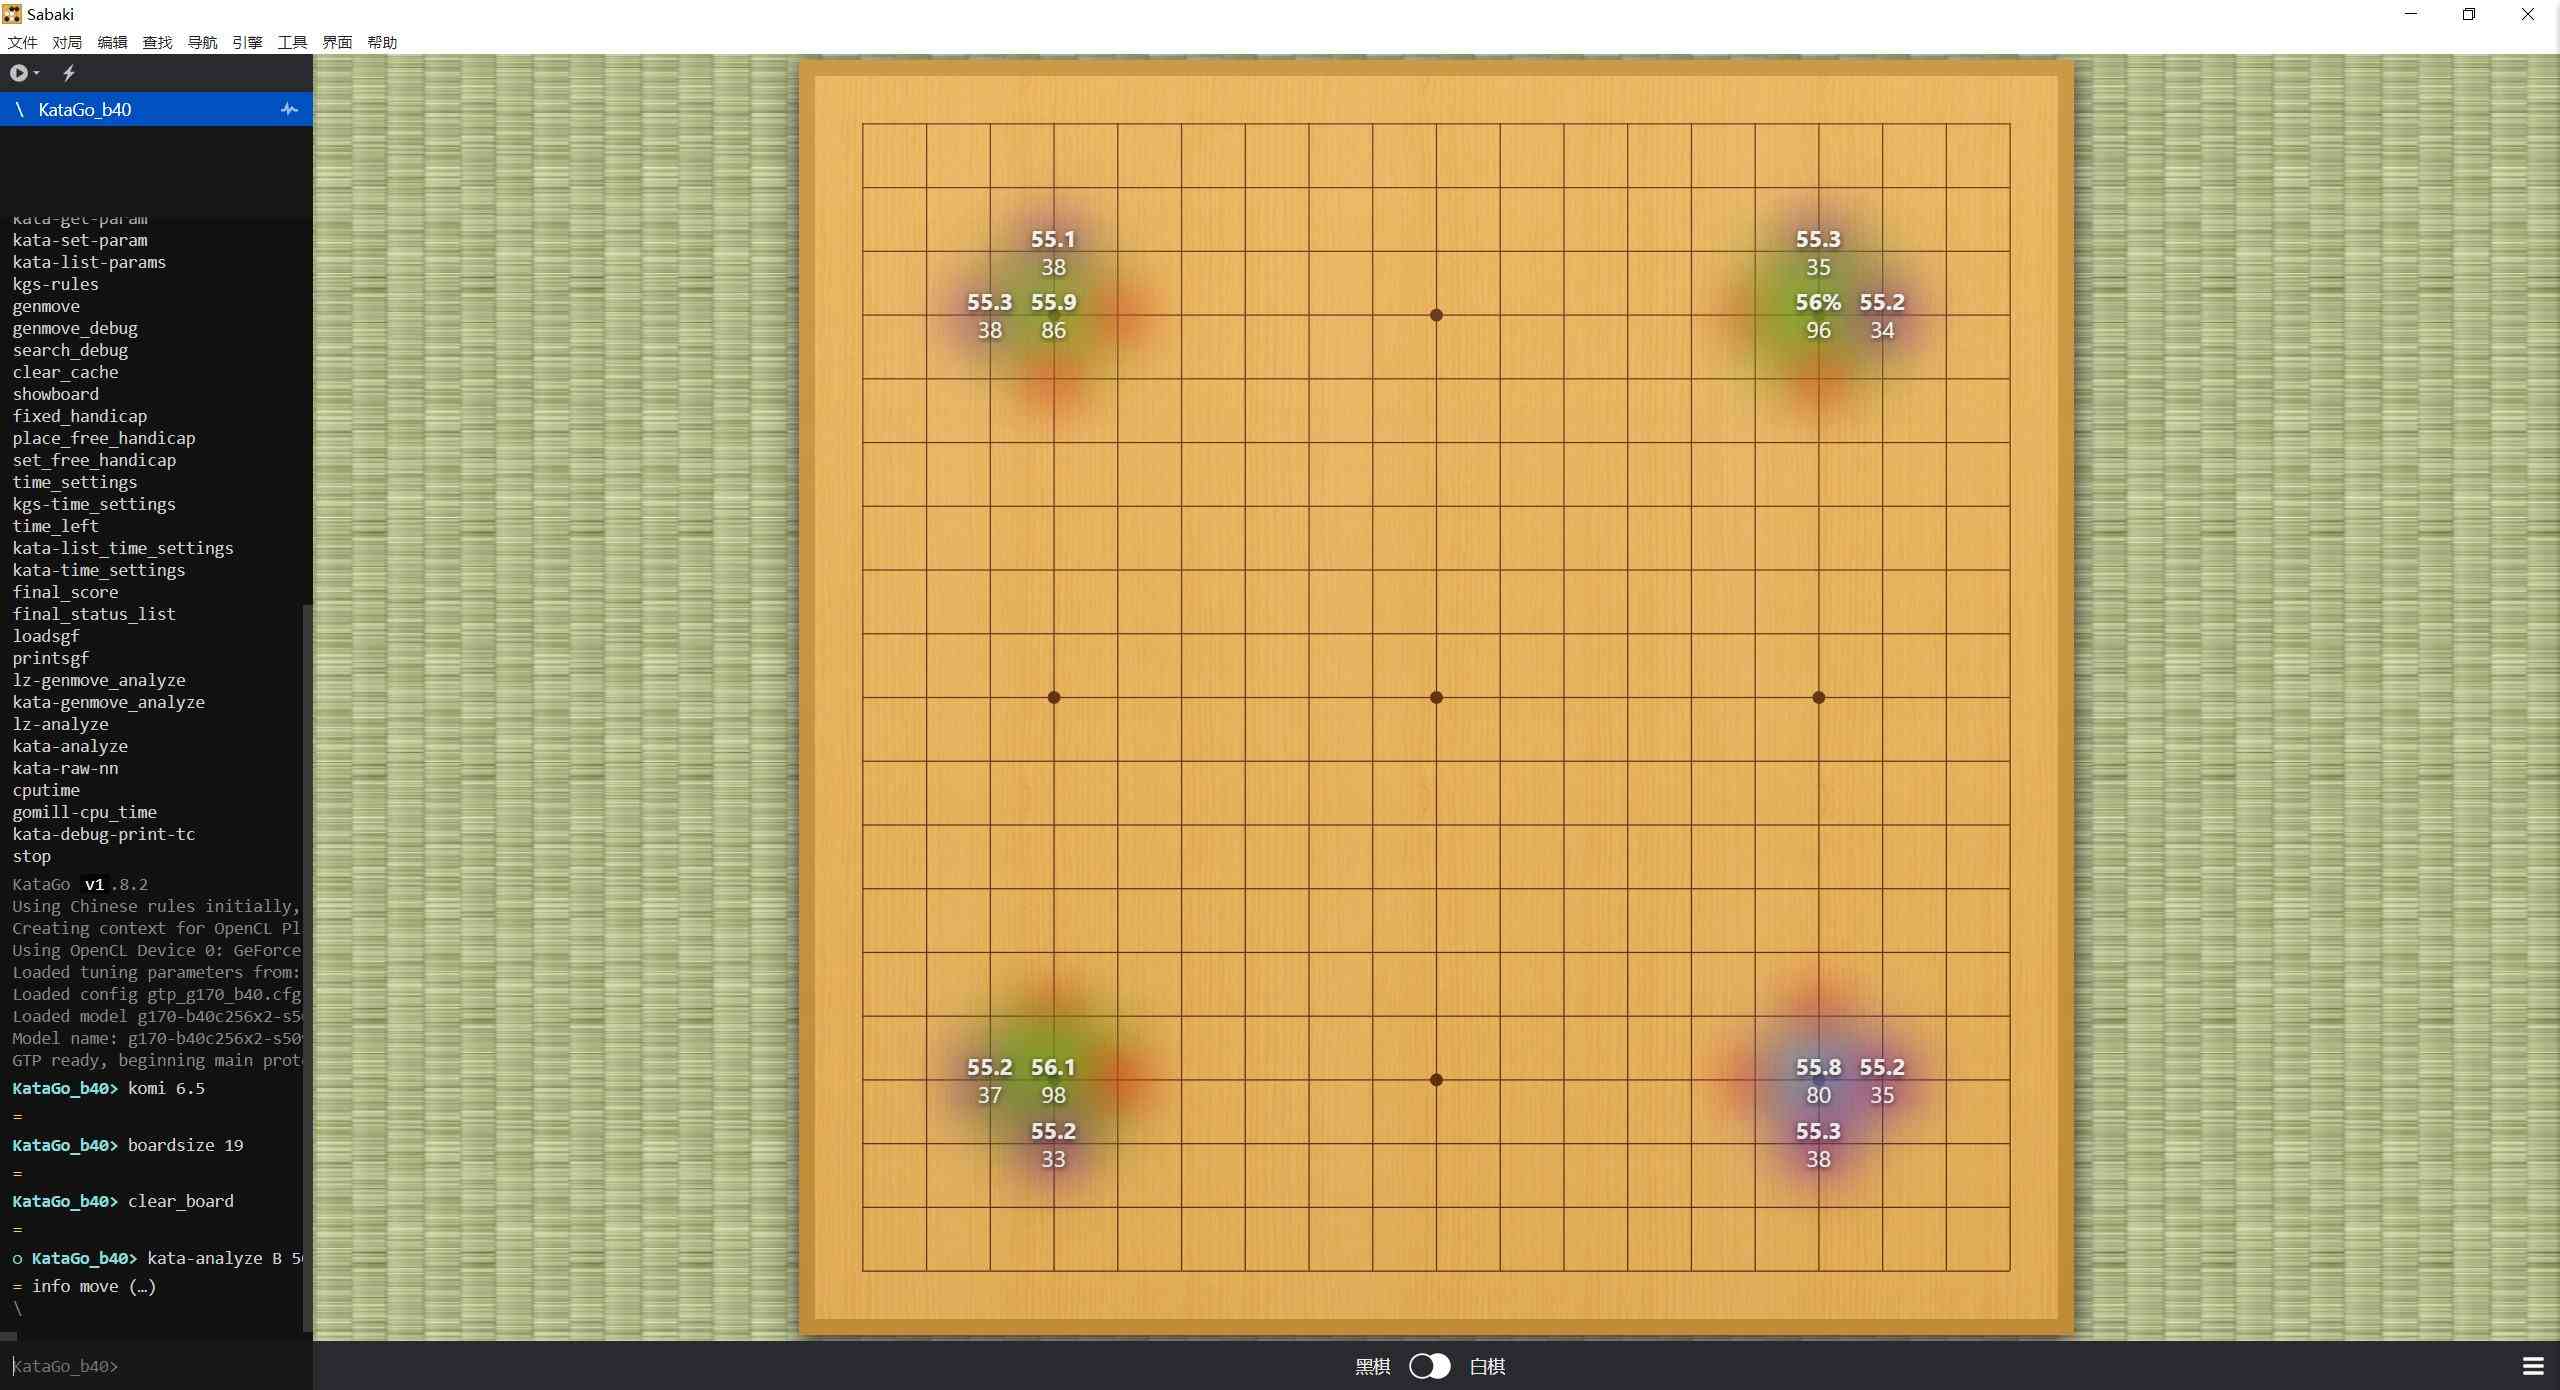
再点击播放符号就能看到引擎,然后右键引擎设为分析器可以看到棋局分析,如下图
AI复盘
打开新 sgf 文件后,载入引擎,然后设为分析器。
设为分析器时可能会报错,如下图

这种情况大概率是对局信息的贴目设的不对,点开对局信息会发现sgf文件的 3.75 子的贴目信息到这里变成了 375,改成 7.5 即可。

然后将载入的引擎设为分析器就可以进行复盘了


