陈拓 2021/09/29-2021/11/27
在不需要桌面的情况下可以安装Server版,节省空间,速度快。
在树莓派计算模块CM4 eMMC上安装Ubuntu Server 21.04_晨之清风-CSDN博客陈拓 2021/10/05-2021/10/051. 概述在《在树莓派计算模块CM4 eMMC上安装Ubuntu Desktop 21.04》https://zhuanlan.zhihu.com/p/415866590https://blog.csdn.net/chentuo2000/article/details/120572834一文中,我们在CM4上安装了Ubuntu Desktop 21.04,在不需要桌面的情况下可以安装Server版,节省空间,速度快。2. 下载Ubuhttps://blog.csdn.net/chentuo2000/article/details/120621705
1. 硬件
- 我的CM4模块
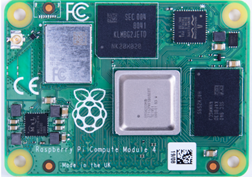
带eMMC存储器和WiFi模块。
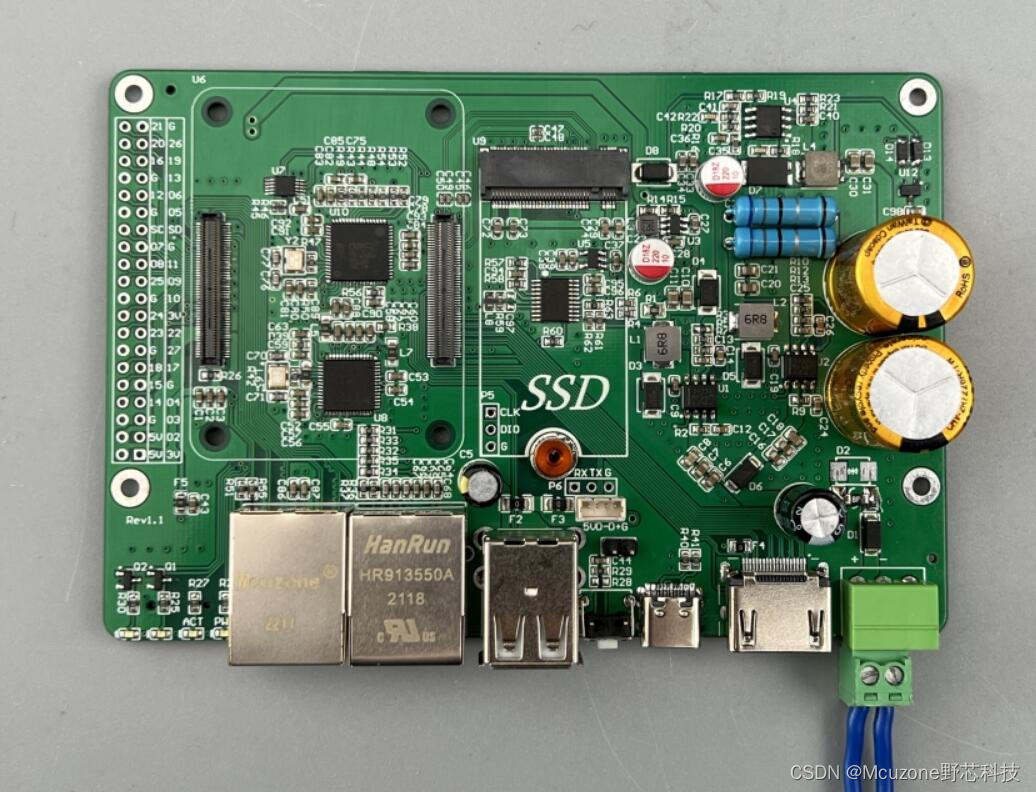
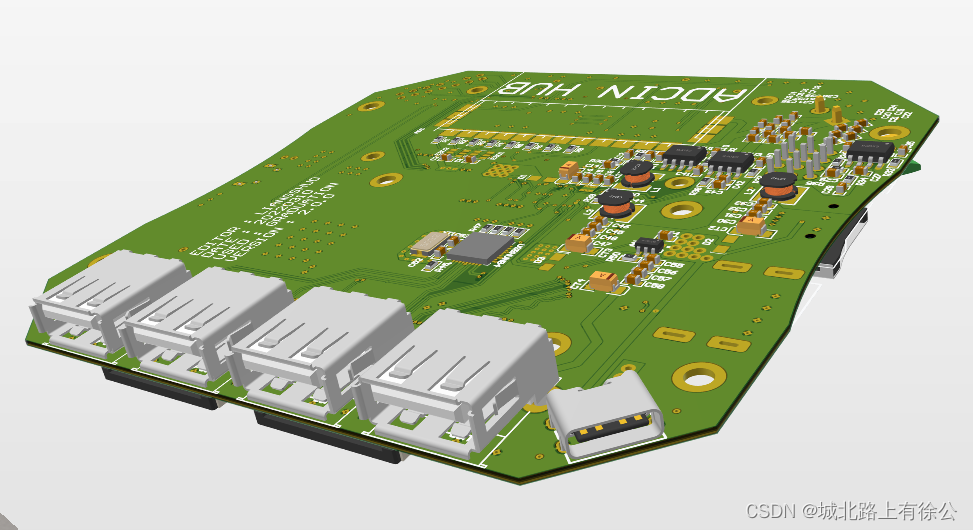
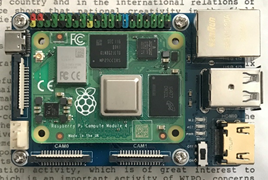
- 我的CM4扩展板

- 装好CM4和扩展板的硬件系统
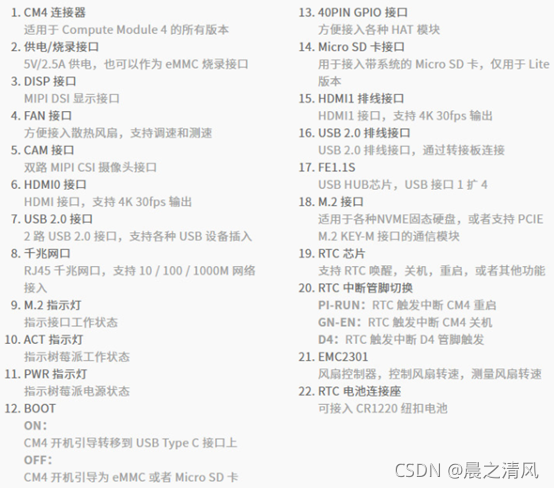
- 扩展板资源

2. 下载Ubuntu
Install Ubuntu on a Raspberry Pi | Ubuntu
https://ubuntu.com/download/raspberry-pi
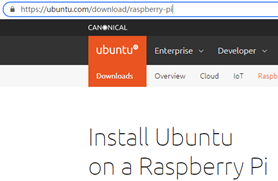

我选择Ubuntu Desktop 21.04下载:
![]()
解压:
![]()
3. 下载Win10上安装所需要的驱动usbboot
下载网址:
https://github.com/raspberrypi/usbboot/raw/master/win32/rpiboot_setup.exe
![]()
注意:现在先不要安装!
4. 下载映像烧录工具Win32 Disk Imager
下载网址:
https://sourceforge.net/projects/win32diskimager/files/Archive/win32diskimager-v0.9-binary.zip/download

![]()
解压缩:

可以直接运行,不用安装。
5. 下载dt-blob.bin
CM4的USB启用需要dt-blob.bin文件
在《树莓派CM4基于emmc安装Ubuntu系统及初始配置》
https://blog.csdn.net/Travel1992/article/details/115554449
一文中提供了dt-blob.bin的下载。
dt-blob.bin文件下载:
链接:https://pan.baidu.com/s/1yPu82QFtidnQ5w_BknEzSQ
提取码:ck1i
详细说明以及摄像头的驱动见官方文档:
https://datasheets.raspberrypi.com/
6. 安装系统
官方说明:Compute Module Hardware Datasheets and Schematics
https://www.raspberrypi.org/documentation/computers/compute-module.html
我用的这块CM4带eMMC存储器,它比SD卡快多了。下面我们将系统写入eMMC存储器。
按照官方的建议,烧写计算模块的eMMC,可以使用Linux系统也可以使用Windows系统(建议使用Windows 10)。我使用Win10,步骤如下:
- 将扩展板上的BOOT开关拨到ON上
- 用USB线连接电脑和供电/烧录接口(TYPE C)
Windows找到新硬件并安装驱动。

在控制面版中查看:
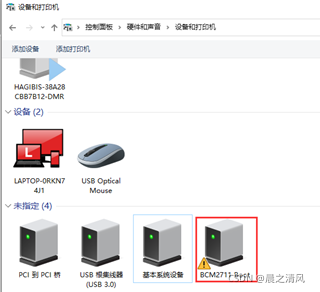
BCM2711 Boot前面有一个黄色惊叹号。
- 运行rpiboot_setup.exe安装rpiboot软件

正在安装启动,要等待较长时间……

等待这个界面自动消失。

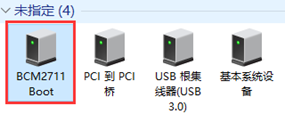
BCM2711 Boot前面的黄色惊叹号已经没有了,这时驱动就装好了。
- 运行rpiboot软件
运行rpiboot.exe工具软件,几秒钟后,计算模块的eMMC将作为U盘在Windows下弹出。
![]()
说明:以后每次使用U盘都这样做。
- 格式U盘
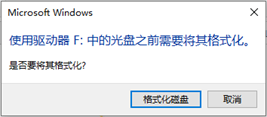
这一步可省略。
- 使用Win32DiskImager(官方推荐)将Ubuntu系统烧录进eMMC U盘中
运行前面下载的Win32DiskImager.exe

找到前面下载的系统映像文件:
ubuntu-21.04-preinstalled-desktop-arm64+raspi.img
Open

我的U盘盘符是F:
点击Write按钮:
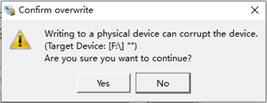
yes
等待

写成功。
OK,Exit。
7. 启用USB
根据官方说明,CM4为了降低功耗,USB接口默认是关闭的,需要手工打开。
查看文件资源管理器,这时系统多出了一个盘符system-boot(F:)
![]()
- 将前面下载的dt-blob.bin文件复制到system-boot的根目录下
- 修改config.txt文件
在system-boot中找到config.txt文件,可以用记事本打开,在最后一行添加
dtoverlay=dwc2,dr_mode=host
保存退出。
弹出system-boot(F:)。
8. 开机启动配置
- 把掉USB线
- 接上显示器,插好鼠标键盘
- 将扩展板上的BOOT开关拨到OFF上
- 用USB线连接电脑和TYPE C接口,上电开机
第一次开机要安装系统,需等待较长时间。
- 选择语言
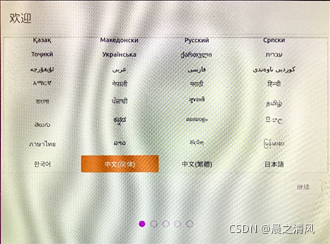
- 选择键盘布局

- 连接WiFi


- 选择时区

- 设置计算机名、用户名、密码

- 系统设置

- 登录

- 进入桌面

系统安装完成。
9. 安装ssh服务、远程登录
- 安装ssh服务
Ubuntu默认没有安装ssh服务,用下面的命令安装:
sudo apt-get install openssh-server
安装好之后就可以使用了,看看ssk的进程
ps -e | grep ssh
如果看到sshd,ssh-server就已经启动了。
- 远程登录
可以用Win10的命令窗口登录

Win10命令窗口使用ssh的方法参考:
《Win10命令窗口的SSH和SFTP操作》
https://blog.csdn.net/chentuo2000/article/details/119918637
- 查看存储空间使用情况

- 重装系统后的登录错误
如果重新安装过系统再次登录时出现:

在PC上执行命令:ssh-keygen -R 192.168.0.8

再次登录:

输入yes

登录成功。
10. 外接显示屏调节分辨率
https://elinux.org/RPiconfig
https://elinux.org/R-Pi_configuration_file
https://forums.raspberrypi.com/viewtopic.php?f=29&t=24679
LCD显示屏,DHMI接口,7寸,15.5x8.5cm ,下面通过usercfg.txt调节。
执行命令:
sudo nano /boot/firmware/usercfg.txt

config_hdmi_boost=4
hdmi_group=2
hdmi_mode=87
hdmi_cvt 800 480 60 6 0 0 0
参数说明:
- config_hdmi_boost=4
HDMI信号强度,默认为0,最大为7。
- hdmi_group=2
使用DMT格式,这是计算机计算机显示器使用的分辨率。
- hdmi_mode=87
https://forums.raspberrypi.com/viewtopic.php?f=29&t=24679
87是自定义模式
- hdmi_cvt 800 480 60 6 0 0 0
自定义模式参数设置:
hdmi_cvt=<width> <height> <framerate> <aspect> <margins> <interlace> <rb>
width width in pixels
height height in pixels
framerate framerate in Hz
aspect aspect ratio 1=4:3, 2=14:9, 3=16:9, 4=5:4, 5=16:10, 6=15:9
margins 0=margins disabled, 1=margins enabled
interlace 0=progressive, 1=interlaced
rb 0=normal, 1=reduced blanking
