1.canvas基本使用
1.1.说明:
- canvas是双标签,h5中新增的属性
- 默认宽高为300*150
- 浏览器默认canvas展示的是一张图片
- 给canvas添加文字内容是没有任何意义的
- canvas画布:绘制图形,显示一个文字,必须通过js操作
- 不要通过样式去设置画布的宽度与高度
1.2.实现步骤
1.2.1书写canvas标签
<canvas width="600" height="400">FOREVER</canvas>为了提高辨识度,设置边框
canvas{border: 1px solid black;}1.2.2图片展示
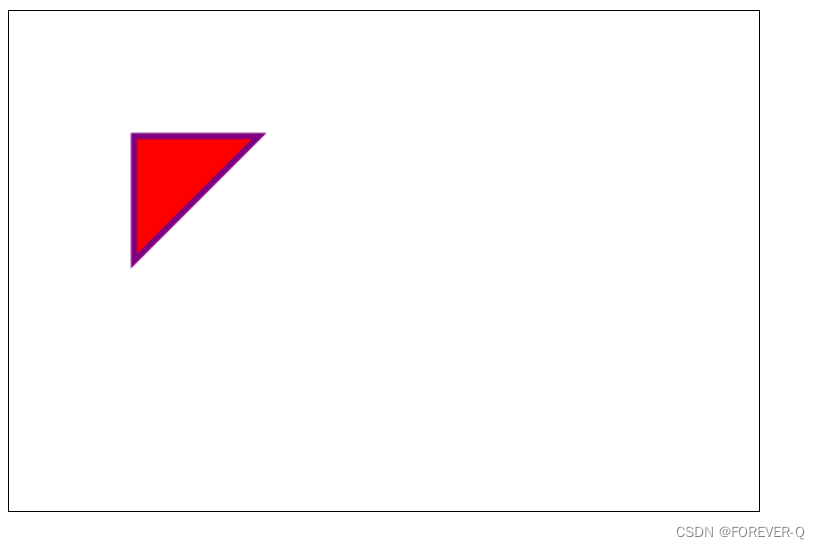
1.2.3绘制三角形
说明:通过getContext()方法可以创建一个实例(画笔),实例包括很多的方法和属性。从而进行绘制。
// 获取节点let canvas=document.querySelector("canvas")// 获取画布的笔let ctx=canvas.getContext("2d")console.log(ctx); //// 绘制线段的起点的设置ctx.moveTo(100,100)// 终点ctx.lineTo(100,200)ctx.lineTo(200,100)// 设置图形填充的颜色ctx.fillStyle='red'// fill()必须要在设置图形颜色的后面进行填充ctx.fill()// 设置线段的颜色ctx.strokeStyle="purple"// 直线的宽度ctx.lineWidth=5// 将起点和终点连接在一起ctx.closePath()// stroke方法绘制线段ctx.stroke()1.2.4实图展示
1.2.5源码
<!DOCTYPE html>
<html lang="en">
<head><meta charset="UTF-8"><meta name="viewport" content="width=device-width, initial-scale=1.0"><title>canvas</title><style>canvas{border: 1px solid black;}</style>
</head>
<body><!-- canvas是双标签,h5中新增的属性 --><!-- 默认宽高为300*150 --><!-- 浏览器默认为canvas一张图片 --><!-- 给canvas添加文字内容是没有任何意义的 --><!-- canvas画布:绘制图形,显示一个文字,必须通过js操作 --><!-- 不要通过样式去设置画布的宽度与高度 --><canvas width="600" height="400">FOREVER</canvas>
</body>
</html>
<script>// 获取节点let canvas=document.querySelector("canvas")// 获取画布的笔let ctx=canvas.getContext("2d")console.log(ctx);  //// 绘制线段的起点的设置ctx.moveTo(100,100)// 终点ctx.lineTo(100,200)ctx.lineTo(200,100)// 设置图形填充的颜色ctx.fillStyle='red'// fill()必须要在设置图形颜色的后面进行填充ctx.fill()// 设置线段的颜色ctx.strokeStyle="purple"// 直线的宽度ctx.lineWidth=5// 将起点和终点连接在一起ctx.closePath()// stroke方法绘制线段ctx.stroke()</script>
2.绘制矩形
2.1例子1
ctx.strokeRect(100, 200, 100, 200);说明:
- 没有方法设置颜色,只能是描边
- 参数1表示是距离左边为100:x
- 参数2上边为200:y
- 参数3矩形的宽度为100:width
- 参数4矩形的高度为200:height
2.2例子2
// 设置填充的颜色
ctx.fillStyle="green"
// 填充颜色的方法,绘制图形之前填充颜色
ctx.fill()
ctx.fillRect(300,200,100,200)
说明:
- 带有填充颜色的矩形,默认为黑色。
2.3实图展示

2.4源码展示
<!DOCTYPE html>
<html lang="en"><head><meta charset="UTF-8" /><meta name="viewport" content="width=device-width, initial-scale=1.0" /><title>Document</title><style>* {margin: 0;padding: 0;}canvas {border: 1px solid black;}</style></head><body><canvas width="600px" height="400px"></canvas></body>
</html>
<script>// 获取Dom节点let canvas = document.querySelector("canvas");// 获取上下文let ctx = canvas.getContext("2d");// 绘制矩形第一种方式,没有方法设置颜色,只能是描边// 参数1表示是距离左边为100,x// 参数2上边为200,y// 参数3矩形的宽度为100,w// 参数4矩形的高度为200,hctx.strokeRect(100, 200, 100, 200);
//   第二种方式绘制矩形,带有填充颜色的矩形,默认为黑色
// 设置填充的颜色
ctx.fillStyle="green"
// 填充颜色的方法,绘制图形之前填充颜色
ctx.fill()
ctx.fillRect(300,200,100,200)
</script>
3. 绘制圆
3.1代码展示
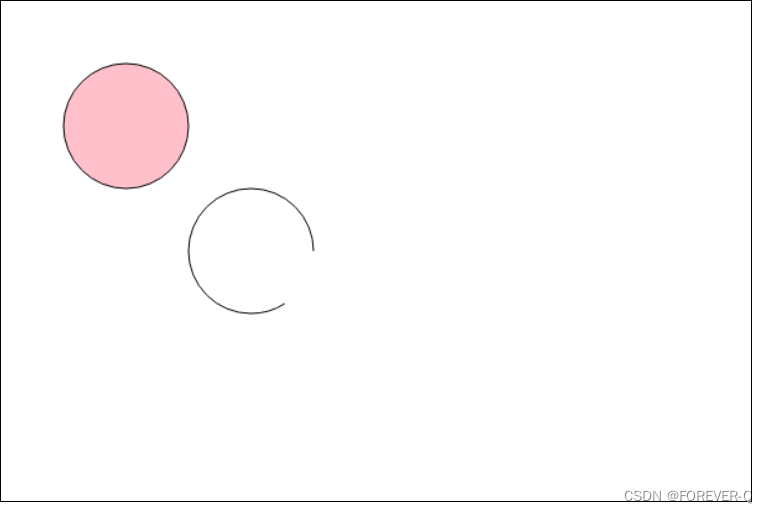
ctx.beginPath();// 绘制圆形的方法// 参数1是到x的距离// 参数2是到y的距离// 参数3是r是半径// 参数4是起始的弧度 弧度计算公式2*PI*弧度=360 1弧度约等与57度// 参数5是是否逆时针绘制ctx.arc(100, 100, 50, 0, 2 * Math.PI, true);// 填充颜色ctx.fillStyle = "pink";ctx.fill();ctx.stroke();// 绘制第二个圆形图ctx.beginPath();ctx.arc(200, 200, 50, 0, 1, true);ctx.stroke();3.2实图展示
3.3源码展示
<!DOCTYPE html>
<html lang="en"><head><meta charset="UTF-8" /><meta name="viewport" content="width=device-width, initial-scale=1.0" /><title>Document</title><style>* {margin: 0;padding: 0;}canvas {border: 1px solid black;}</style></head><body><canvas width="600px" height="400px"></canvas></body>
</html>
<script>// 获取Dom节点let canvas = document.querySelector("canvas");// 获取上下文let ctx = canvas.getContext("2d");// 绘制第一个圆形图// 开始绘制ctx.beginPath();// 绘制圆形的方法// 参数1是到x的距离// 参数2是到y的距离// 参数3是r是半径// 参数4是起始的弧度  弧度计算公式2*PI*弧度=360   1弧度约等与57度// 参数5是是否逆时针绘制ctx.arc(100, 100, 50, 0, 2 * Math.PI, true);// 填充颜色ctx.fillStyle = "pink";ctx.fill();ctx.stroke();//  绘制第二个圆形图ctx.beginPath();ctx.arc(200, 200, 50, 0, 1, true);ctx.stroke();
</script>
4.清除画布与绘图文字
4.1清除画布
// 绘制矩形ctx.fillRect(100,100,100,100)// 清除画布(整个)ctx.clearRect(0,0,600,400)- 参数1是距离矩形左边的距离
- 参数2是距离矩形上边的距离
- 参数3是清除的宽度
- 参数4是清除的高度
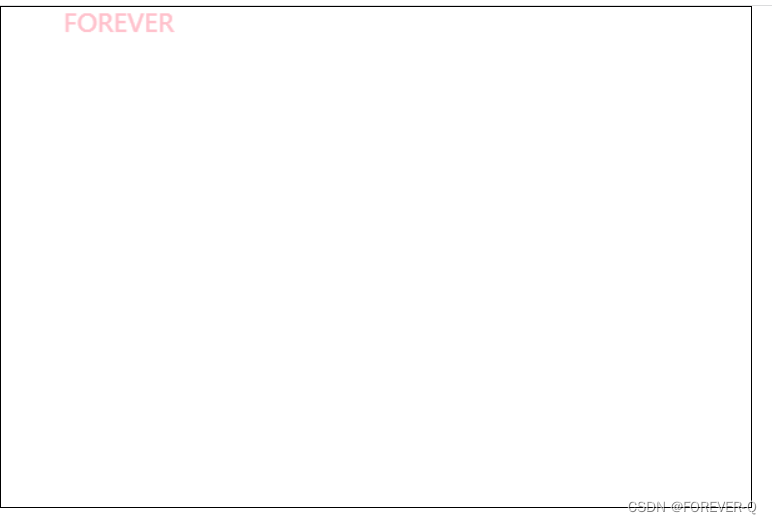
4.2绘制文字
4.2.1代码展示
// 绘制文字// 文字大小和字体ctx.font="20px 微软雅黑"// 文字填充的颜色ctx.fillStyle="pink"// 绘制文字,第二个参数为到矩形左边的距离,第三个参数为到上边的距离ctx.fillText("FOREVER",50,20)4.2.2实图展示
4.2.3源码展示
<!DOCTYPE html>
<html lang="en">
<head><meta charset="UTF-8"><meta name="viewport" content="width=device-width, initial-scale=1.0"><title>Document</title><style>*{margin: 0;padding: 0;}canvas{border: 1px solid black;}</style>
</head>
<body><!-- 画布的大小最好通过属性设置,而不是通过样式,不然会出现问题 --><canvas width="600px" height="400px"></canvas>
</body>
</html>
<script>// 获取Dom节点let canvas=document.querySelector("canvas")// 获取上下文let ctx=canvas.getContext("2d")// 绘制矩形ctx.fillRect(100,100,100,100)// 清除画布(整个)ctx.clearRect(0,0,600,400)// 绘制文字// 文字大小和字体ctx.font="20px 微软雅黑"// 文字填充的颜色ctx.fillStyle="pink"// 绘制文字,第二个参数为到矩形左边的距离,第三个参数为到上边的距离ctx.fillText("FOREVER",50,20)
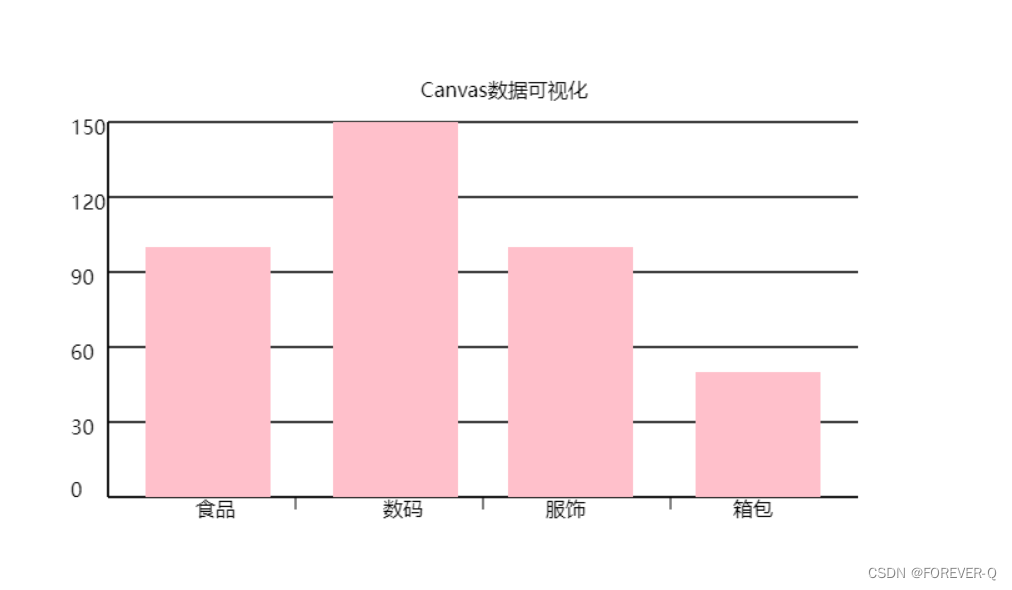
</script>5.绘制柱形图
5.1代码展示
 // 获取Dom节点let canvas = document.querySelector("canvas");// 获取上下文let ctx = canvas.getContext("2d");// 设置文字大小,字体ctx.font = "16px 微软雅黑";// 绘制文字ctx.fillText("Canvas数据可视化", 350, 80);// 绘制线段ctx.moveTo(100, 100); //起始点ctx.lineTo(100, 400); //终点ctx.lineTo(700, 400); //终点ctx.stroke();// 绘制其他线段// 第一条线ctx.moveTo(100, 100);ctx.lineTo(700, 100);ctx.fillText("150",70,110)// 第二条线ctx.moveTo(100, 160);ctx.lineTo(700, 160);ctx.fillText("120",70,170)// 第三条线ctx.moveTo(100, 220);ctx.lineTo(700, 220);ctx.fillText("90",70,230)// 第四条线ctx.moveTo(100, 280);ctx.lineTo(700, 280);ctx.fillText("60",70,290)// 第三条线ctx.moveTo(100, 340);ctx.lineTo(700, 340);ctx.fillText("30",70,350)ctx.fillText("0",70,400)ctx.stroke();// 绘制水平的底部线段ctx.moveTo(250, 400);ctx.lineTo(250, 410);// 底部的文字ctx.fillText("食品", 170, 415);ctx.moveTo(400, 400);ctx.lineTo(400, 410);ctx.fillText("数码", 320, 415);ctx.moveTo(550, 400);ctx.lineTo(550, 410);ctx.fillText("服饰", 450, 415);ctx.fillText("箱包", 600, 415);ctx.stroke();
//   绘制矩形
ctx.fillStyle='pink'
ctx.fillRect(130,200,100,200)
ctx.fillRect(280,100,100,300)
ctx.fillRect(420,200,100,200)
ctx.fillRect(570,300,100,100)
5.2实图展示
5.3源码展示
<!DOCTYPE html>
<html lang="en"><head><meta charset="UTF-8" /><meta name="viewport" content="width=device-width, initial-scale=1.0" /><title>Document</title><style>* {margin: 0;padding: 0;}canvas {}</style></head><body><canvas width="800px" height="420px"></canvas></body>
</html>
<script>// 获取Dom节点let canvas = document.querySelector("canvas");// 获取上下文let ctx = canvas.getContext("2d");// 设置文字大小,字体ctx.font = "16px 微软雅黑";// 绘制文字ctx.fillText("Canvas数据可视化", 350, 80);// 绘制线段ctx.moveTo(100, 100); //起始点ctx.lineTo(100, 400); //终点ctx.lineTo(700, 400); //终点ctx.stroke();// 绘制其他线段// 第一条线ctx.moveTo(100, 100);ctx.lineTo(700, 100);ctx.fillText("150",70,110)// 第二条线ctx.moveTo(100, 160);ctx.lineTo(700, 160);ctx.fillText("120",70,170)// 第三条线ctx.moveTo(100, 220);ctx.lineTo(700, 220);ctx.fillText("90",70,230)// 第四条线ctx.moveTo(100, 280);ctx.lineTo(700, 280);ctx.fillText("60",70,290)// 第三条线ctx.moveTo(100, 340);ctx.lineTo(700, 340);ctx.fillText("30",70,350)ctx.fillText("0",70,400)ctx.stroke();// 绘制水平的底部线段ctx.moveTo(250, 400);ctx.lineTo(250, 410);// 底部的文字ctx.fillText("食品", 170, 415);ctx.moveTo(400, 400);ctx.lineTo(400, 410);ctx.fillText("数码", 320, 415);ctx.moveTo(550, 400);ctx.lineTo(550, 410);ctx.fillText("服饰", 450, 415);ctx.fillText("箱包", 600, 415);ctx.stroke();
//   绘制矩形
ctx.fillStyle='pink'
ctx.fillRect(130,200,100,200)
ctx.fillRect(280,100,100,300)
ctx.fillRect(420,200,100,200)
ctx.fillRect(570,300,100,100)
</script>


