blockinfile模块使用:
在node1上文件ansible_text文件中写入内容 ansible
然后使用blockinfile模块,在文件中插入内容 blockinfile insert content

然后插入内容 blockinfile with marker 且使用指定标记: marker=#{mark}test

在blockinfile insert content之前插入 insertbefore

在blockinfile insert content之后插入 insertafter

删除其中一行内容

lineinfile模块使用
向node节点上文件 ansible_text2文件如插入内容 lineinfile insert content

删除lineinfile insert content

重新插入lineinfile insert content
在之前插入: insertbefore

在它之后插入: insertafter

插入:Hello ansible,Hiiii
文件中的"Hello ansible,Hiiii"替换成"Hiiii"(使用正则表达式和backrefs)


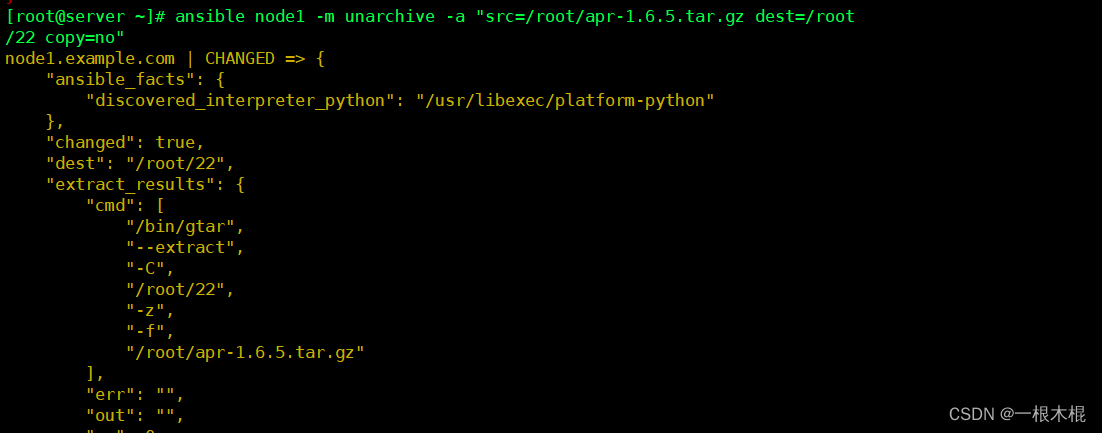
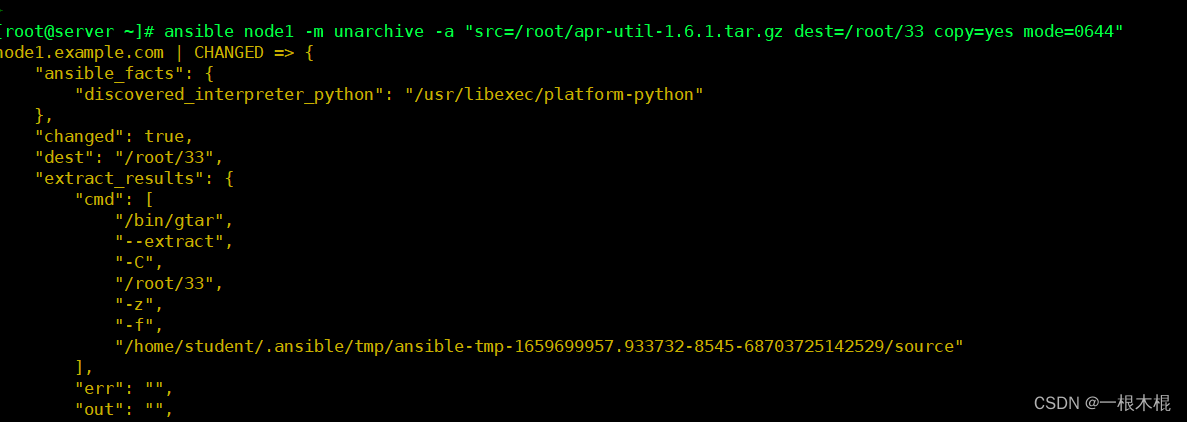
unarchive模块使用
将node主机上的包解压

将server主机上的包解压到node主机且设置权限为644

archive模块使用
将node上的目录进行压缩

cron模块
在node上为student用户设置周一到周五早上的9:00输出闹钟到/root/alarm_cron

user模块
创建用户
删除用户


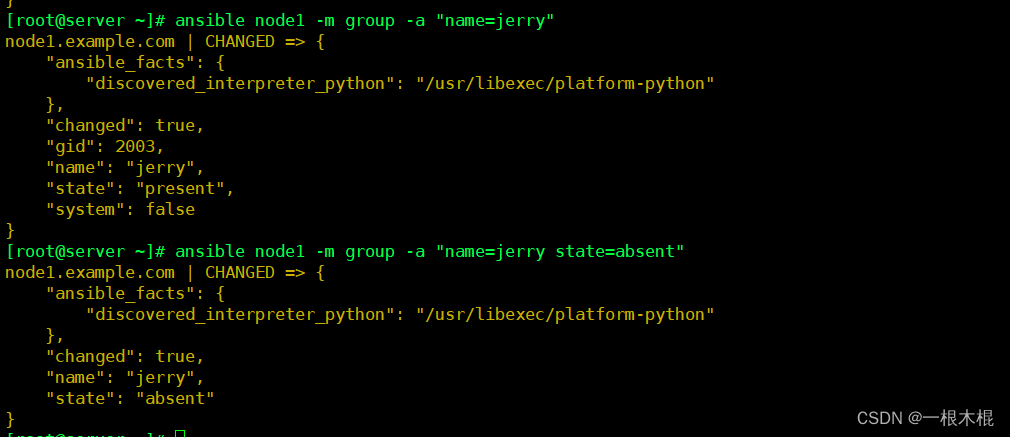
group模块
创建组
删除组

yum_repository
设置两个软件仓库BaseOS和APPStream(本地yum源的配置)到文件my.repo

yum/dnf模块
安装软件 lrzsz

service/systemd模块
关闭防火墙
重启防火墙
禁用防火墙


firewalld模块
添加端口22, 添加服务 http

添加富规则:允许192.168.xxx.0/24来访问http的80端口

删除富规则
selinux模块
设置selinux工作模式为permissive

nmcli模块
在node上添加一块网卡,设置IP,gw, method, dns,type,和自动连接

get_url模块
去梨视频找个视频下载下来

uri模块
访问百度,并能获取到百度源码

parted模块
新增一块儿1GB的磁盘
然后对磁盘进行分区: 分区1: 400,分区2: 200M, 分区3:200M,且设置分区1和分区2类型为LVM .
[root@master ~]# ansible localhost -m parted -a 'device=/dev/nvme0n2 number=1 part_end=400MB state=present'
[root@master ~]# ansible localhost -m parted -a 'device=/dev/nvme0n2 number=2 part_end=200MB state=present'
[root@master ~]# ansible localhost -m parted -a 'device=/dev/nvme0n2 number=3 part_end=200MB state=present'
lvg模块:用上面parted建立的分区: 创建卷组
[root@master ~]# ansible localhost -m lvg -a 'pvs=/dev/nvme0n2p1 vg=vg1'
lvol模块:在上面卷组的基础上创建逻辑卷:500M
[root@master ~]# ansible localhost -m lvol -a 'vg=vg1 lv=lv1 size=500'
filesystem模块:为逻辑卷和分区3设置文件系统类型为 xfs
[root@master ~]# ansible localhost -m filesystem -a 'dev=/dev/nvme0n2p2 fstype=xfs force=yes'
mount模块:
为上面的逻辑卷和分区3进行挂载(分别使用mounted和present)
[root@master ~]# ansible localhost -m file -a 'path=/mnt/dvd state=directory'


