1 Mongo文件配置
1.1关闭MongoDB
基于已经搭建好的单mongoDB环境搭建mongo 副本集群
登录数据库
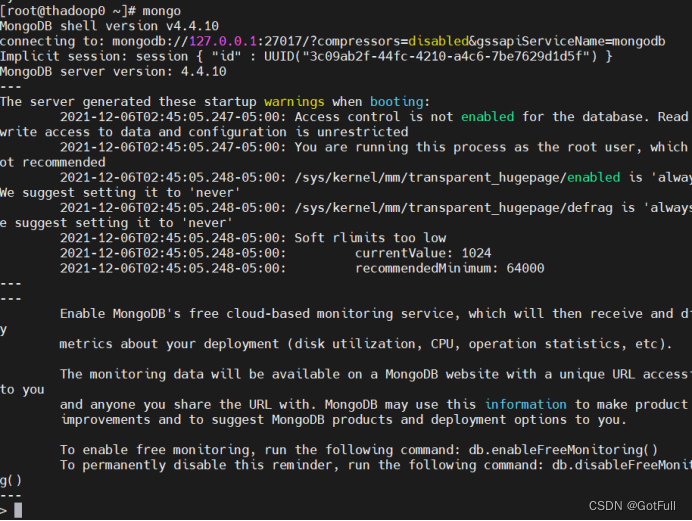
输入use admin切换表

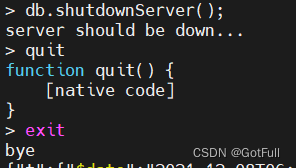
输入
db.shutdownServer(); 关闭mongodb服务
输入exit回到shell界面,mongo服务已关闭
1.2 环境准备
| 虚拟机名称 | IP地址 | 成员角色 | 主机名 |
| thadoop0 | 192.168.2.150 | 主节点 | thadoop0 |
| thadoop1 | 192.168.2.151 | 副本节点 | thadoop1 |
| thadoop2 | 192.168.2.152 | 副本节点 | thadoop2 |
!!该操作会删除mongodb单节点部署下的所有数据文件
切换到已配置的mongodb的目录下的/ data/db目录中使用 rm -rf * 删除数据文件
![]()
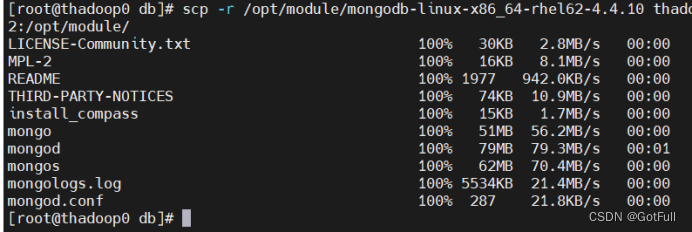
使用scp 命令将MongoDB复制到相应的节点

配置/etc/profile
为MongoDB 添加环境变量

使用scp复制到相应节点

使用
source /etc/profile 更新配置文件
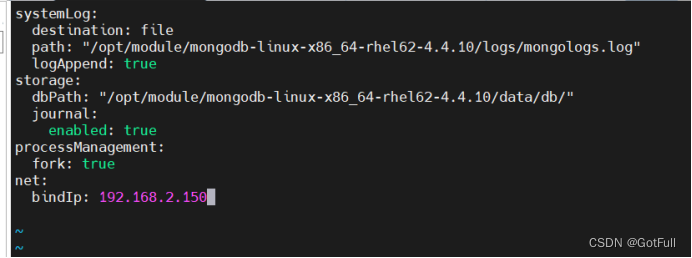
修改bindIP 为对应节点,文件为mongodb目录下 /conf/mongod.conf
冒号后面有个空格!
1.3 启动集群
分别在三台服务器上启动
以副本集的模式启动thadoop0上的MongoDB
mongod --replSet cpnode0--dbpath /opt/module/mongodb-linux-x86_64-rhel62-4.4.10/data/db/--logpath /opt/module/mongodb-linux-x86_64-rhel62-4.4.10/logs/mongologs.log--port 27017--bind_ip thadoop0--logappend -fork参数replSet:副本集名称
参数dbpath:数据存放目录
参数logpath:日志存放目录
参数logappend:追加方式写入日志
参数fork:后台运行
thadoop1:
mongod --replSet cpnode0--dbpath /opt/module/mongodb-linux-x86_64-rhel62-4.4.10/data/db/--logpath /opt/module/mongodb-linux-x86_64-rhel62-4.4.10/logs/mongologs.log--port 27017--bind_ip thadoop1--logappend -forkthadoop2:
mongod --replSet cpnode0--dbpath /opt/module/mongodb-linux-x86_64-rhel62-4.4.10/data/db/--logpath /opt/module/mongodb-linux-x86_64-rhel62-4.4.10/logs/mongologs.log--port 27017--bind_ip thadoop2--logappend -fork


1.4 初始化副本集
登录thadoop0的mogodb客户端
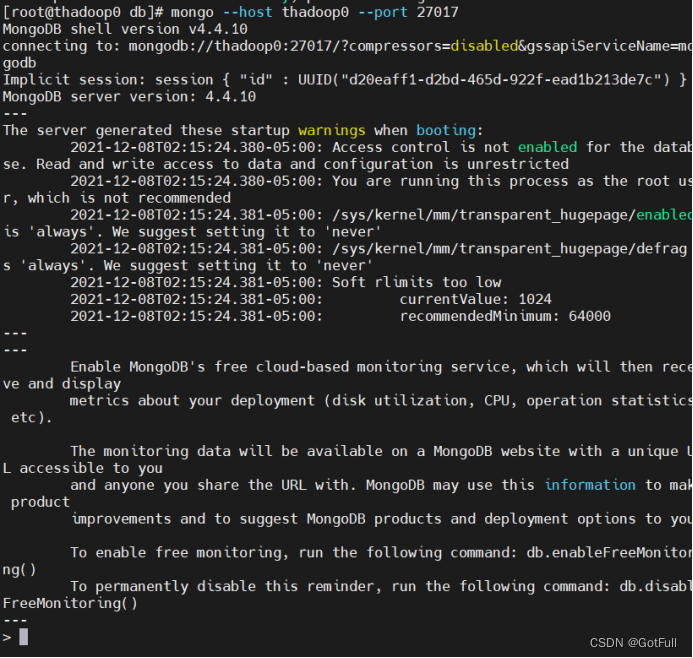
执行
rs.initiate()若客户端返回信息中字段OK的值为1,说明成功初始化副本集。
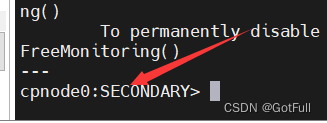
完成初始化命令,当前节点默认处于“SECONDARY(副本节点)”状态
等待几秒后,按回车键
自动选举自己为PRIMARY(主节点)

使用rs.add(“host:port”)添加副本角色到副本集中,返回ok字段中为1则为节点添加成功
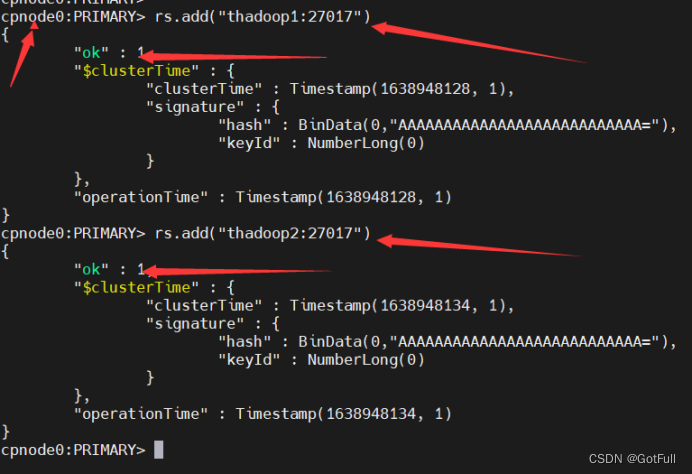
在thadoop1中登录mongo客户端查看当前角色分配情况

在thadoop2中登录mongo客户端查看当前角色分配情况
在主节点中查看副本集状态
rs.status()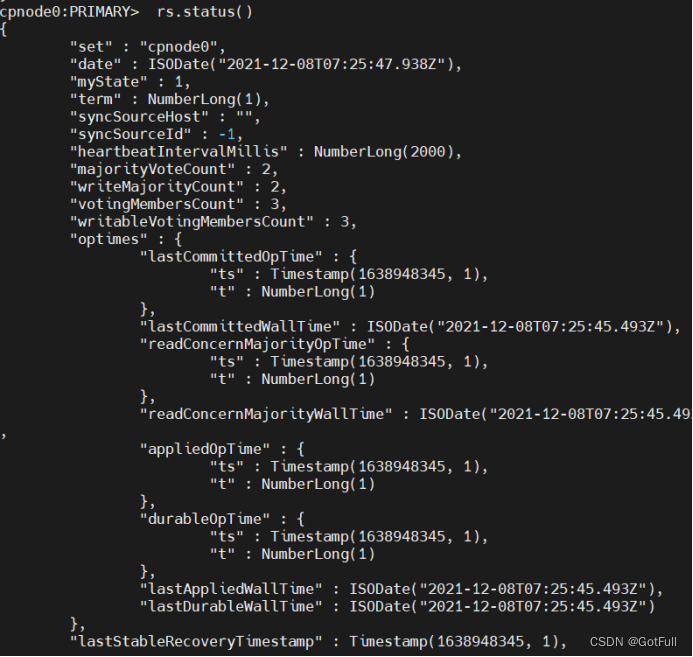
1.5 同步副本文档
登录thadoop0 切换到test数据库
并且插入一条文档

登录thadoop1 mongo客户端
查看文档是否写入成功
由于默认没有读取内容权限,所以需要开启节点读取权限
rs.slaveOk()再次查询

1.6故障转移
在thadoop0中关闭mongo服务(先exit退出mongoDB客户端)
查看服务进程
ps -ef | grep mongodbkill -2 进程号
在thadoop1和thadoop2 登录mongoDb查看是否有一个节点为主节点
发现thadoop1变更成主节点

1.7 调整副本集成员(粗略)
先使用
cfg=rs.conf()使用
cfg.members[0].priority = 2
将“_id”为0的副本节点(即服务器node01)优先级值由1改为2。
rs.reconfig(cfg)提交更改
配置隐藏节点

配置延迟节点
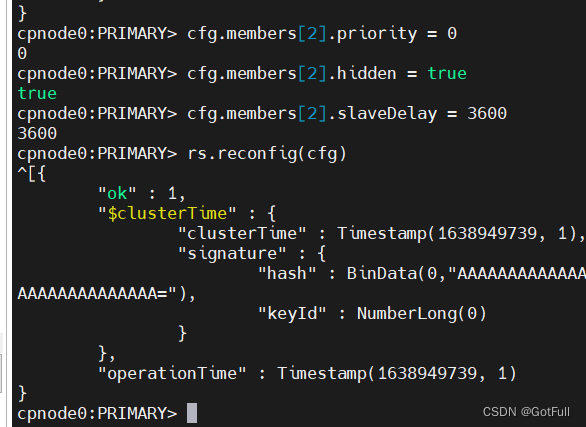
配置节点投票权

1.8安全认证(粗略)
创建存放keyFile的目录
在mongodb的目录下创建/key/keyifle
通过Linux的提供的密码工具集生成符合KeyFile标准的密钥并写入KeyFile

vim 查看已经写入密钥文件
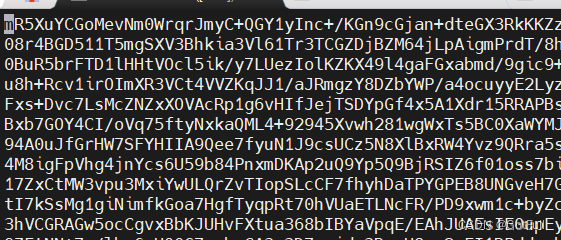
修改文件的权限为600

scp命令拷贝到其他节点

创建新用户
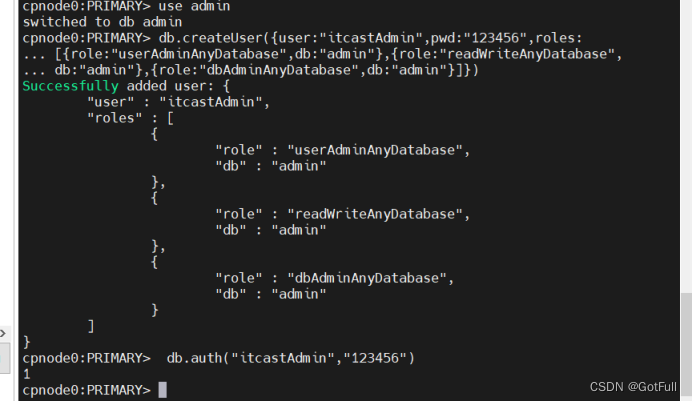
关闭副本集
然后以安全认证方法打开
thadoop0
mongod --replSet cpnode0--keyFile /opt/module/mongodb-linux-x86_64-rhel62-4.4.10/key/keyfile--dbpath=/opt/module/mongodb-linux-x86_64-rhel62-4.4.10/data/db--logpath=/opt/module/mongodb-linux-x86_64-rhel62-4.4.10/logs/mongodb.log--port 27017 --bind_ip thadoop0 --logappend --fork

thadoop1
mongod --replSet cpnode0--keyFile /opt/module/mongodb-linux-x86_64-rhel62-4.4.10/key/keyfile--dbpath=/opt/module/mongodb-linux-x86_64-rhel62-4.4.10/data/db--logpath=/opt/module/mongodb-linux-x86_64-rhel62-4.4.10/logs/mongodb.log--port 27017 --bind_ip thadoop1 --logappend --fork 
thadoop2
mongod --replSet cpnode0--keyFile /opt/module/mongodb-linux-x86_64-rhel62-4.4.10/key/keyfile--dbpath=/opt/module/mongodb-linux-x86_64-rhel62-4.4.10/data/db--logpath=/opt/module/mongodb-linux-x86_64-rhel62-4.4.10/logs/mongodb.log--port 27017 --bind_ip thadoop2 --logappend --fork 
检查身份验证是否成功
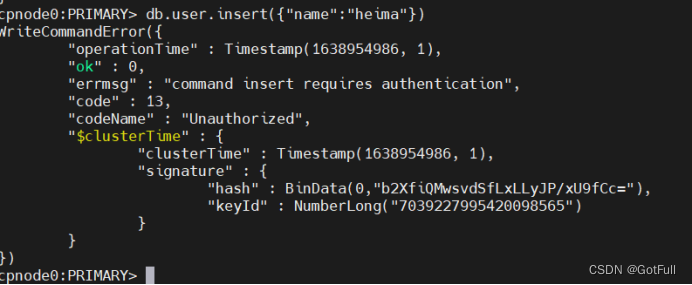
通过全局管理用户进行身份验证后即可查询写入


