1,开启虚拟化技术
启动计算机时按Del键或F10等其他键(各品牌计算机的按键不同)进入BIOS界面。
将光标移到“Virtualization”处,单击“Enter”键。
在“Virtualization”界面中,将“Intel (R) Virtualization Technology”设置为“Enabled”。
保存并退出BIOS系统。

2,搭建拓扑

3,Cloud1设置

4,R1设置

配置连接CLoud1的接口Ethernet0/0/1

配置连接LSW1的接口GE 0/0/0

5,LSW配置

配置静态路由


配置交换机L1在vlan1的IP地址:

采用password方式验证,Telnet方式远程登录

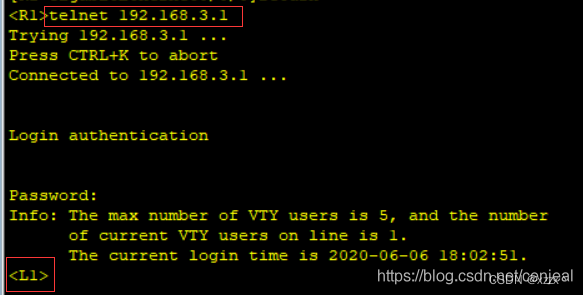
6,验证R1远程LSW1

7,LSW开启户stelnet权限
[SW1]stelnet server enable创建本地密钥对
[SW1]rsa local-key-pair create创建ssh用户名为root
[SW1]ssh user root//创建用户
[SW1]ssh user root authentication-type password //创建用户认证为密码认证
[SW1]ssh user root service-type stelnet //服务类型为ssh进入aaa模式下配置用户[SW1]aaa //进入aaa模式
[SW1-aaa]local-user root password cipher root123 //配置用户密码为root123
[SW1-aaa]local-user user privilege level 15 //配置用户权限级别
[SW1-aaa]local-user user service-type ssh //允许用户ssh访问权限配置vty界面支持的登录协议
[SW1]user-interface vty 0 4
[SW1-ui-vty0-4]authentication-mode aaa //认证为aaa
[SW1-ui-vty0-4]protocol inbound ssh //登录协议为ssh登入
8,本地PC配置静态路由

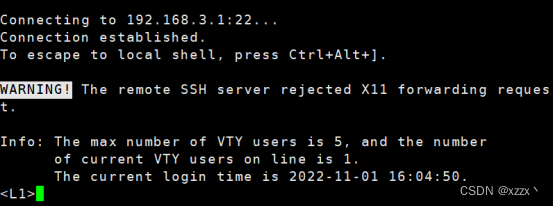
C:\Windows>route add 192.168.3.0/24 192.168.56.29,本地PC远程LSW1


输入设置的用户名密码


