✅创作者:陈书予
🎉个人主页:陈书予的个人主页
🍁陈书予的个人社区,欢迎你的加入: 陈书予的社区
🌟专栏地址: 三十天精通 Vue 3
文章目录
- 引言
- 一、Vue3 中的函数式组件
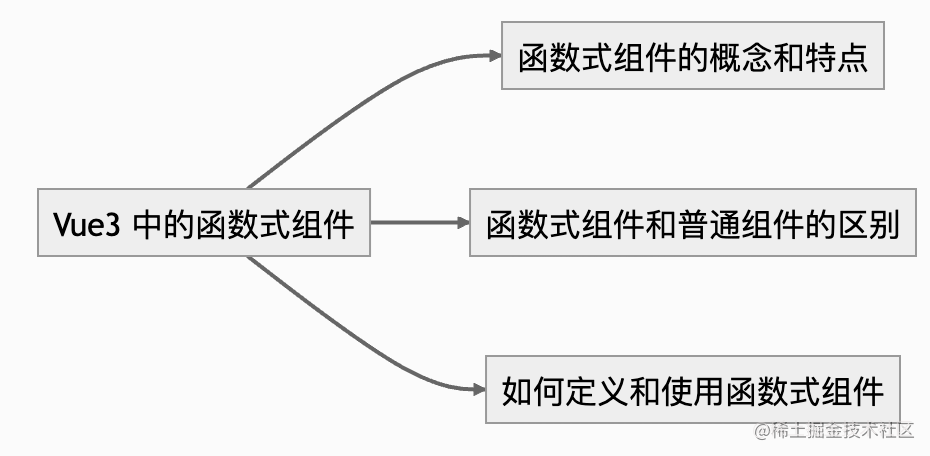
- 1.1 函数式组件的概念和特点
- 1.2 函数式组件和普通组件的区别
- 1.3 如何定义和使用函数式组件
- 二、Vue3 函数式组件的应用场景
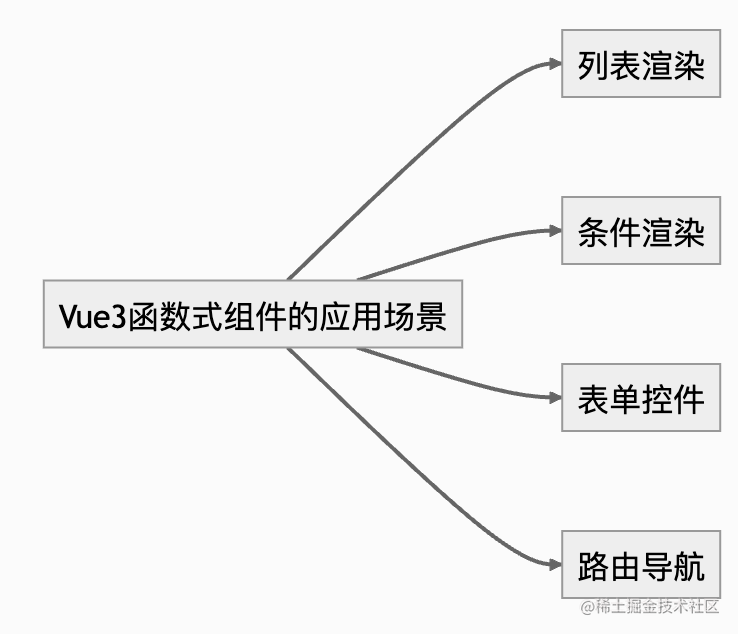
- 2.1 列表渲染
- 2.2 条件渲染
- 2.3 表单控件
- 2.4 路由导航
- 三、Vue3 函数式组件的高级应用
- 3.1 Scoped Slots
- 3.2 组件缓存
- 3.3 嵌套组件
- 3.4 Vue3 函数式组件的高级应用 动态组件
- 四、Vue3 函数式组件的注意事项和常见问题
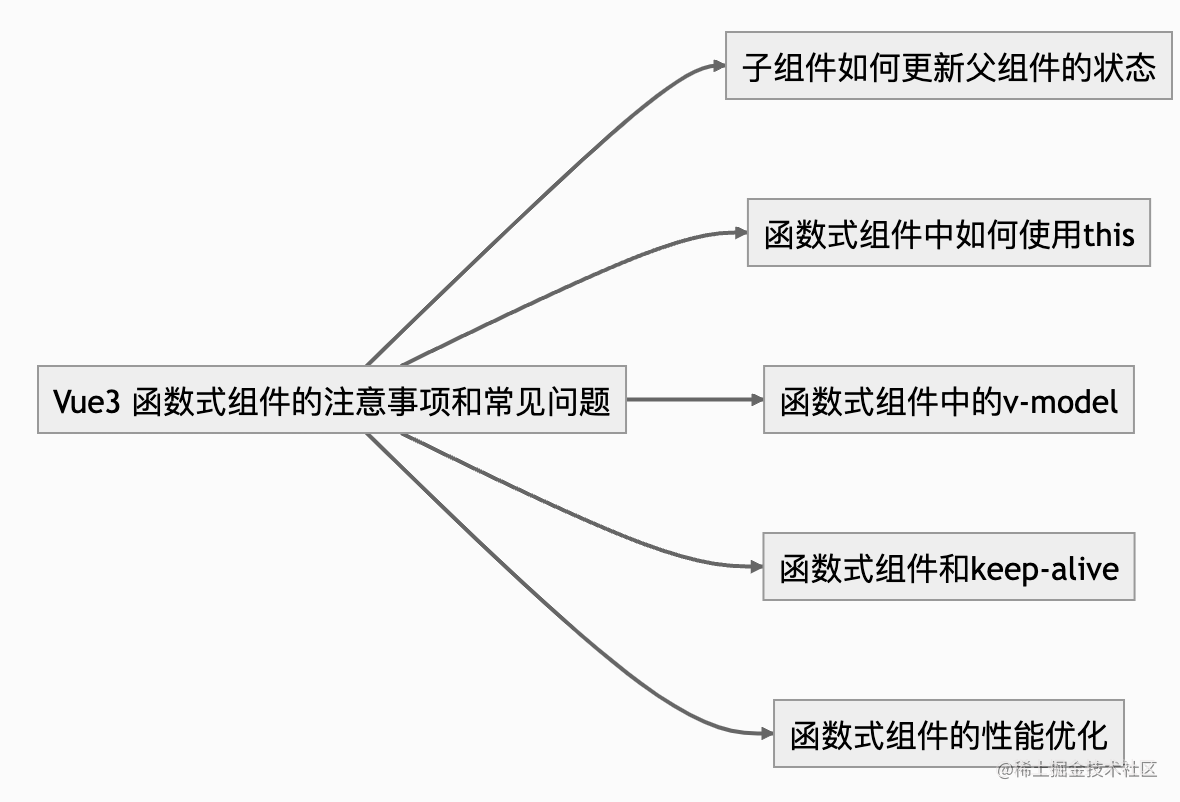
- 4.1 子组件如何更新父组件的状态
- 4.2 函数式组件中如何使用this
- 4.3 函数式组件中的v-model
引言
函数式组件是 Vue3 中的一个重要概念,它是一种轻量级的组件形式,具有高效、简洁和可复用等优点。在本文中,我们将详细介绍 Vue3 函数式组件的概念、应用场景、高级应用以及注意事项和常见问题。我们还会给出相应的代码示例,帮助读者更好地理解和掌握函数式组件的使用方法。
一、Vue3 中的函数式组件
1.1 函数式组件的概念和特点
函数式组件是指没有状态(没有响应式数据)和实例(没有 this 上下文)的组件,它只接受 props 作为输入,并返回渲染结果。函数式组件的定义形式如下:
const MyFunctionalComponent = (props, context) => {// 函数式组件的渲染逻辑
}
函数式组件具有以下特点:
- 函数式组件是纯函数,它不依赖于组件实例的状态,也不会影响组件外部的状态。
- 函数式组件的渲染结果只由输入的 props 决定,因此具有高效和可预测的特点。
- 函数式组件的代码量少,结构简单,易于维护和测试。
1.2 函数式组件和普通组件的区别
在 Vue3 中,函数式组件和普通组件有以下区别:
- 普通组件通过
new Vue()实例化,而函数式组件通过函数调用实现。 - 普通组件具有响应式数据和实例上下文,而函数式组件没有。
- 普通组件具有生命周期钩子函数和状态管理能力,而函数式组件没有。
- 普通组件支持自定义指令、计算属性和事件处理函数,而函数式组件不支持。
1.3 如何定义和使用函数式组件
定义函数式组件非常简单,只需要将组件的 template 部分替换为一个返回 VNode 的函数即可。例如:
// 函数式组件的定义
const FunctionalComponent = (props, context) => {return h('div', `Hello, ${props.name}!`);
};
// 函数式组件的使用
<template><FunctionalComponent name="Vue3" />
</template>
上述代码中,我们定义了一个名为 FunctionalComponent 的函数式组件,并将其用作了模板中的子组件。这个组件接收一个名为 name 的 prop,并返回一个包含 Hello, ${props.name}! 内容的 div 元素。使用函数式组件与使用普通组件的方式是一样的,只需要将组件的名称放在模板中即可。
二、Vue3 函数式组件的应用场景
2.1 列表渲染
在 Vue 3 中,我们通常使用 v-for 指令来渲染列表。而对于简单的列表项,我们可以使用函数式组件来提高性能。函数式组件相比普通组件的优势在于不需要维护状态,仅仅是一个纯展示组件。因此,对于仅包含静态内容的列表项,我们可以使用函数式组件来提高渲染性能。
下面是一个使用函数式组件渲染简单列表的示例代码:
<template><ul><li v-for="item in items" :key="item.id"><ListItem :item="item" /></li></ul>
</template>
<script>
import { defineComponent } from 'vue'
import ListItem from './ListItem.vue'
export default defineComponent({components: {ListItem},props: {items: {type: Array,required: true}}
})
</script>
在上述代码中,我们通过 v-for 指令渲染列表,并将每个列表项包装在一个 ListItem 函数式组件中。ListItem 函数式组件不需要维护状态,只需要展示传入的 item 数据即可。
下面是 ListItem 函数式组件的示例代码:
<template functional><div><h2>{{ props.item.title }}</h2><p>{{ props.item.content }}</p></div>
</template>
在上述代码中,我们通过 functional 标识符声明了一个函数式组件。函数式组件的模板只包含一个函数参数 props,通过 props.item 访问传入的列表项数据。
2.2 条件渲染
在 Vue3 中,条件渲染可以通过 v-if 或 v-show 指令来实现。对于简单的条件渲染,使用普通组件即可满足需求。但对于条件渲染嵌套过深,或需要频繁切换的场景,使用函数式组件可以有效提升性能。
下面是一个使用函数式组件实现条件渲染的示例:
<template><div><button @click="toggleShow">Toggle Show</button><functional-comp :is="show ? 'comp-a' : 'comp-b'" /></div>
</template>
<script>
import CompA from './CompA.vue'
import CompB from './CompB.vue'
const FunctionalComp = {functional: true,render(h, { props }) {return h(props.is)}
}
export default {components: {CompA,CompB,FunctionalComp},data() {return {show: true}},methods: {toggleShow() {this.show = !this.show}}
}
</script>
在上述代码中,我们定义了一个函数式组件 FunctionalComp,它根据传入的 is 属性渲染不同的组件。通过点击按钮,我们可以动态切换 FunctionalComp 中渲染的组件。相比于使用普通组件,使用函数式组件可以减少组件的创建和销毁次数,提升渲染性能。
2.3 表单控件
在表单控件中,使用函数式组件可以避免因组件状态变化而导致的重新渲染,提升性能。
下面是一个使用函数式组件实现表单控件的示例:
<template><div><label>输入框:</label><functional-input :value="value" @input="handleChange" /><div>输入的内容是:{{ value }}</div></div>
</template>
<script>
const FunctionalInput = {functional: true,render(h, { props, listeners }) {return h('input', {attrs: { type: 'text' },domProps: { value: props.value },on: {input: listeners.input}})}
}
export default {components: {FunctionalInput},data() {return {value: ''}},methods: {handleChange(e) {this.value = e.target.value}}
}
</script>
在上述代码中,我们定义了一个函数式组件 FunctionalInput,它接收 value、onUpdate:modelValue、placeholder、disabled 和 type 五个 props,其中 value 和 onUpdate:modelValue 用于实现 v-model 功能,placeholder 用于设置输入框的占位符,disabled 用于控制输入框是否可用,type 用于设置输入框的类型。在组件的 template 中,我们使用 h 函数创建一个 input 元素,并设置其相关属性和事件监听器,最后将其返回。由于这是一个函数式组件,它不会有自己的实例,也不会有响应式的数据,所以我们需要通过 props 将需要的数据传入组件,也需要使用 emit 函数将事件传递给父组件,实现双向绑定的效果。
2.4 路由导航
函数式组件在路由导航中也有着广泛的应用,特别是在需要在页面中嵌入动态路由参数的情况下。以 Vue Router 为例,我们可以在函数式组件中使用 props 属性来获取动态路由参数,进而实现页面的动态渲染。
首先,我们需要在路由配置中定义动态路由参数:
{path: '/user/:id',component: User,props: true
}
在上面的例子中,我们定义了一个名为 id 的动态路由参数,该参数将传递给 User 组件。
接下来,在 User 组件中,我们可以使用函数式组件来获取并渲染动态路由参数:
<template functional><div><h1>User {{ props.route.params.id }}</h1><p>This is the user page.</p></div>
</template>
在上面的例子中,我们使用了 props.route.params 来获取动态路由参数,并将其渲染到页面中。
三、Vue3 函数式组件的高级应用

3.1 Scoped Slots
Vue3中函数式组件也支持Scoped Slots,它允许父组件将作用域插槽传递给函数式组件,从而可以将数据或方法传递给函数式组件。
首先,让我们定义一个接受Scoped Slots的函数式组件:
const FunctionalComponentWithScopedSlots = {functional: true,render(_, { slots }) {return slots.default({msg: 'Hello from scoped slot!'})}
}
在这个例子中,我们定义了一个函数式组件FunctionalComponentWithScopedSlots,它接受一个默认插槽,将一个对象{msg: 'Hello from scoped slot!'}传递给它,并通过slots.default将这个对象传递给子组件的插槽。
现在,让我们在父组件中使用这个函数式组件:
<template><functional-component-with-scoped-slots v-slot="{ msg }"><div>{{ msg }}</div></functional-component-with-scoped-slots>
</template>
<script>
import FunctionalComponentWithScopedSlots from './FunctionalComponentWithScopedSlots.vue'
export default {components: {FunctionalComponentWithScopedSlots}
}
</script>
在这个例子中,我们使用了v-slot指令来绑定FunctionalComponentWithScopedSlots的Scoped Slots,将{msg: 'Hello from scoped slot!'}对象传递给插槽,并在插槽内部使用{{ msg }}来展示这个对象的msg属性。
3.2 组件缓存
Vue3 函数式组件的一个重要应用场景是组件缓存,即缓存组件的状态,以避免在组件被多次渲染时重复计算。
在 Vue2 中,我们可以使用 keep-alive 组件来实现组件缓存。但是在 Vue3 中,由于函数式组件的特殊性,我们需要使用另一种方式来实现组件缓存。
Vue3 提供了一个 cache 属性来实现组件缓存。我们可以在渲染函数中通过 cache 属性将组件状态缓存起来,并在下一次渲染时直接使用缓存的状态。
下面是一个使用函数式组件和组件缓存的示例代码:
<template><div><button @click="show = !show">Toggle Show</button><hr><component :is="myComponent" v-if="show"></component></div>
</template>
<script>
import { ref, computed, h } from 'vue';
// 定义一个组件缓存
const cache = new Map();
export default {setup() {const show = ref(true);// 定义一个计算属性,根据 show 的值返回相应的组件const myComponent = computed(() => {return show.value ? cachedComponent() : null;});
// 定义一个函数式组件const FunctionalComponent = (props, { slots }) => {return h('div', {}, slots.default());};
// 将函数式组件进行缓存const cachedComponent = () => {if (!cache.has(FunctionalComponent)) {cache.set(FunctionalComponent, h(FunctionalComponent));}return cache.get(FunctionalComponent);};
return {show,myComponent};}
};
</script>
在这个示例代码中,我们首先定义了一个 cache 对象来缓存组件状态。然后,我们定义了一个函数式组件 FunctionalComponent,并使用 cache 对象将它进行了缓存。
在 setup() 函数中,我们定义了一个响应式变量 show,用来控制组件是否显示。我们通过计算属性 myComponent 根据 show 的值返回相应的组件。
最后,在模板中使用 component 元素来动态渲染组件,并使用 v-if 指令来控制组件的显示。
这个示例代码中的函数式组件很简单,只是将插槽内容包装在一个 div 元素中,但是你可以在实际应用中使用更复杂的函数式组件来实现组件缓存。
3.3 嵌套组件
在 Vue3 中,函数式组件可以像普通组件一样嵌套使用。嵌套使用函数式组件可以更好地组织代码,使得组件结构更加清晰,易于维护。
嵌套函数式组件的语法与普通组件相同。例如,我们可以定义一个包含两个函数式组件的父组件:
<template functional><div><Child1 /><Child2 /></div>
</template>
<script>
import Child1 from './Child1.vue'
import Child2 from './Child2.vue'
export default {components: {Child1,Child2}
}
</script>
在这个例子中,我们定义了一个包含两个函数式组件 Child1 和 Child2 的父组件。在父组件中,我们直接使用了 Child1 和 Child2,就像普通组件一样。
注意,这里的父组件也是一个函数式组件,并且需要将 Child1 和 Child2 组件通过 components 选项进行注册。
3.4 Vue3 函数式组件的高级应用 动态组件
<template><div><button @click="toggleComponent">Toggle Component</button><hr><component :is="currentComponent"></component></div>
</template>
<script>
import { ref, computed, h } from 'vue';
// 定义一个组件缓存
const cache = new Map();
export default {setup() {const currentComponentIndex = ref(0);
// 定义一个计算属性,根据 currentComponentIndex 的值返回相应的组件const currentComponent = computed(() => {const components = [FunctionalComponent1, FunctionalComponent2];return components[currentComponentIndex.value]();});
// 定义两个函数式组件const FunctionalComponent1 = () => {return h('div', {}, 'This is component 1');};
const FunctionalComponent2 = () => {return h('div', {}, 'This is component 2');};
// 将函数式组件进行缓存const cachedComponent = (component) => {if (!cache.has(component)) {cache.set(component, h(component));}return cache.get(component);};
// 切换组件const toggleComponent = () => {currentComponentIndex.value = currentComponentIndex.value === 0 ? 1 : 0;};
return {currentComponent,toggleComponent};}
};
</script>
在这个示例中,我们通过 currentComponentIndex 状态来切换两个函数式组件 FunctionalComponent1 和 FunctionalComponent2,并将它们缓存起来,避免多次创建和销毁组件实例。然后在模板中使用动态组件来渲染当前的组件。
四、Vue3 函数式组件的注意事项和常见问题
4.1 子组件如何更新父组件的状态
在普通的组件中,我们可以通过 $emit 方法向父组件派发事件来更新父组件的状态。但是在函数式组件中,由于没有实例对象,无法使用 $emit 方法,那么该如何更新父组件的状态呢?
这时可以利用函数式组件的 props 特性来解决。可以通过给函数式组件传递一个回调函数,在函数式组件内部调用该回调函数来更新父组件的状态。
例如,下面的代码演示了如何在函数式组件中通过传递回调函数来更新父组件的状态:
<!-- 父组件 -->
<template><div><h2>父组件</h2><my-functional-component :count="count" @update-count="updateCount" /><p>count: {{ count }}</p></div>
</template>
<script>
import { defineComponent, ref } from 'vue'
import MyFunctionalComponent from './MyFunctionalComponent.vue'
export default defineComponent({components: {MyFunctionalComponent,},setup() {const count = ref(0)
const updateCount = (value) => {count.value += value}
return {count,updateCount,}},
})
</script>
<!-- 函数式组件 MyFunctionalComponent.vue -->
<template functional><div><h3>函数式组件</h3><button @click="updateCount(1)">增加</button><button @click="updateCount(-1)">减少</button></div>
</template>
<script>
export default {props: {count: {type: Number,required: true,},updateCount: {type: Function,required: true,},},
}
</script>
在父组件中,通过 :count="count" 将父组件的 count 变量传递给函数式组件,同时通过 @update-count="updateCount" 将父组件的 updateCount 方法传递给函数式组件。
在函数式组件中,通过 props.count 获取父组件传递的 count 变量,通过 props.updateCount 获取父组件传递的 updateCount 方法,并在点击按钮时调用该方法来更新父组件的 count 变量。
4.2 函数式组件中如何使用this
在 Vue3 的函数式组件中,不能像普通组件那样使用 this 来访问组件实例。因为函数式组件本质上是一个纯函数,不会有组件实例的概念。
但是,Vue3 提供了 getCurrentInstance API,可以在函数式组件内获取到当前组件实例。通过 getCurrentInstance().proxy 可以获取到当前组件实例的代理对象,进而访问组件实例的属性和方法。
以下是一个示例:
<template functional><div><p>当前计数:{{ getCurrentInstance().proxy.count }}</p><button @click="getCurrentInstance().proxy.increment">增加</button></div>
</template>
<script>
import { getCurrentInstance } from 'vue'
export default {data() {return {count: 0}},methods: {increment() {this.count++}}
}
</script>
4.3 函数式组件中的v-model
在 Vue3 的函数式组件中,可以使用 v-bind 和 v-on 指令来实现 v-model 的功能。具体来说,使用 v-bind:modelValue 绑定组件的值,使用 v-on:update:modelValue 监听组件的值变化。注意,这里的 modelValue 是自定义的属性名,可以根据实际情况进行命名。
以下是一个示例:
<template functional><div><input :value="props.modelValue" @input="(event) => { props['onUpdate:modelValue'](event.target.value) }"></div>
</template>
<script>
export default {props: {modelValue: {type: String,default: ''},onUpdate: {type: Function,default: () => {}}}
}
</script>
```
