目录
- 前置准备工作(所有机器)
- 主机规划
- 数据库规划
- 用户规划
- 目录规划
- 配置/etc/hosts
- jdk安装
- 进程树分析
- 配置ssh免密
- 部署zookeeper
- 启动zookeeper
- 下载DolphinScheduler 二进制包
- 修改install_env.sh配置
- 修改dolphinscheduler_env.sh配置文件
- 安装(ty-m1)
- 安装pg15
- 配置dp数据库
- 初始化元数据
- 安装dolphinscheduler-ui
- 启停服务
- 登录
- 参考
前置准备工作(所有机器)
主机规划
| 主机名 | 主机ip | 角色 | 服务(端口) |
|---|---|---|---|
| ty-m1 | 10.0.1.102 | master | MasterServer(5678),pg15(5432) |
| ty-m2 | 10.0.0.232 | worker | WorkerServer(1234),alertServer |
| ty-m3 | 10.0.1.203 | worker | WorkerServer(1234),apiServers(12345) |
数据库规划
| 属性 | 值 |
|---|---|
| 主机名 | ty-m1 |
| 主机ip | 10.0.1.102 |
| 数据库版本 | pg15 |
| ${PGDATABASE} | dp |
| ${PGUSER} | dp |
| ${PGPORT} | 5432 |
| ${PGDATA} | /data/pgsql/data |
| ${PGHOME} | /usr/local/pgsql |
用户规划
| 用户名 | 权限 |
|---|---|
| dp | 具有sudo免密权限 |
# 添加用户dp
useradd dp
# 为用户dp设置密码
passwd dp
# sudo免密
sed -i '$adp  ALL=(ALL)  NOPASSWD: NOPASSWD: ALL' /etc/sudoers
sed -i 's/Defaults    requirett/#Defaults    requirett/g' /etc/sudoers
注意:
- 因为任务执行服务是以 sudo -u {linux-user} 切换不同 linux 用户的方式来实现多租户运行作业,所以部署用户需要有 sudo 权限,而且是免密的。初学习者不理解的话,完全可以暂时忽略这一点
- 如果发现 /etc/sudoers 文件中有 “Defaults requirett” 这行,也请注释掉
目录规划
| 目录 | 用途 | 归属 |
|---|---|---|
| /usr/local/jdk-20 | jdk安装目录 | root |
| /usr/local/zookeeper | zookeeper安装目录 | root |
| /data/zookeeper/data | zookeeper数据目录 | root |
| /usr/local/dolphinscheduler-app | 海豚调度UI安装目录 | dp |
| /usr/local/dolphinscheduler | 海豚调度二进制目录 | dp |
mkdir -p /data/zookeeper/data
mkdir -p /usr/local/dolphinscheduler-app
chown -R dp.dp /usr/local/dolphinscheduler-app
配置/etc/hosts
echo '
10.0.1.102 ty-m1
10.0.0.232 ty-m2
10.0.1.203 ty-m3' >> /etc/hosts
jdk安装
# 我们把下载的东西全放在 /opt 下
# 下载jdk20
cd /opt && wget https://download.oracle.com/java/20/latest/jdk-20_linux-x64_bin.tar.gz
cd /usr/local/ && tar -zxvf /opt/jdk-20_linux-x64_bin.tar.gz
# 配置环境变量 JAVA_HOME 和 PATH
echo 'export JAVA_HOME=/usr/local/jdk-20
export PATH=$PATH:$JAVA_HOME/bin
' >> /etc/profile
# 使环境变量立即生效
source /etc/profile
进程树分析
- macOS安装pstree
- Fedora/Red/Hat/CentOS/Ubuntu/Debian安装psmisc
- DolphinScheduler 本身不依赖 Hadoop、Hive、Spark,但如果你运行的任务需要依赖他们,就需要有对应的环境支持
yum -y install psmisc
配置ssh免密
# 切换到dp用户
su - dp
# 生成公钥
ssh-keygen -t rsa -P '' -f ~/.ssh/id_rsa
# 将公钥分发到所有机器上
ssh-copy-id -i ~/.ssh/id_rsa.pub -p 22 dp@ty-m1
ssh-copy-id -i ~/.ssh/id_rsa.pub -p 22 dp@ty-m2
ssh-copy-id -i ~/.ssh/id_rsa.pub -p 22 dp@ty-m3
chmod 600 ~/.ssh/authorized_keys# 测试
ssh localhost
ssh ty-m1
ssh ty-m2
ssh ty-m3
部署zookeeper
# 切回root
exitcd /opt && wget https://dlcdn.apache.org/zookeeper/zookeeper-3.7.1/apache-zookeeper-3.7.1-bin.tar.gz --no-check-certificate
cd /usr/local/ && tar -zxvf /opt/apache-zookeeper-3.7.1-bin.tar.gz && mv /usr/local/apache-zookeeper-3.7.1-bin /usr/local/zookeeper
echo '
# The number of milliseconds of each tick
tickTime=2000
# The number of ticks that the initial
# synchronization phase can take
initLimit=10
# The number of ticks that can pass between
# sending a request and getting an acknowledgement
syncLimit=5
# the directory where the snapshot is stored.
# do not use /tmp for storage, /tmp here is just
# example sakes.
dataDir=/data/zookeeper/data
# the port at which the clients will connect
clientPort=12181
# the maximum number of client connections.
# increase this if you need to handle more clients
#maxClientCnxns=60
#
# Be sure to read the maintenance section of the
# administrator guide before turning on autopurge.
#
# http://zookeeper.apache.org/doc/current/zookeeperAdmin.html#sc_maintenance
#
# The number of snapshots to retain in dataDir
#autopurge.snapRetainCount=3
# Purge task interval in hours
# Set to "0" to disable auto purge feature
#autopurge.purgeInterval=1## Metrics Providers
#
# https://prometheus.io Metrics Exporter
#metricsProvider.className=org.apache.zookeeper.metrics.prometheus.PrometheusMetricsProvider
#metricsProvider.httpPort=7000
#metricsProvider.exportJvmInfo=trueserver.1=ty-m1:12888:13888
server.2=ty-m2:14888:15888
server.3=ty-m3:16888:17888' > /usr/local/zookeeper/conf/zoo.cfg
# server.1=ty-m1:12888:13888
# server.2=ty-m2:14888:15888
# server.3=ty-m3:16888:17888
# 1 2 3 分别写进对应机器的zookeeper数据目录的myid文件中
# ty-m1
echo '1' > /data/zookeeper/data/myid
# ty-m2
echo '2' > /data/zookeeper/data/myid
# ty-m3
echo '3' > /data/zookeeper/data/myid
启动zookeeper
# 启动
/usr/local/zookeeper/bin/zkServer.sh start
# 查看状态
/usr/local/zookeeper/bin/zkServer.sh status
下载DolphinScheduler 二进制包
cd /opt && wget https://archive.apache.org/dist/dolphinscheduler/3.1.5/apache-dolphinscheduler-3.1.5-bin.tar.gz
cd /usr/local/ && tar -zxvf /opt/apache-dolphinscheduler-3.1.5-bin.tar.gz && mv /usr/local/apache-dolphinscheduler-3.1.5-bin /usr/local/dolphinscheduler
# 修改权限
chown -R dp:dp /usr/local/dolphinscheduler
修改install_env.sh配置
echo '#
# Licensed to the Apache Software Foundation (ASF) under one or more
# contributor license agreements.  See the NOTICE file distributed with
# this work for additional information regarding copyright ownership.
# The ASF licenses this file to You under the Apache License, Version 2.0
# (the "License"); you may not use this file except in compliance with
# the License.  You may obtain a copy of the License at
#
#     http://www.apache.org/licenses/LICENSE-2.0
#
# Unless required by applicable law or agreed to in writing, software
# distributed under the License is distributed on an "AS IS" BASIS,
# WITHOUT WARRANTIES OR CONDITIONS OF ANY KIND, either express or implied.
# See the License for the specific language governing permissions and
# limitations under the License.
## ---------------------------------------------------------
# INSTALL MACHINE
# ---------------------------------------------------------
# A comma separated list of machine hostname or IP would be installed DolphinScheduler,
# including master, worker, api, alert. If you want to deploy in pseudo-distributed
# mode, just write a pseudo-distributed hostname
# Example for hostnames: ips="ds1,ds2,ds3,ds4,ds5", Example for IPs: ips="192.168.8.1,192.168.8.2,192.168.8.3,192.168.8.4,192.168.8.5"
ips=${ips:-"ty-m1,ty-m2,ty-m3"}# Port of SSH protocol, default value is 22. For now we only support same port in all `ips` machine
# modify it if you use different ssh port
sshPort=${sshPort:-"22"}# A comma separated list of machine hostname or IP would be installed Master server, it
# must be a subset of configuration `ips`.
# Example for hostnames: masters="ds1,ds2", Example for IPs: masters="192.168.8.1,192.168.8.2"
masters=${masters:-"ty-m1"}# A comma separated list of machine <hostname>:<workerGroup> or <IP>:<workerGroup>.All hostname or IP must be a
# subset of configuration `ips`, And workerGroup have default value as `default`, but we recommend you declare behind the hosts
# Example for hostnames: workers="ds1:default,ds2:default,ds3:default", Example for IPs: workers="192.168.8.1:default,192.168.8.2:default,192.168.8.3:default"
workers=${workers:-"ty-m2:default,ty-m3:default"}# A comma separated list of machine hostname or IP would be installed Alert server, it
# must be a subset of configuration `ips`.
# Example for hostname: alertServer="ds3", Example for IP: alertServer="192.168.8.3"
alertServer=${alertServer:-"ty-m2"}# A comma separated list of machine hostname or IP would be installed API server, it
# must be a subset of configuration `ips`.
# Example for hostname: apiServers="ds1", Example for IP: apiServers="192.168.8.1"
apiServers=${apiServers:-"ty-m3"}# The directory to install DolphinScheduler for all machine we config above. It will automatically be created by `install.sh` script if not exists.
# Do not set this configuration same as the current path (pwd). Do not add quotes to it if you using related path.
installPath=${installPath:-"/usr/local/dolphinscheduler-app"}# The user to deploy DolphinScheduler for all machine we config above. For now user must create by yourself before running `install.sh`
# script. The user needs to have sudo privileges and permissions to operate hdfs. If hdfs is enabled than the root directory needs
# to be created by this user
deployUser=${deployUser:-"dp"}# The root of zookeeper, for now DolphinScheduler default registry server is zookeeper.
zkRoot=${zkRoot:-"/dp"}' > /usr/local/dolphinscheduler/bin/env/install_env.sh
修改dolphinscheduler_env.sh配置文件
echo '#
# Licensed to the Apache Software Foundation (ASF) under one or more
# contributor license agreements.  See the NOTICE file distributed with
# this work for additional information regarding copyright ownership.
# The ASF licenses this file to You under the Apache License, Version 2.0
# (the "License"); you may not use this file except in compliance with
# the License.  You may obtain a copy of the License at
#
#     http://www.apache.org/licenses/LICENSE-2.0
#
# Unless required by applicable law or agreed to in writing, software
# distributed under the License is distributed on an "AS IS" BASIS,
# WITHOUT WARRANTIES OR CONDITIONS OF ANY KIND, either express or implied.
# See the License for the specific language governing permissions and
# limitations under the License.
## JAVA_HOME, will use it to start DolphinScheduler server
export JAVA_HOME=${JAVA_HOME:-/usr/local/jdk-20}# Database related configuration, set database type, username and password
export DATABASE=${DATABASE:-postgresql}
export SPRING_PROFILES_ACTIVE=${DATABASE}
export SPRING_DATASOURCE_URL="jdbc:postgresql://10.0.1.102:5432/dp"
export SPRING_DATASOURCE_USERNAME="dp"
export SPRING_DATASOURCE_PASSWORD="000000"# DolphinScheduler server related configuration
export SPRING_CACHE_TYPE=${SPRING_CACHE_TYPE:-none}
export SPRING_JACKSON_TIME_ZONE=${SPRING_JACKSON_TIME_ZONE:-UTC}
export MASTER_FETCH_COMMAND_NUM=${MASTER_FETCH_COMMAND_NUM:-10}# Registry center configuration, determines the type and link of the registry center
export REGISTRY_TYPE=${REGISTRY_TYPE:-zookeeper}
export REGISTRY_ZOOKEEPER_CONNECT_STRING=${REGISTRY_ZOOKEEPER_CONNECT_STRING:-localhost:12181}# Tasks related configurations, need to change the coinfiguration if you use the related tasks.
export HADOOP_HOME=${HADOOP_HOME:-/usr/local/hadoop}
export HADOOP_CONF_DIR=${HADOOP_CONF_DIR:-/usr/locail/hadoop/etc/hadoop}
export SPARK_HOME1=${SPARK_HOME1:-/usr/local/spark1}
export SPARK_HOME2=${SPARK_HOME2:-/usr/local/spark2}
export PYTHON_HOME=${PYTHON_HOME:-/usr/local/python}
export HIVE_HOME=${HIVE_HOME:-/usr/local/hive}
export FLINK_HOME=${FLINK_HOME:-/usr/local/flink}
export DATAX_HOME=${DATAX_HOME:-/usr/local/datax}
export SEATUNNEL_HOME=${SEATUNNEL_HOME:-/opt/soft/seatunnel}
export CHUNJUN_HOME=${CHUNJUN_HOME:-/opt/soft/chunjun}export PATH=$HADOOP_HOME/bin:$SPARK_HOME1/bin:$SPARK_HOME2/bin:$PYTHON_HOME/bin:$JAVA_HOME/bin:$HIVE_HOME/bin:$FLINK_HOME/bin:$DATAX_HOME/bin:$SEATUNNEL_HOME/bin:$CHUNJUN_HOME/bin:$PATH'> /usr/local/dolphinscheduler/bin/env/dolphinscheduler_env.sh
安装(ty-m1)
安装pg15
Centos7.6安装postgresql15
配置dp数据库
Centos7.6安装postgresql15——建库
初始化元数据
su - dp
bash /usr/local/dolphinscheduler/tools/bin/upgrade-schema.sh
安装dolphinscheduler-ui
bash /usr/local/dolphinscheduler/bin/install.sh
启停服务
# 一键停止集群所有服务
bash /usr/local/dolphinscheduler/bin/stop-all.sh# 一键开启集群所有服务
bash /usr/local/dolphinscheduler/bin/start-all.sh# 启停 Master
bash /usr/local/dolphinscheduler/bin/dolphinscheduler-daemon.sh stop master-server
bash /usr/local/dolphinscheduler/bin/dolphinscheduler-daemon.sh start master-server# 启停 Worker
bash /usr/local/dolphinscheduler/bin/dolphinscheduler-daemon.sh start worker-server
bash /usr/local/dolphinscheduler/bin/dolphinscheduler-daemon.sh stop worker-server# 启停 Api
bash /usr/local/dolphinscheduler/bin/dolphinscheduler-daemon.sh start api-server
bash /usr/local/dolphinscheduler/bin/dolphinscheduler-daemon.sh stop api-server# 启停 Alert
bash /usr/local/dolphinscheduler/bin/dolphinscheduler-daemon.sh start alert-server
bash /usr/local/dolphinscheduler/bin/dolphinscheduler-daemon.sh stop alert-server
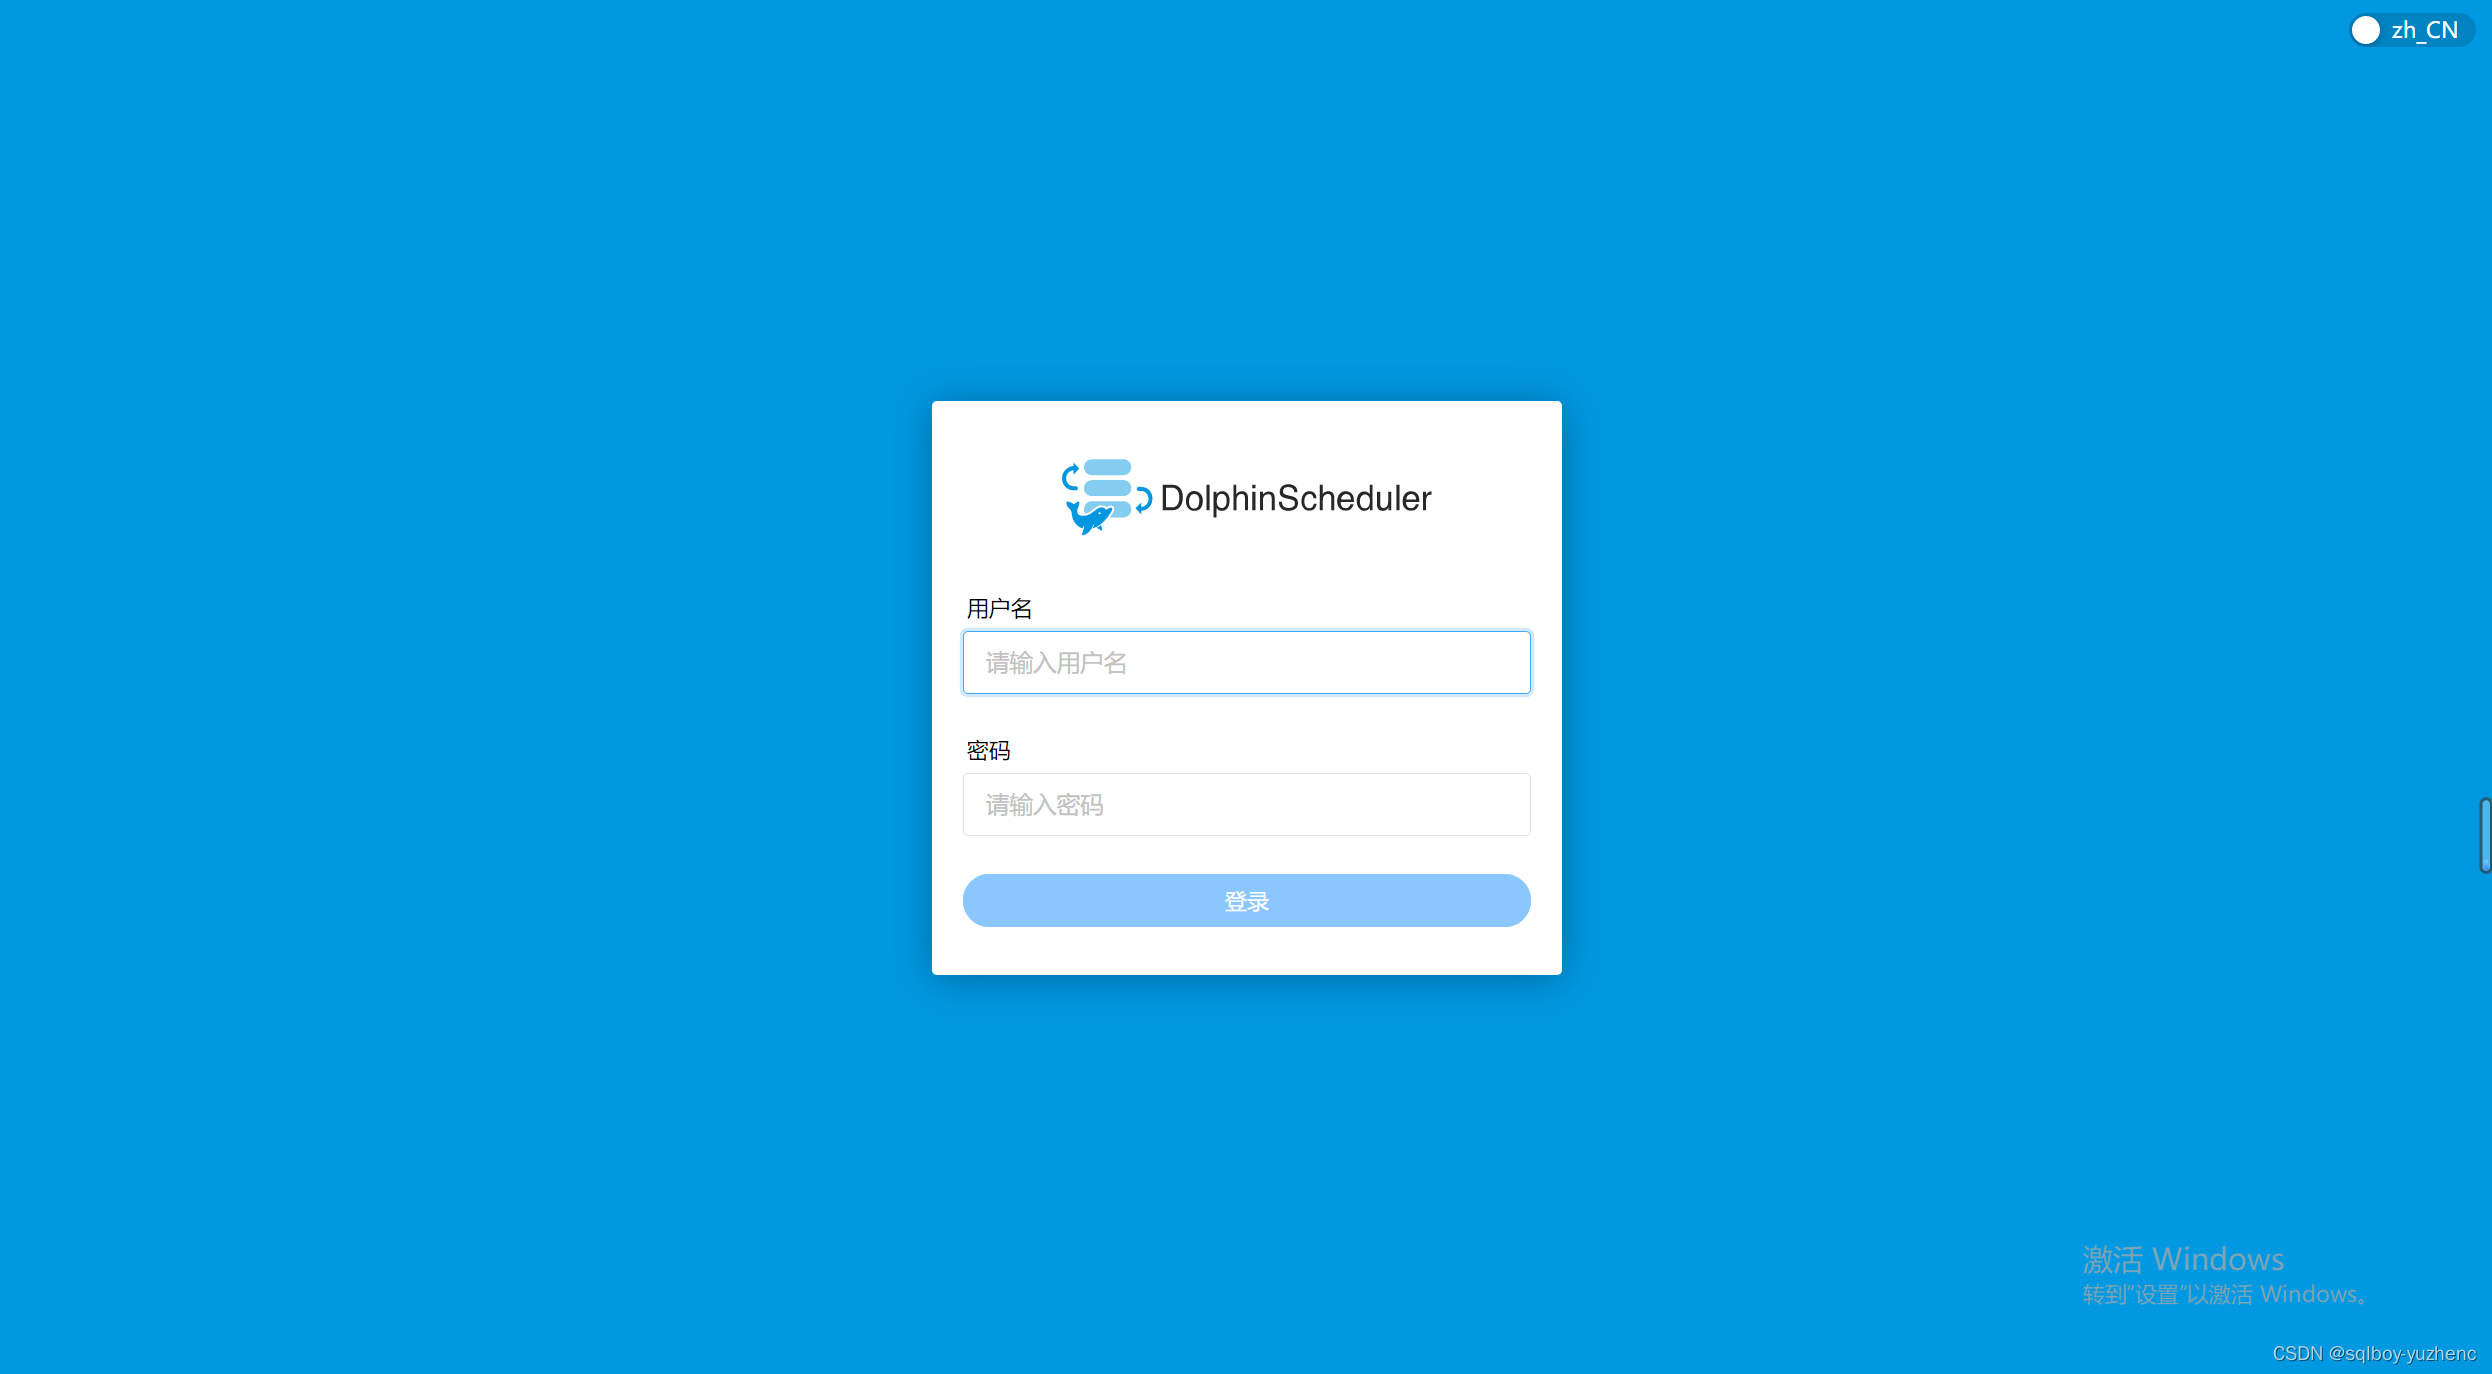
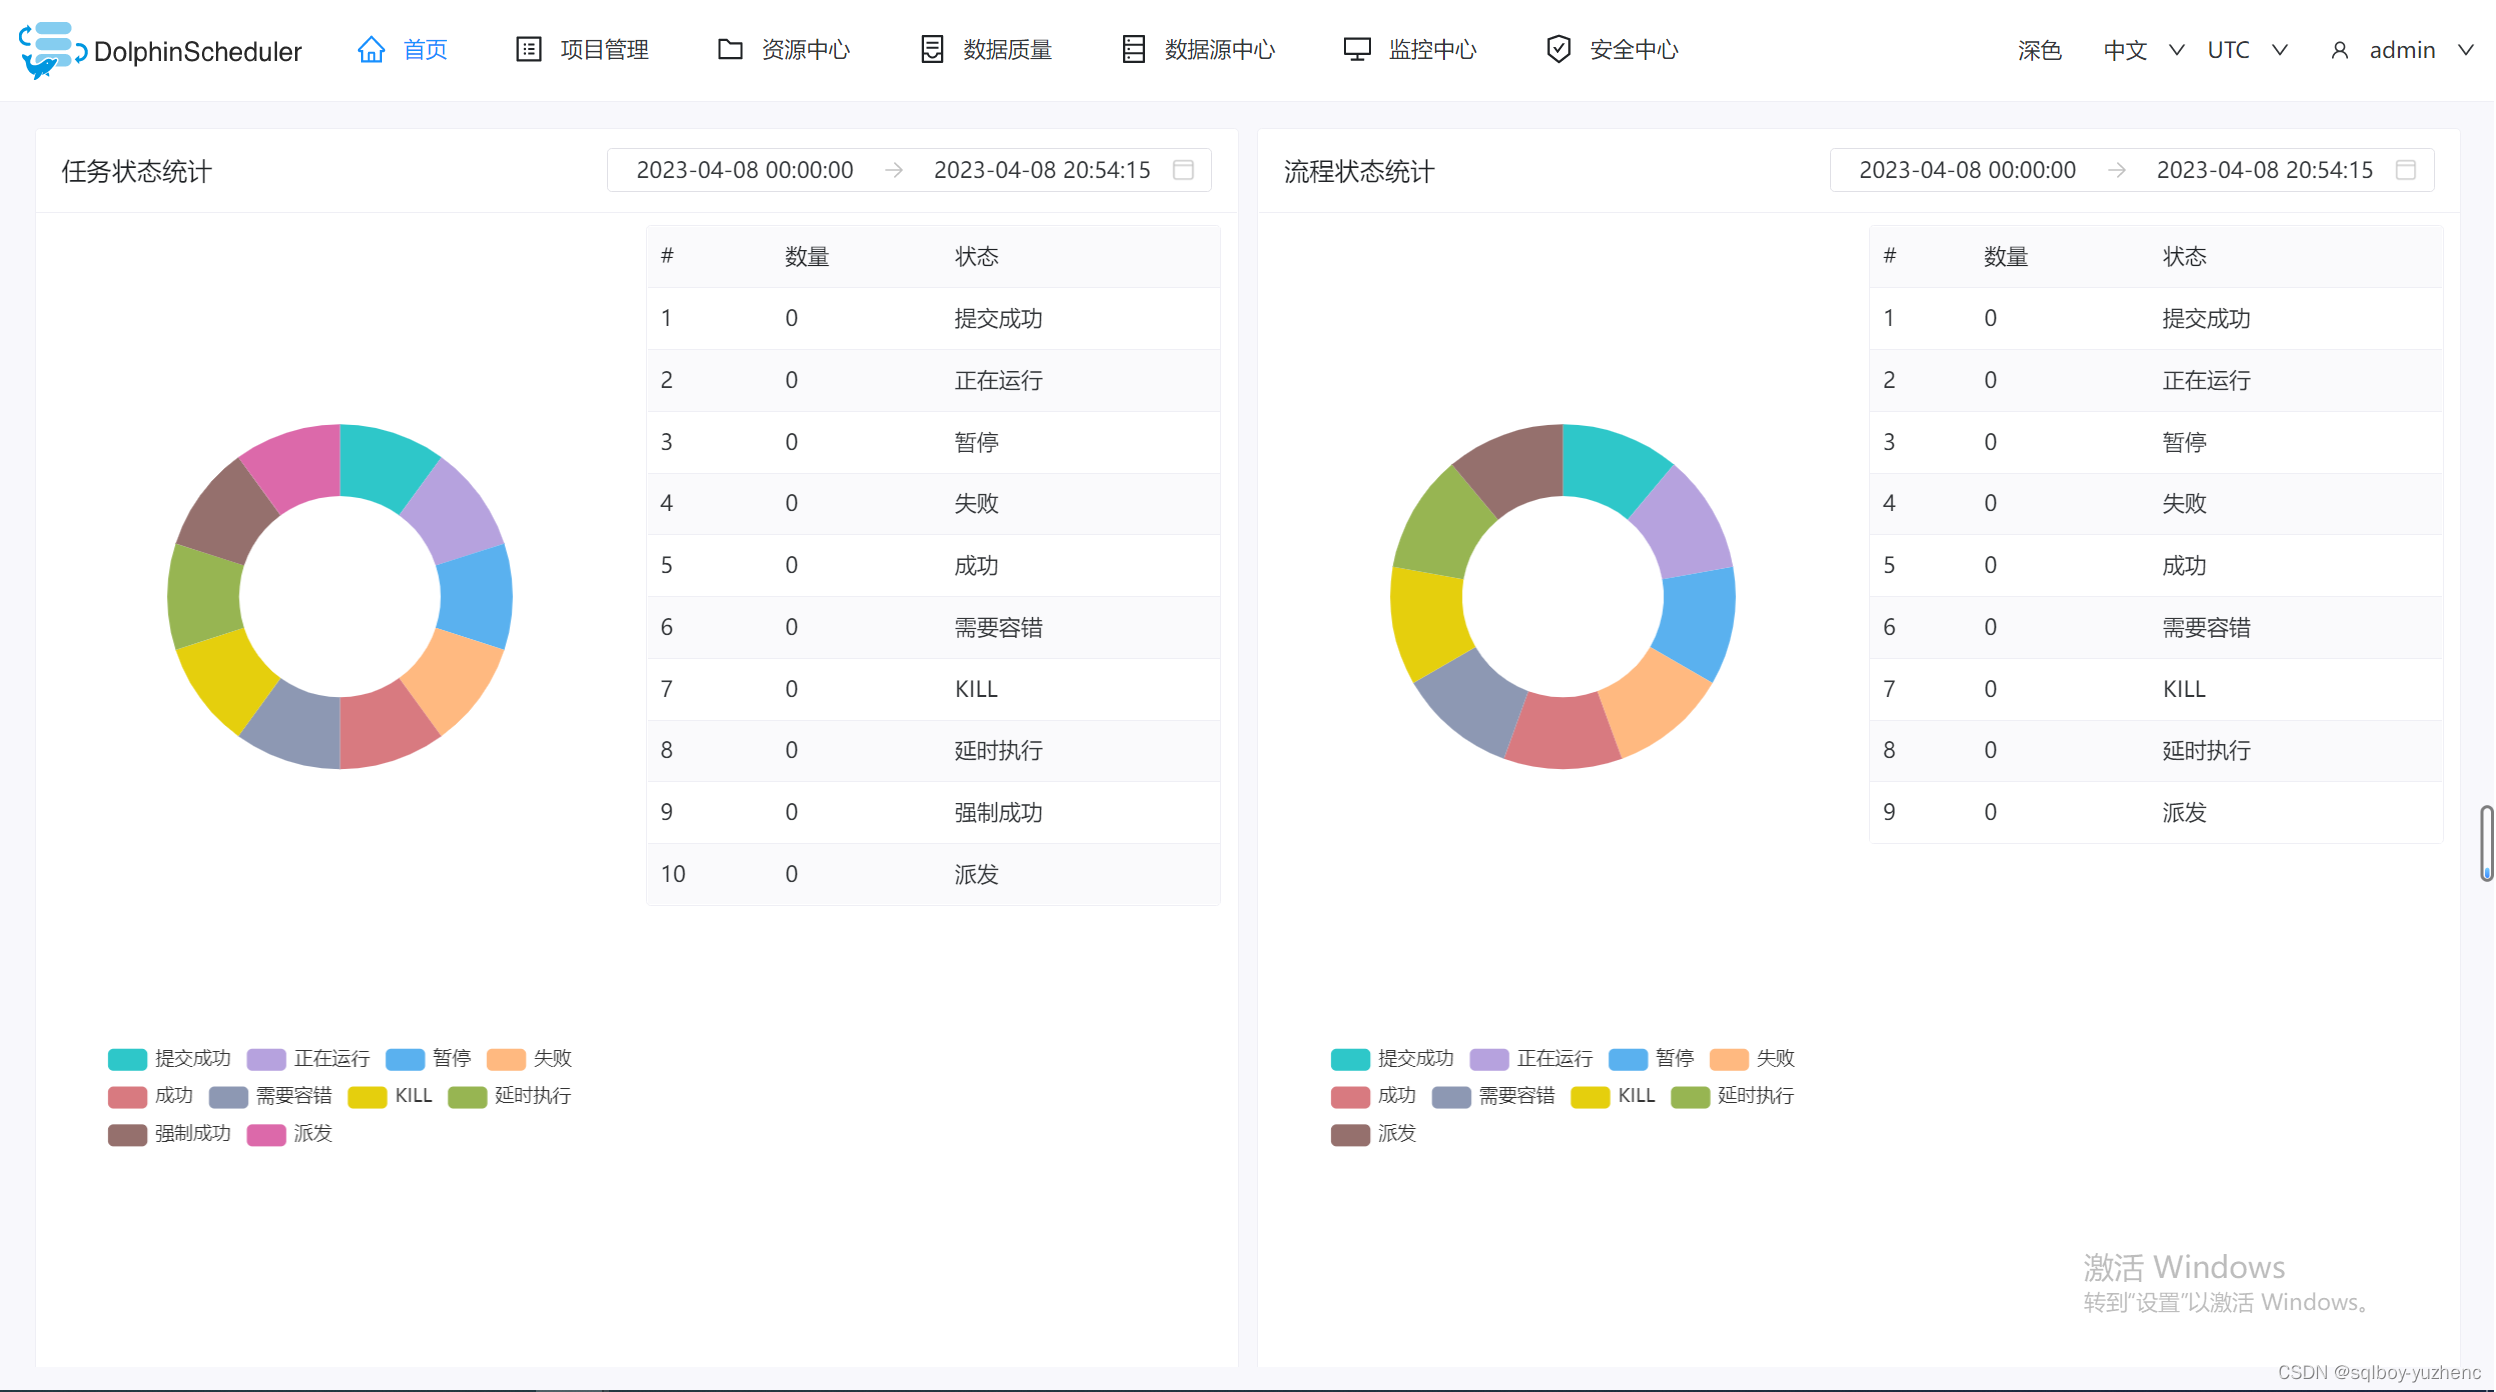
登录
http://223.242.38.242:12345/dolphinscheduler/ui/
- 初始账号密码:admin/dolphinscheduler123
参考
开源任务调度平台dolphinscheduler-3.1.3/3.1.4部署及使用指南(未完)
【ZooKeeper】ZooKeeper安装及简单操作
Version 3.1.5/部署指南/集群部署(Cluster)