1、安装迅雷
mkdir thunder
cd thunder
wget https://github.com/kuoruan/Xware/raw/master/1.0.31/Xware1.0.31_armel_v5te_glibc.zip
unzip Xware1.0.31_armel_v5te_glibc.zip
之后,进行初始化操作,命令行执行
sudo ./portal
可以得到类似下列的输出信息:
initing...
try stopping xunlei service first...
killall: ETMDaemon: no process killed
killall: EmbedThunderManager: no process killed
killall: vod_httpserver: no process killed
setting xunlei runtime env...
port: 9000 is usable.YOUR CONTROL PORT IS: 9000starting xunlei service...
etm path: /home/pi/thunder
execv: /home/pi/thunder/lib/ETMDaemon.getting xunlei service info...
Connecting to 127.0.0.1:9000 (127.0.0.1:9000)THE ACTIVE CODE IS: n***wgo to http://yuancheng.xunlei.com, bind your device with the active code.
finished.
记下倒数第四行中THE ACTIVE CODE IS:后的迅雷激活码
访问http://yuancheng.xunlei.com/login.html
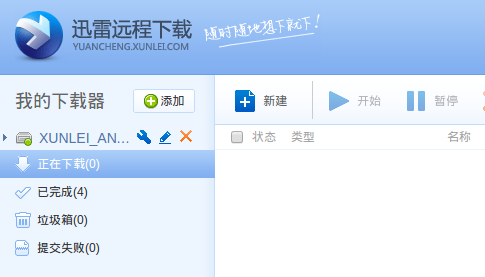
选择 我的下载器-添加-输入激活码 便可绑定设备。
绑定之后可以通过访问 http://localhost:9000/getsysinfo 来查看设备信息,其可以看到类似如下的信息:
[ 0, 1, 1, 1, "", 1, "2.215.3.310", "15*******86", 1, "6*******8", 0 ]
其中,
第一项:0表示返回结果成功
第二项:1表示网络正常,0表示网络异常
第四项:1表示设备已绑定,0表示设备未绑定
第五项:未绑定的情况下,为绑定的需要的激活码
第六项:1表示磁盘挂载成功,0表示磁盘挂载失败
第八项:绑定的迅雷账号
2、启动和停止迅雷
启动迅雷,命令行执行:
sudo /home/pi/thunder/portal
停止迅雷,命令行执行:
sudo /home/pi/thunder/portal -s
3、开机启动迅雷服务
sudo nano /etc/rc.local
/home/pi/thunder/portal


