一、前言
dai ga hou啊!我是 😘😘😘是江迪呀。我们在进行微信小程序开发时,常常需要自定义一些东西,比如自定义顶部导航、自定义底部导航等等。那么知道这些自定义内容的具体位置、以及如何适配不同的机型就变得尤为重要。下面让我以在iPhone机型,来给大家介绍下微信小程序如何获取自定义内容的位置信息。
二、开启自定义
如果需要自定义顶部和底部导航。那么如何在自定义后能够适配不同的机型而不会出现样式问题呢?我们可以通过wx.getSystemInfo({})方法来获取页面的信息来保证样式的正确性。此方法常用于app.js文件中的onLanch()方法中,保证这些信息优先被加载,并把获取到的页面信息放到全局变量中,方便其他页面的获取使用。
在此之前需要开启自定义顶部和底部导航栏。如下所示:
{"pages": ["pages/index/index","pages/index2/index2" ],//自定义顶部导航 "navigationStyle": "custom","window": {"navigationStyle": "custom","navigationBarTextStyle": "white","backgroundTextStyle": "light"},//自定义底部导航 "navigationStyle": "custom",这里注意在设置自定义底部导航栏时,list中至少包含两个页面"tabBar": {"custom": true,"list": [{"pagePath": "pages/index/index","text": "首页"},{"pagePath": "pages/index2/index2","text": "首页2"}]},"style": "v2","sitemapLocation": "sitemap.json"
}
2.1 整个页面
1.位置
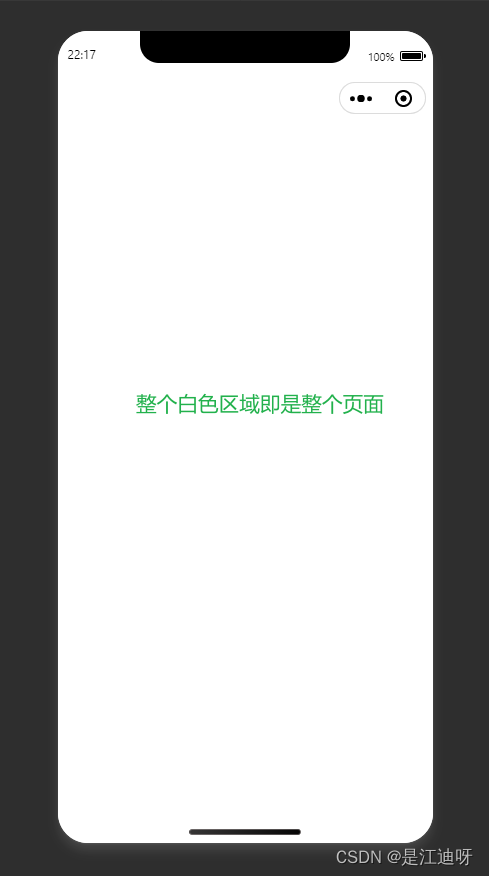
2.如何获取
页面代码:
<view style="height: {{screenHeight}}px;background-color: aliceblue;">
</view>
页面js代码:
const app = getApp()
Page({data: {screenHeight: app.globalData.screenHeight,}
})
app.js文件代码:
onLaunch: function() {wx.getSystemInfo({success: e => {//获取整个页面的高度this.globalData.screenHeight = e.screenHeight;}},)}
2.1 状态栏
1.位置
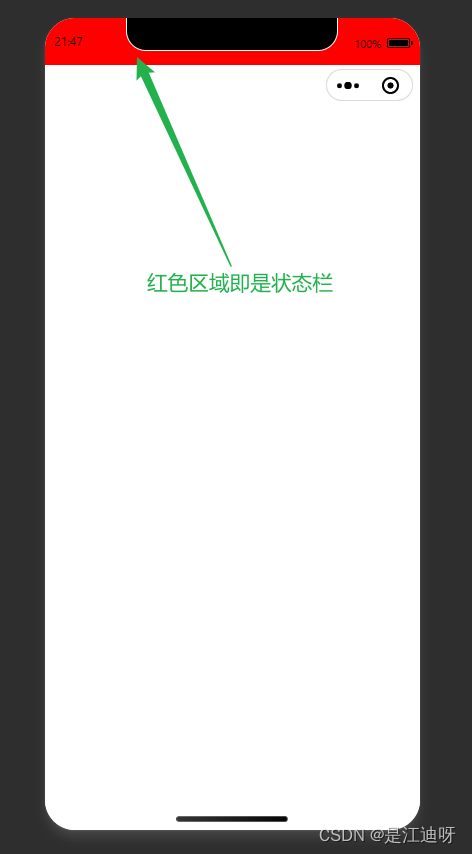
状态栏就是手机最顶部显示时间、信号、电量等信息的区域。一般状态栏的信息我们不单独获取设置,因为顶部导航栏包含了状态栏。
2.如何获取
页面代码:
<!--index.wxml-->
<view style="height: {{screenHeight}}px;background-color: aliceblue;"><!--状态栏高度--><view style="height: {{statusBarHeight}}px;background-color: red;"></view>
</view>
页面js代码:
// index.js
const app = getApp()
Page({data: {screenHeight: app.globalData.screenHeight,statusBarHeight: app.globalData.statusBarHeight}
})
app.js文件代码:
onLaunch: function() {wx.getSystemInfo({success: e => {this.globalData.screenHeight = e.screenHeight;//获取状态栏的高度this.globalData.StatusBar = e.statusBarHeight;}},)}
2.2 顶部导航栏
1.位置
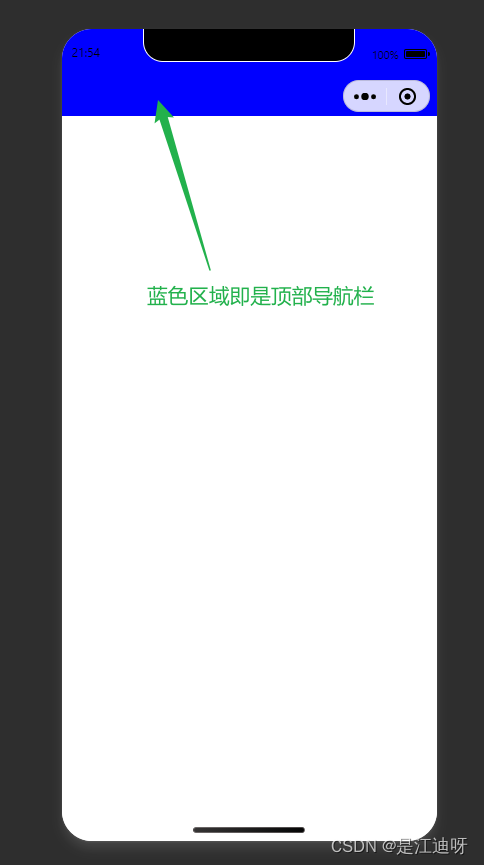
顶部导航栏的高度是包含胶囊体的。
2.如何获取
首先获取胶囊体的信息,如果不存在胶囊体,顶部导航栏高度 = 状态栏高度 + 50;如果存在顶部导航栏高度 = 胶囊体离页面顶部的距离 + 胶囊体离页面底部的距离 - 状态栏高度
页面代码:
<view style="height: {{screenHeight}}px;background-color: aliceblue;"><!--顶部导航高度--><view style="height: {{customBar}}px;background-color: blue;"></view>
</view>
页面js代码:
const app = getApp()
Page({data: {screenHeight: app.globalData.screenHeight,customBar: app.globalData.CustomBar}
})
app.js代码:
// app.js
App({globalData:{},onLaunch: function() {wx.getSystemInfo({success: e => {let capsule = wx.getMenuButtonBoundingClientRect();if (capsule) {this.globalData.Custom = capsule;this.globalData.CustomBar = capsule.bottom + capsule.top - e.statusBarHeight;} else {this.globalData.CustomBar = e.statusBarHeight + 50;}}},)}
})
2.4 内容区域
1.位置
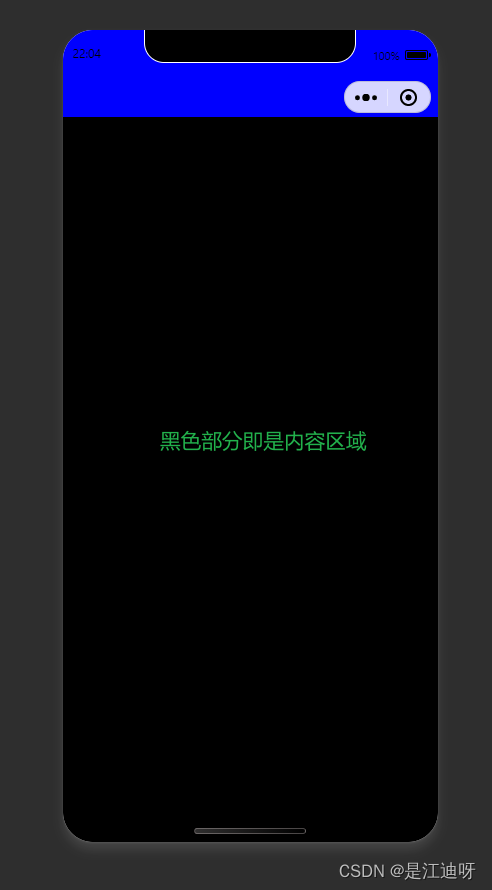
如果你做的小程序没有底部导航栏的话,那么内容区域 = 页面总高度 - 顶部导航栏高度
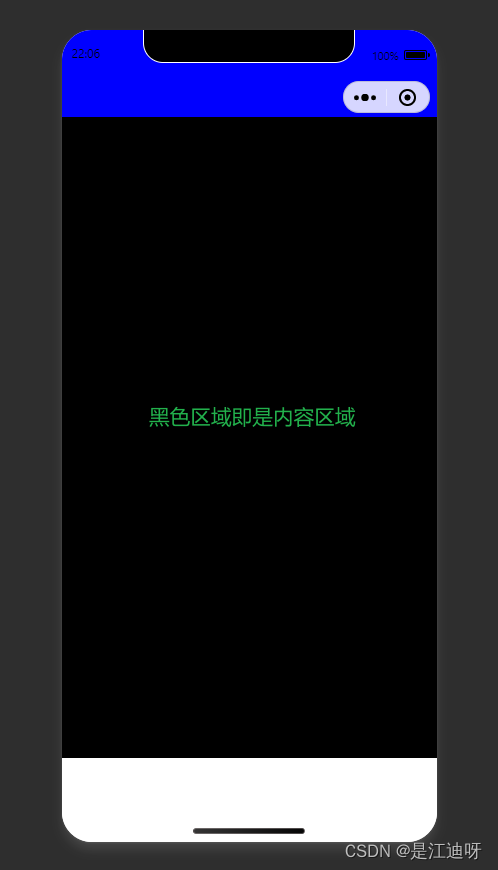
但是如果你需要底部导航的话那么内容区域 = 页面总高度 - 顶部导航栏高度 - 底部导航栏高度
2.如何获取
页面代码:
<view style="height:{{screenHeight}}px;width: 100%;background-color: rgb(255, 255, 255);"><!--顶部导航栏--><view class="" style="height: {{CustomBar}}px;background-color: blue;"></view><!--内容区域--><view class="" style="height: {{screenHeight - CustomBar}}px;background-color: black;"></view><!--内容区域 包含底部导航--><view class="" style="height: {{screenHeight - CustomBar - tabBarHeight}}px;background-color: black;"></view></view>
页面js代码:
const app = getApp()
Page({data: {screenHeight: app.globalData.screenHeight,CustomBar: app.globalData.CustomBar,tabBarHeight: app.globalData.tabBarHeight,}
})
app.js代码:
// app.js
App({globalData:{},onLaunch: function() {// 获取系统状态栏信息wx.getSystemInfo({success: e => {this.globalData.screenHeight = e.screenHeight;this.globalData.tabBarHeight = e.screenHeight - e.safeArea.bottom + 50let capsule = wx.getMenuButtonBoundingClientRect();if (capsule) {this.globalData.CustomBar = capsule.bottom + capsule.top - e.statusBarHeight;} else {this.globalData.CustomBar = e.statusBarHeight + 50;}}},)}
})
2.3 底部导航栏
1.位置
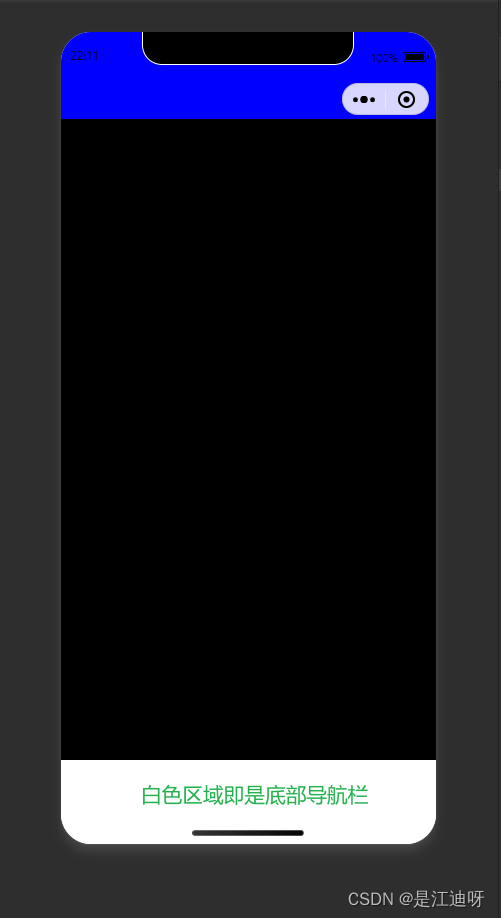
2.如何获取
页面代码:
<view style="height: {{screenHeight}}px;background-color: aliceblue;"><!--顶部导航高度--><view style="height: {{customBar}}px;background-color: blue;"></view><!--内容高度 包含底部导航--><view style="height: {{screenHeight - customBar - tabBar}}px;background-color: black;"></view><!--底部导航高度--><view style="height: {{tabBarHeight}}px;background-color: red;"></view>
</view>
页面js代码:
const app = getApp()
Page({data: {screenHeight: app.globalData.screenHeight,statusBarHeight: app.globalData.statusBarHeight,customBar: app.globalData.CustomBar,tabBar: app.globalData.tabBarHeight,tabBarHeight: app.globalData.tabBarHeight}
})
app.js代码:
onLaunch: function() {wx.getSystemInfo({success: e => {this.globalData.screenHeight = e.screenHeight;this.globalData.tabBarHeight = e.screenHeight-e.safeArea.bottom + 50let capsule = wx.getMenuButtonBoundingClientRect();if (capsule) {this.globalData.Custom = capsule;this.globalData.CustomBar = capsule.bottom + capsule.top - e.statusBarHeight;} else {this.globalData.CustomBar = e.statusBarHeight + 50;}}},)}
这个底部导航栏之所以+50,我是从小程序框架中获取的,可以直接拿来用。
三、胶囊体
3.1 什么是胶囊体?

我们再做自定义顶部导航时,在一些场景下需要在导航中设置返回按钮以及其他信息:

这些按钮和信息需要和胶囊体对齐才完美,所以我们需要获取到胶囊体的位置信息。
3.2 如何获取?
// app.js
App({globalData:{},onLaunch: function() {// 获取系统状态栏信息wx.getSystemInfo({success: e => {//胶囊体距离顶部距离this.globalData.capsuleTop =  wx.getMenuButtonBoundingClientRect().top;//胶囊体的高度this.globalData.capsuleHeight =  wx.getMenuButtonBoundingClientRect().height;//胶囊体的宽度this.globalData.capsuleWidth =  wx.getMenuButtonBoundingClientRect().width;}},wx.onKeyboardHeightChange((res) => {console.log('键盘高度111111:', res.height)wx.setStorageSync('keyBordHeight', res.height)}))}
})