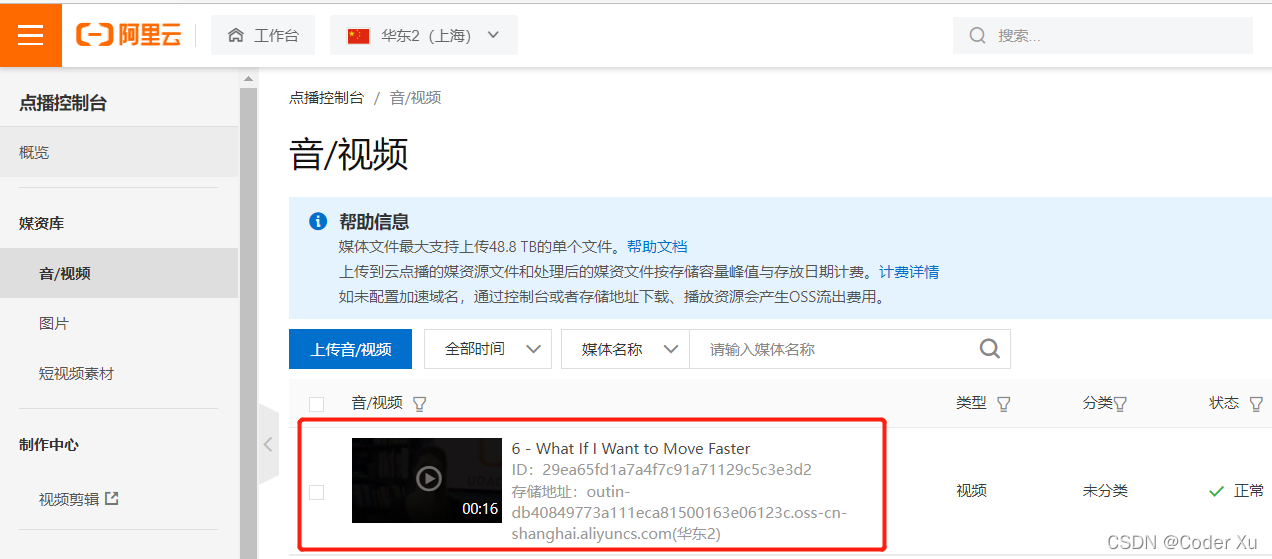
上传方法如下
在elementui自定义上传方法中必须写成promise的形式,其他的可以参考官网使用
async up ({ commit, state }, params) {let originDomain = nullreturn new Promise((resolve, reject) => {const tcVod = new TcVod({getSignature: getSignature // 前文中所述的获取上传签名的函数})const uploader = tcVod.upload({mediaFile: params.files[0] // 媒体文件(视频或音频或图片),类型为 File})uploader.on('media_progress', info => {// info.name = params.files[0].name// info.uid = params.files[0].uidparams.onprogress(info)})uploader.done().then(doneResult => {doneResult.video.url = doneResult.video.url.replace(originDomain, state.vodFileUrl)resolve(doneResult)}).catch(err => {reject(err)})})function getSignature () {return axios.post(state.upUrl).then(function (response) {originDomain = response.data.data.originDomainreturn response.data.data.sign})}},elementui自定义上传使用
<el-uploadref="upload"action=""list-type="picture-card":on-preview="handleView":on-progress="handleProgerss":on-remove="handleRemove"name="file":headers = "uploadHeaders"multipleshow-file-list:accept="'jpg,jpeg,png'"auto-upload:on-success="handleSuccess":on-exceed="handleExceed":before-upload="handleBeforeUpload":on-error="handleError":limit="limit":file-list="newFileList":http-request="uploadCos2"class="imageList"><i class="el-icon-plus"></i></el-upload>在方法中使用上传函数,注意回调函数onprogress的使用
async uploadCos2 (fileObj) {try{const result = await this.up({files: [fileObj.file], dirType: this.dirType, onprogress: (file)=>{const percent = file.percent?parseInt(file.percent*100):0fileObj.onProgress({ percent: percent })}})console.info(this.$refs.upload.uploadFiles)this.$refs.upload.uploadFiles.forEach(f=>{if(f.uid === fileObj.file.uid){f.url = result.video.url}})}catch(err){this.$message.error(`上传文件失败:${err}`)}},使用点播云超级播放器
如果只有一个视频,参考官网使用,如果有多个视频,需要切换路径,参考代码如下,采用动态创建标签的形式进行使用
在template里面创建一个标签
<div style="display: inline-block" class="my-play" id="MyPlay"></div>在方法中使用
 playVideo () {const self = thisconst playbox = document.getElementById('MyPlay')const video = document.createElement('video')video.className = 'playsinline webkit-playsinline'video.setAttribute('id', 'tcPlayerId' + self.activeId)playbox.appendChild(video)setTimeout(() => {self.$nextTick(() => {self.loading = false// eslint-disable-next-line no-undefself.player = TCPlayer('tcPlayerId' + this.activeId, self.optionsPlayer)console.log(self.player)self.player.play()})}, 200)}
// 切换视频changeVideo (item) {if (this.activeId === item._id) {return}this.loading = truethis.activeId = item._idthis.optionsPlayer.fileID = item.uidthis.optionsPlayer.poster = item.posterif (this.player) {this.player.dispose()}this.videoPlay = {url: item.url,name: item.name,poster: item.poster}this.playVideo()},
<template><div class=" bg-gray29" v-if="videoPlay.url"><div class="flex"><div class="flex-1"><div style="display: inline-block" class="my-play" id="MyPlay"><!-- <template><video :id="'tcPlayerId' + activeId" preload="auto" ></video></template>--></div><CommonVideo v-if="false" class="border-4 border-transparent border-b-0" :videourl="videoPlay.url" :poster="videoPlay.poster?videoPlay.poster:poster"></CommonVideo></div><div class="w-96 border-t-4 border-gray29 px-2 bg-black pt-10" style="padding-top: 26px;padding-bottom: 16px;"><div class="text-1.67rem text-white font-bold">视频列表</div><div class="overflow-y-auto ms-scroll" style="height: 33rem"><div class="flex cursor-pointer" @click="changeVideo(item)" :class="[activeId===item._id?'bg-gray29 text-color-primary':'']" v-for="item in videos" :key="item._id" style="height: 90px;padding: 10px 7px" ><img :src="item.poster?item.poster +'!13120.PNG':poster +'!13120.PNG'" style="width: 124px;height: 70px;border-width: 2px;" class="object-cover border-transparent flex-none" :class="activeId===item._id?'border-color-primary':''"/><div class="flex-auto text-white pl-1 flex items-center flex-col justify-between"><div :title="item.name" style="font-size: 14px;line-height: 16px;word-wrap: break-word;word-break: break-all;" class="line-two" :class="item.active?'text-color-primary':''">{{item.name}}</div><div>{{item.duration?$moment.utc(item.duration * 1000).format('HH:mm:ss'):''}}</div></div></div></div></div></div></div>
</template><script>
import CommonVideo from '@/components/CommonVideo'
import { mapState } from 'vuex'
export default {name: 'Video',props: ['videos', 'poster', 'videoinfo'],components: {CommonVideo},data () {return {loading: false,videoPlay: {url: '',name: '',poster: ''},activeId: null,optionsPlayer: {fileID: '', // 请传入需要播放的视频 filID(必须)appID: '', // 请传入点播账号的 appID(必须)poster: '',width: 852,height: 472,preload: 'auto',plugins: {ContinuePlay: { // 开启续播功能auto: true, // [可选] 是否在视频播放后自动续播text: '上次播放至 ', // [可选] 提示文案btnText: '恢复播放' // [可选] 按钮文案}}},player: null}},methods: {changeVideo (item) {if (this.activeId === item._id) {return}this.loading = truethis.activeId = item._idthis.optionsPlayer.fileID = item.uidthis.optionsPlayer.poster = item.posterif (this.player) {this.player.dispose()}this.videoPlay = {url: item.url,name: item.name,poster: item.poster}this.playVideo()},playVideo () {const self = thisconst playbox = document.getElementById('MyPlay')const video = document.createElement('video')video.className = 'playsinline webkit-playsinline'video.setAttribute('id', 'tcPlayerId' + self.activeId)playbox.appendChild(video)setTimeout(() => {self.$nextTick(() => {self.loading = false// eslint-disable-next-line no-undefself.player = TCPlayer('tcPlayerId' + this.activeId, self.optionsPlayer)console.log(self.player)self.player.play()})}, 200)}},computed: {...mapState(['cdnUrl','appid'])},created () {this.videoPlay = {url: this.videos[0].url,name: this.videos[0].name,poster: this.videos[0].poster}this.activeId = this.videos[0]._idthis.optionsPlayer.fileID = this.videos[0].uidthis.optionsPlayer.appID = this.$store.state.appidthis.optionsPlayer.poster = this.videos[0].poster},mounted () {this.playVideo()},beforeDestroy () {if (this.player) {this.player.dispose()}}
}
</script>
<style>
.my-play .tcp-skin .vjs-big-play-button {height: 4.8em !important;width: 6.8em !important;left: 50% !important;top: 50% !important;margin-left: -3.4em !important;margin-top: -2.4em !important;font-size: 1em !important;border: 0 !important;opacity: 1 !important;z-index: 1 !important;
}
</style>
<style scoped>
#tcPlayerId{
}
.ms-scroll::-webkit-scrollbar {width: 8px;
}
.ms-scroll::-webkit-scrollbar-track {background-color:transparent;-webkit-border-radius: 2em;-moz-border-radius: 2em;border-radius:2em;
}
.ms-scroll::-webkit-scrollbar-thumb {background: #5A5A5A;-webkit-border-radius: 2em;-moz-border-radius: 2em;border-radius:2em;
}
</style>


