KubeSphere All in one安装配置手册
1. 初始化
1.1 配置apt源
# vi /etc/apt/sources.list
deb https://mirrors.aliyun.com/ubuntu/ focal main restricted universe multiverse
deb-src https://mirrors.aliyun.com/ubuntu/ focal main restricted universe multiversedeb https://mirrors.aliyun.com/ubuntu/ focal-security main restricted universe multiverse
deb-src https://mirrors.aliyun.com/ubuntu/ focal-security main restricted universe multiversedeb https://mirrors.aliyun.com/ubuntu/ focal-updates main restricted universe multiverse
deb-src https://mirrors.aliyun.com/ubuntu/ focal-updates main restricted universe multiverse# deb https://mirrors.aliyun.com/ubuntu/ focal-proposed main restricted universe multiverse
# deb-src https://mirrors.aliyun.com/ubuntu/ focal-proposed main restricted universe multiversedeb https://mirrors.aliyun.com/ubuntu/ focal-backports main restricted universe multiverse
deb-src https://mirrors.aliyun.com/ubuntu/ focal-backports main restricted universe multiverse
更新源
# apt update
1.1 安装依赖包
openssl,curl,sudo,socat conntrack ebtables ipset
apt install socat conntrack ebtables ipset ipvsadm openssl curl sudo docker -y
2. 安装docker-ce
sudo apt-get install ca-certificates gnupg lsb-release -y
sudo mkdir -p /etc/apt/keyrings
curl -fsSL http://mirrors.aliyun.com/docker-ce/linux/ubuntu/gpg | sudo apt-key add -
sudo add-apt-repository "deb [arch=amd64] http://mirrors.aliyun.com/docker-ce/linux/ubuntu $(lsb_release -cs) stable"
apt-get update
apt-get install docker-ce docker-ce-cli containerd.io docker-compose-plugin -y
2.2 修改Cgroup
# mkdir /etc/docker
# cat /etc/docker/daemon.json
{"exec-opts": ["native.cgroupdirver=systemd"]
}
2.3 启动docker
systemctl enable docker
systemctl restart docker
3. 安装kubekey
3.1 下载kubekey
export KKZONE=cn
curl -sfL https://get-kk.kubesphere.io | sh -
3.2 初始化集群
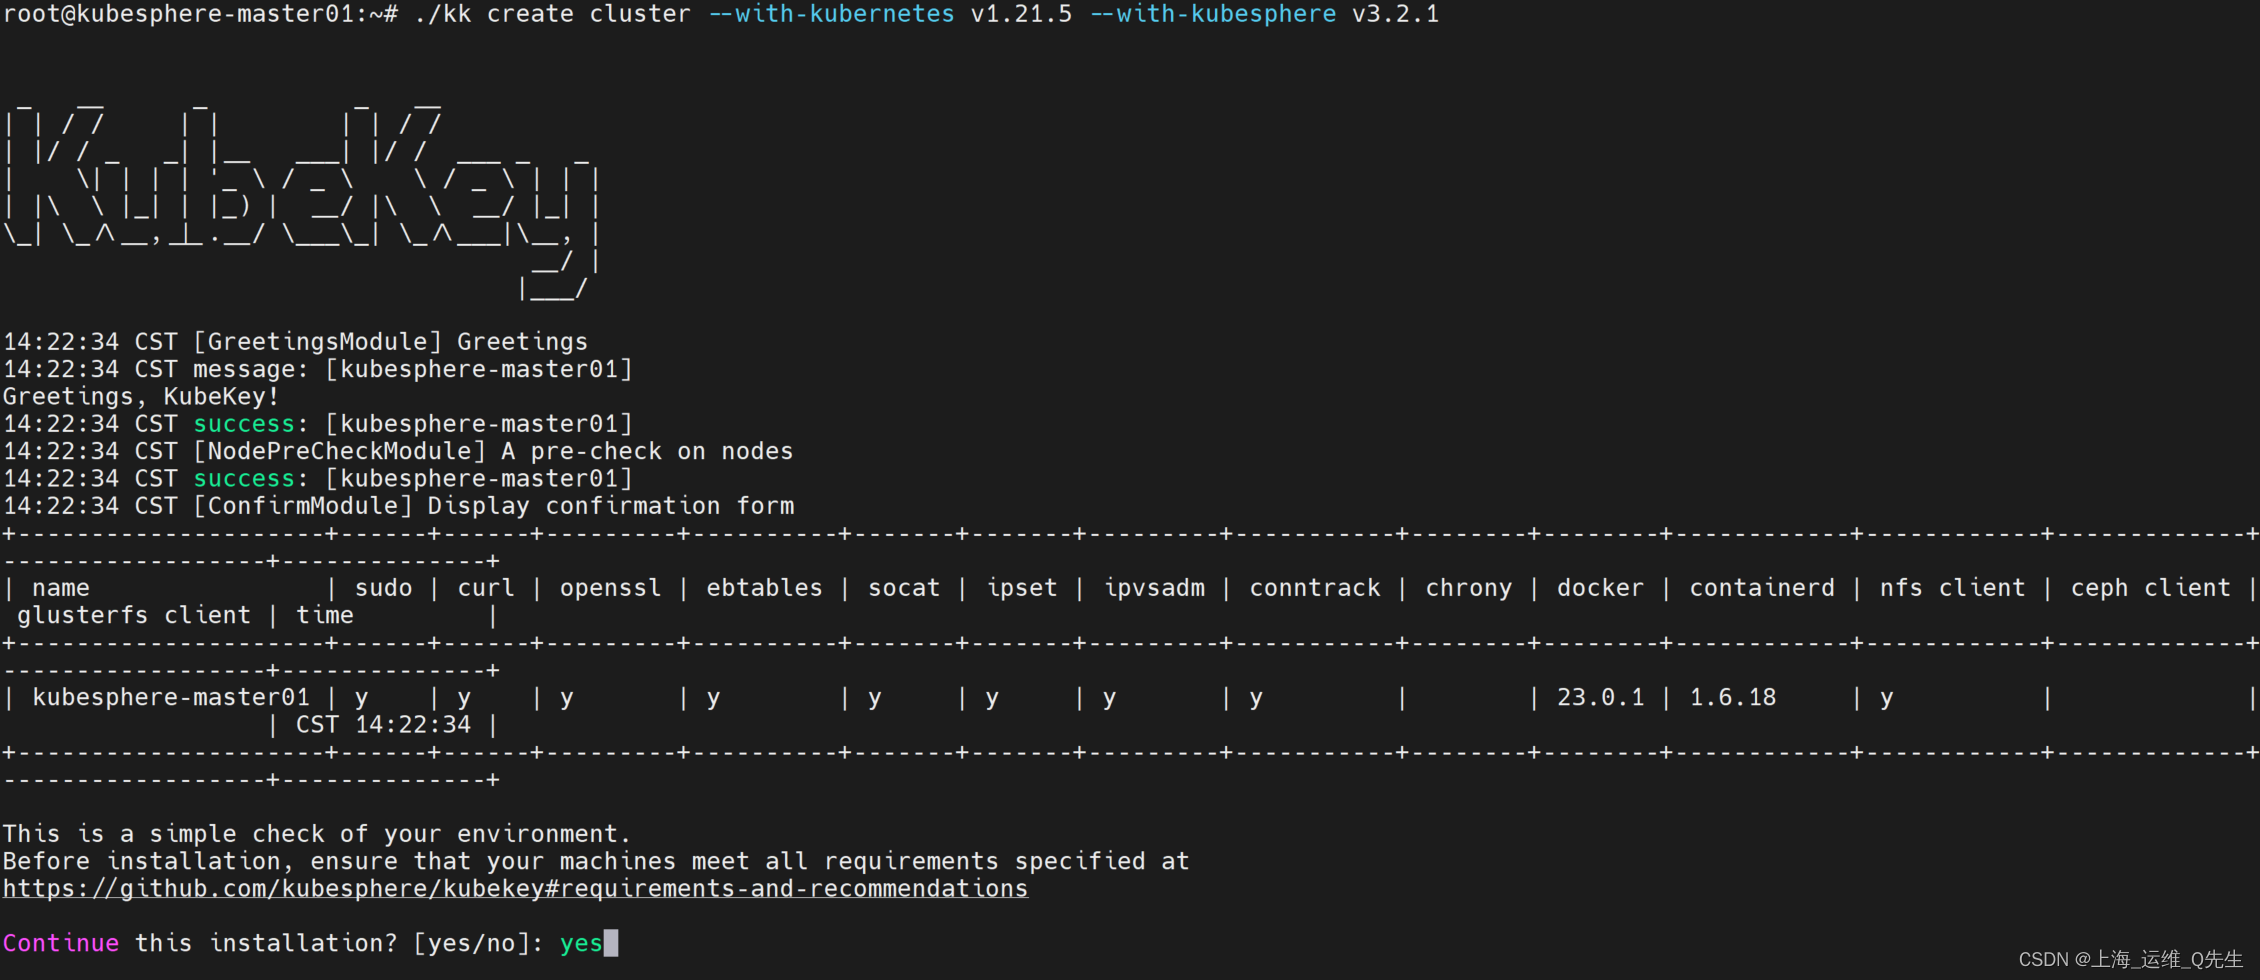
./kk create cluster --with-kubernetes v1.21.5 --with-kubesphere v3.2.1
3.3 初始化完毕
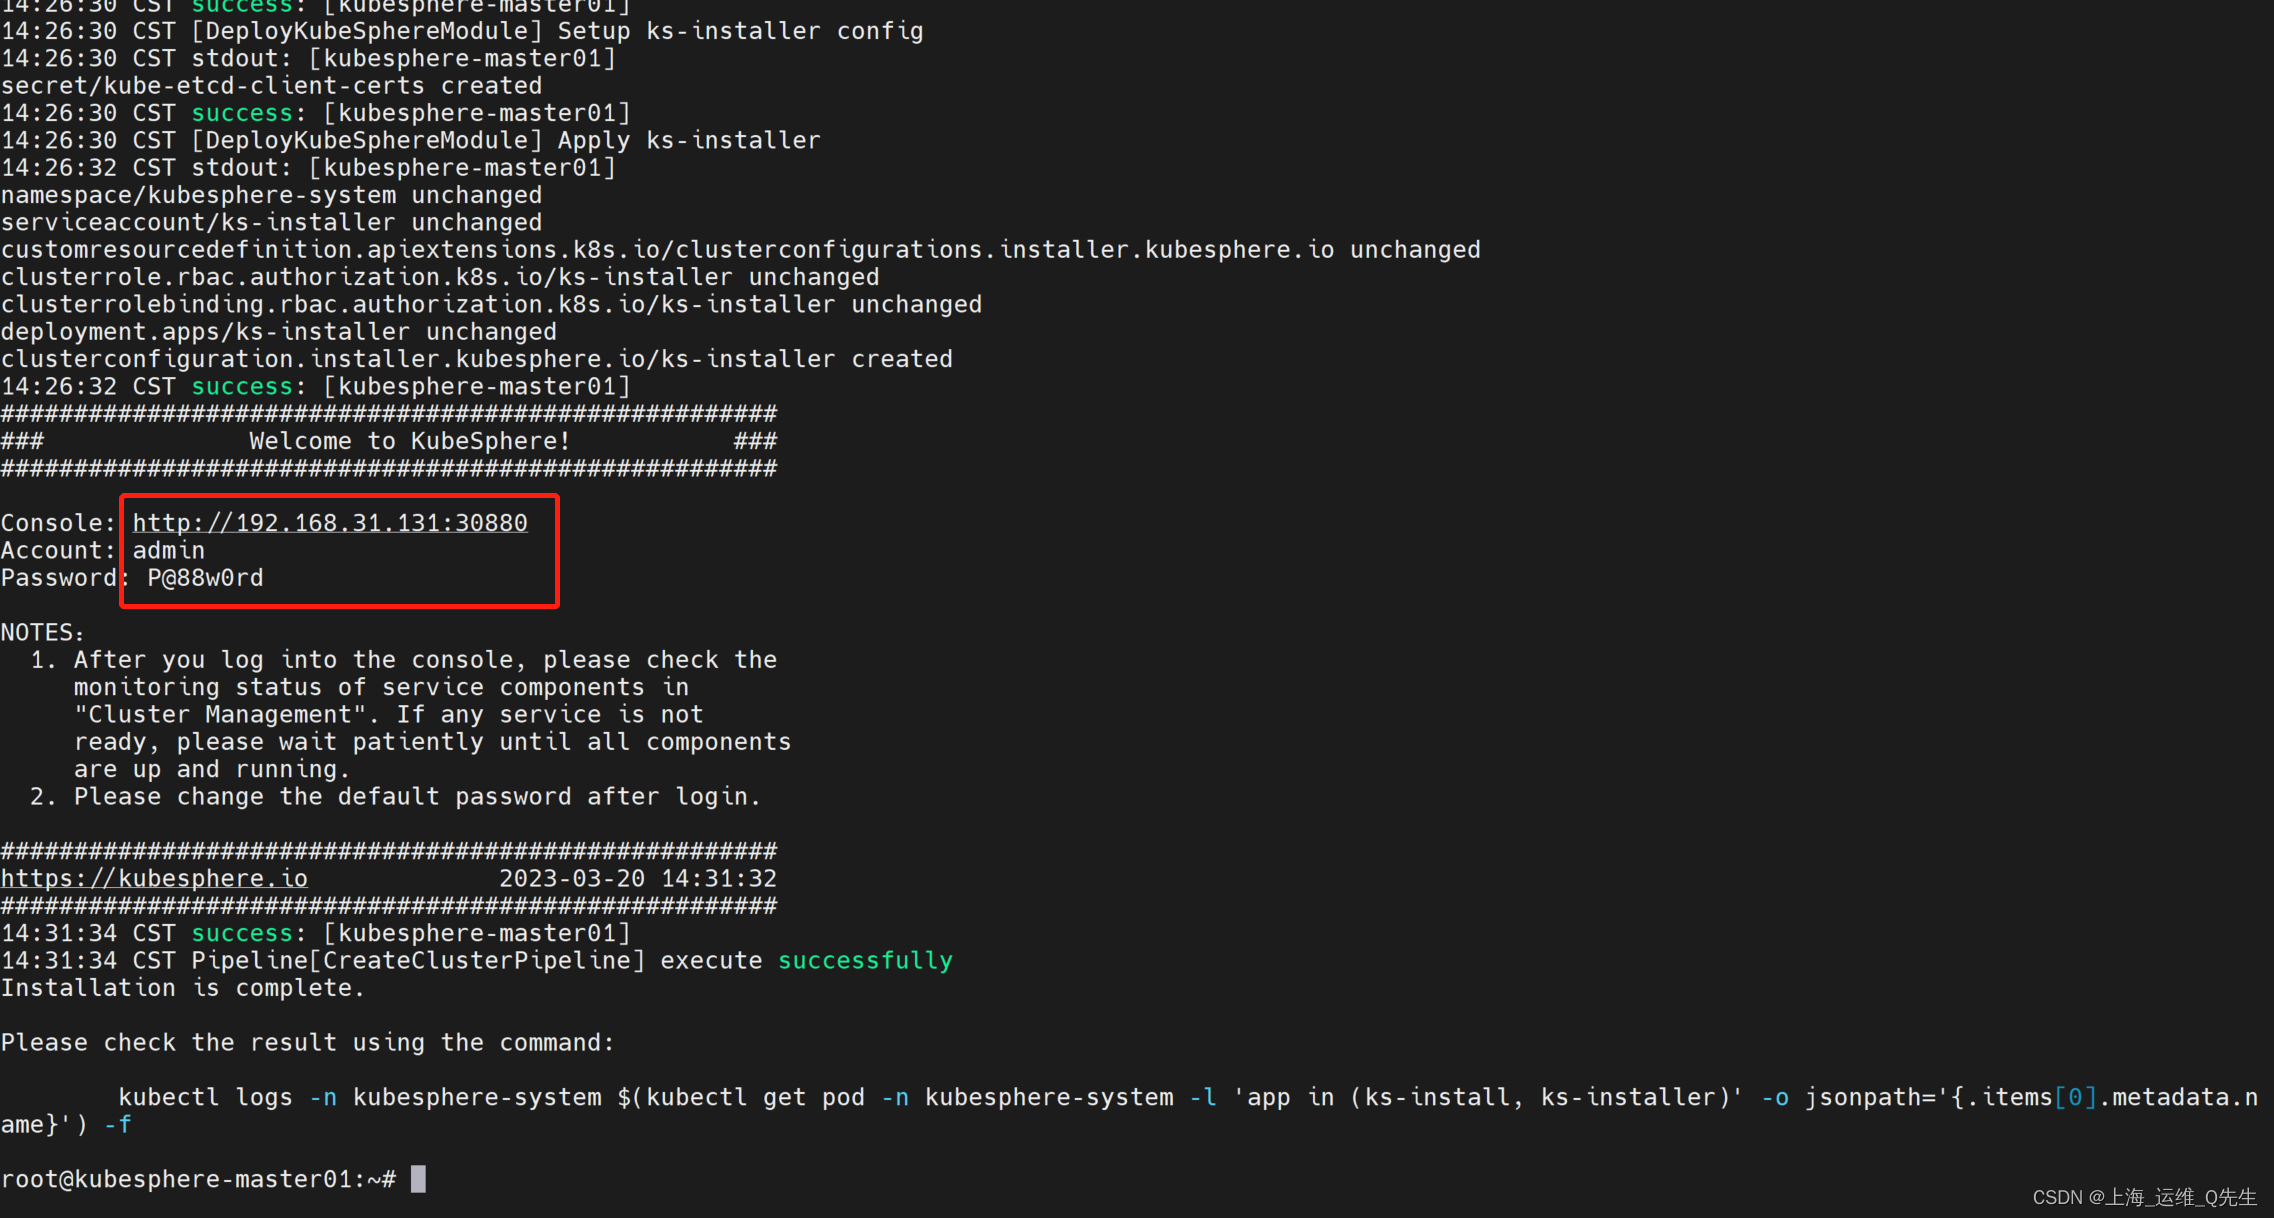
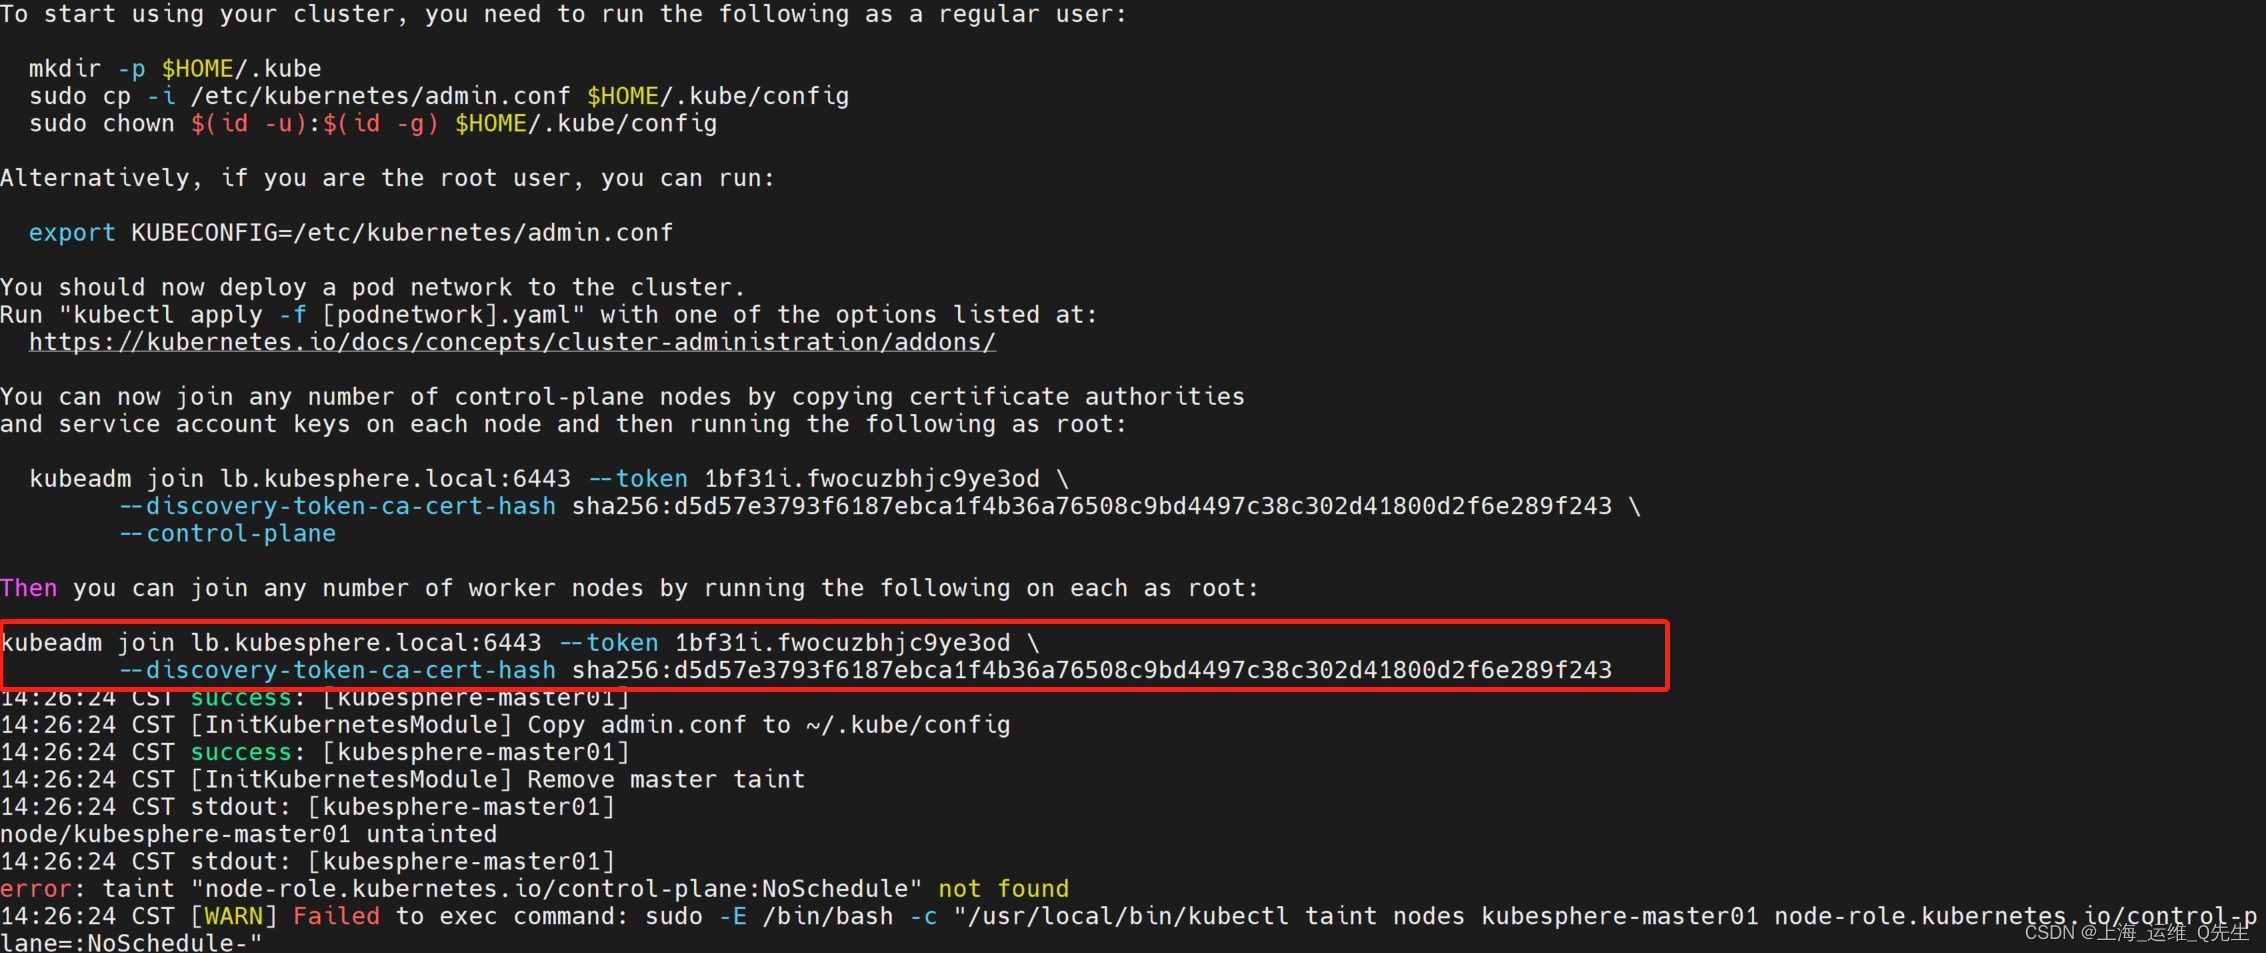
控制节点
kubeadm join lb.kubesphere.local:6443 --token 1bf31i.fwocuzbhjc9ye3od \--discovery-token-ca-cert-hash sha256:d5d57e3793f6187ebca1f4b36a76508c9bd4497c38c302d41800d2f6e289f243 \--control-plane
node节点加入
kubeadm join lb.kubesphere.local:6443 --token 1bf31i.fwocuzbhjc9ye3od \--discovery-token-ca-cert-hash sha256:d5d57e3793f6187ebca1f4b36a76508c9bd4497c38c302d41800d2f6e289f243

3.4 查看安装结果
kubectl logs -n kubesphere-system $(kubectl get pod -n kubesphere-system -l 'app in (ks-install, ks-installer)' -o jsonpath='{.items[0].metadata.name}') -f
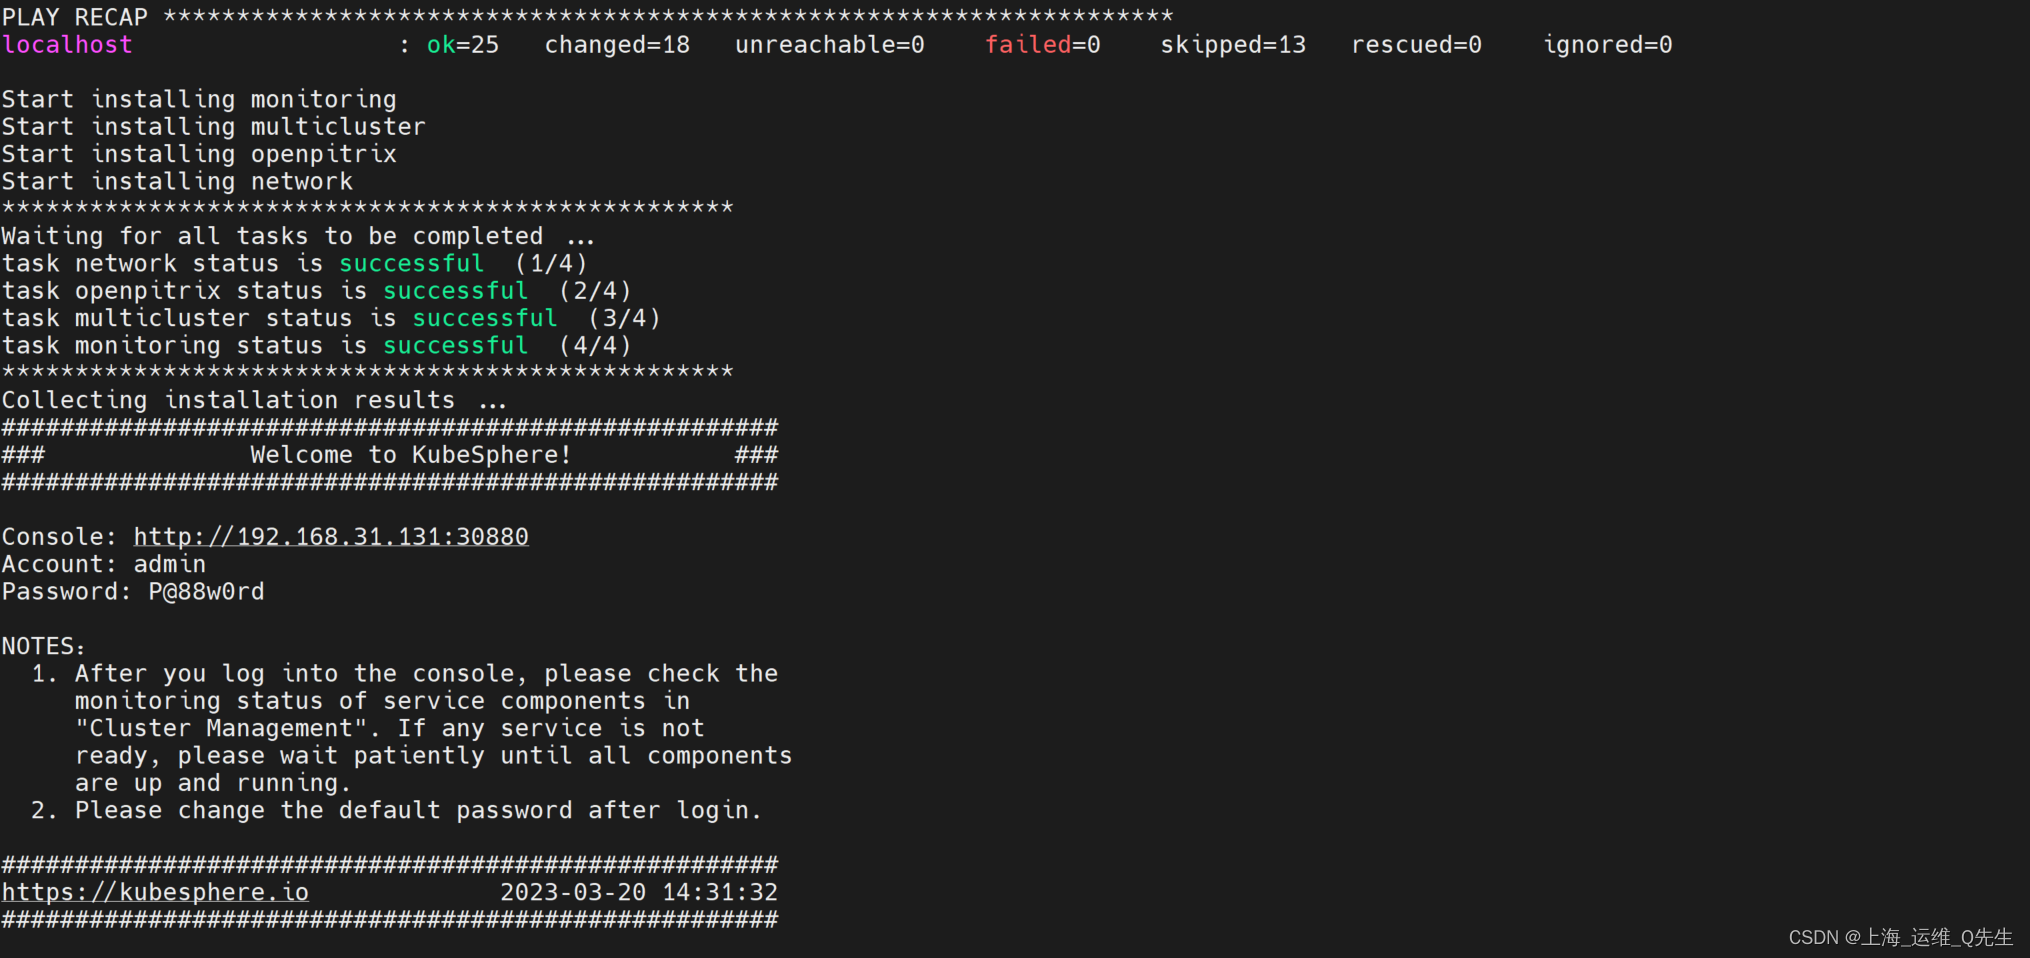
4. 命令补全
# 安装 bash-completion
apt-get install bash-completion# 将 completion 脚本添加到你的 ~/.bashrc 文件
echo 'source <(kubectl completion bash)' >>~/.bashrc# 将 completion 脚本添加到 /etc/bash_completion.d 目录
kubectl completion bash >/etc/bash_completion.d/kubectl
## 生效
source ~/.bashrc
5. 登录界面

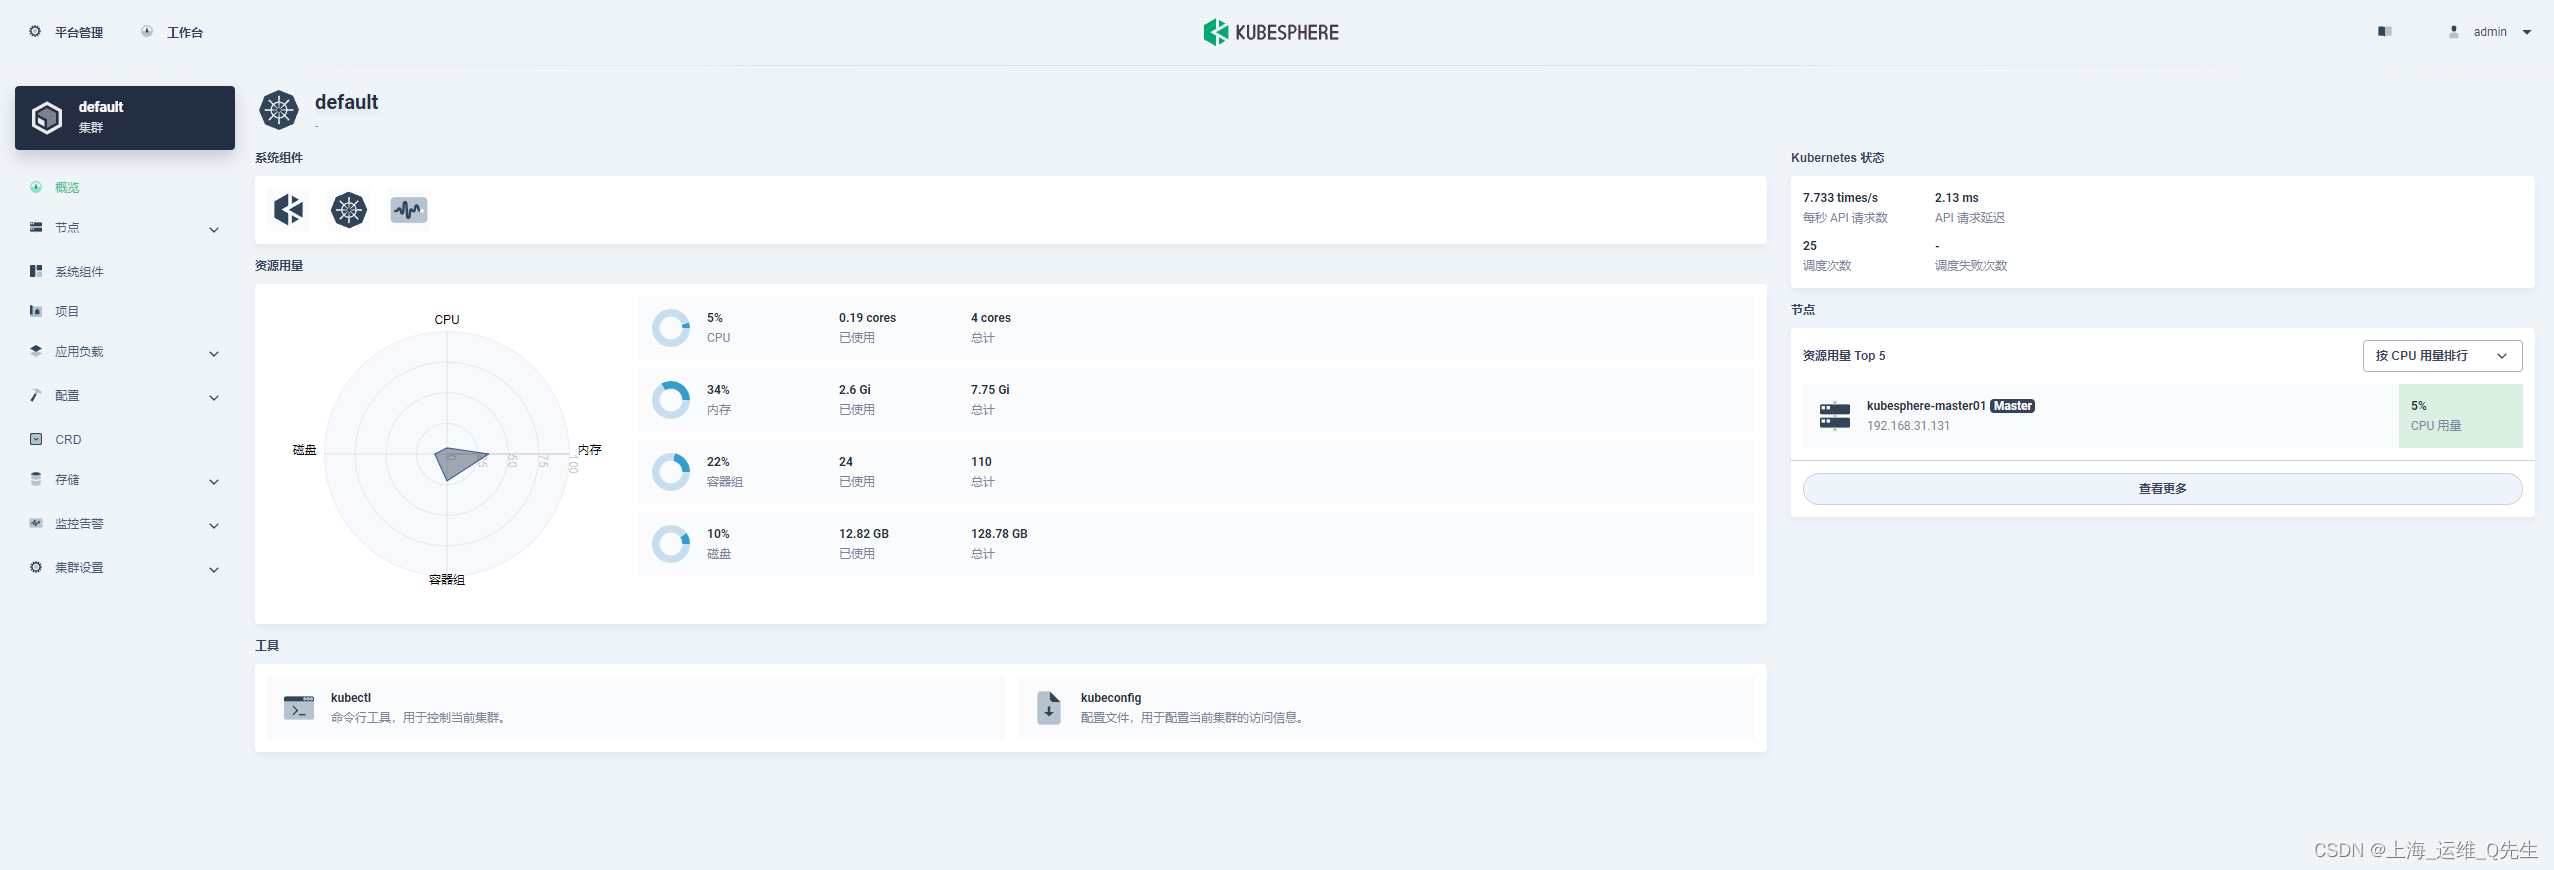
6. 节点扩容
root@kubesphere-master01:~# kubectl get node
NAME                  STATUS   ROLES                         AGE   VERSION
kubesphere-master01   Ready    control-plane,master,worker   21h   v1.21.5
6.1 生成集群配置文件
# ./kk create config --from-cluster
Notice: /root/sample.yaml has been created. Some parameters need to be filled in by yourself, please complete it.
此时在/root下就创建了一个包含集群信息的sample.yaml配置文件
6.2 修改集群配置文件
apiVersion: kubekey.kubesphere.io/v1alpha2
kind: Cluster
metadata:name: sample
spec:hosts:##You should complete the ssh information of the hosts- {name: kubesphere-master01, address: 192.168.31.131, internalAddress: 192.168.31.131}## 添加以下2行- {name: node01, address: 192.168.31.132, internalAddress: 192.168.31.132}- {name: node02, address: 192.168.31.133, internalAddress: 192.168.31.133}roleGroups:etcd:- SHOULD_BE_REPLACEDmaster:- kubesphere-master01worker:- kubesphere-master01## 添加以下2行- node01- node02controlPlaneEndpoint:##Internal loadbalancer for apiservers#internalLoadbalancer: haproxy##If the external loadbalancer was used, 'address' should be set to loadbalancer's ip.domain: lb.kubesphere.localaddress: ""port: 6443kubernetes:version: v1.21.5clusterName: cluster.localproxyMode: ipvsmasqueradeAll: falsemaxPods: 110nodeCidrMaskSize: 24network:plugin: calicokubePodsCIDR: 10.233.64.0/18kubeServiceCIDR: 10.233.0.0/18registry:privateRegistry: ""
6.3 node节点初始化
scp /etc/apt/sources.list node1:/etc/apt/sources.list
scp /etc/apt/sources.list node2:/etc/apt/sources.list
ssh node1 "apt update"
ssh node2 "apt update"
ssh node1 "apt install socat conntrack ebtables ipset ipvsadm openssl curl sudo docker -y"
ssh node2 "apt install socat conntrack ebtables ipset ipvsadm openssl curl sudo docker -y"
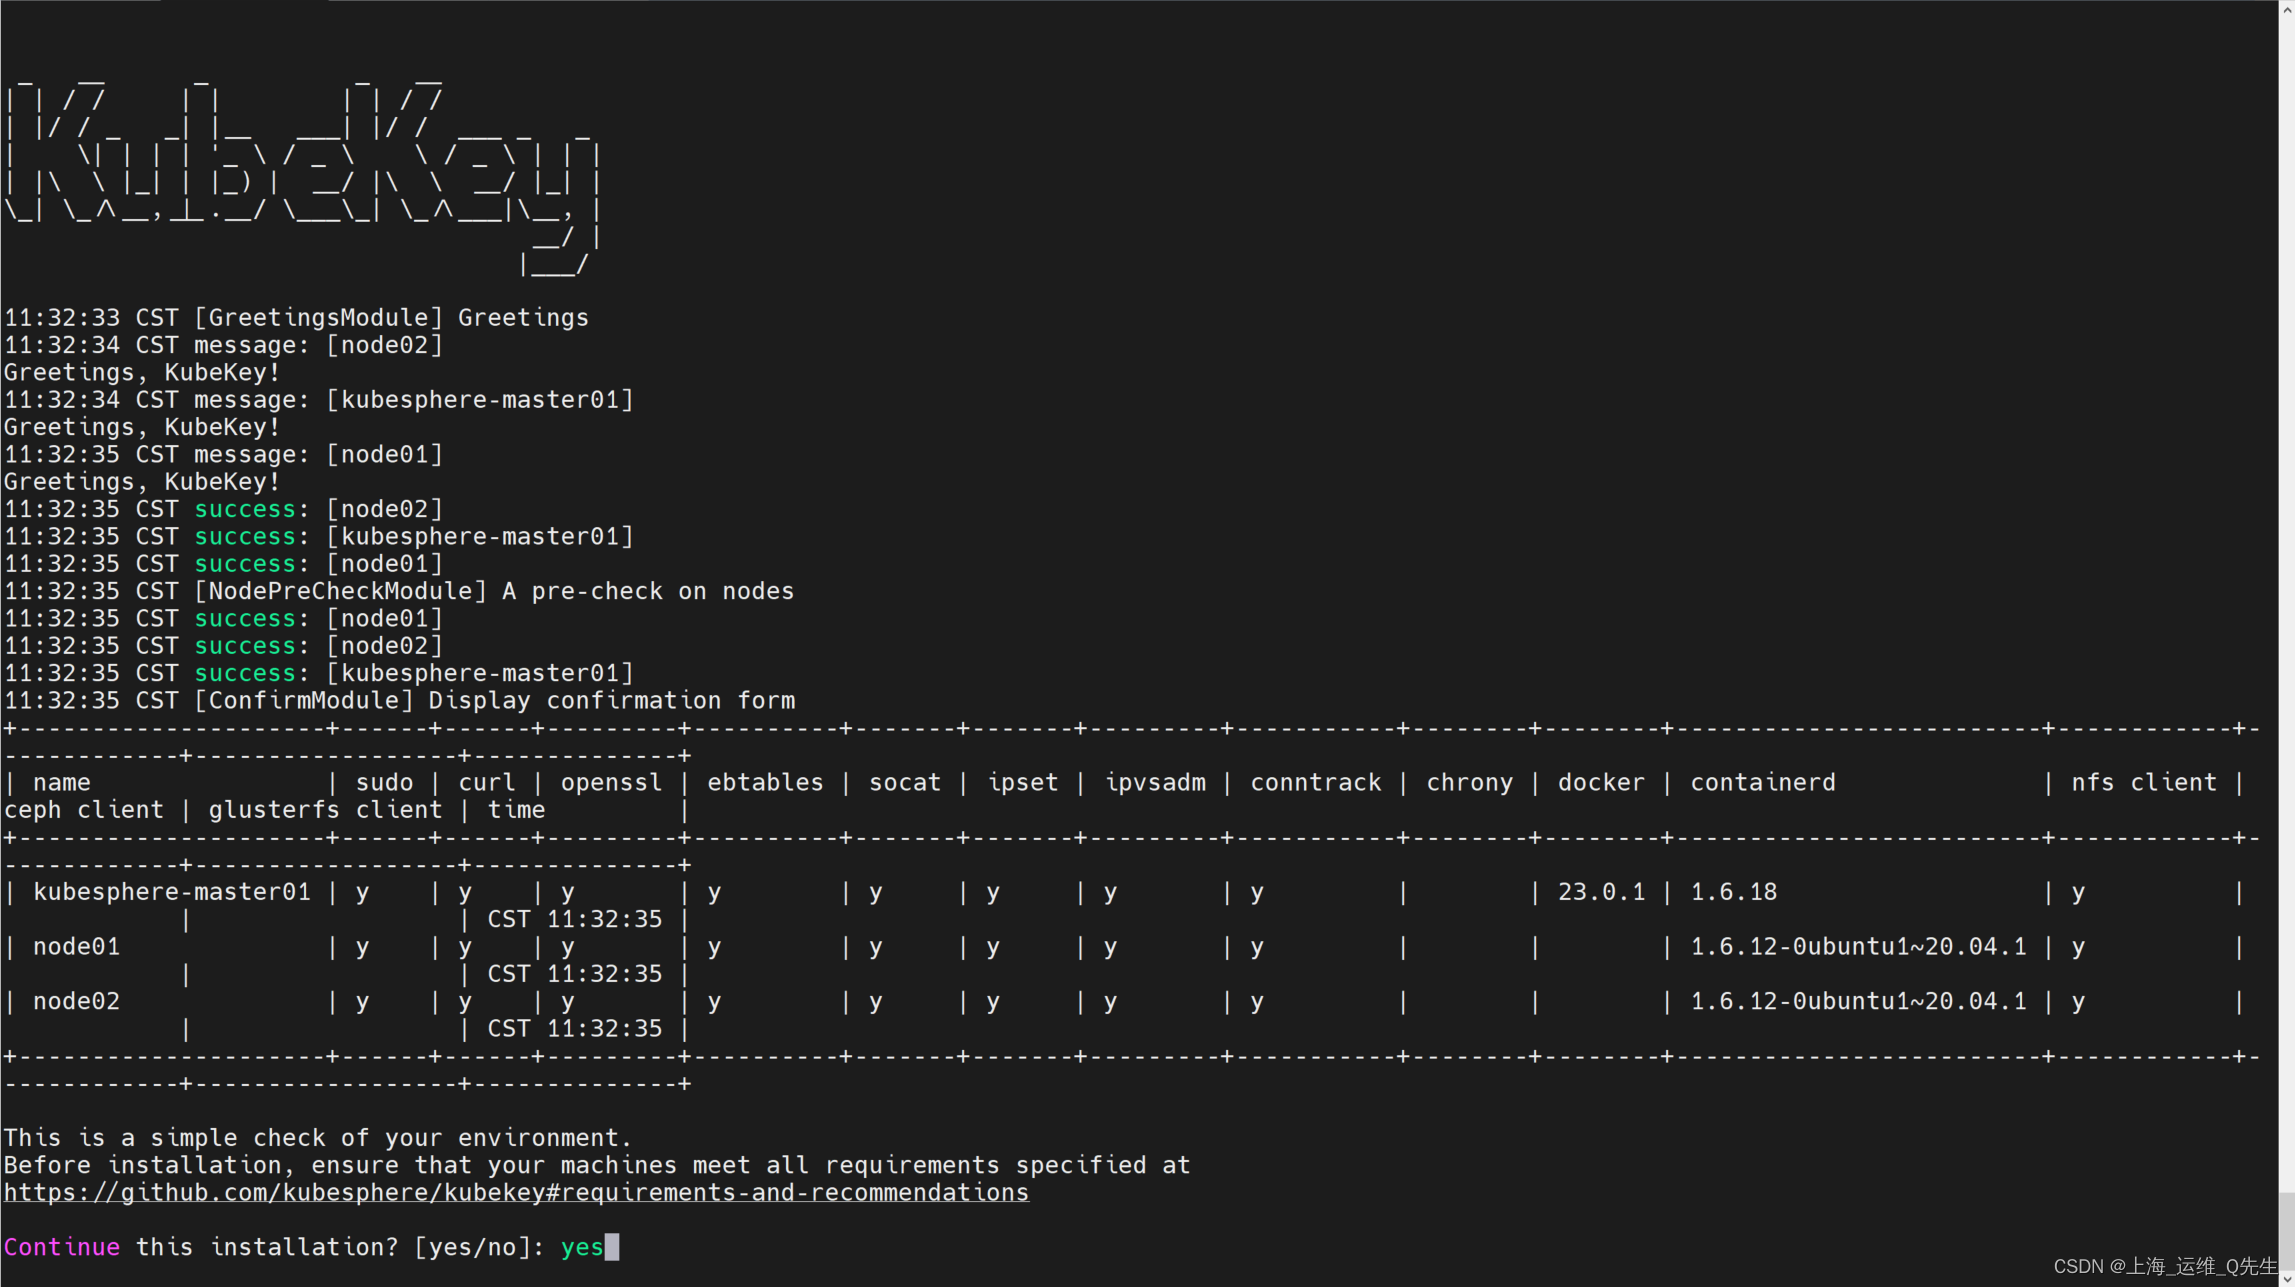
等待结束
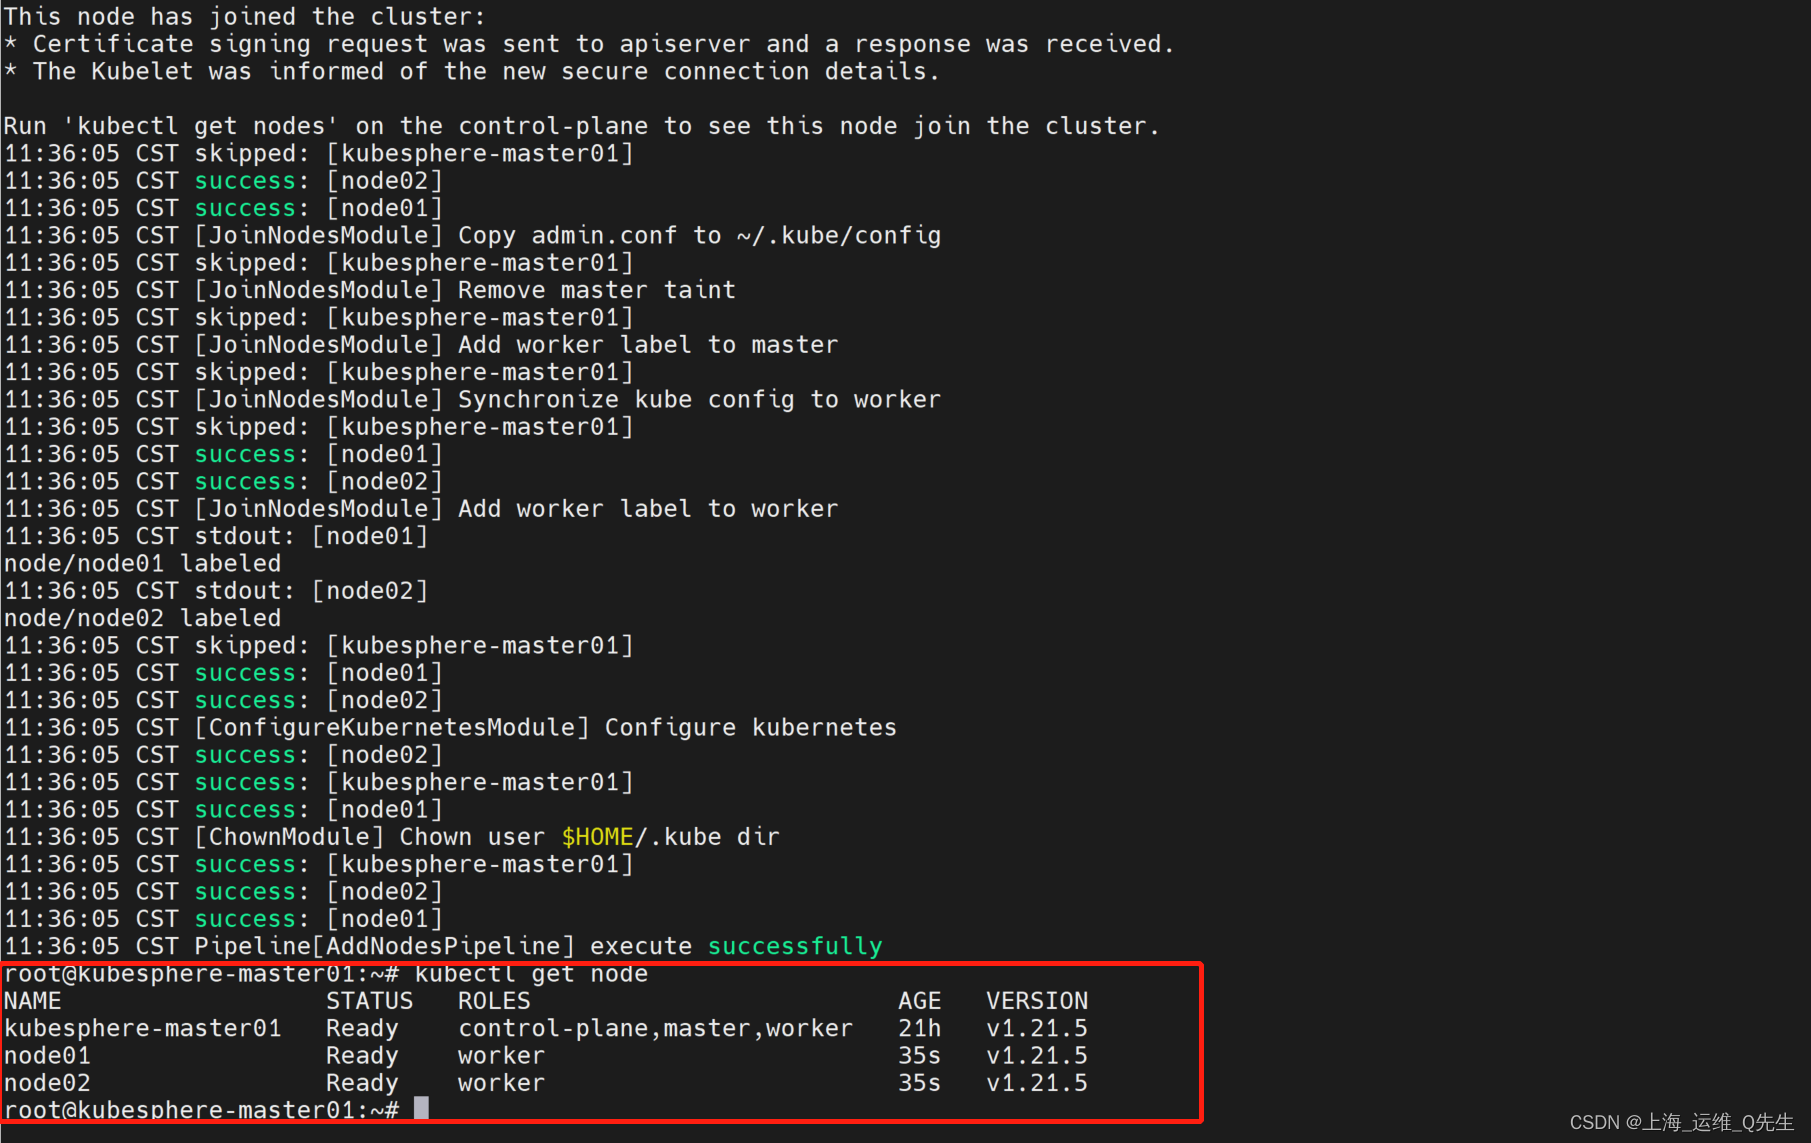
至此Kubesphere方式部署完毕,这种方式只适合测试环境

