准备工作
因为国家政策 ,阿里云和其他的大型短信调用网站审核严格所以我们用比较普通的榛子云来练习短信验证
了解阿里云短信码
登录阿里云,选择短信服务
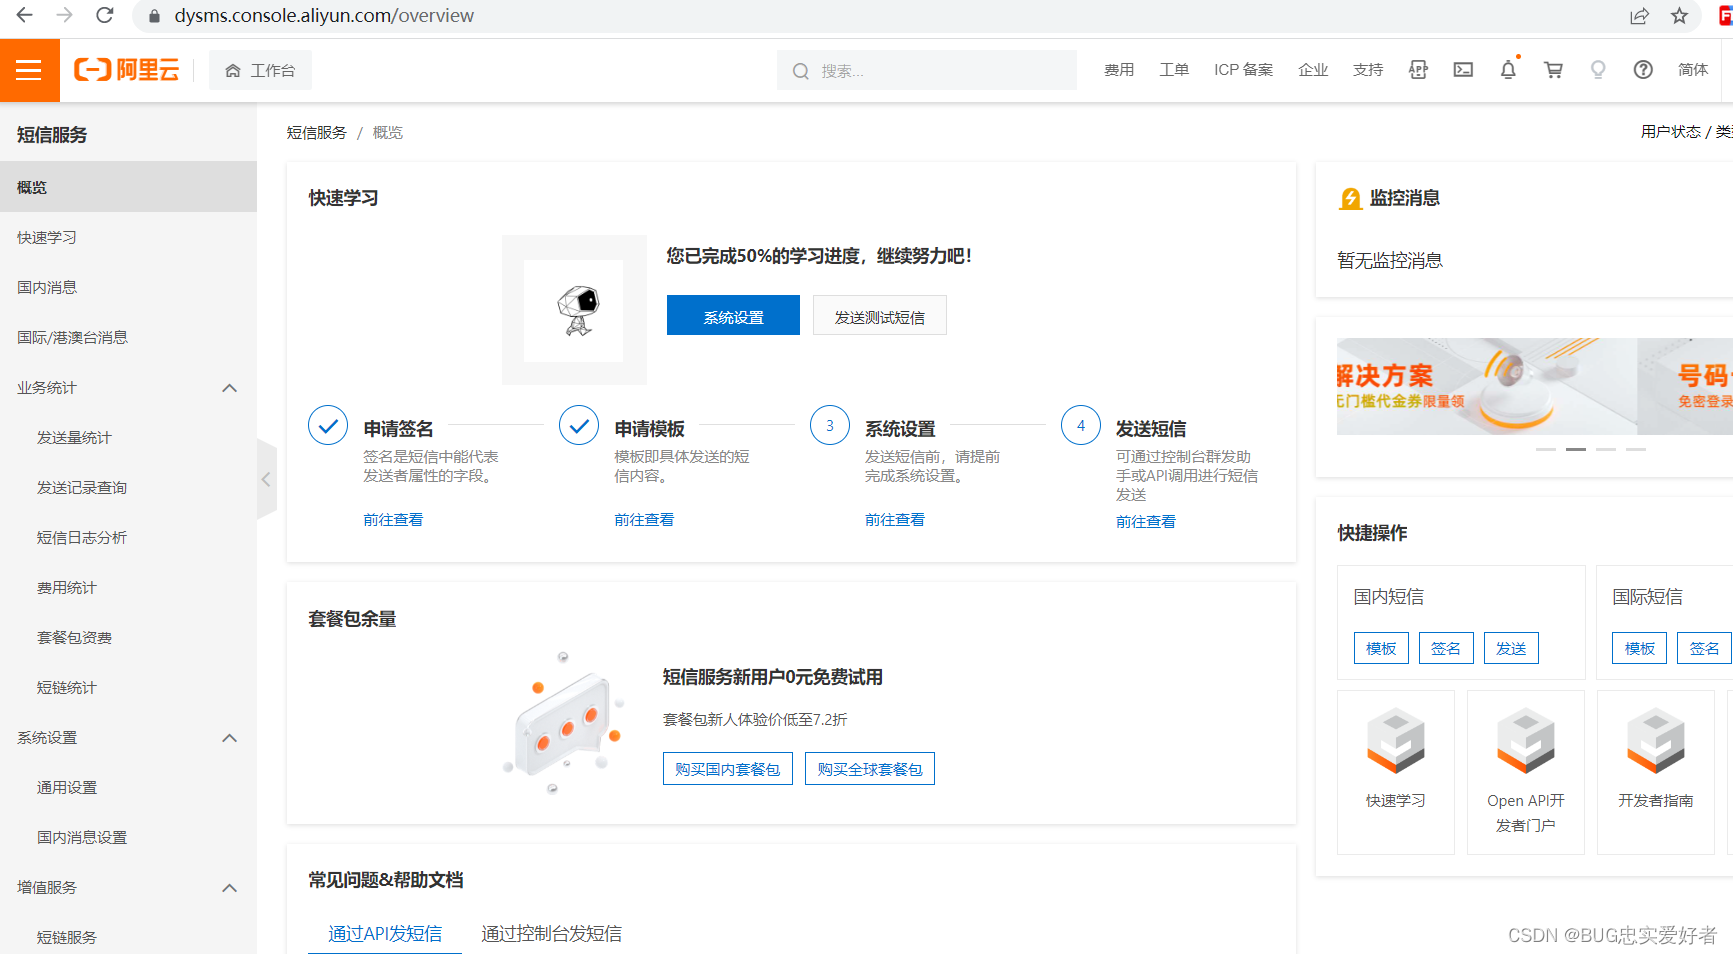
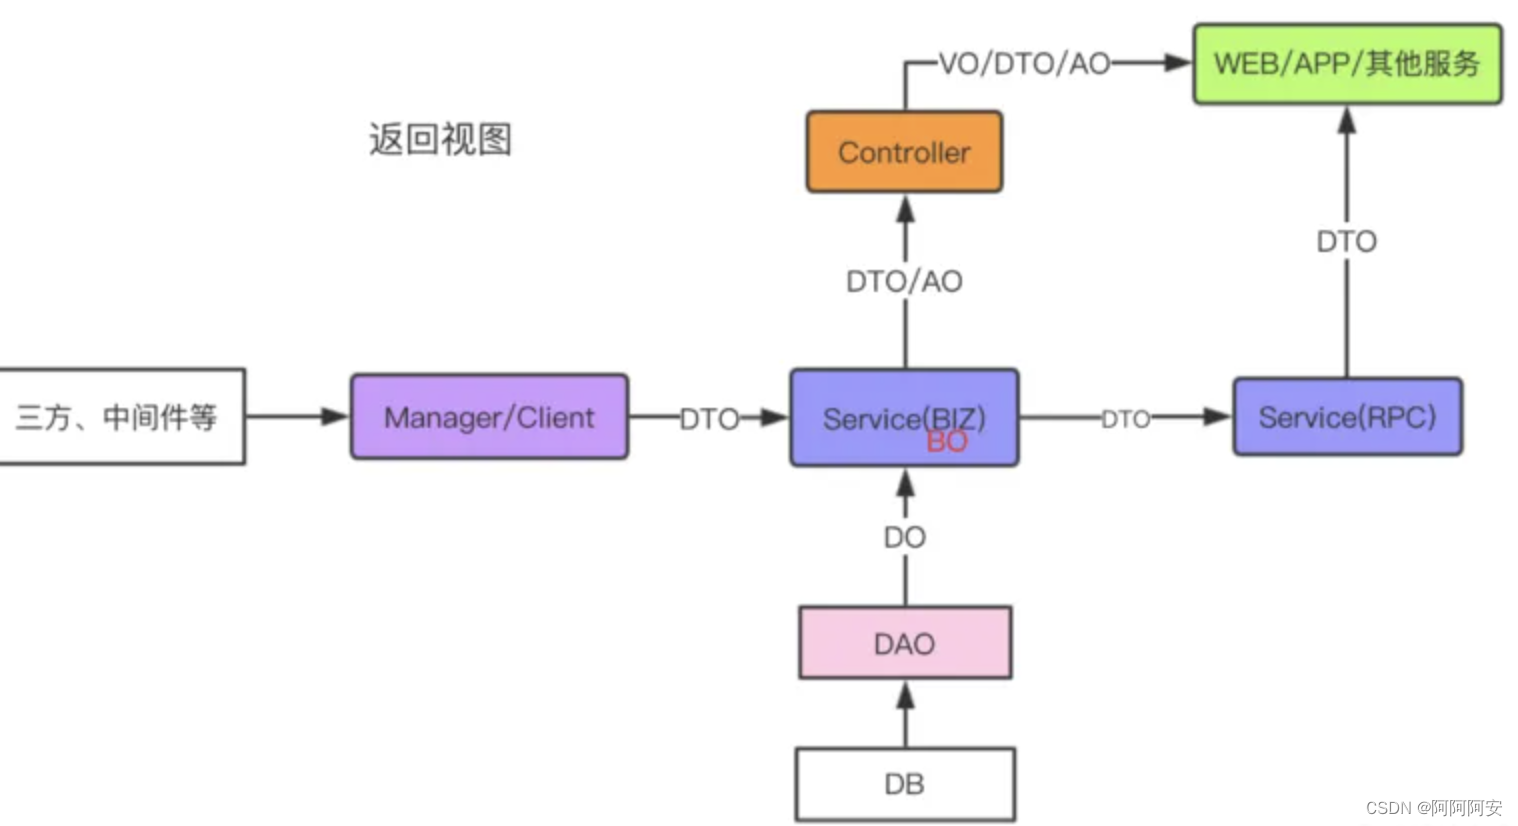
首先要了解发送短信的四个步骤
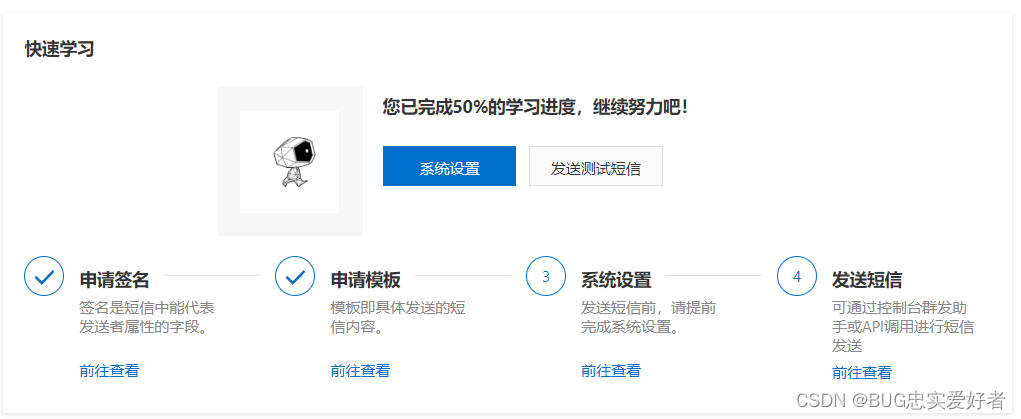
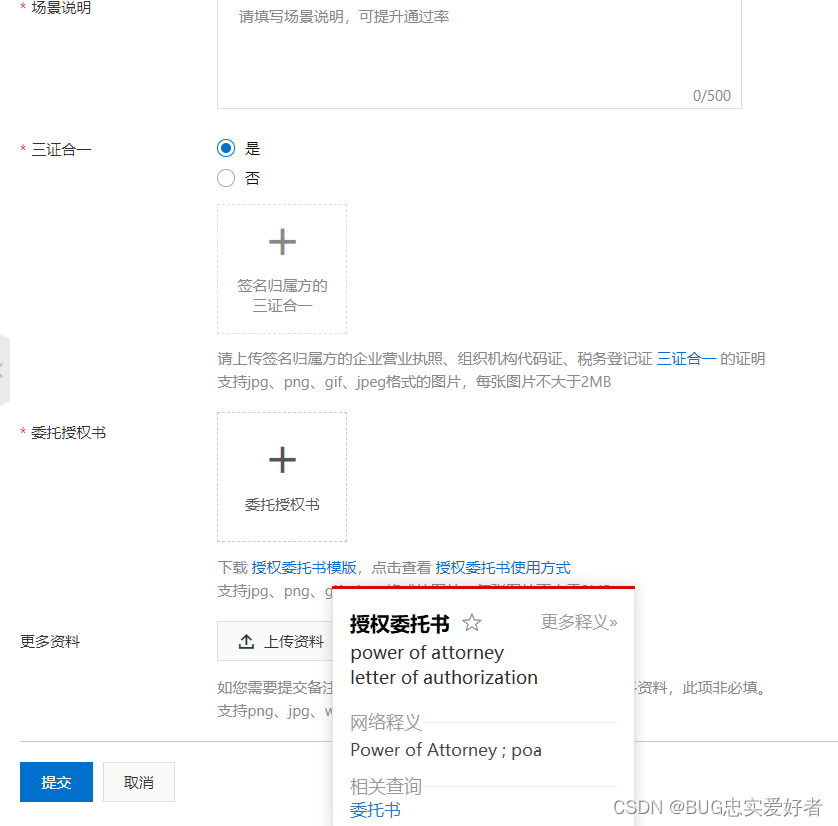
进入申请签名,查看大致内容,可以看到这边需要用到很多证,点击下载委托书模板查看证件的大致内容。
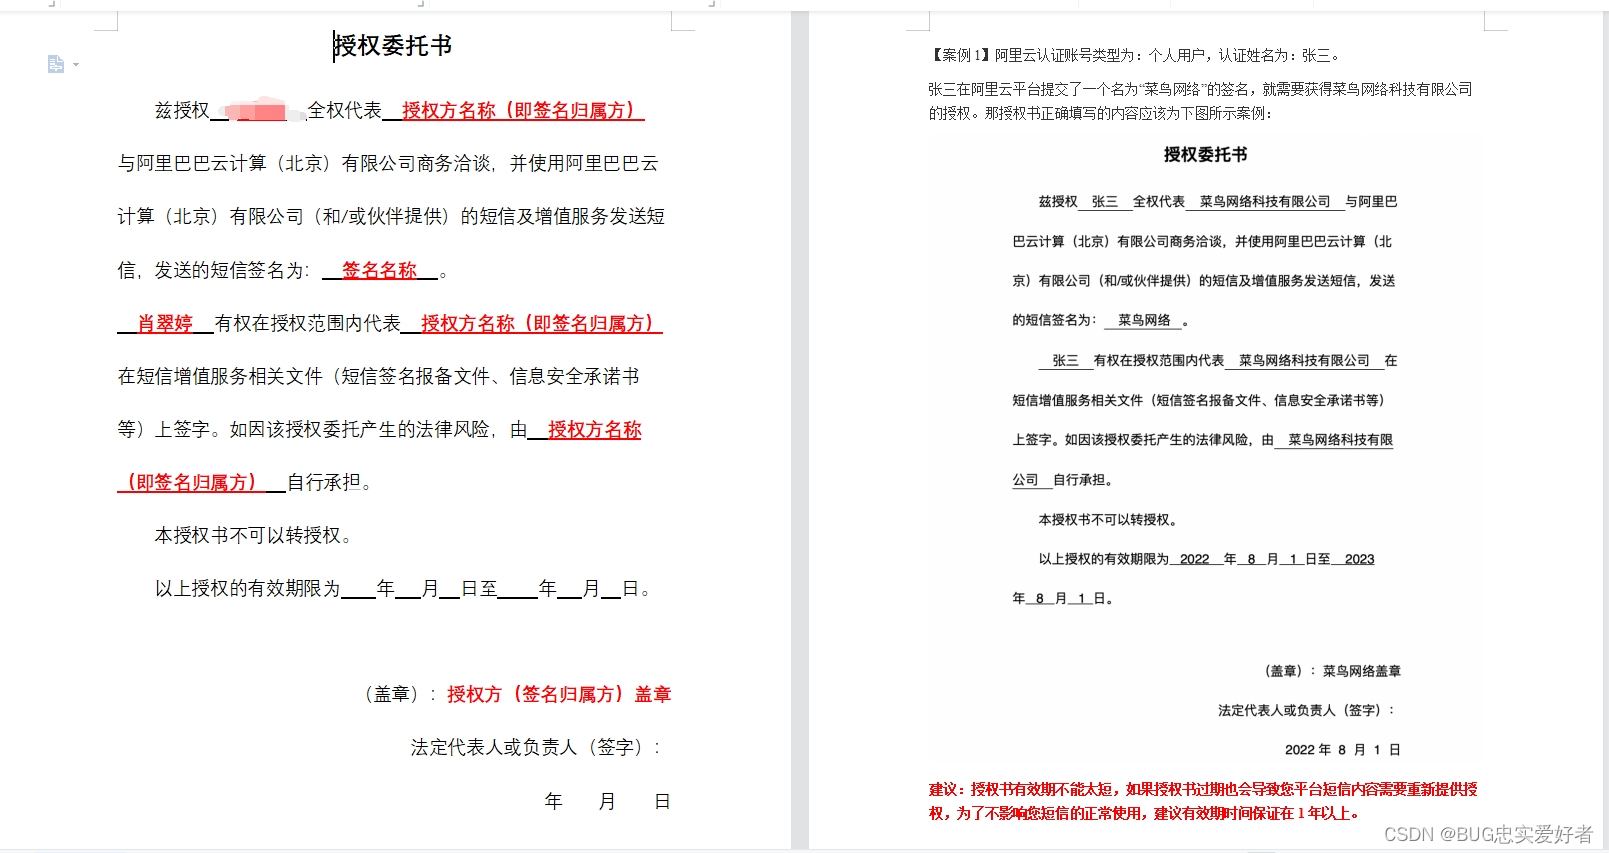
下载完毕后可以看到,委托书大概内容如下:
申请签名之后需要在后台验证这个签名,由于我们申请不了,这边只做了解即可。其余的三个步骤点进去查看大概内容,在面试的时候能够说出一二即可。
榛子云短信系统
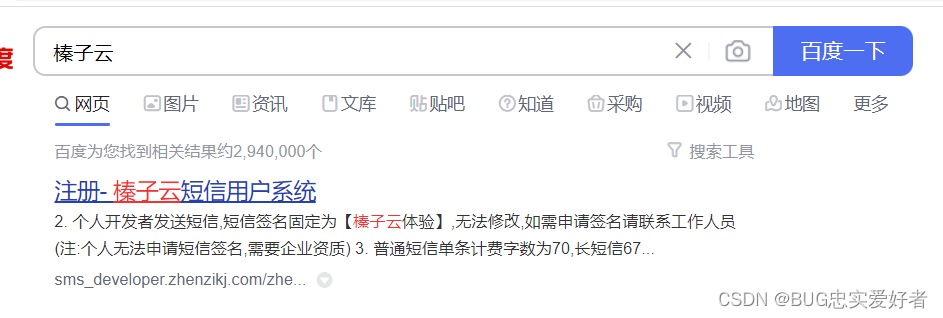
选择注册榛子云短信用户注册系统
注册之后进入如下页面
注意:榛子云只是一个测试系统,真实开发中还是使用阿里云短信服务,这边的榛子云发送短信需要先进行充值。
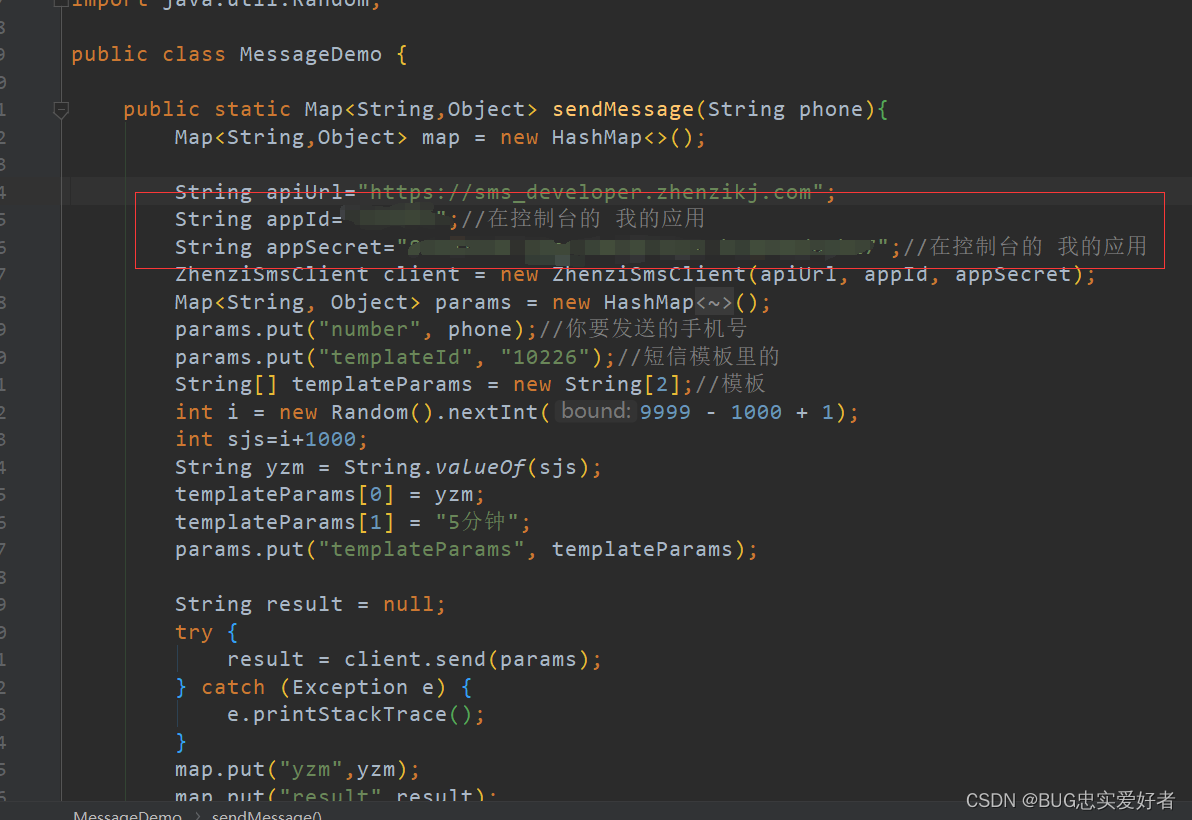
打开我的应用,查看这边的APPId,AppSecret,这边后续开发中会用到。

创建项目
创建一个SpringBoot项目,这边最好选择自定义的阿里云网址,防止创建项目失败的情况。

导入如下依赖
<dependency><groupId>com.zhenzikj</groupId><artifactId>zhenzisms</artifactId><version>2.0.2</version></dependency>
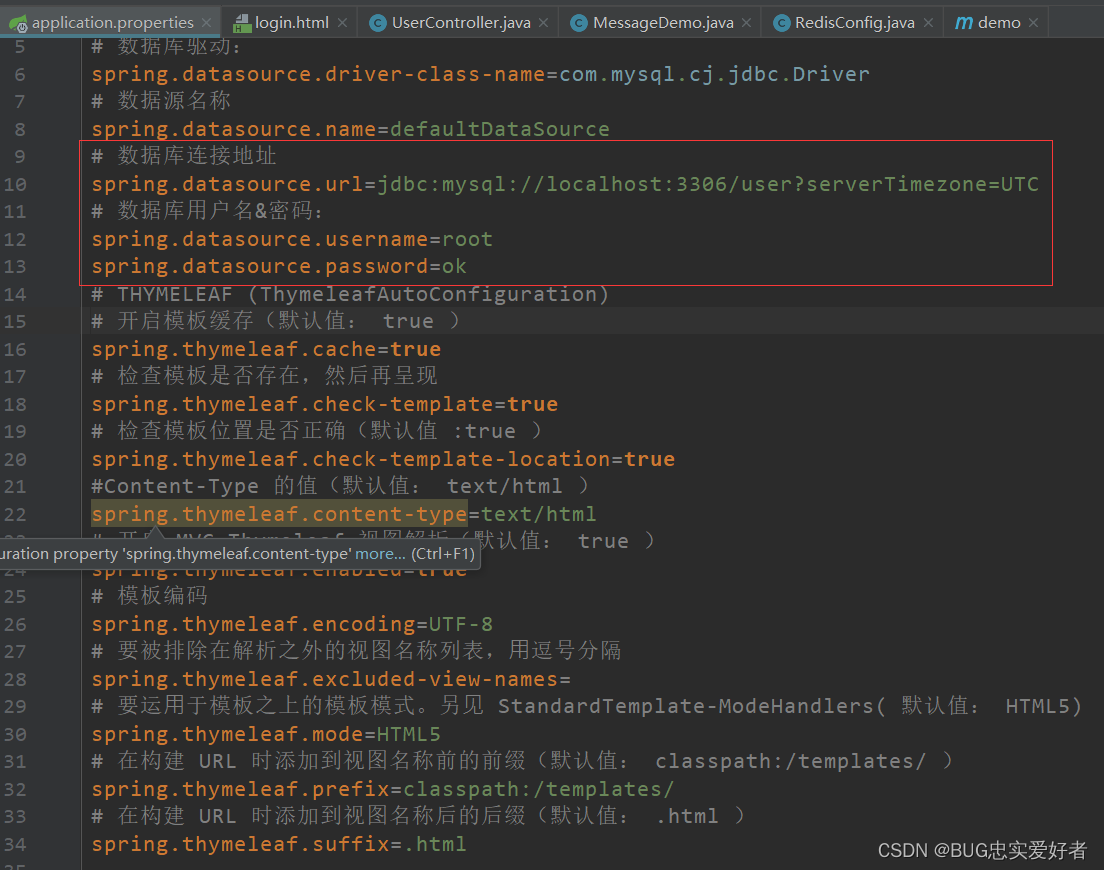
创建完毕之后,使用阿里域名创建的项目会自动生成一个properties文件,只需要改动数据库连接地址,用户名和密码即可。
复制MessageDemo
package com.zb.utils;import com.zhenzi.sms.ZhenziSmsClient;import java.util.HashMap;
import java.util.Map;
import java.util.Random;public class MessageDemo {public static Map<String,Object> sendMessage(String phone){Map<String,Object> map = new HashMap<>();String apiUrl="https://sms_developer.zhenzikj.com";String appId="xxxx";//在控制台的 我的应用String appSecret="xxxx";//在控制台的 我的应用ZhenziSmsClient client = new ZhenziSmsClient(apiUrl, appId, appSecret);Map<String, Object> params = new HashMap<String, Object>();params.put("number", phone);//你要发送的手机号params.put("templateId", "10226");//短信模板里的String[] templateParams = new String[2];//模板int i = new Random().nextInt(9999 - 1000 + 1);int sjs=i+1000;String yzm = String.valueOf(sjs);templateParams[0] = yzm;templateParams[1] = "5分钟";params.put("templateParams", templateParams);String result = null;try {result = client.send(params);} catch (Exception e) {e.printStackTrace();}map.put("yzm",yzm);map.put("result",result);System.out.println(result);return map;}
}
粘贴自己应用的几个id
因为需要验签,所以验证码应该放在redis中,所以应该写一个redis的工具类。
package com.zb.utils;import com.fasterxml.jackson.annotation.JsonAutoDetect;
import com.fasterxml.jackson.annotation.PropertyAccessor;
import com.fasterxml.jackson.databind.ObjectMapper;
import org.springframework.cache.annotation.CachingConfigurerSupport;
import org.springframework.context.annotation.Bean;
import org.springframework.context.annotation.Configuration;
import org.springframework.data.redis.cache.RedisCacheConfiguration;
import org.springframework.data.redis.cache.RedisCacheManager;
import org.springframework.data.redis.cache.RedisCacheWriter;
import org.springframework.data.redis.connection.RedisConnectionFactory;
import org.springframework.data.redis.core.RedisTemplate;
import org.springframework.data.redis.serializer.Jackson2JsonRedisSerializer;
import org.springframework.data.redis.serializer.RedisSerializationContext;
import org.springframework.data.redis.serializer.StringRedisSerializer;@Configuration
public class RedisConfig extends CachingConfigurerSupport {@Beanpublic RedisTemplate<String, Object> redisTemplate(RedisConnectionFactory redisConnectionFactory) {Jackson2JsonRedisSerializer<Object> serializer = new Jackson2JsonRedisSerializer<Object>(Object.class);ObjectMapper objectMapper = new ObjectMapper();objectMapper.setVisibility(PropertyAccessor.ALL, JsonAutoDetect.Visibility.ANY);objectMapper.enableDefaultTyping(ObjectMapper.DefaultTyping.NON_FINAL);serializer.setObjectMapper(objectMapper);RedisTemplate<String, Object> redisTemplate = new RedisTemplate<>();redisTemplate.setConnectionFactory(redisConnectionFactory);redisTemplate.setKeySerializer(new StringRedisSerializer());redisTemplate.setValueSerializer(serializer);redisTemplate.setHashKeySerializer(new StringRedisSerializer());redisTemplate.setHashValueSerializer(serializer);redisTemplate.afterPropertiesSet();return redisTemplate;}@Beanpublic RedisCacheManager redisCacheManager(RedisTemplate redisTemplate) {RedisCacheWriter redisCacheWriter = RedisCacheWriter.nonLockingRedisCacheWriter(redisTemplate.getConnectionFactory());RedisCacheConfiguration redisCacheConfiguration = RedisCacheConfiguration.defaultCacheConfig().serializeValuesWith(RedisSerializationContext.SerializationPair.fromSerializer(redisTemplate.getValueSerializer()));return new RedisCacheManager(redisCacheWriter, redisCacheConfiguration);}
}
写一个简单的登录页面
<!DOCTYPE html>
<html lang="en">
<head><meta charset="UTF-8"><title>验证码登录</title><script src="http://libs.baidu.com/jquery/1.9.1/jquery.min.js"></script></head>
<body>手机号:<input id="phone"/><br/>验证码:<input id="code"/><br/>
<button id="getCode">获取验证码</button>
<button id="login">登录</button></body><script>login();function login(){$("#getCode").click(function(){var phone = $("#phone").val();$.ajax({url:"/sendMessage",data:{'phone':phone},datatype:"json",type:"post",success:function(msg){alert(msg);if(msg=='{"code":0,"data":"发送成功"}'){alert("发送成功");}}})})$("#login").click(function () {var code = $("#code").val();$.ajax({url:"/verify",type:"post",data:{"code":code},dataType:"json",success:function (msg) {if(msg==true){alert("登录成功");}else{alert("登录失败")}},error:function () {alert("网络正忙");}})})}</script>
</html>
最后写一个controller控制器进行跳转,判断验证码以及发送短信的操作。
package com.zb.controller;import com.zb.utils.MessageDemo;
import com.zb.utils.RedisConfig;
import org.springframework.beans.factory.annotation.Autowired;
import org.springframework.data.redis.connection.RedisConnectionFactory;
import org.springframework.data.redis.core.RedisTemplate;
import org.springframework.stereotype.Controller;
import org.springframework.web.bind.annotation.RequestMapping;
import org.springframework.web.bind.annotation.RequestParam;
import org.springframework.web.bind.annotation.ResponseBody;import java.util.Map;
import java.util.concurrent.TimeUnit;@Controller
public class UserController {@Autowiredprivate RedisConnectionFactory redisConnectionFactory;@Autowired(required = false)private RedisConfig redisConfig;/*** 登录* @return*/@RequestMapping("toLogin")public String toLogin(){return "login";}/*** 发送信息* @return*/@RequestMapping("sendMessage")@ResponseBodypublic String sendMessage(@RequestParam String phone){System.out.println(phone);Map<String,Object> map = MessageDemo.sendMessage(phone);String yzm = (String) map.get("yzm");RedisTemplate<String, Object> redisTemplate = redisConfig.redisTemplate(redisConnectionFactory);redisTemplate.opsForValue().set("yzm",yzm,3000, TimeUnit.SECONDS);String result = (String) map.get("result");return result;}/*** 判断验证码*/@RequestMapping("/verify")@ResponseBodypublic Boolean verify(String code){RedisTemplate<String, Object> redisTemplate = redisConfig.redisTemplate(redisConnectionFactory);String yzm = (String) redisTemplate.opsForValue().get("yzm");Boolean flag = false;if(yzm.equals(code)){flag = true;}return flag;}}
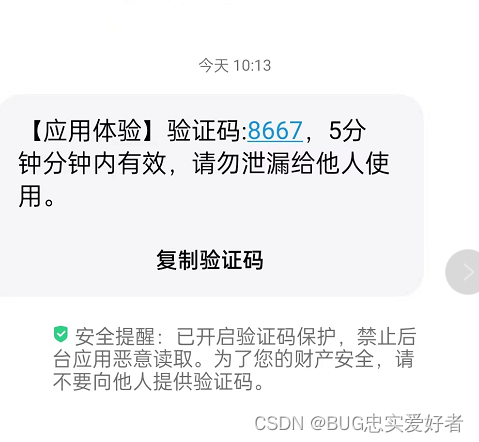
操作页面如下:

