文章目录
- 一、题目
- 二、翻转链表双指针法
- 三、完整代码
所有的LeetCode题解索引,可以看这篇文章——【算法和数据结构】LeetCode题解。
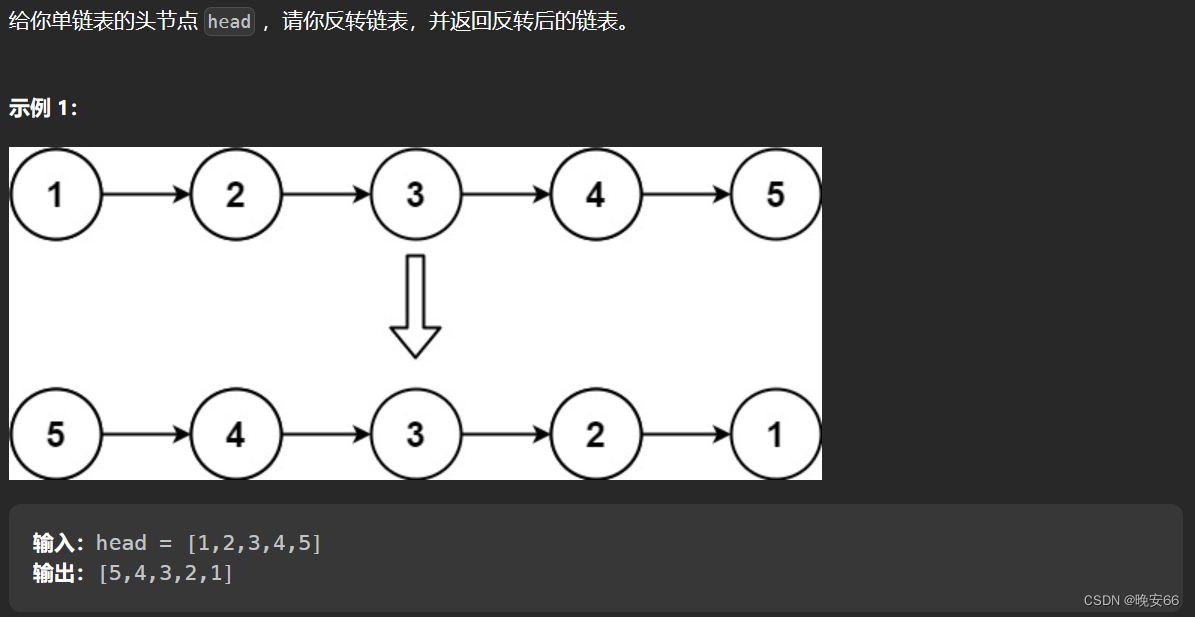
一、题目


二、翻转链表双指针法
思路分析:代码首先进行头结点合法性判断,如果是空链表或者仅有一个节点的链表都不需要翻转,直接返回。一共定义了三个节点指针变量,cur指针指向当前节点,pre指针指向翻转后的头结点,tmp指针用作保存原始指针头结点。首先tmp指针要指向cur指针的下一个节点,保证要翻转的链表不会丢失,然后cur指针指向pre,这一步就是改变链表的方向了。然后更新pre,cur指针,不断循环。
程序如下:
class Solution {
public:ListNode* reverseList(ListNode* head) {if (head == NULL) return head;ListNode* cur = head;ListNode* pre = NULL;ListNode* tmp = NULL;while (cur) {tmp = cur->next;cur->next = pre;pre = cur;cur = tmp;}return pre;}
};
复杂度分析:
- 时间复杂度: O ( n ) O(n) O(n)。
- 空间复杂度: O ( 1 ) O(1) O(1)。
三、完整代码
# include <iostream>
using namespace std;struct ListNode {int val;ListNode* next;ListNode() : val(0), next(nullptr) {}ListNode(int x) : val(x), next(nullptr) {}ListNode(int x, ListNode* next) : val(x), next(next) {}
};class Solution {
public:ListNode* reverseList(ListNode* head) {if (head == NULL) return head;ListNode* cur = head;ListNode* pre = NULL;ListNode* tmp = NULL;while (cur) {tmp = cur->next;cur->next = pre;pre = cur;cur = tmp;}return pre;}
};ListNode* ChainGenerator(int arr[], int len) {ListNode* head = new ListNode(arr[0], NULL);ListNode* p = head;for (int i = 1; i < len; i++) {ListNode* pNewNode = new ListNode(arr[i], NULL);p->next = pNewNode; // 上一个节点指向这个新建立的节点p = pNewNode; // p节点指向这个新的节点}return head;
}void my_print(ListNode* head, string str) {cout << str << endl;ListNode* cur = head;while (cur != NULL) {cout << cur->val << ' ';if (cur->next == NULL) break;cur = cur->next;}cout << endl;
}int main()
{int arr[] = { 1,2,3,4 };//int arr[] = { 1 };int len = sizeof(arr) / sizeof(int);Solution s1;ListNode* head = ChainGenerator(arr, len);my_print(head, "目标链表:");head = s1.reverseList(head);my_print(head, "翻转后的链表:");system("pause");return 0;
}
end


