现在,这台手机已经有了一个可以调试的Bootloader。接下来可以去搜索以下其他大佬有没有什么现有的成果,免得做许多无用功。
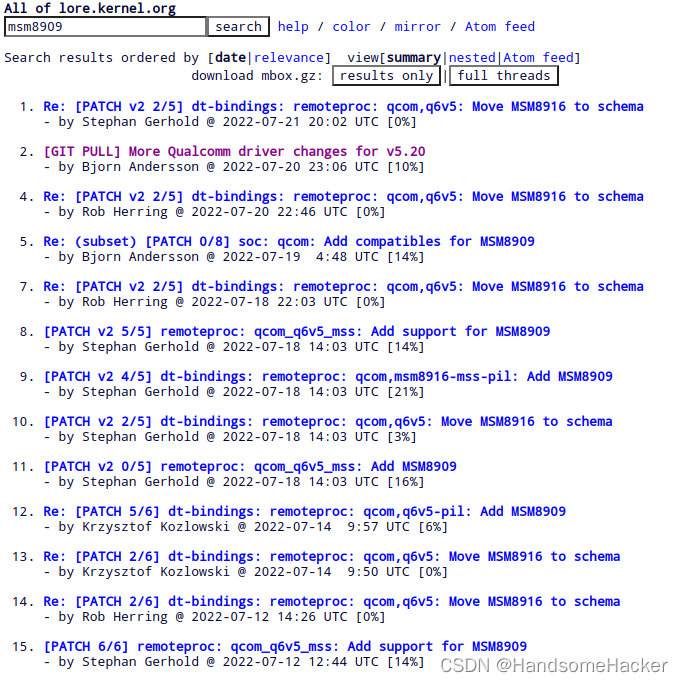
Linux Mailing List就是一个不错的地方,这里聚集着很多提交给主线Linux的patch。

通过了解mailing list,大体上知道了大佬们已经跑通了msm8909上的gpio、spi、uart、modem、wifi等一些基本的功能了,但是一些涉及音视频的外设还没有驱动。
在Github上找到了这个大佬的实验性分支,拉下来作为接下来移植的基础。
设备树调试
对于这种每次设备树变动很大的情况,需要一个带busybox的initramfs来加快整个移植的速度(减少生成启动可镜像的时间),这里对之前的基于kexecboot的DragonRoot小做修改,去掉一些不必要的组件,修改交叉编译器为arm32,加入编译msm8909内核的规则,在内核和busybox都已经编译好的情况下大概1-2s就能生成一个直接可烧录的boot.img。
这个修改与原项目DragonRoot其实关系不大了,仅在这里做个记录,就不展开说明了。
基本的框架使用的是前面移植主线大佬留下的用于参考的mtp设备树。
逐个对比原厂设备树中的pmic各regulator提供的电压,完全一致就直接照搬上去,内核跑起来应该不成问题。
也不知道这个手机是否有otg功能,把usb控制器设置成peripheral模式,避免在移植pmOS时导致一些gadget相关的问题。
&usb {status = "okay";
+	dr_mode = "peripheral";extcon = <&pm8909_usbin>;
};
编译后,在lk中直接boot这个镜像,屏幕仍然还是tux小企鹅,但是主线内核的日志已经通过串口打印出来了。
[    0.000000] Booting Linux on physical CPU 0x0
[    0.000000] Linux version 5.18.0-msm8909-gda24c74a0c6a-dirty (guo@handsomelaptop) (arm-li2
[    0.000000] CPU: ARMv7 Processor [410fc075] revision 5 (ARMv7), cr=10c5387d
[    0.000000] CPU: div instructions available: patching division code
[    0.000000] CPU: PIPT / VIPT nonaliasing data cache, VIPT aliasing instruction cache
[    0.000000] OF: fdt: Machine model: Guangxin EF33
[    0.000000] Memory policy: Data cache writealloc
[    0.000000] cma: Reserved 32 MiB at 0x9e000000
[    0.000000] Zone ranges:
[    0.000000]   Normal   [mem 0x0000000080000000-0x000000009fffffff]
[    0.000000]   HighMem  empty
[    0.000000] Movable zone start for each node
[    0.000000] Early memory node ranges
[    0.000000]   node   0: [mem 0x0000000080000000-0x00000000879fffff]
.....
接下来就是调试spi屏幕了,一开始用的是simplefb的方案,结果虽然内核日志报framebuffer已经成功初始化了,内存区域也保留好了,但屏幕一直停留在lk的小企鹅logo上,翻遍谷歌和gayhub都没有找到spi屏使用simplefb的例子,也就没有继续再尝试了。
不依赖mdp带起spi屏的方案就只剩下了tinydrm和fbtft,tinydrm支持drm框架和gpu,为了后期方便调试spi屏幕的初始化指令和gpu选择了加载firmware的panel-mipi-dbi模块,按照内核模块的wiki,首先需要生成一个包含屏幕参数的firmware,在panel-mipi-dbi仓库中拉取mipi-dbi-cmd工具生成固件,根据wiki和前面逆向的结果写出spi屏幕的初始化指令序列。
command 0x11
command 0x36 0x00
command 0x3A 0x05
command 0x35 0x00
command 0x44 0x00 0x10
command 0xB2 0x0C 0x0C 0x00 0x33 0x33
command 0xB7 0x35
command 0xBB 0x36
command 0xC0 0x2C
command 0xC2 0x01
command 0xC3 0x0D
command 0xC4 0x20
command 0xC6 0x0F
command 0xCA 0x0F
command 0xC8 0x08
command 0x55 0x90
command 0xD0 0xA4 0xA1
command 0xE0 0xD0 0xC0 0x11 0x12 0x11 0x09 0x35 0x44 0x43 0x09 0x15 0x14 0x17 0x1B
command 0xE1 0xD0 0x09 0x10 0x0A 0x0A 0x07 0x33 0x44 0x46 0x0B 0x17 0x16 0x17 0x1B
command 0x29
delay 50
command 0x2A 0x00 0x00 0x00 0xEF
command 0x2B 0x00 0x00 0x01 0x3F
command 0x2C
之后生成对应的bin文件,这个内核模块默认会加载文件系统中/lib/firmware下的panel-mipi-dbi-spi.bin
$ mipi-dbi-cmd panel-mipi-dbi-spi.bin panel-mipi-dbi-spi.txt
按照panel-mipi-dbi-spi文档定义设备树的spi6。
&blsp_spi6 {num-cs = <1>;cs-select = <0>;cs-gpios = <&tlmm 10 GPIO_ACTIVE_HIGH>;status = "okay";st7789v@0 {compatible = "panel-mipi-dbi-spi";pinctrl-names = "default";pinctrl-0 = <&st7789v_pins>;#address-cells = <1>;#size-cells = <1>;reg = <0>;spi-cpol;spi-cpha;rgb;fps =<30>;spi-max-frequency = <50000000>;reset-gpios = <&tlmm 25 GPIO_ACTIVE_HIGH>;dc-gpios = <&tlmm 17 GPIO_ACTIVE_HIGH>;buswidth =<8>; power-supply = <&pm8909_l17>,<&pm8909_l2>;timing: panel-timing {vactive = <320>;hactive = <240>;hback-porch = <0>;vback-porch = <0>;clock-frequency = <0>;hfront-porch = <0>;hsync-len = <0>;vfront-porch = <0>;vsync-len = <0>;};};
};
当然不要忘记pinctrl,分别对应lcd的reset和dc脚。
st7789v_pins: st7789v_pins {pins = "gpio25", "gpio17";function = "gpio";drive-strength = <2>;bias-pull-up;};
在内核配置中加入以下符号启用相应的模块,只能是builtin,Dragonroot目前还不支持modprobe。
CONFIG_DRM_SIMPLEDRM=y
CONFIG_DRM_LEGACY=y
CONFIG_DRM_PANEL_MIPI_DBI=y
CONFIG_FB=y
CONFIG_FB_MODE_HELPERS=y
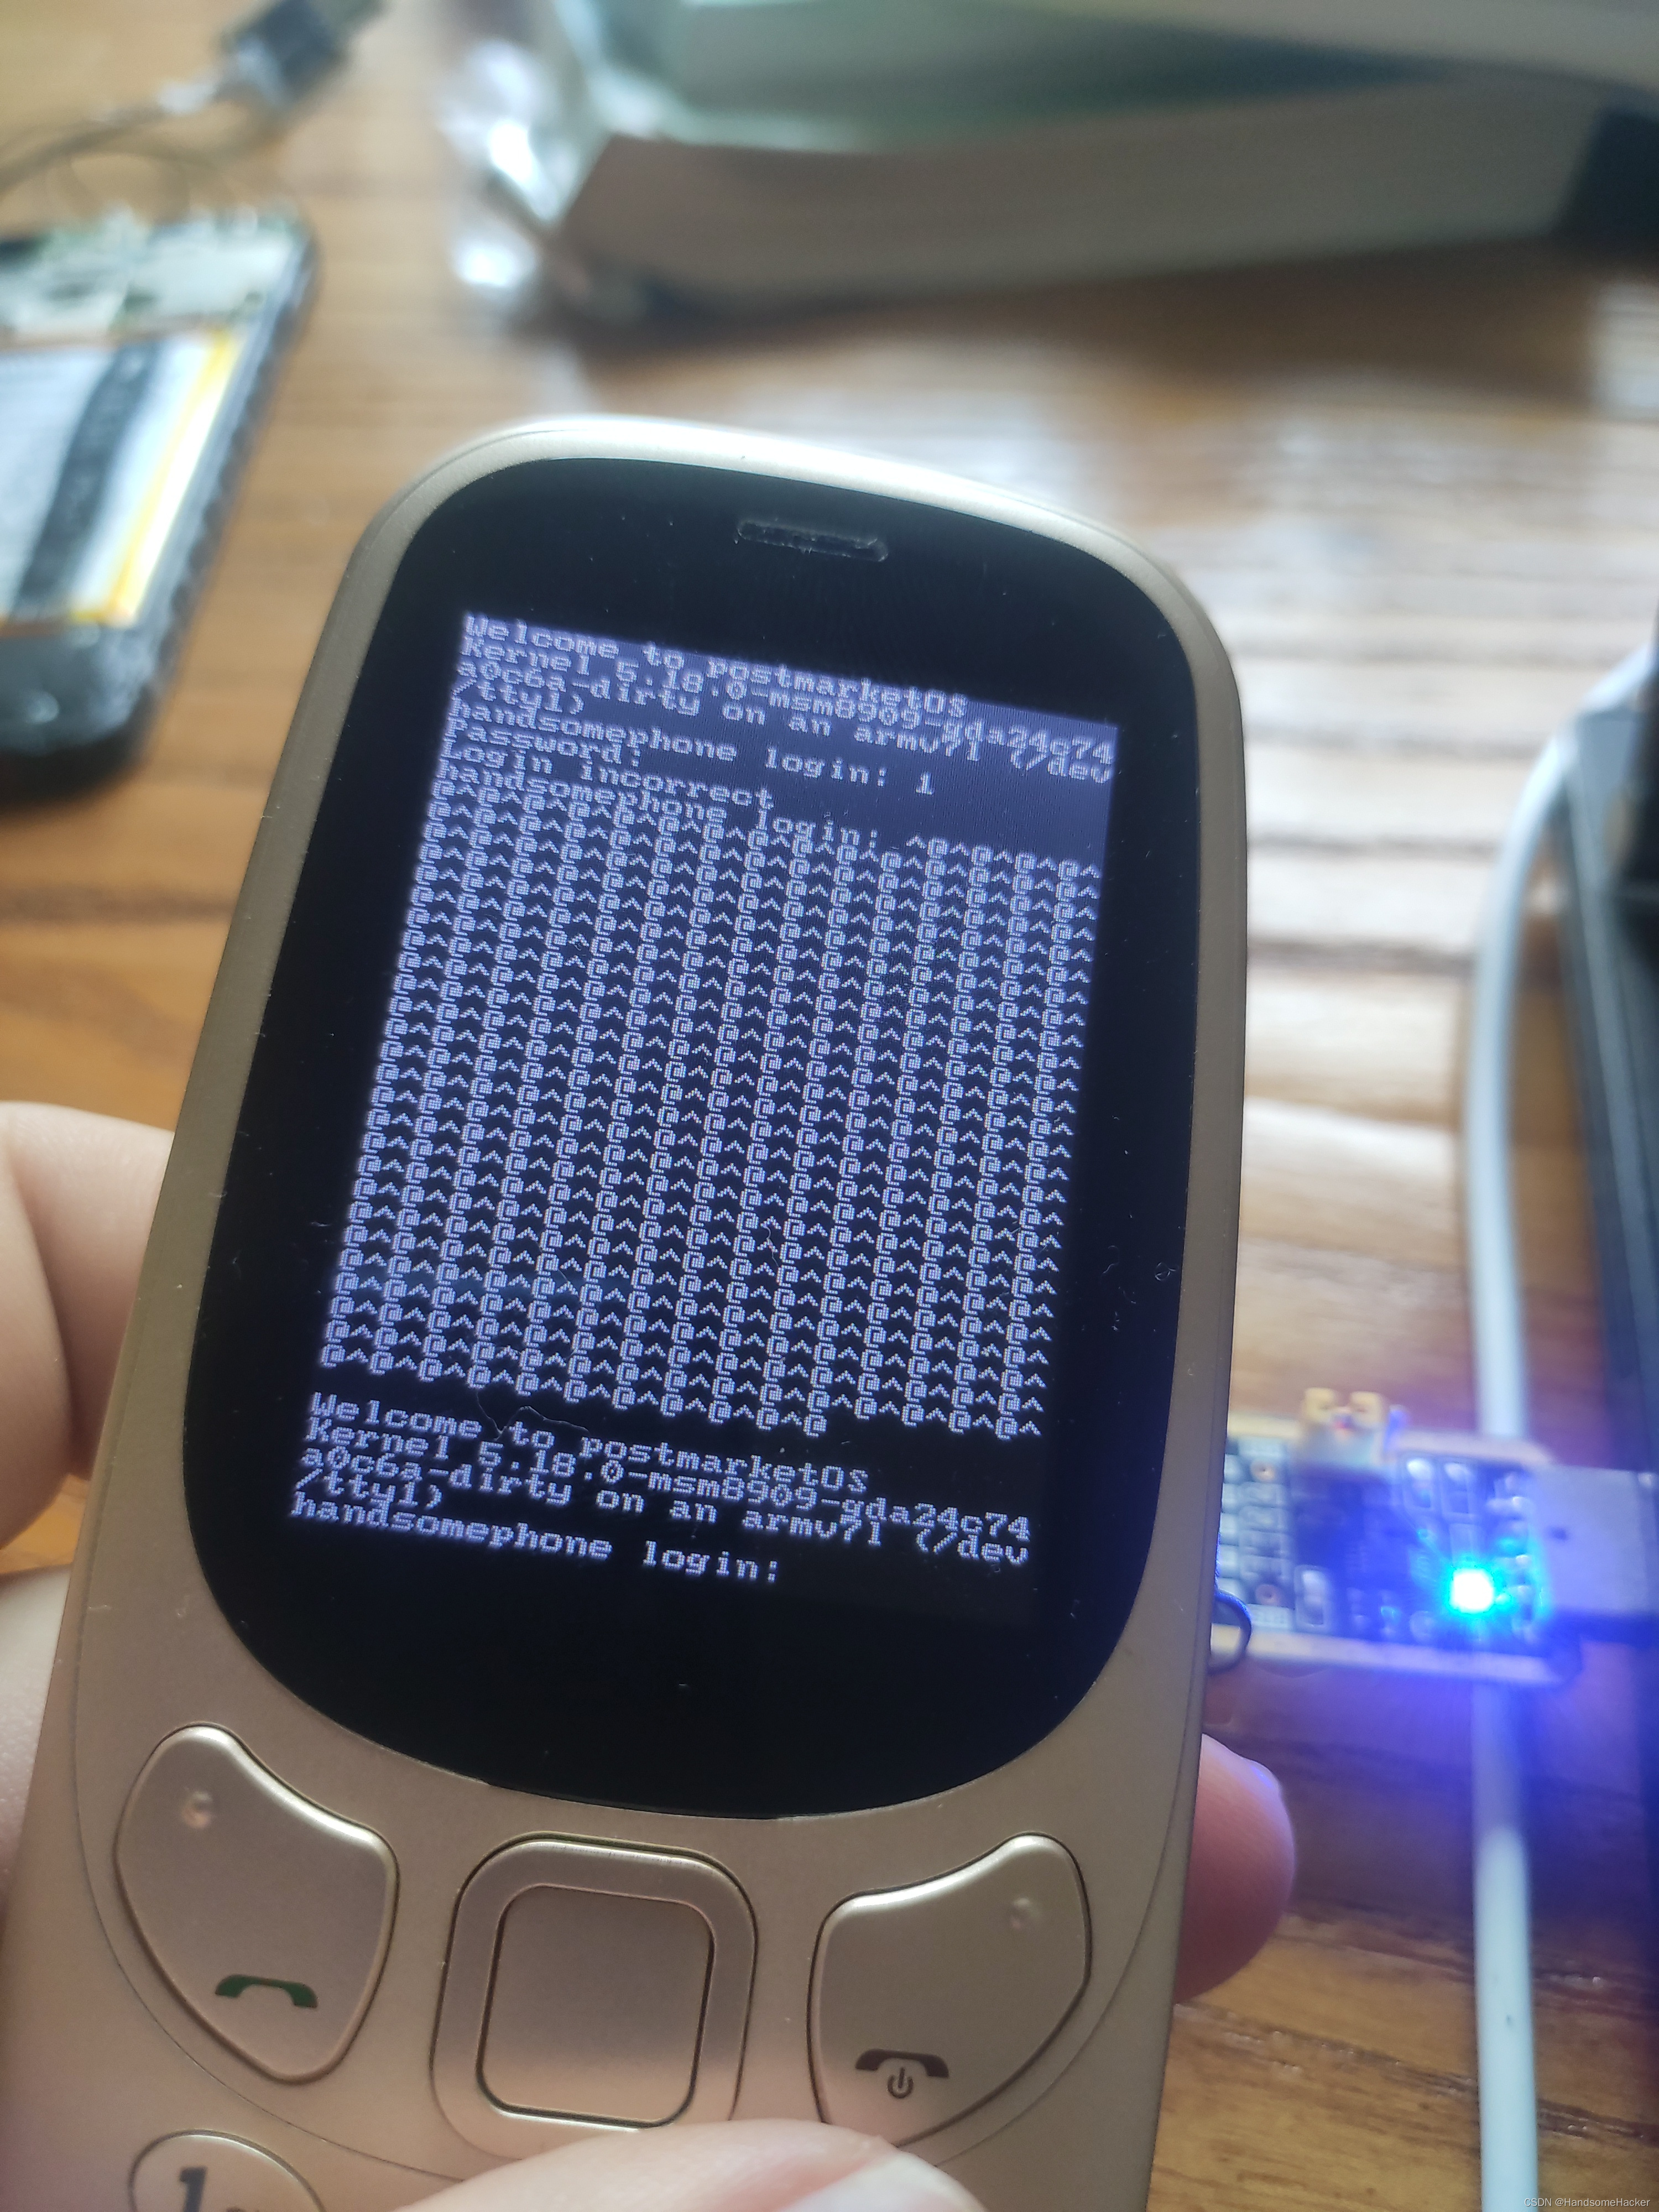
在initramfs文件夹中放入前面生成panel的firmware,重新编译后再次烧录,结果内核起来之后直接白屏了。。。。

spi屏主要依赖两个驱动,一个是高通的spi驱动,另一个是tinydrm,无法确定是初始化序列还是spi驱动的问题,想了很久,最后决定使用gpio模拟的spi来排除主线spi驱动的影响,在确定lcd初始化没问题的前提下再慢慢来排错,直接注释掉之前定义的spi节点,根据spi-gpio内核模块文档在/{}中定义gpio-spi节点。
gpio-spi {compatible = "spi-gpio";pinctrl-names = "default";pinctrl-0 = <&blsp_spi6_default>;#address-cells = <0x1>;#size-cells = <0x0>;sck-gpios = <&tlmm 11 0>;miso-gpios = <&tlmm 9 0>;mosi-gpios = <&tlmm 8 0>;cs-gpios = <&tlmm 10 0>;num-chipselects = <1>;/* panel子节点 */};
成功点亮屏幕,但是比ppt快不了多少。看来lcd初始化序列是没有问题的,问题就出在spi驱动上。
在结合安卓内核对spi驱动进行仔细分析后发现其实根本没有任何问题,主线内核设备树的cs脚默认是bias-disable状态的,上拉就好。
			blsp_spi6_default: blsp-spi6-default {pins = "gpio8", "gpio9", "gpio11";function = "blsp_spi6";drive-strength = <12>;bias-disable;cs {pins = "gpio10";function = "gpio";drive-strength = <2>;
+					bias-pull-up;
-					bias-disable;
-					output-high;};};
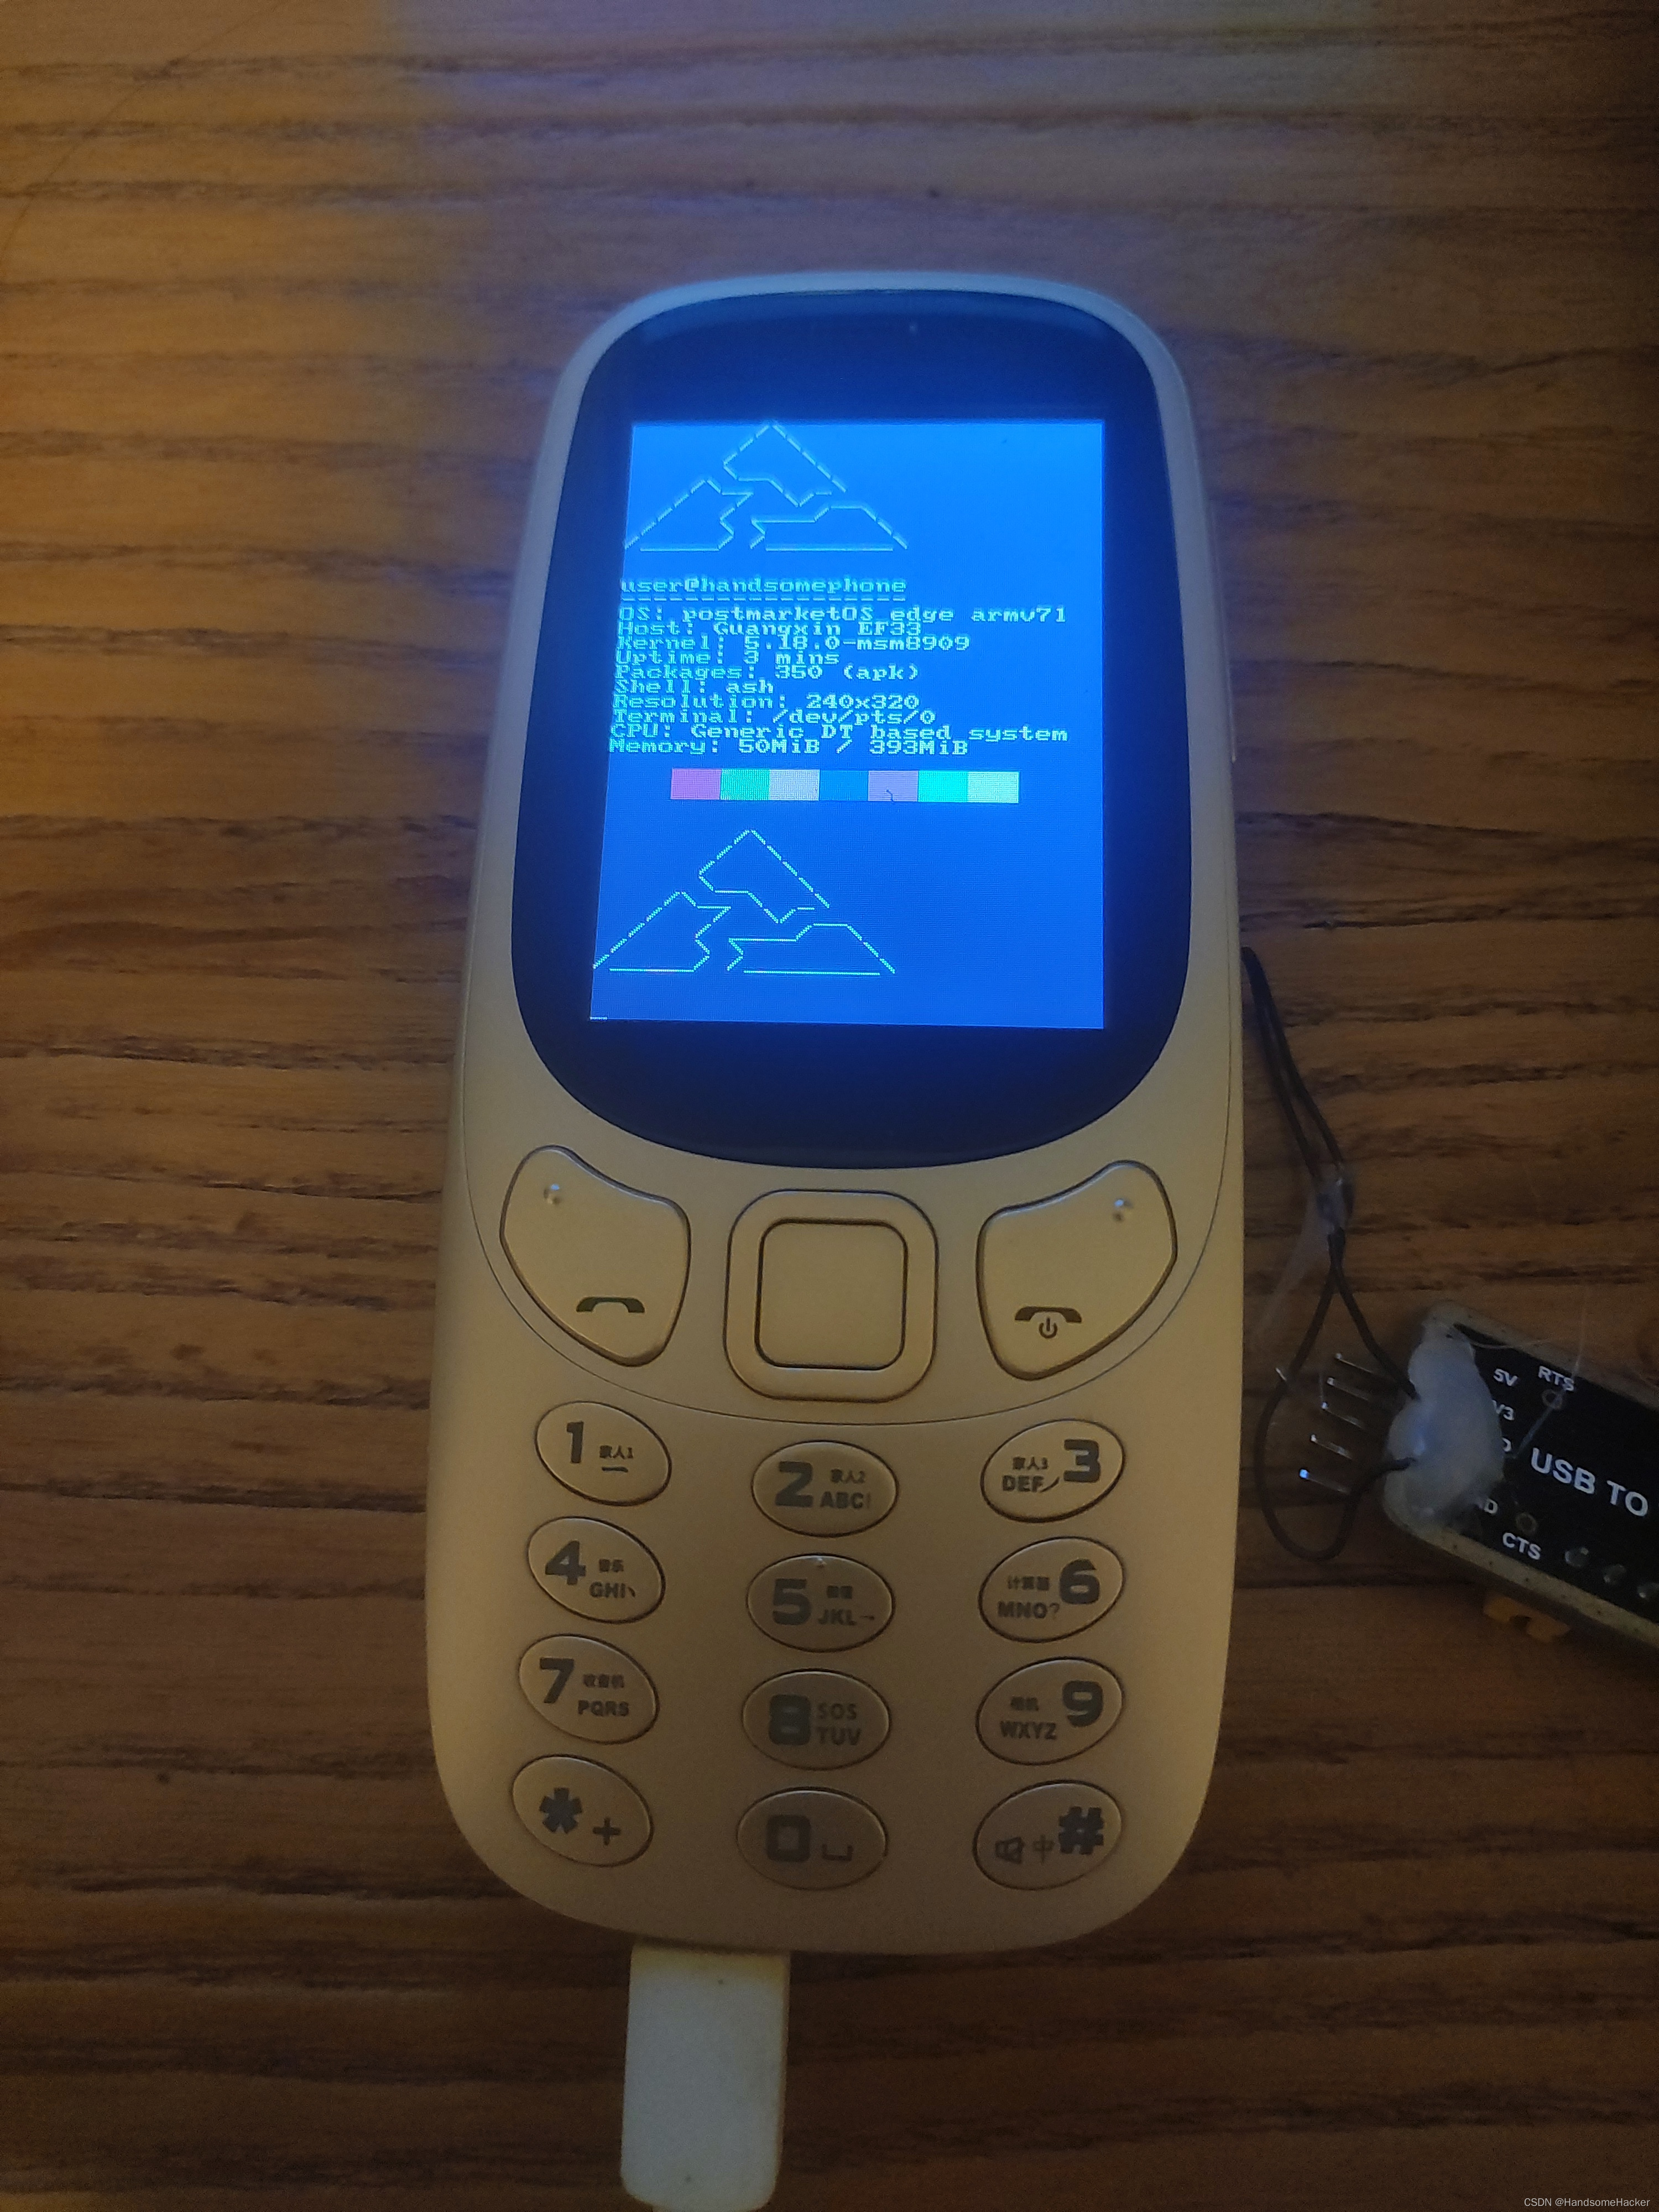
重新编译生成镜像后,屏幕正常点亮。
<这里有个配图>
解决掉屏幕后,继续调试基于gpio的矩阵键盘。
利用前面通过debugfs收集到的一些信息,大体可以得到矩阵键盘占用gpio的基本信息,但是在旧版内核驱动中,这个驱动貌似没怎么用到设备树,键盘布局和对应的按键keycode全部硬编码在内核模块里,除了一句非常简单的声明,反编译的设备树里几乎找不到其他的痕迹了。
matrix-keypad {compatible = "matrix-keypad";};
也只能硬猜了,行gpio有5个,列gpio同样也占了5个,那么总共有25个可能的组合,按照gpio-matrix-keypad的模块文档写出基本定义,将每个按键分别对应上25个英文字母对应的keycode,上实机一个个按,排除掉没有触发的按键,最后得到以下的结果。
matrix_keypad {compatible = "gpio-matrix-keypad";debounce-delay-ms = <10>;col-scan-delay-us = <2>;gpio-activehigh;pinctrl-names = "matrix_keypad_gpios";pinctrl-0 = <&matrix_keypad_gpios>;row-gpios = <&tlmm 97 0&tlmm 38 0&tlmm 36 0&tlmm 110 0&tlmm 98 0>;col-gpios = <&tlmm 32 0&tlmm 16 0&tlmm 15 0&tlmm 22 0&tlmm 14 0>;linux,keymap = <MATRIX_KEY(1, 0, KEY_LEFTSHIFT) /* # */MATRIX_KEY(1, 1, KEY_9) /* 9 */MATRIX_KEY(1, 2, KEY_6) /* 6 */MATRIX_KEY(1, 3, KEY_3) /* 3 */MATRIX_KEY(1, 4, KEY_ENTER) /* OK */MATRIX_KEY(2, 0, KEY_0) /* 0 */MATRIX_KEY(2, 1, KEY_8) /* 8 */MATRIX_KEY(2, 2, KEY_5) /* 5 */MATRIX_KEY(2, 3, KEY_2) /* 2 */MATRIX_KEY(2, 4, KEY_PICKUP_PHONE) /* PICKUP */MATRIX_KEY(3, 0, KEY_LEFTCTRL) /* * */MATRIX_KEY(3, 1, KEY_7) /* 7 */MATRIX_KEY(3, 2, KEY_4) /* 4 */MATRIX_KEY(3, 3, KEY_1) /* 1 */MATRIX_KEY(3, 4, KEY_BACK) /* BACK */MATRIX_KEY(4, 0, KEY_ENTER) /* CENTER */MATRIX_KEY(4, 1, KEY_DOWN) /* DOWN */MATRIX_KEY(4, 2, KEY_LEFT) /* LEFT */MATRIX_KEY(4, 3, KEY_UP) /* UP */MATRIX_KEY(4, 4, KEY_RIGHT) /* RIGHT */>;};
再次测试,成功触发所有按键。简单加了一下音量上下键的定义,除摄像头以外的外设算是全部驱动了。
// /{}gpio-keys {compatible = "gpio-keys";pinctrl-names = "default";pinctrl-0 = <&gpio_keys_default>;label = "GPIO Buttons";volume-up {label = "Volume Up";gpios = <&tlmm 90 GPIO_ACTIVE_LOW>;linux,code = <KEY_VOLUMEUP>;};};
//&pm8909_resin {status = "okay";linux,code = <KEY_VOLUMEDOWN>;
};
postmarketOS 移植
postmarketOS的移植就比较简单了,大佬们在pmbootstrap里做的很多工作已经让移植变得轻松很多了,只需要在pmboootstrap init时填写几个问题,拖入提取的boot.img,就能自动生成linux内核和device软件包,微调一下就能基本跑起来。
当然,你也可以使用mirror,现在很多镜像站都提供了pmOS的mirror,用法如下:
$ pmbootstrap --mirror-pmOS=https://mirrors.aliyun.com/postmarketOS/ \--mirror-alpine=https://mirrors.aliyun.com/alpine/ init
适用于该平台的配置如下,仅供参考。
$ pmbootstrap init
[22:08:38] Location of the 'work' path. Multiple chroots (native, device arch, device rootfs) will be created in there.
[22:08:38] Work path [/home/guo/pmboot]:
[22:08:39] NOTE: pmaports path: /home/guo/.local/var/pmbootstrap/cache_git/pmaports
[22:08:39] Choose the postmarketOS release channel.
[22:08:39] Available (6):
[22:08:39] * edge: Rolling release / Most devices / Occasional breakage: https://postmarketos.org/edge
[22:08:39] * v22.06: Latest release / Recommended for best stability
[22:08:39] * v21.12: Old release (supported until 2022-07-12)
[22:08:39] * v21.06: Old release (unsupported)
[22:08:39] * v21.03: Old release (unsupported)
[22:08:39] * v20.05: Old release (unsupported)
[22:08:39] Channel [edge]:
[22:08:40] Choose your target device vendor (either an existing one, or a new one for porting).
[22:08:40] Available vendors (70): acer, alcatel, amazon, apple, ark, arrow, asus, bq, cubietech, essential, fairphone, finepower, fly, goclever, google, gp, guangxin, hisense, htc, huawei, infocus, jolla, klipad, kobo, lark, leeco, lenovo, lg, medion, meizu, microsoft, mobvoi, motorola, nextbit, nobby, nokia, nvidia, odroid, oneplus, oppo, ouya, pegatron, pine64, planet, purism, qemu, raspberry, samsung, semc, sharp, shift, sipeed, sony, sourceparts, surftab, t2m, tablet, teclast, tokio, tolino, trekstor, vernee, wexler, wiko, wileyfox, xiaomi, xunlong, yu, zte, zuk
[22:08:40] Vendor [guangxin]:
[22:08:42] Device codename [ef33]: ef33
[22:08:45] You are about to do a new device port for 'guangxin-ef33'.
[22:08:45] Continue? (y/n) [y]: y
[22:08:56] Generating new aports for: guangxin-ef32...
[22:08:56] Device architecture (armv7/aarch64/x86_64/x86) [armv7]:
[22:08:57] Who produced the device (e.g. LG)?
[22:08:57] Manufacturer: Guangxin
[22:09:02] What is the official name (e.g. Google Nexus 5)?
[22:09:02] Name: Guangxin EF33
[22:09:10] In what year was the device released (e.g. 2012)?
[22:09:10] Year: 2015
[22:09:14] What type of device is it?
[22:09:14] Valid types are: desktop, laptop, convertible, server, tablet, handset, watch, embedded, vm
[22:09:14] Chassis: handset
[22:09:20] Does the device have a hardware keyboard? (y/n) [n]: y
[22:09:22] Does the device have a sdcard or other external storage medium? (y/n) [n]: y
[22:09:50] Which flash method does the device support?
[22:09:50] Flash method (0xffff/fastboot/heimdall/none/rkdeveloptool/uuu) [0xffff]: fastboot
[22:09:56] You can analyze a known working boot.img file to automatically fill out the flasher information for your deviceinfo file. Either specify the path to an image or press return to skip this step (you can do it later with 'pmbootstrap bootimg_analyze').
[22:10:44] Path: ~/boot.bin
[22:18:23] NOTE: You will be prompted for your sudo/doas password, so we can set up a chroot to extract and analyze your boot.img file
[22:18:26] Update package index for x86_64 (4 file(s))
[22:18:29] (native) install file unpackbootimg
[22:18:30] *** pmaport generated: /home/guo/.local/var/pmbootstrap/cache_git/pmaports/device/testing/device-guangxin-ef33
[22:18:30] SoC vendor (spreadtrum/exynos/other) [other]:
[22:18:33] *** pmaport generated: /home/guo/.local/var/pmbootstrap/cache_git/pmaports/device/testing/linux-guangxin-ef33
* 后面的和一般的一样就不展示了 *
根据输出,可以知道
- Device 软件包生成在
~/.local/var/pmbootstrap/cache_git/pmaports/device/testing/device-<设备名>下 - Kernel 软件包生成在
~/.local/var/pmbootstrap/cache_git/pmaports/device/testing/linux-<设备名>下
注意生成的软件包是针对安卓内核的,主线内核编译依赖和打的内核补丁均不一样,按apq8084(同样是armv7的)的主线内核软件包修改出适用于msm8909软件包如下。
_flavor="qcom-msm8909"
pkgname=linux-guangxin-ef33
_commit=704b15eb90efe70edefdec89cd957e29d1009259
pkgver=5.18.0
pkgrel=0
arch="armv7"
pkgdesc="Upstream unstable kernel with patches for Guangxin EF33"
url="https://github.com/HandsomeYingyan/linux-msm8909-5.18/tree/main"
options="!strip !check !tracedepspmb:cross-nativepmb:kconfigcheck-anboxpmb:kconfigcheck-apparmorpmb:kconfigcheck-containerspmb:kconfigcheck-iwdpmb:kconfigcheck-nftablespmb:kconfigcheck-zram
"
makedepends="bisonfindutilsflexgmp-devmpc1-devmpfr-devopenssl-devperlpostmarketos-installkernel
"
source="$pkgname-$pkgver.tar.gz::https://github.com/HandsomeYingyan/linux-msm8909-5.18/archive/$_commit.tar.gzconfig-msm8909.$arch"
license="GPL2"
_abi_release=$pkgver
_carch="arm"builddir="$srcdir/linux-msm8909-5.18-$_commit"prepare() {default_preparecp "$srcdir/config-msm8909.$arch" .config
}build() {unset LDFLAGSmake ARCH="$_carch" CC="${CC:-gcc}" \KBUILD_BUILD_VERSION="$((pkgrel + 1 ))-postmarketOS" \CFLAGS_MODULE=-fno-pic
}package() {mkdir -p "$pkgdir"/bootmake zinstall modules_install dtbs_install \ARCH="$_carch" \INSTALL_PATH="$pkgdir"/boot \INSTALL_MOD_PATH="$pkgdir" \INSTALL_DTBS_PATH="$pkgdir"/usr/share/dtbrm -f "$pkgdir"/lib/modules/*/build "$pkgdir"/lib/modules/*/sourceinstall -D "$builddir"/include/config/kernel.release \"$pkgdir"/usr/share/kernel/$_flavor/kernel.release}sha512sums="
c5a23e1b90fcd574deaa2b9a7137aa1b90f77e49170c79123469cb1c9f17c22fa2f423f586c4e33705098f5d4883b7e6554895924f96b1c6689496a4c05e6306  linux-guangxin-ef33-5.18.0.tar.gz
14f4592b709b4fa3aceea66a34eda8db33794617dc6942e835d23c7d243558da558cf3799060198c658b0cefdc12ebc813ad2e0aa26b19e46e5c548b39048825  config-msm8909.armv7
"
这里需要注意的一点是不要乱删减_开头的变量定义,虽然不影响alpine生成对应的软件包,但是pmOS的一些核心组件依赖这些变量(比如initramfs没_flavor就会在安装的时候报错),在软件包下放入和定义一样的内核配置文件后运行pmbootstrap checksum linux-guangxin-ef33即可自动生成相应文件的sha512值。
最后小改一下自动生成的device软件包中的deviceinfo文件,生成一下checksum,一个基本的文件系统就没有问题了。
deviceinfo_format_version="0"
deviceinfo_name="Guangxin EF33"
deviceinfo_manufacturer="Guangxin"
deviceinfo_codename="guangxin-ef33"
deviceinfo_year="2016"
deviceinfo_dtb="qcom-msm8909-guangxin-ef33"
deviceinfo_append_dtb="true"
deviceinfo_modules_initfs=""
deviceinfo_arch="armv7"# Device related
deviceinfo_chassis="handset"
deviceinfo_keyboard="true"
deviceinfo_external_storage="true"
deviceinfo_screen_width="800"
deviceinfo_screen_height="600"
deviceinfo_getty="ttyMSM0;115200"# Bootloader related
deviceinfo_flash_method="fastboot"
deviceinfo_kernel_cmdline="earlycon console=ttyMSM0,115200 console=tty0 PMOS_NO_OUTPUT_REDIRECT"
deviceinfo_generate_bootimg="true"
deviceinfo_flash_sparse="true"
deviceinfo_flash_pagesize="2048"
deviceinfo_flash_offset_base="0x80000000"
deviceinfo_flash_offset_kernel="0x00008000"
deviceinfo_flash_offset_ramdisk="0x01000000"
deviceinfo_flash_offset_second="0x00f00000"
deviceinfo_flash_offset_tags="0x00000100"
但是这种方式对于之后的内核调试还是不太方便,pmOS提供了envkernel.sh自动生成并替换对应的内核软件包,按照pmOS Wiki中的描述,大体上我的步骤如下。
- 首先从
gitlab拉一份pmbootstrap的源码(pip里的不包含这个脚本),把这个文件夹和linux内核源码文件夹放在同一个地方。 - 确保内核源码是干净的(使用
make mrproper清理掉之前编译产物) - 在linux内核源码文件夹中初始化环境变量
source ../pmbootstrap/helpers/envkernel.sh
*make XXX_defconfig&&make menuconfig&&make -j{cpu 核心数}(没错,不需要指定交叉编译器,所有的东西envkernel都帮你配好了) - 执行
pmbootstrap build --envkernel <linux内核软件包名>按apkbuild定义的规则生成这个内核的软件包。 - 执行
pmbootstrap install生成rootfs,linux软件包会自动替换成envkernel脚本生成的软件包。 - 正常刷写即可启动新的内核。
注意所有的pmbootstrap都可以通过在中间插入--mirror-pmOS与--mirror-alpine使用镜像加快速度。每次执行完pmbootstrap install后需要重新source环境变量。
运行展示
在/lib/firmware里放上panel、wifi、modem的firmware后,所有的基本功能基本上在这台老年机上得到了基本的驱动。


未来在主线内核驱动更多外设后会随时更新第三章,敬请期待!


