父子通信
父传子

App.vue
<script setup>
// 局部组件(直接导入就能用,不用注册)import sonFirst from './components/son-First.vue'
// 父传子
// 1. 给子组件,添加属性的方式传值
// 2. 在子组件,通过 props 接收
import {ref} from 'vue'
const sum = ref(200) // 响应式值的传递
const getmore = () => {sum.value++
}
</script><template><div><h3>父组件 {{ sum }}<button @click="getmore">+1</button></h3><!-- 给子组件以添加属性的方式传值 --><son-First fruit="苹果" :sum="sum"></son-First></div>
</template>
son-First.vue
<script setup>
// 注意:由于写了 setup,所以无法直接配置 props 选项
// 因此,此处需要借助于“编译器宏”函数接收子组件传递的值
const props = defineProps({fruit: String,sum: Number
})
console.log(props.fruit)
console.log(props.sum)
// 子组件
// import son from './components/son.vue'
// 父传子
// 1. 给子组件,添加属性的方式传值
// 2. 在子组件,通过 props 接收</script><template>
<!-- 对于 props 传递过来的数据,模板中可以直接使用 --><div class="son">子组件 - {{ fruit }}+ {{ sum }}</div>
</template><style scoped>S.son{border: 2px solid red;padding: 25px;}
</style>
defineProps原理

子传父

App.vue
<script setup>
// 局部组件(直接导入就能用,不用注册)import sonFirst from './components/son-First.vue'
// 父传子
// 1. 给子组件,添加属性的方式传值
// 2. 在子组件,通过 props 接收// 子传父
// 1. 在子组件中,emit 触发事件 (编译器宏获取)
// 2. 在父组件,通过 @ 监听
import {ref} from 'vue'
const sum = ref(200) // 响应式值的传递
const getmore = () => {sum.value++
}
const changefn = (newsum) => {sum.value = newsum
}
</script><template><div><h3>父组件 {{ sum }}<button @click="getmore">+1</button></h3><!-- 给子组件以添加属性的方式传值 --><son-Firstfruit="苹果":sum="sum"@changenum="changefn"></son-First></div>
</template>
son-First.vue
<script setup>
// 注意:由于写了 setup,所以无法直接配置 props 选项
// 因此,此处需要借助于“编译器宏”函数接收子组件传递的值
const props = defineProps({fruit: String,sum: Number
})
console.log(props.fruit)
console.log(props.sum)
// 子组件
// import son from './components/son.vue'
// 父传子
// 1. 给子组件,添加属性的方式传值
// 2. 在子组件,通过 props 接收// 子传父
// 1. 在子组件中,emit 触发事件 (编译器宏获取)
// 2. 在父组件,通过 @ 监听
const emit = defineEmits(['changenum'])const subnum = () => {// 需要 emit 触发事件emit('changenum', 5)
}
</script><template>
<!-- 对于 props 传递过来的数据,模板中可以直接使用 --><div class="son">子组件 - {{ fruit }}+ {{ sum }}<button @click="subnum">-1</button></div>
</template><style scoped>S.son{border: 2px solid red;padding: 25px;}
</style>
总结

模板引用
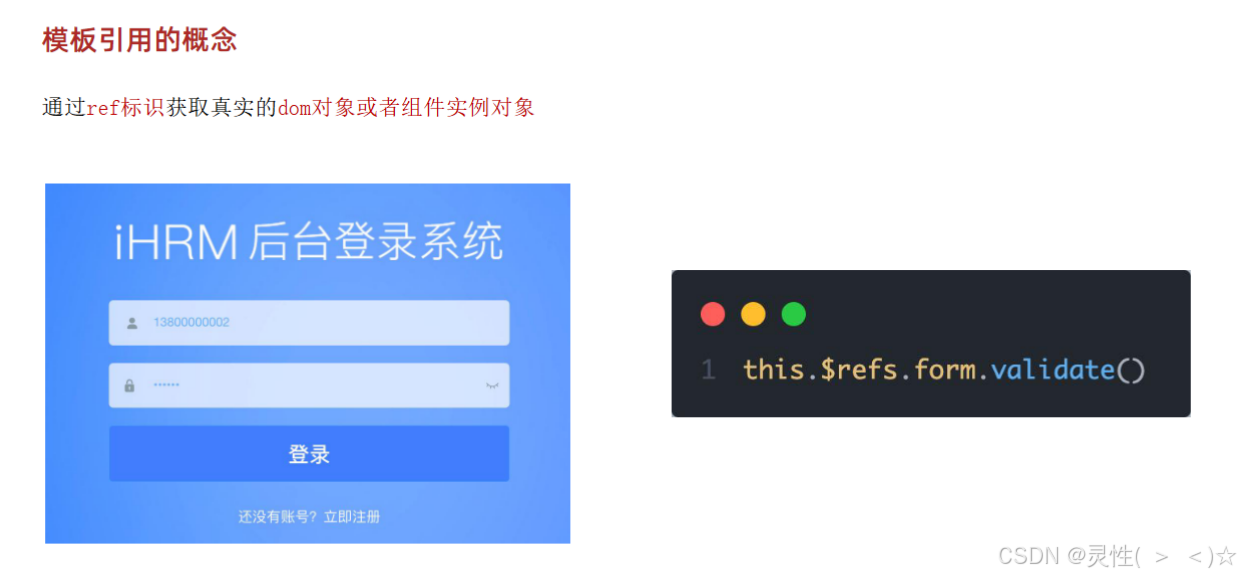
模板引用的概念
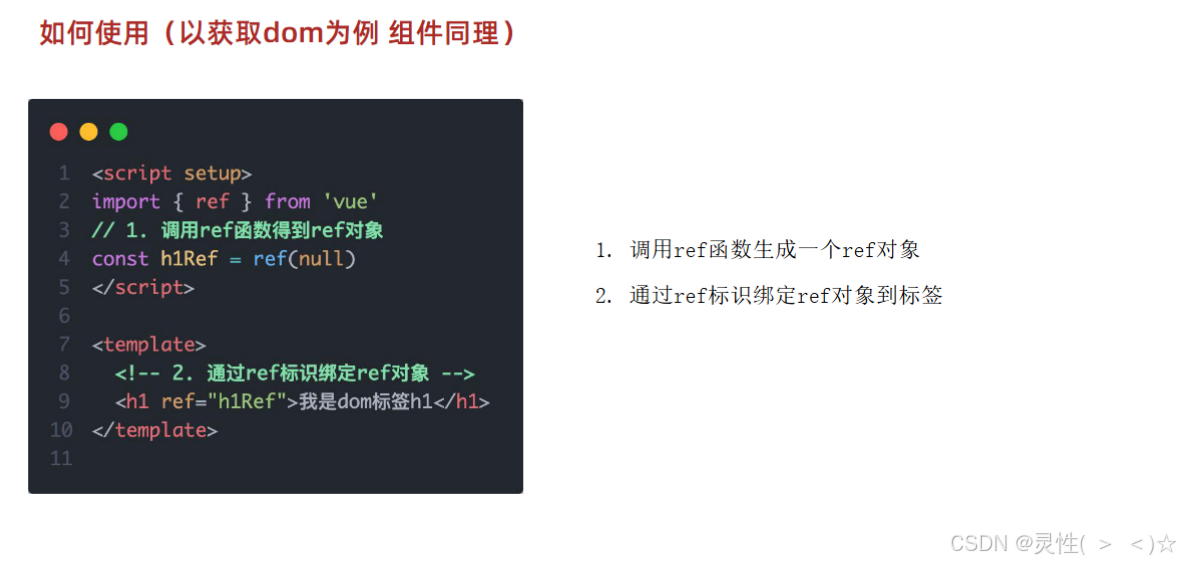
如何使用(以dom为例) 
App.vue
<script setup>
import TextCom from '@/components/textCom.vue'
import {onMounted, ref} from 'vue'
// 模板引用(可以获取dom,也可以获取组件)
//  1. 调用ref函数,生成一个对象
//  2. 通过ref标识,进行绑定
//  3. 通过ref对象.value即可访问到绑定的元素(必需渲染完成后才能拿到)
const inp = ref(null)
// console.log(inp.value)
onMounted(() => {// console.log(inp.value)// inp.value.focus() // 聚焦
})
const clickFn = () => {inp.value.focus()
}// ----------------------------------------------
const textRef =  ref(null)
const getCom = () => {console.log(textRef.value)
}
</script>
<template><div><input ref="inp" type="text"><button @click="clickFn">通过点击按钮聚焦</button><TextCom ref="textRef"></TextCom><button @click="getCom">获取组件</button></div>
</template>
<style scoped></style>
defineExpose()

textCom.vue
<script setup>const count = 99999
const hello = () => {console.log('你好啊,世界')
}// defineExpose 编译宏,指定哪些属性和方法允许访问
defineExpose({count,hello
})
</script><template><div>我是测试组件 - {{ count }}</div>
</template>
App.vue
<script setup>
import TextCom from '@/components/textCom.vue'
import {onMounted, ref} from 'vue'
// 模板引用(可以获取dom,也可以获取组件)
//  1. 调用ref函数,生成一个对象
//  2. 通过ref标识,进行绑定
//  3. 通过ref对象.value即可访问到绑定的元素(必需渲染完成后才能拿到)
const inp = ref(null)
// console.log(inp.value)
onMounted(() => {// console.log(inp.value)// inp.value.focus() // 聚焦
})
const clickFn = () => {inp.value.focus()
}// ----------------------------------------------
const textRef =  ref(null)
const getCom = () => {console.log(textRef.value.count)textRef.value.hello()
}
</script>
<template><div><input ref="inp" type="text"><button @click="clickFn">通过点击按钮聚焦</button><TextCom ref="textRef"></TextCom><button @click="getCom">获取组件</button></div>
</template>
<style scoped></style>
总结


