目录
1.先导jar包
2.在Springmvc.xml配置文件上传解析器
3. 编写文件上传的html页面
4.在controller包中创建FileController.class文件
5.文件下载
6.重启服务器测试
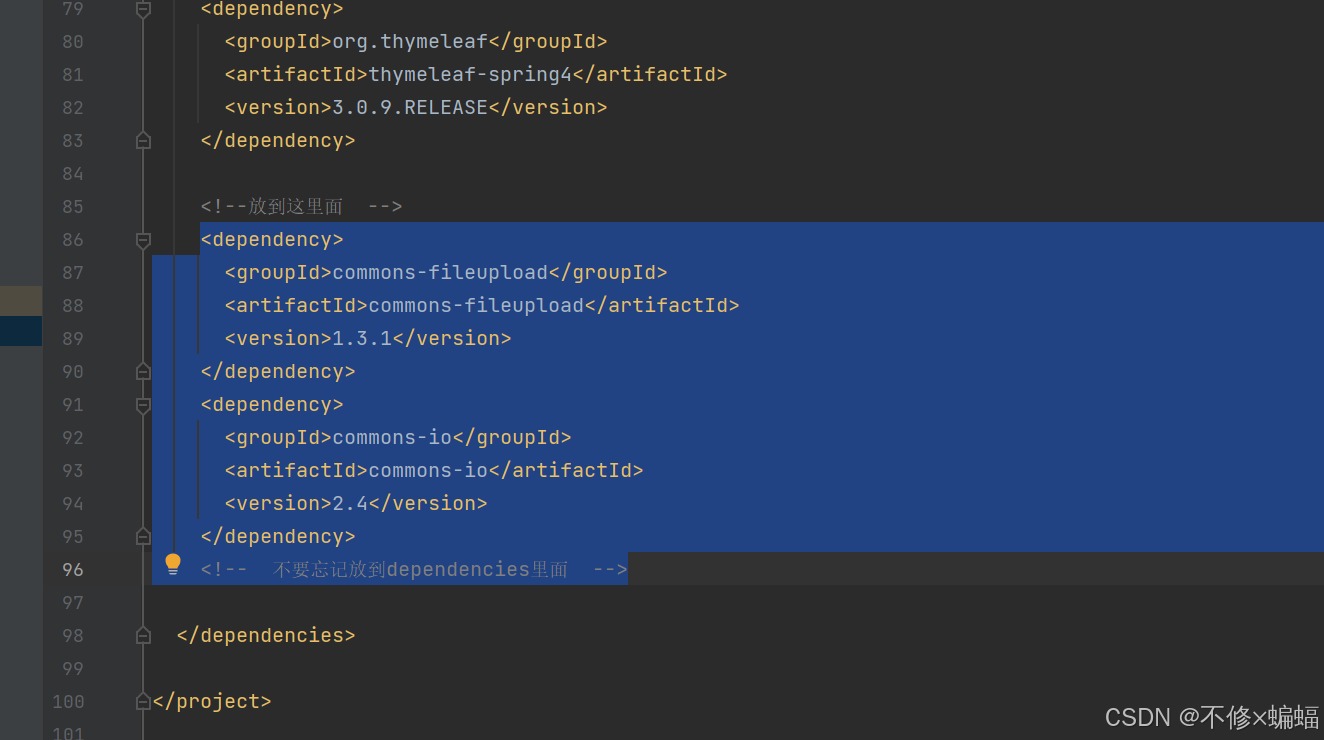
1.先导jar包
<dependency><groupId>commons-fileupload</groupId><artifactId>commons-fileupload</artifactId><version>1.3.1</version>
</dependency>
<dependency><groupId>commons-io</groupId><artifactId>commons-io</artifactId><version>2.4</version>
</dependency>
将上述jar包放进pom.xml中:
2.在Springmvc.xml配置文件上传解析器
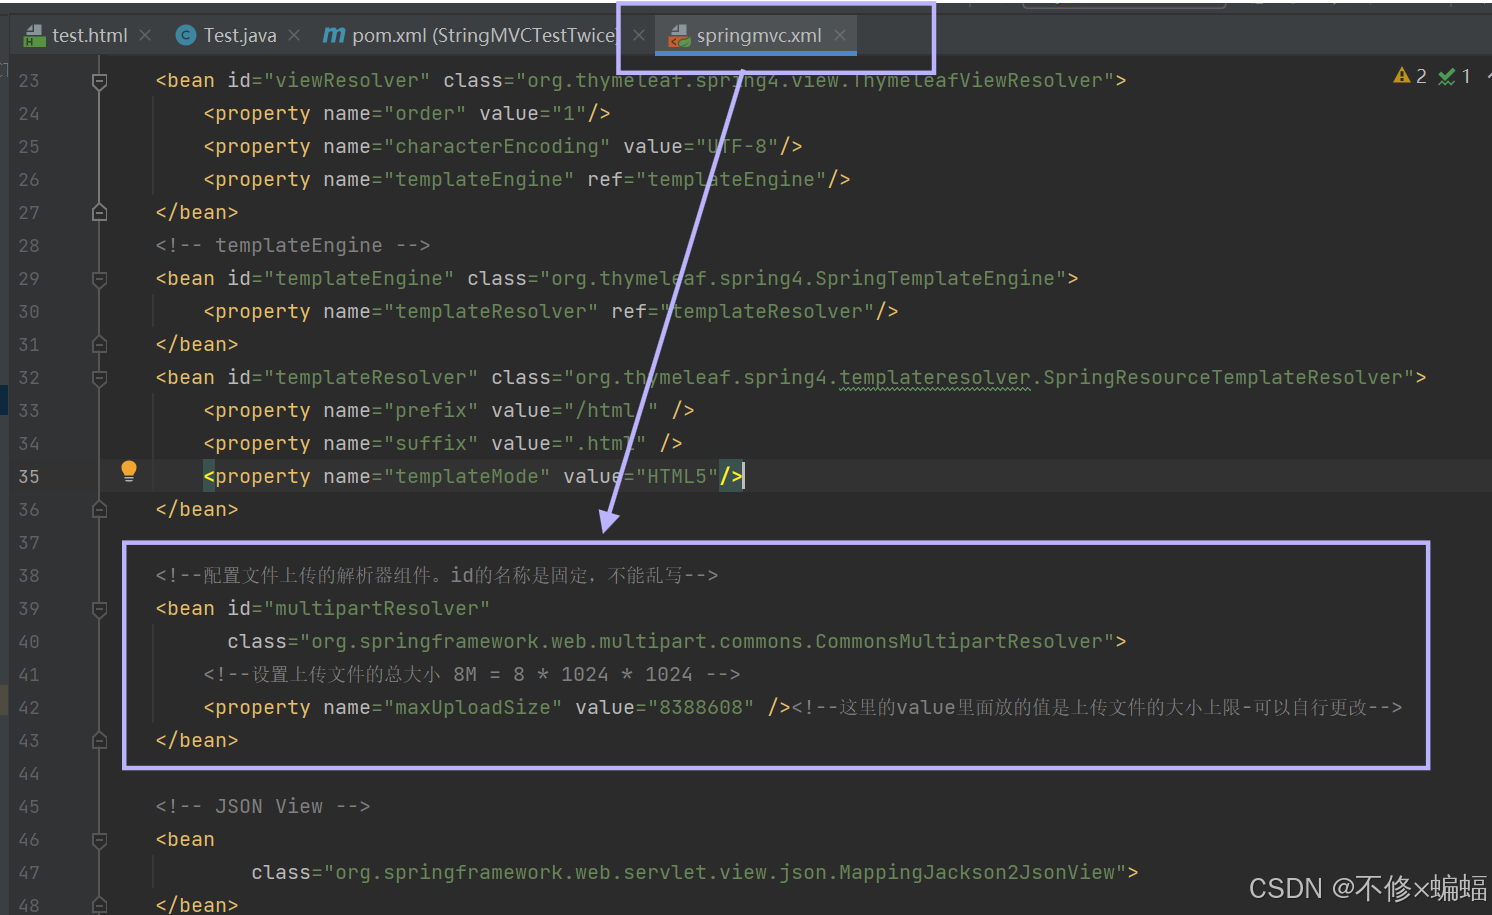
<!--配置文件上传的解析器组件。id的名称是固定,不能乱写--><bean id="multipartResolver"class="org.springframework.web.multipart.commons.CommonsMultipartResolver"><!--设置上传文件的总大小 8M = 8 * 1024 * 1024 --><property name="maxUploadSize" value="8388608" /><!--这里的value里面放的值是上传文件的大小上限-可以自行更改--></bean>如下:
3. 编写文件上传的html页面
直接用index.html界面吧:
将这一段body内容放进去:
<h3>文件上传</h3><form id="addForm"  action="/改成和自己的项目名称相对应/file/upload" method="post" enctype="multipart/form-data">选择文件:<input type="file" name="file" width="120px"><input type="submit" value="上传">
</form><div id="upMenu" class="white_content"><form id="downForm"   lay-filter="updata" action="/改成和自己的项目名称相对应/file/down" method="get"><input type="text" id="filename" name="filename"><input type="submit" value="下载"></form><input type="button" value="完成"/>
</div>
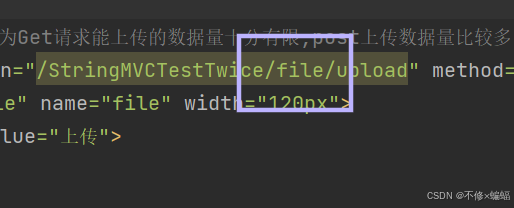
即:
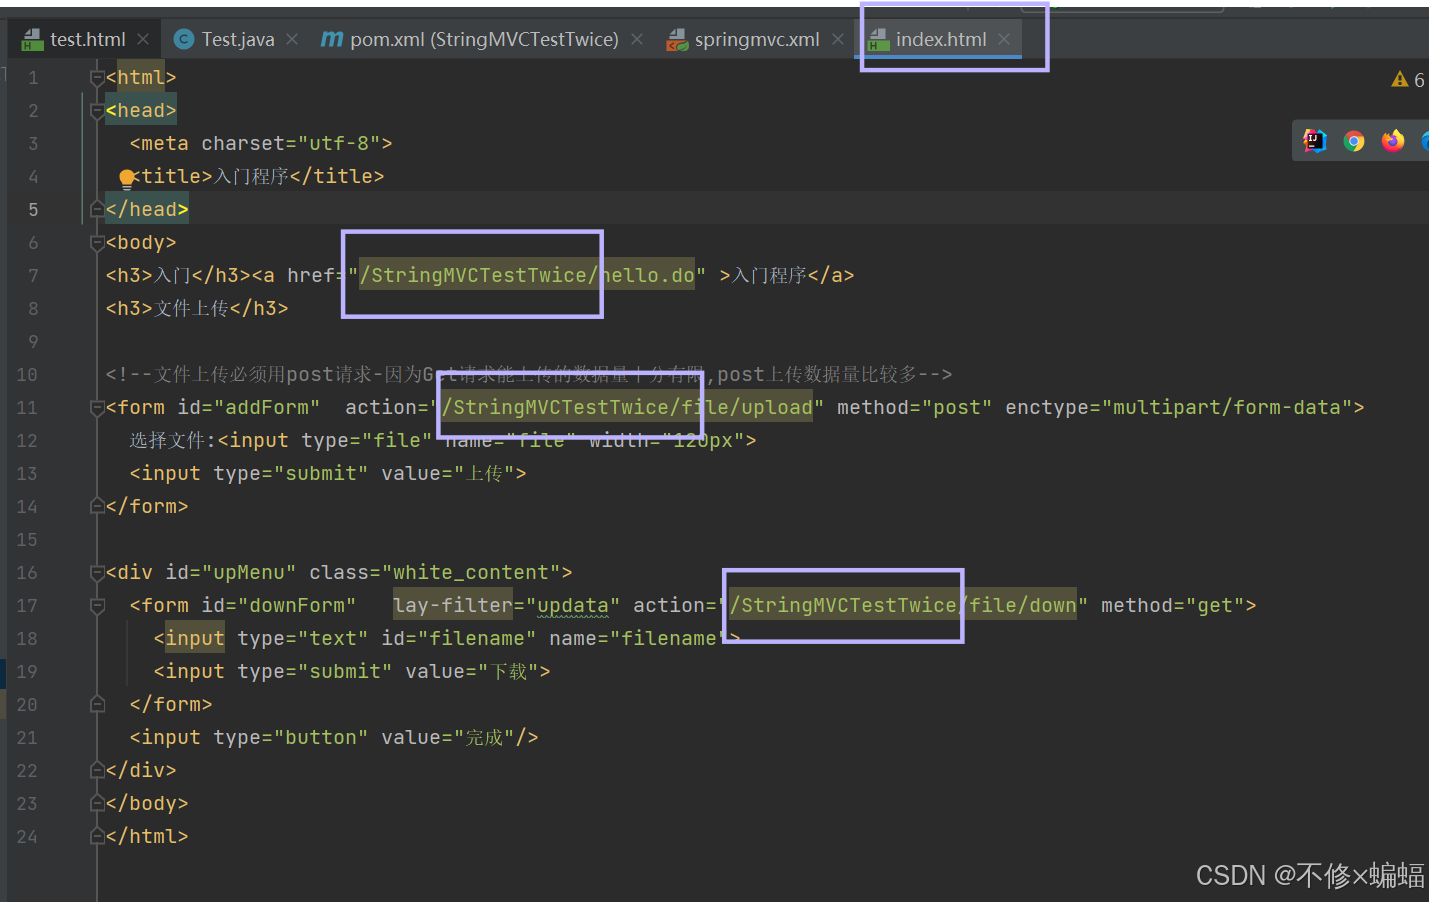
注意:这里指的是一级路径(controller层)
4.在controller包中创建FileController.class文件
java">package controller;import org.springframework.stereotype.Controller;
import org.springframework.web.bind.annotation.RequestMapping;
import org.springframework.web.bind.annotation.RequestMethod;
import org.springframework.web.bind.annotation.RequestParam;
import org.springframework.web.bind.annotation.ResponseBody;
import org.springframework.web.multipart.MultipartFile;import javax.servlet.http.HttpServletRequest;
import java.io.File;
import java.io.IOException;@Controller
@RequestMapping("/file")
public class FileController {/*** 文件上传功能* @param file* @return* @throws IOException*/@RequestMapping(value="/upload",method= RequestMethod.POST)@ResponseBody//这里入参的注解是为了明确参数来源,如果没有这个注解,Spring MVC 可能无法正确地将请求中的文件参数映射到方法参数file//@RequestParam("file")用于指定一个名为file的请求参数,并将其绑定到MultipartFile类型的file参数上public  String upload(@RequestParam("file") MultipartFile file, HttpServletRequest request) throws IOException {// uploads文件夹位置String rootPath = request.getSession().getServletContext().getRealPath("WEB-INF/upload");//这里表示上传的位置(目前是没有的,需要去建一下)// 原始名称String originalFileName = file.getOriginalFilename();// 新文件File newFile = new File(rootPath + File.separator  + File.separator + originalFileName);// 判断目标文件所在目录是否存在if( !newFile.getParentFile().exists()) {// 如果目标文件所在的目录不存在,则创建父目录newFile.getParentFile().mkdirs();}System.out.println(newFile);// 将内存中的数据写入磁盘file.transferTo(newFile);return  "{\"data\":\"success\"}";//这里是拼出来的json数据,本质还是字符串}}
注意这里,需要去WEB-INF里面创建一下(选这里是为了方便,完全可以填其他的C:或D:盘下的某个路径):

当然就算不手动创建,代码中也会给我们自行创建:
上面就实现了文件的上传,现在来加上文件的下载功能:
5.文件下载
加到FileController.class文件中:
java"> /*** 文件下载功能* @param request* @param response* @throws Exception*/@RequestMapping("/down")public void down(HttpServletRequest request, HttpServletResponse response) throws Exception{//手动去搜索一下名字,因为这里并没有实现前端页面String filename = request.getParameter("filename");System.out.println(filename);//模拟文件,myfile.txt为需要下载的文件String fileName = request.getSession().getServletContext().getRealPath("WEB-INF/upload")+"/"+filename;//获取输入流InputStream bis = new BufferedInputStream(new FileInputStream(new File(fileName)));//假如以中文名下载的话// String filename = "下载文件.txt";//转码,免得文件名中文乱码filename = URLEncoder.encode(filename,"UTF-8");//设置文件下载头response.addHeader("Content-Disposition", "attachment;filename=" + filename);//1.设置文件ContentType类型,这样设置,会自动判断下载文件类型response.setContentType("multipart/form-data");BufferedOutputStream out = new BufferedOutputStream(response.getOutputStream());int len = 0;while((len = bis.read()) != -1){out.write(len);out.flush();}out.close();}
6.重启服务器测试
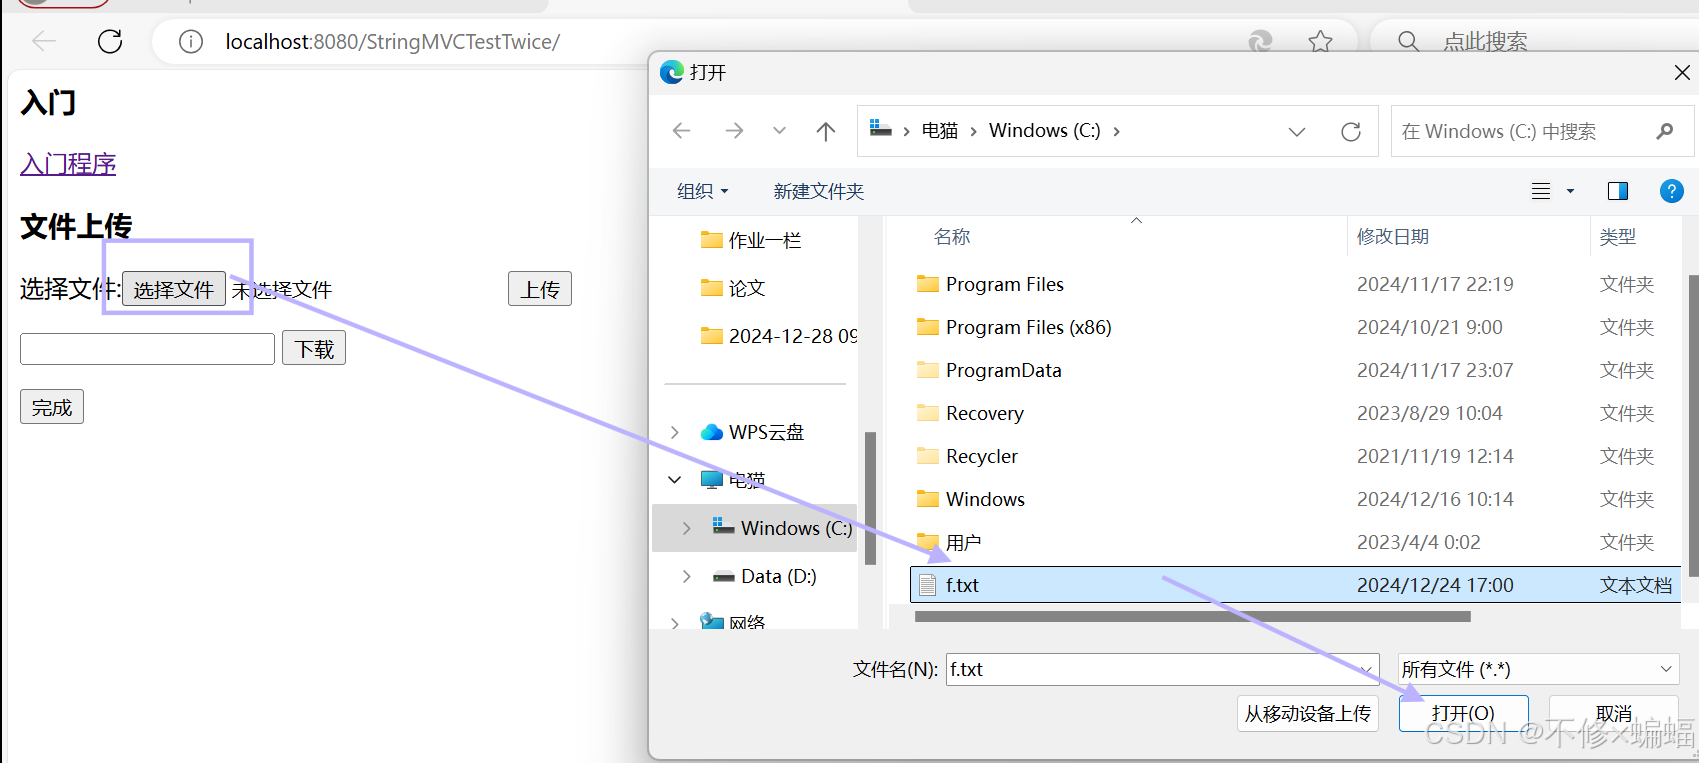
运行后显示界面,点击选择文件,随机选择一个小于8M的文件(代码中手动设置的上传上限)打开上传:
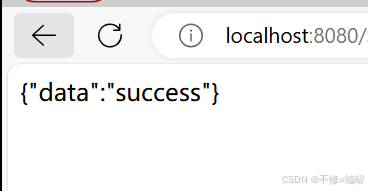
提示上传成功:
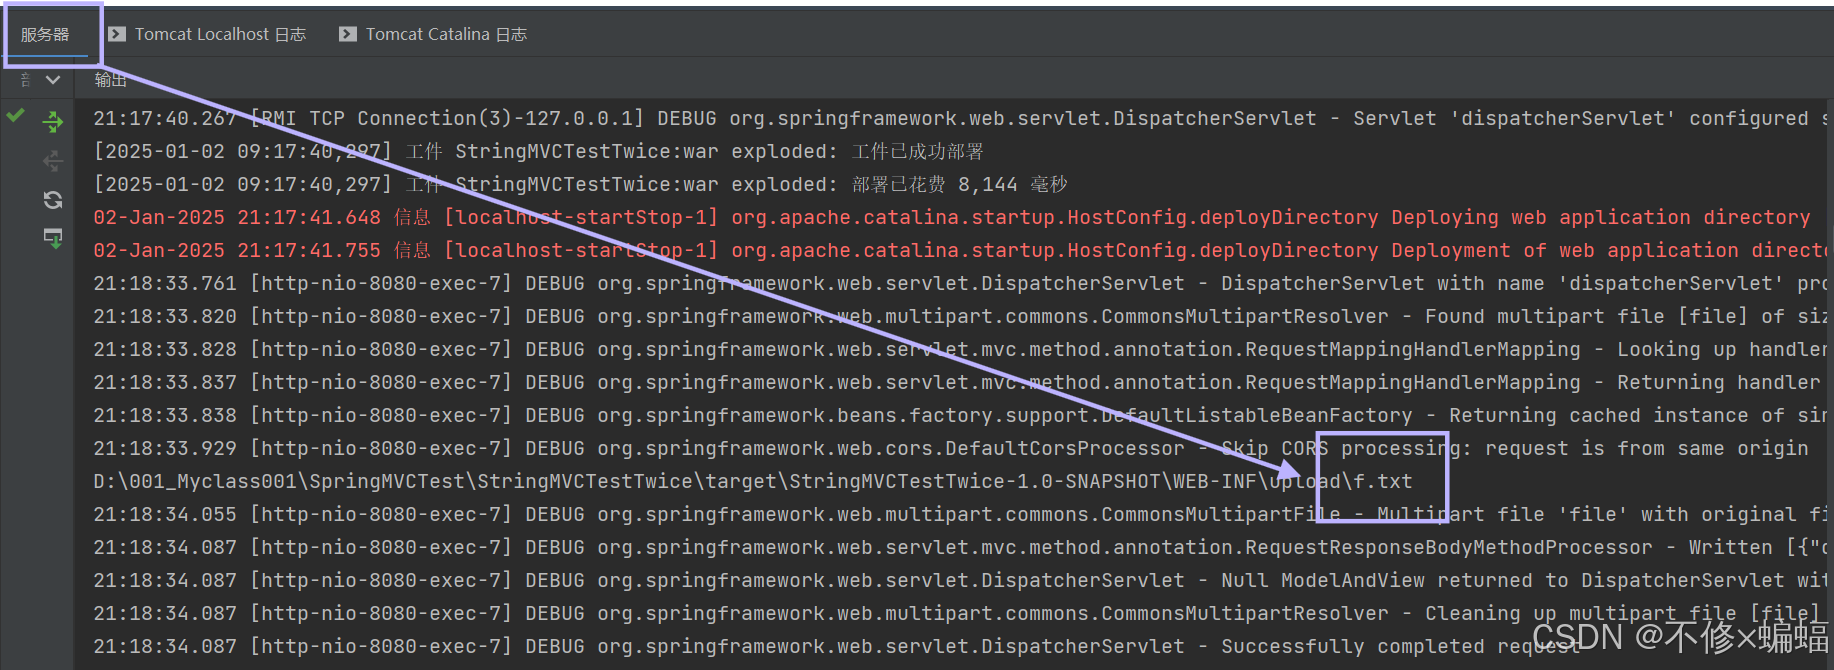
现在去看 idea中运行完成后打印的内容(获取文件名):
现在拿着这个名字去下载:
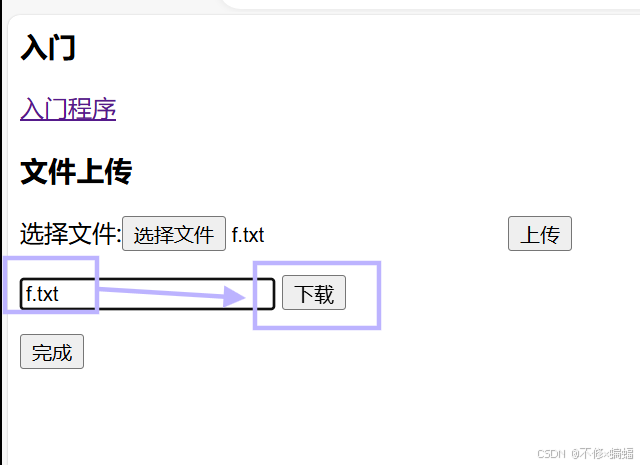
点击下载后,这里就会下载成功:

通过这种底层逻辑,能够实现小型 的文件管理。


