前言:简单又有趣的Python恶搞代码,往往能给我们枯燥无味的生活带来一点乐趣,激发我们对编程的最原始的热爱。那么话不多说,我们直接开始今天的编程之路。
编程思路:本次我们将会用到os,paltform,threading,ctypes,sys,wmi等库
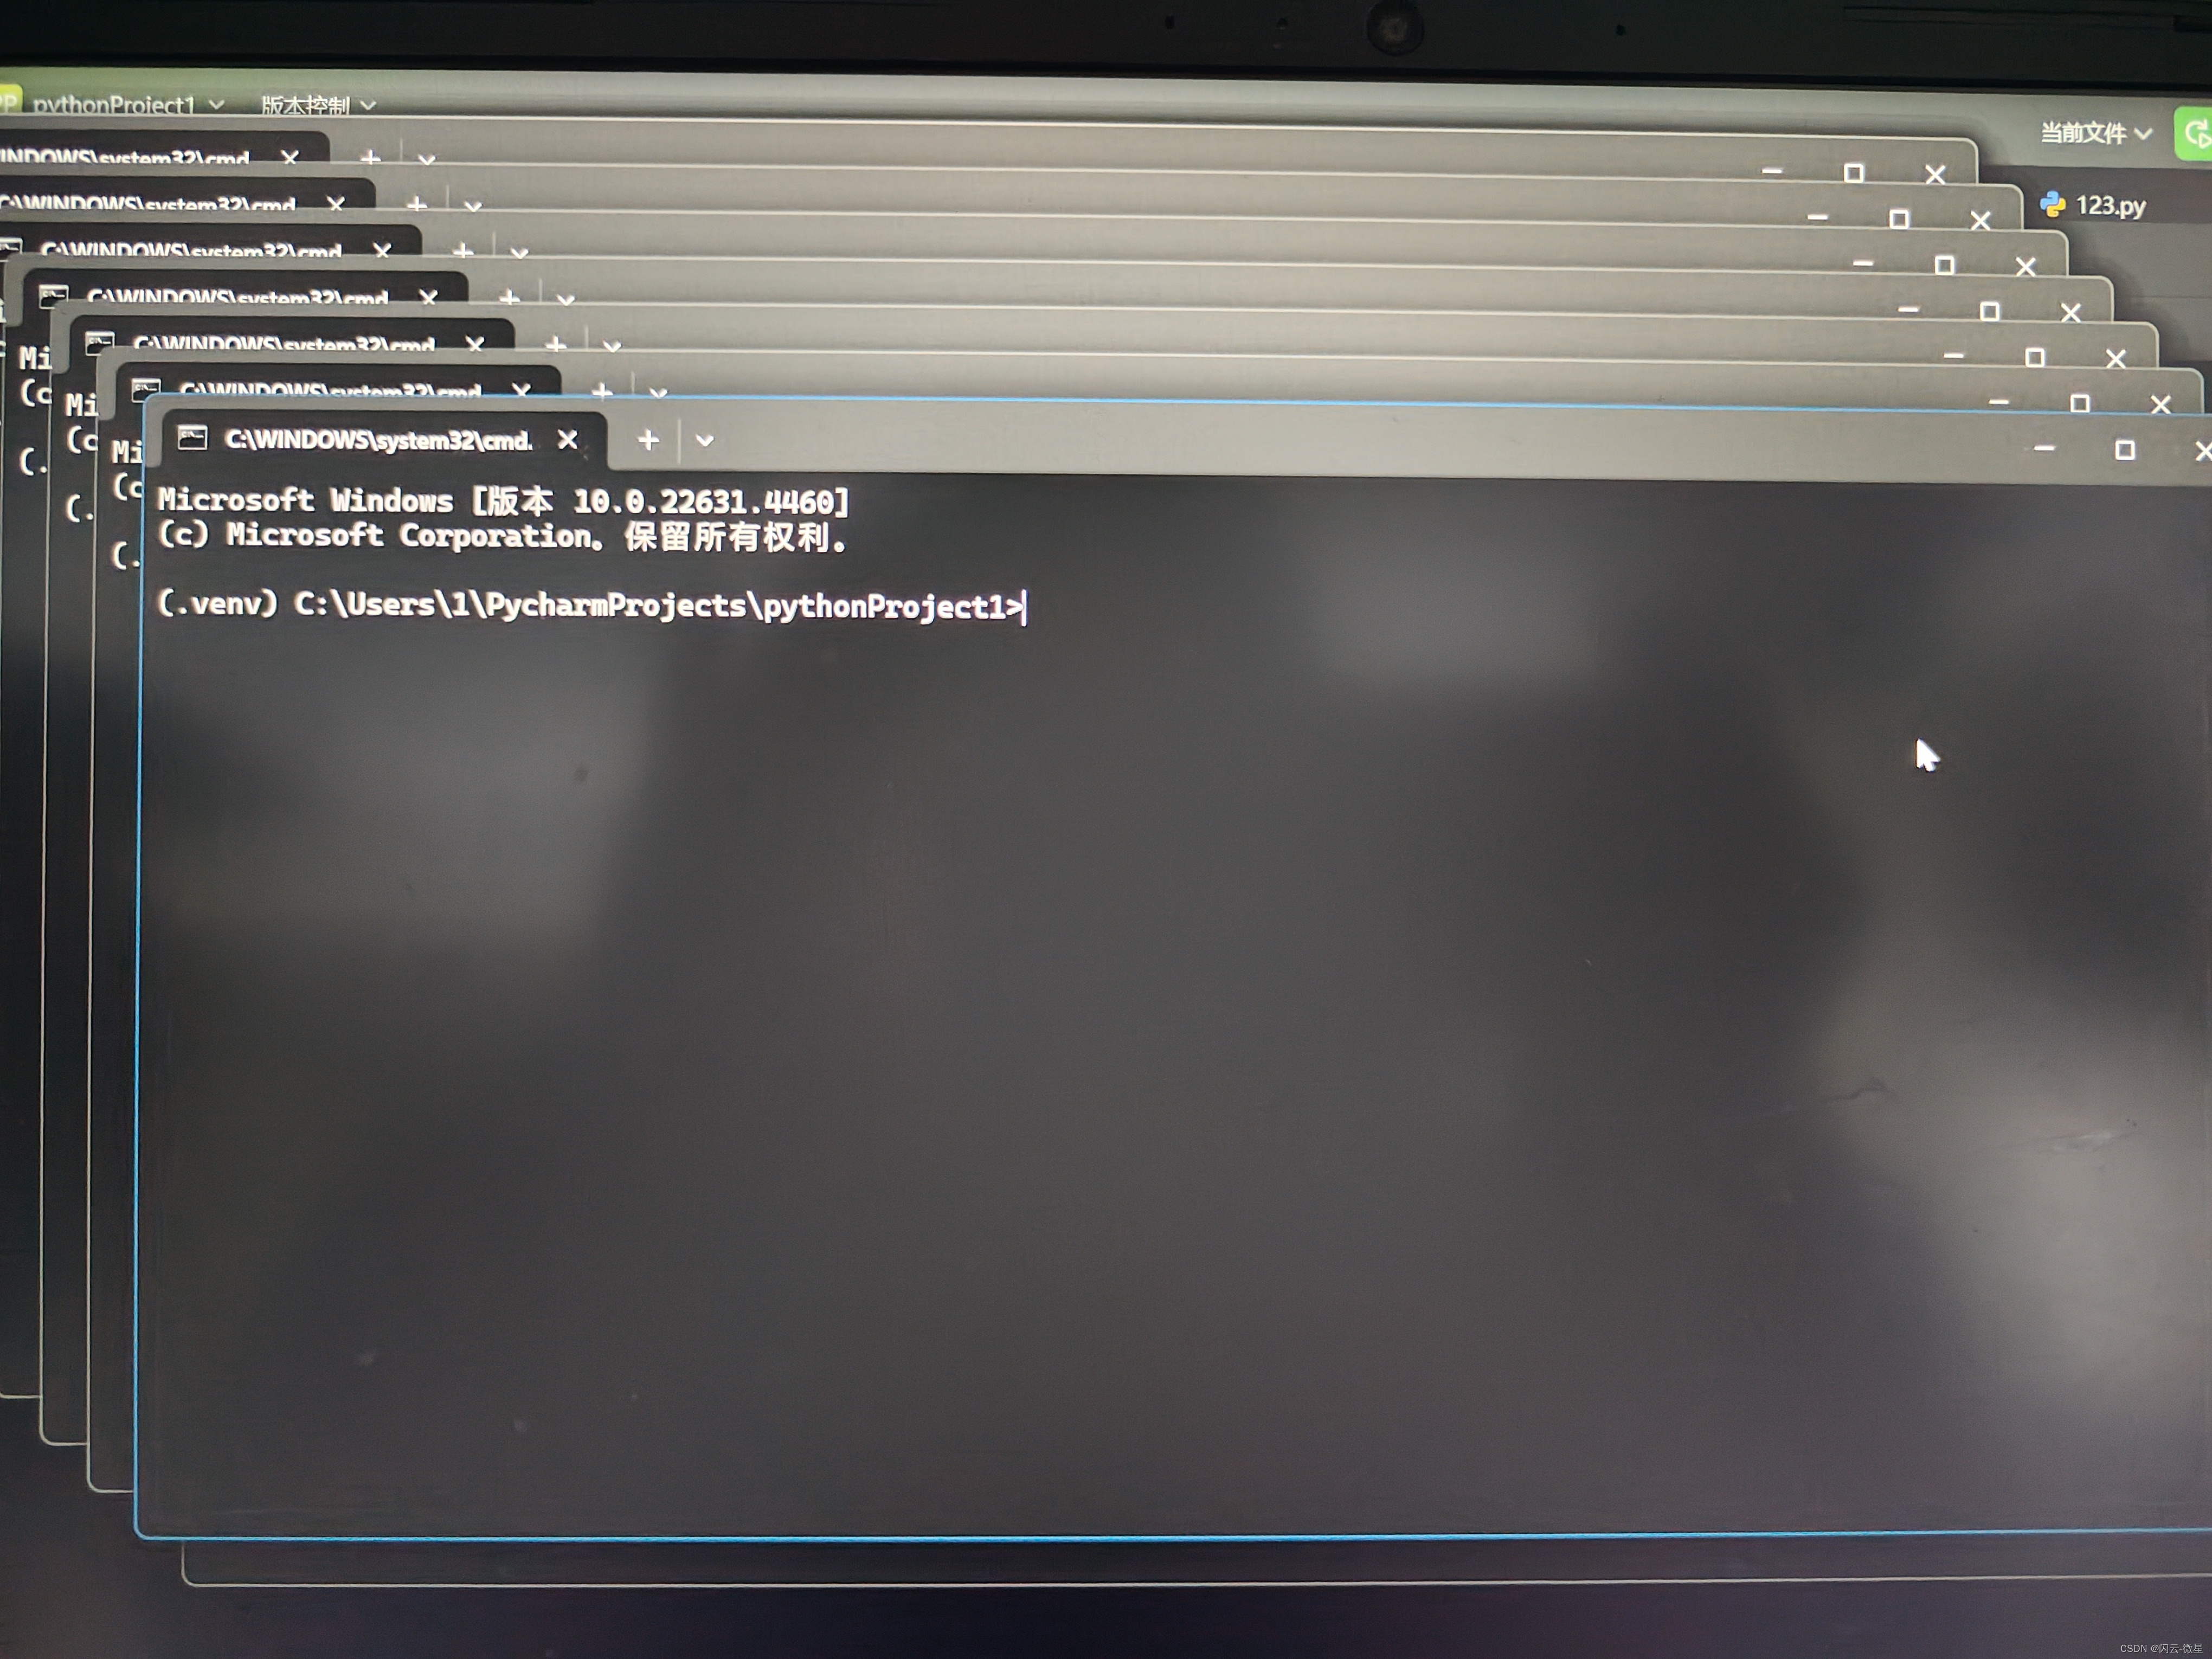
一:无限弹窗
python">import oswhile True:os.system('start cmd')程序解释:这段代码将执行os库无限打开"cmd"窗口的命令,导致电脑CPU负载过大,电脑风扇直接起飞,系统出现严重卡顿。
运行效果:
二:伪关机倒计时
python">import tkinter
import os
import threading
import time
import random
import platforms=['red','orange','yellow','green','blue','teal','purple','peru','gold','violet','salmon','navy','tan','maroon','azure']begin=12
def count_down():seconds=[]for i in range(begin,0,-1):seconds.append(i)return secondsdef windows():while len(count_down())>0:window = tkinter.Tk()window.title('{} {} {} {}警告!!!'.format(os.name,platform.machine(),platform.node(),platform.version()))window.geometry("{}x{}".format(1160,600))number=random.randint(0,14)tkinter.Label(window,text='{}系统将在{}秒后自动关机'.format(platform.system(),count_down()[0])*1,font=('楷体',30),bg='{}'.format(s[number]),width=1160,height=600).pack()window.mainloop()count_down().remove(count_down()[0])while begin>0:mark=threading.Thread(target=windows)mark.start()time.sleep(1)begin-=1
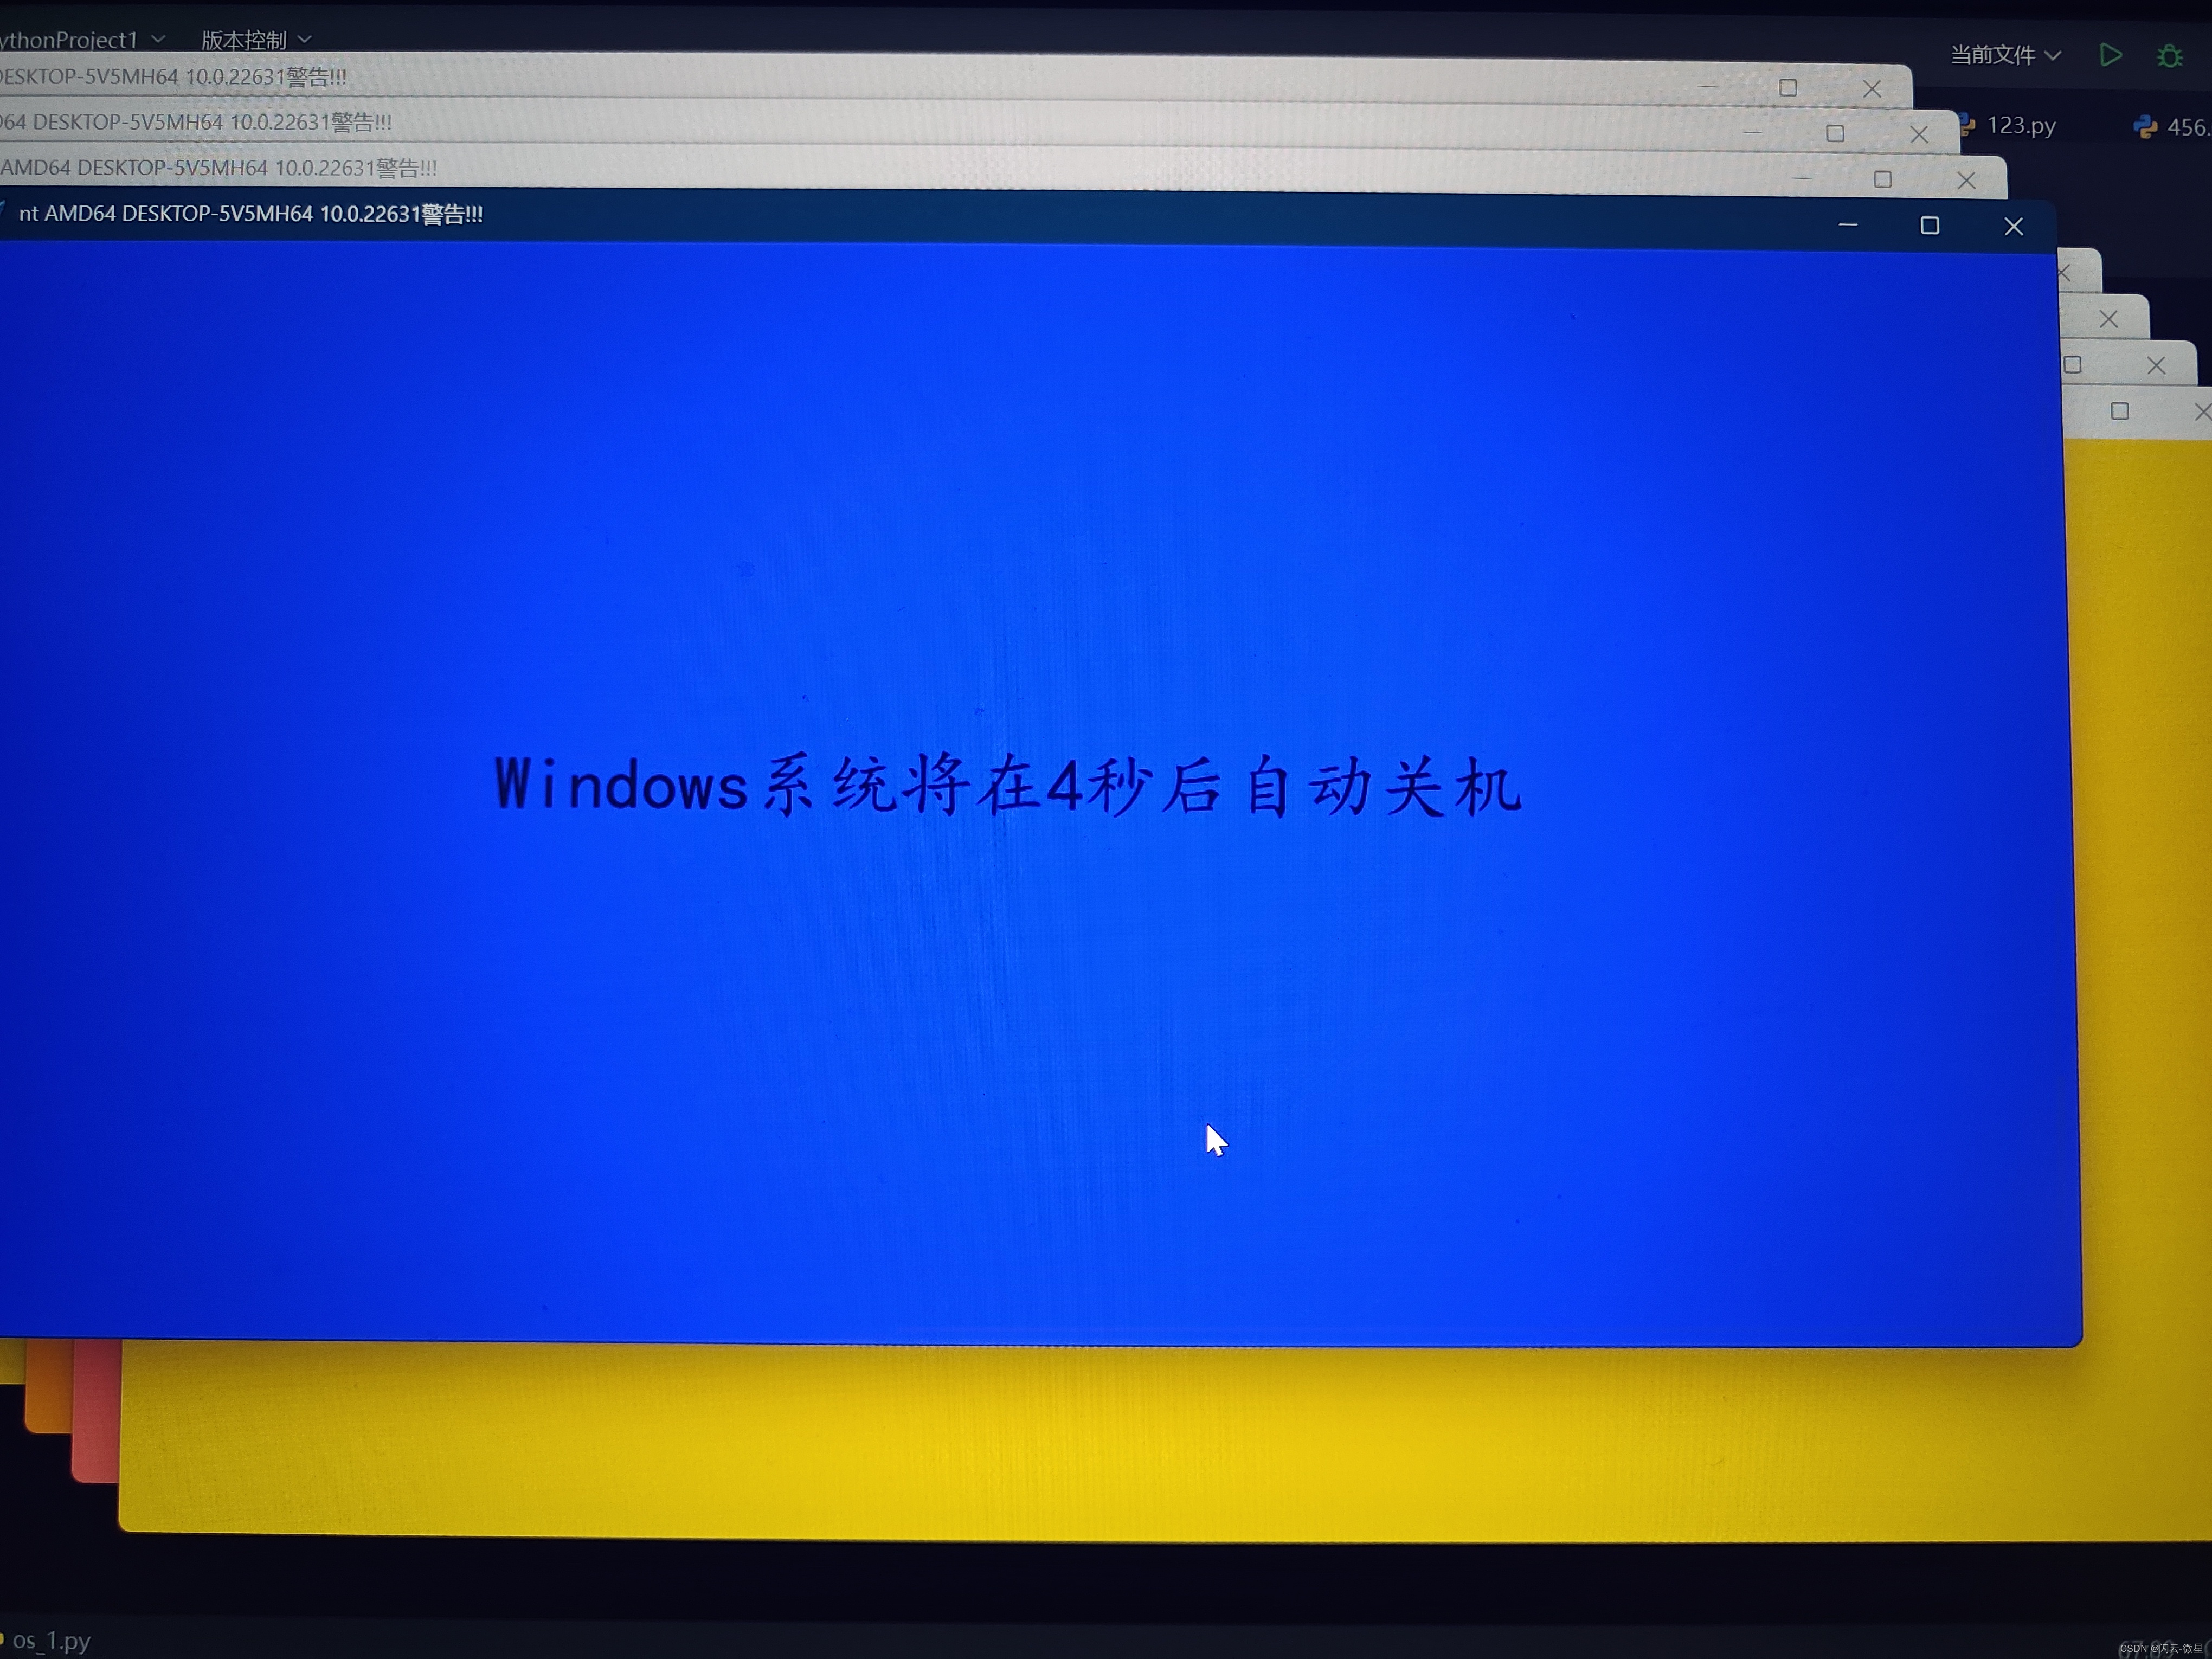
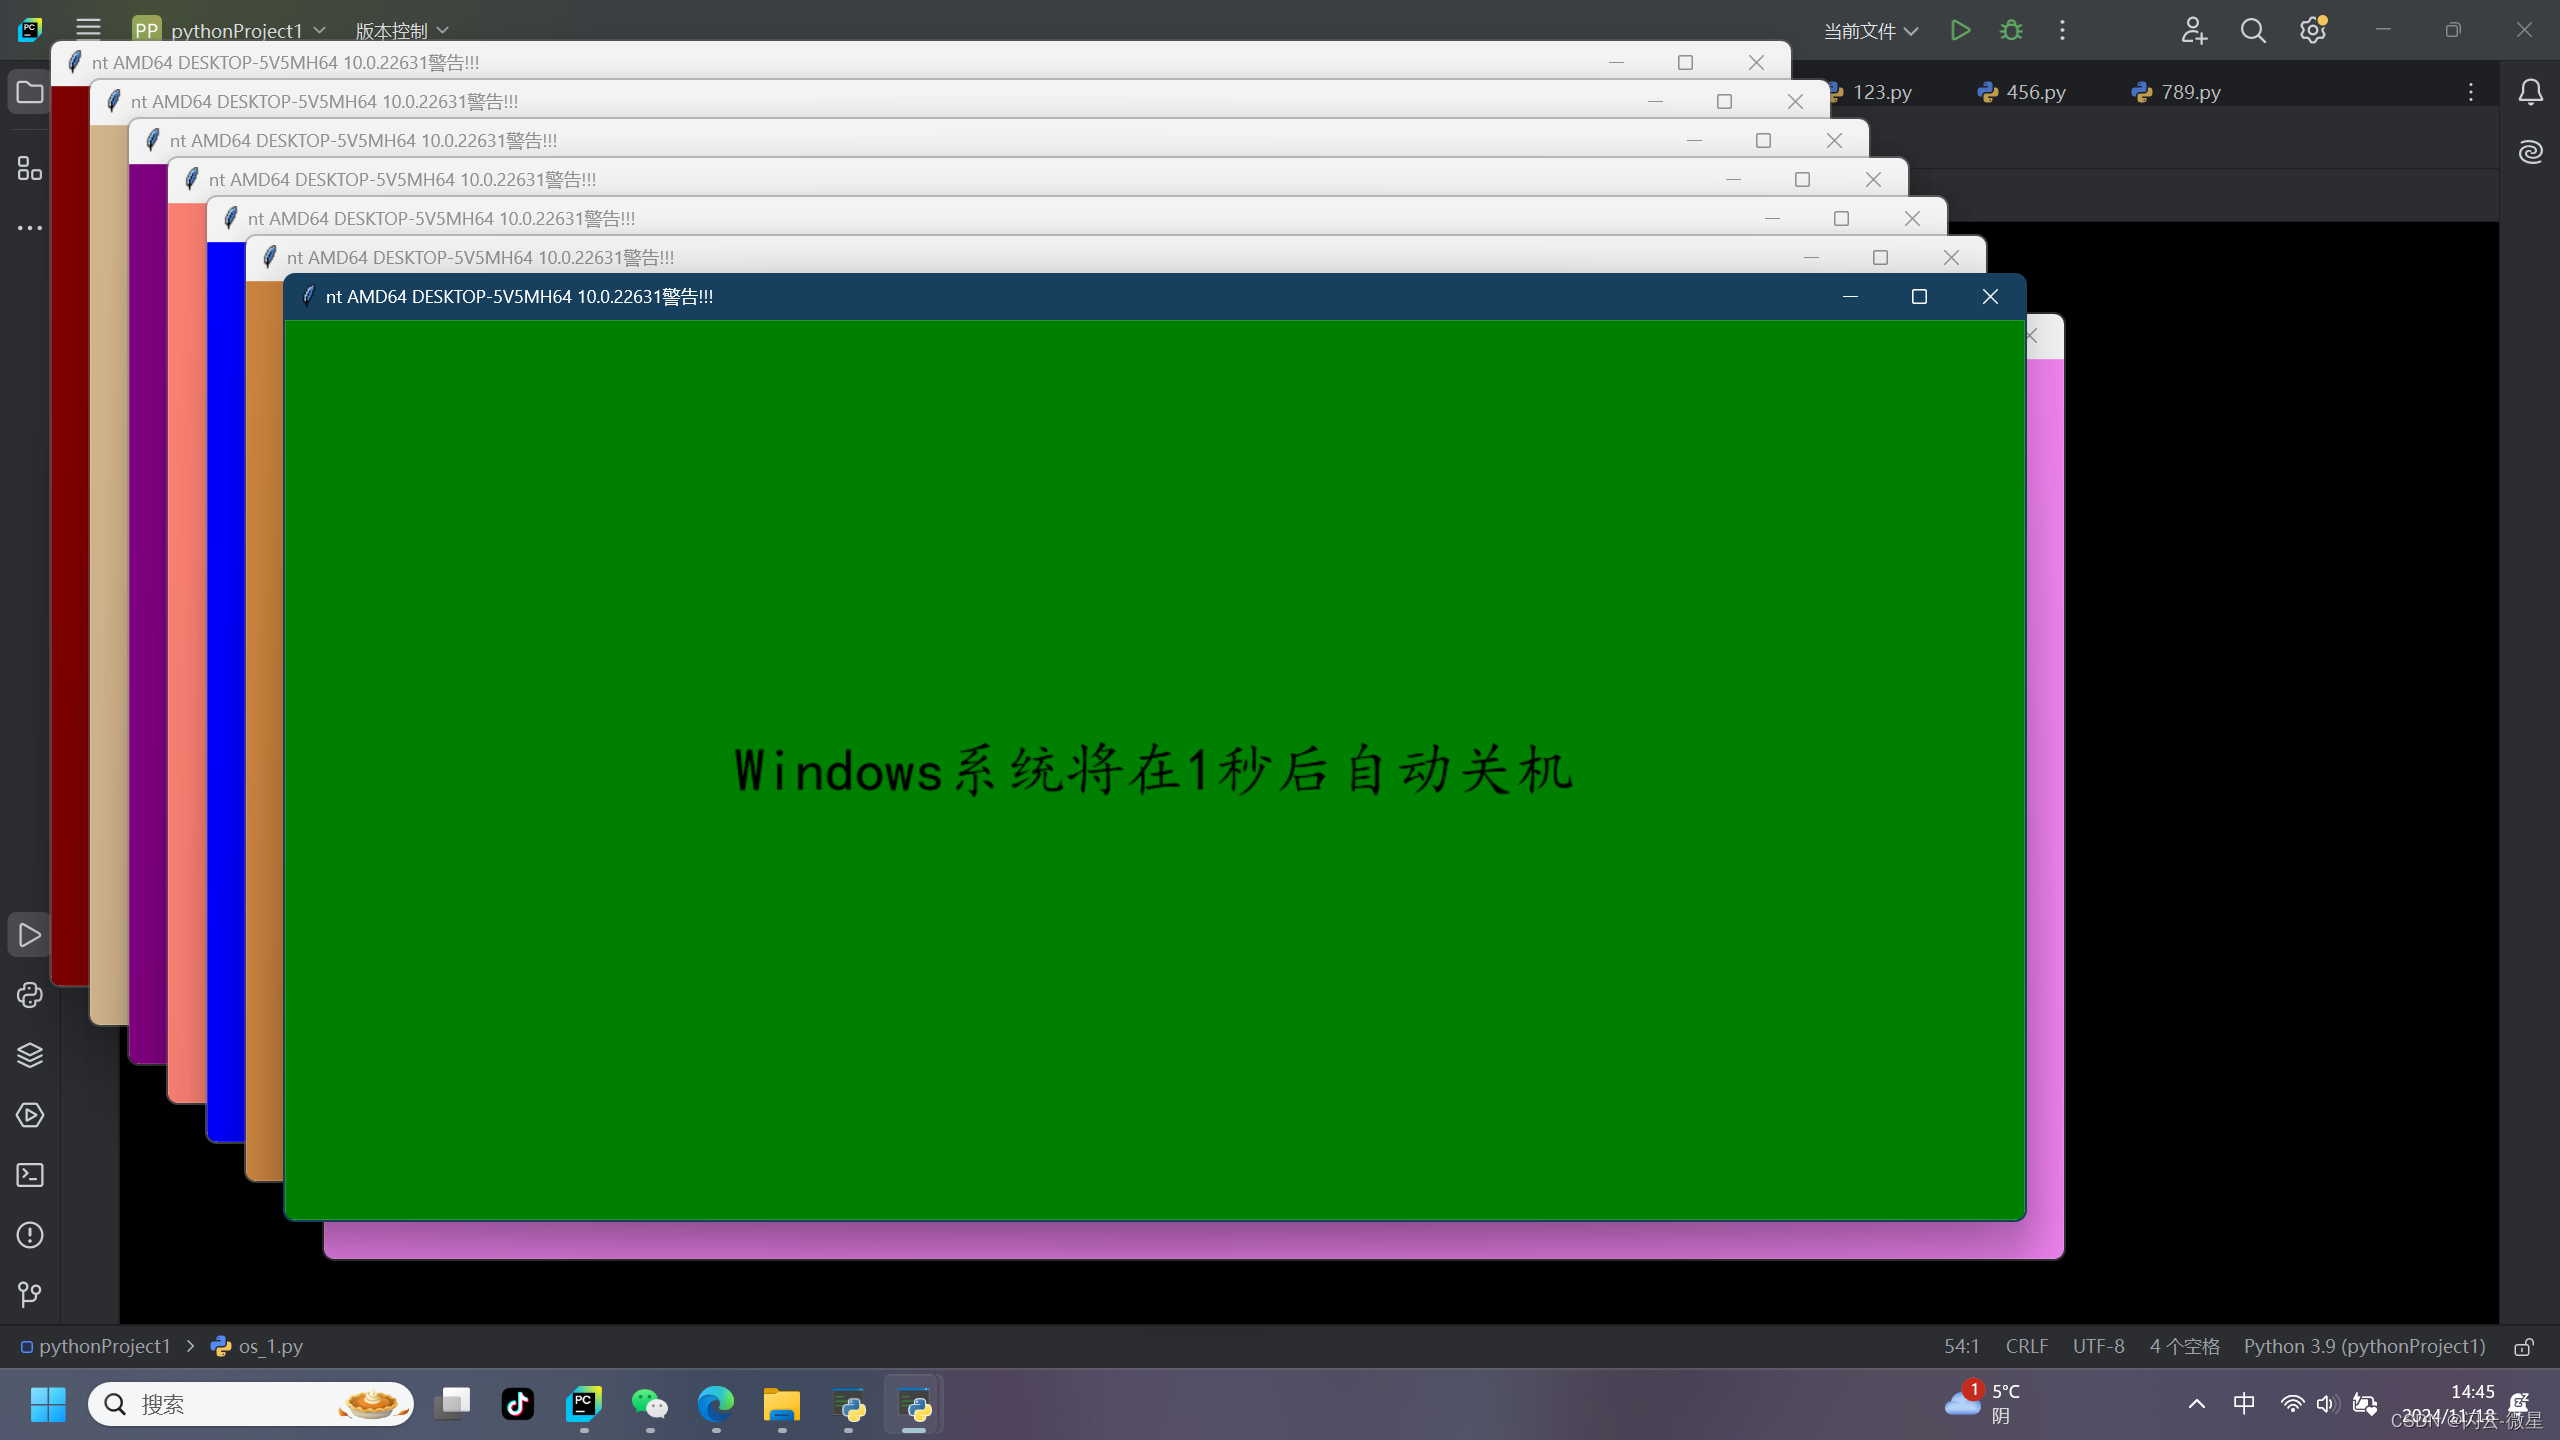
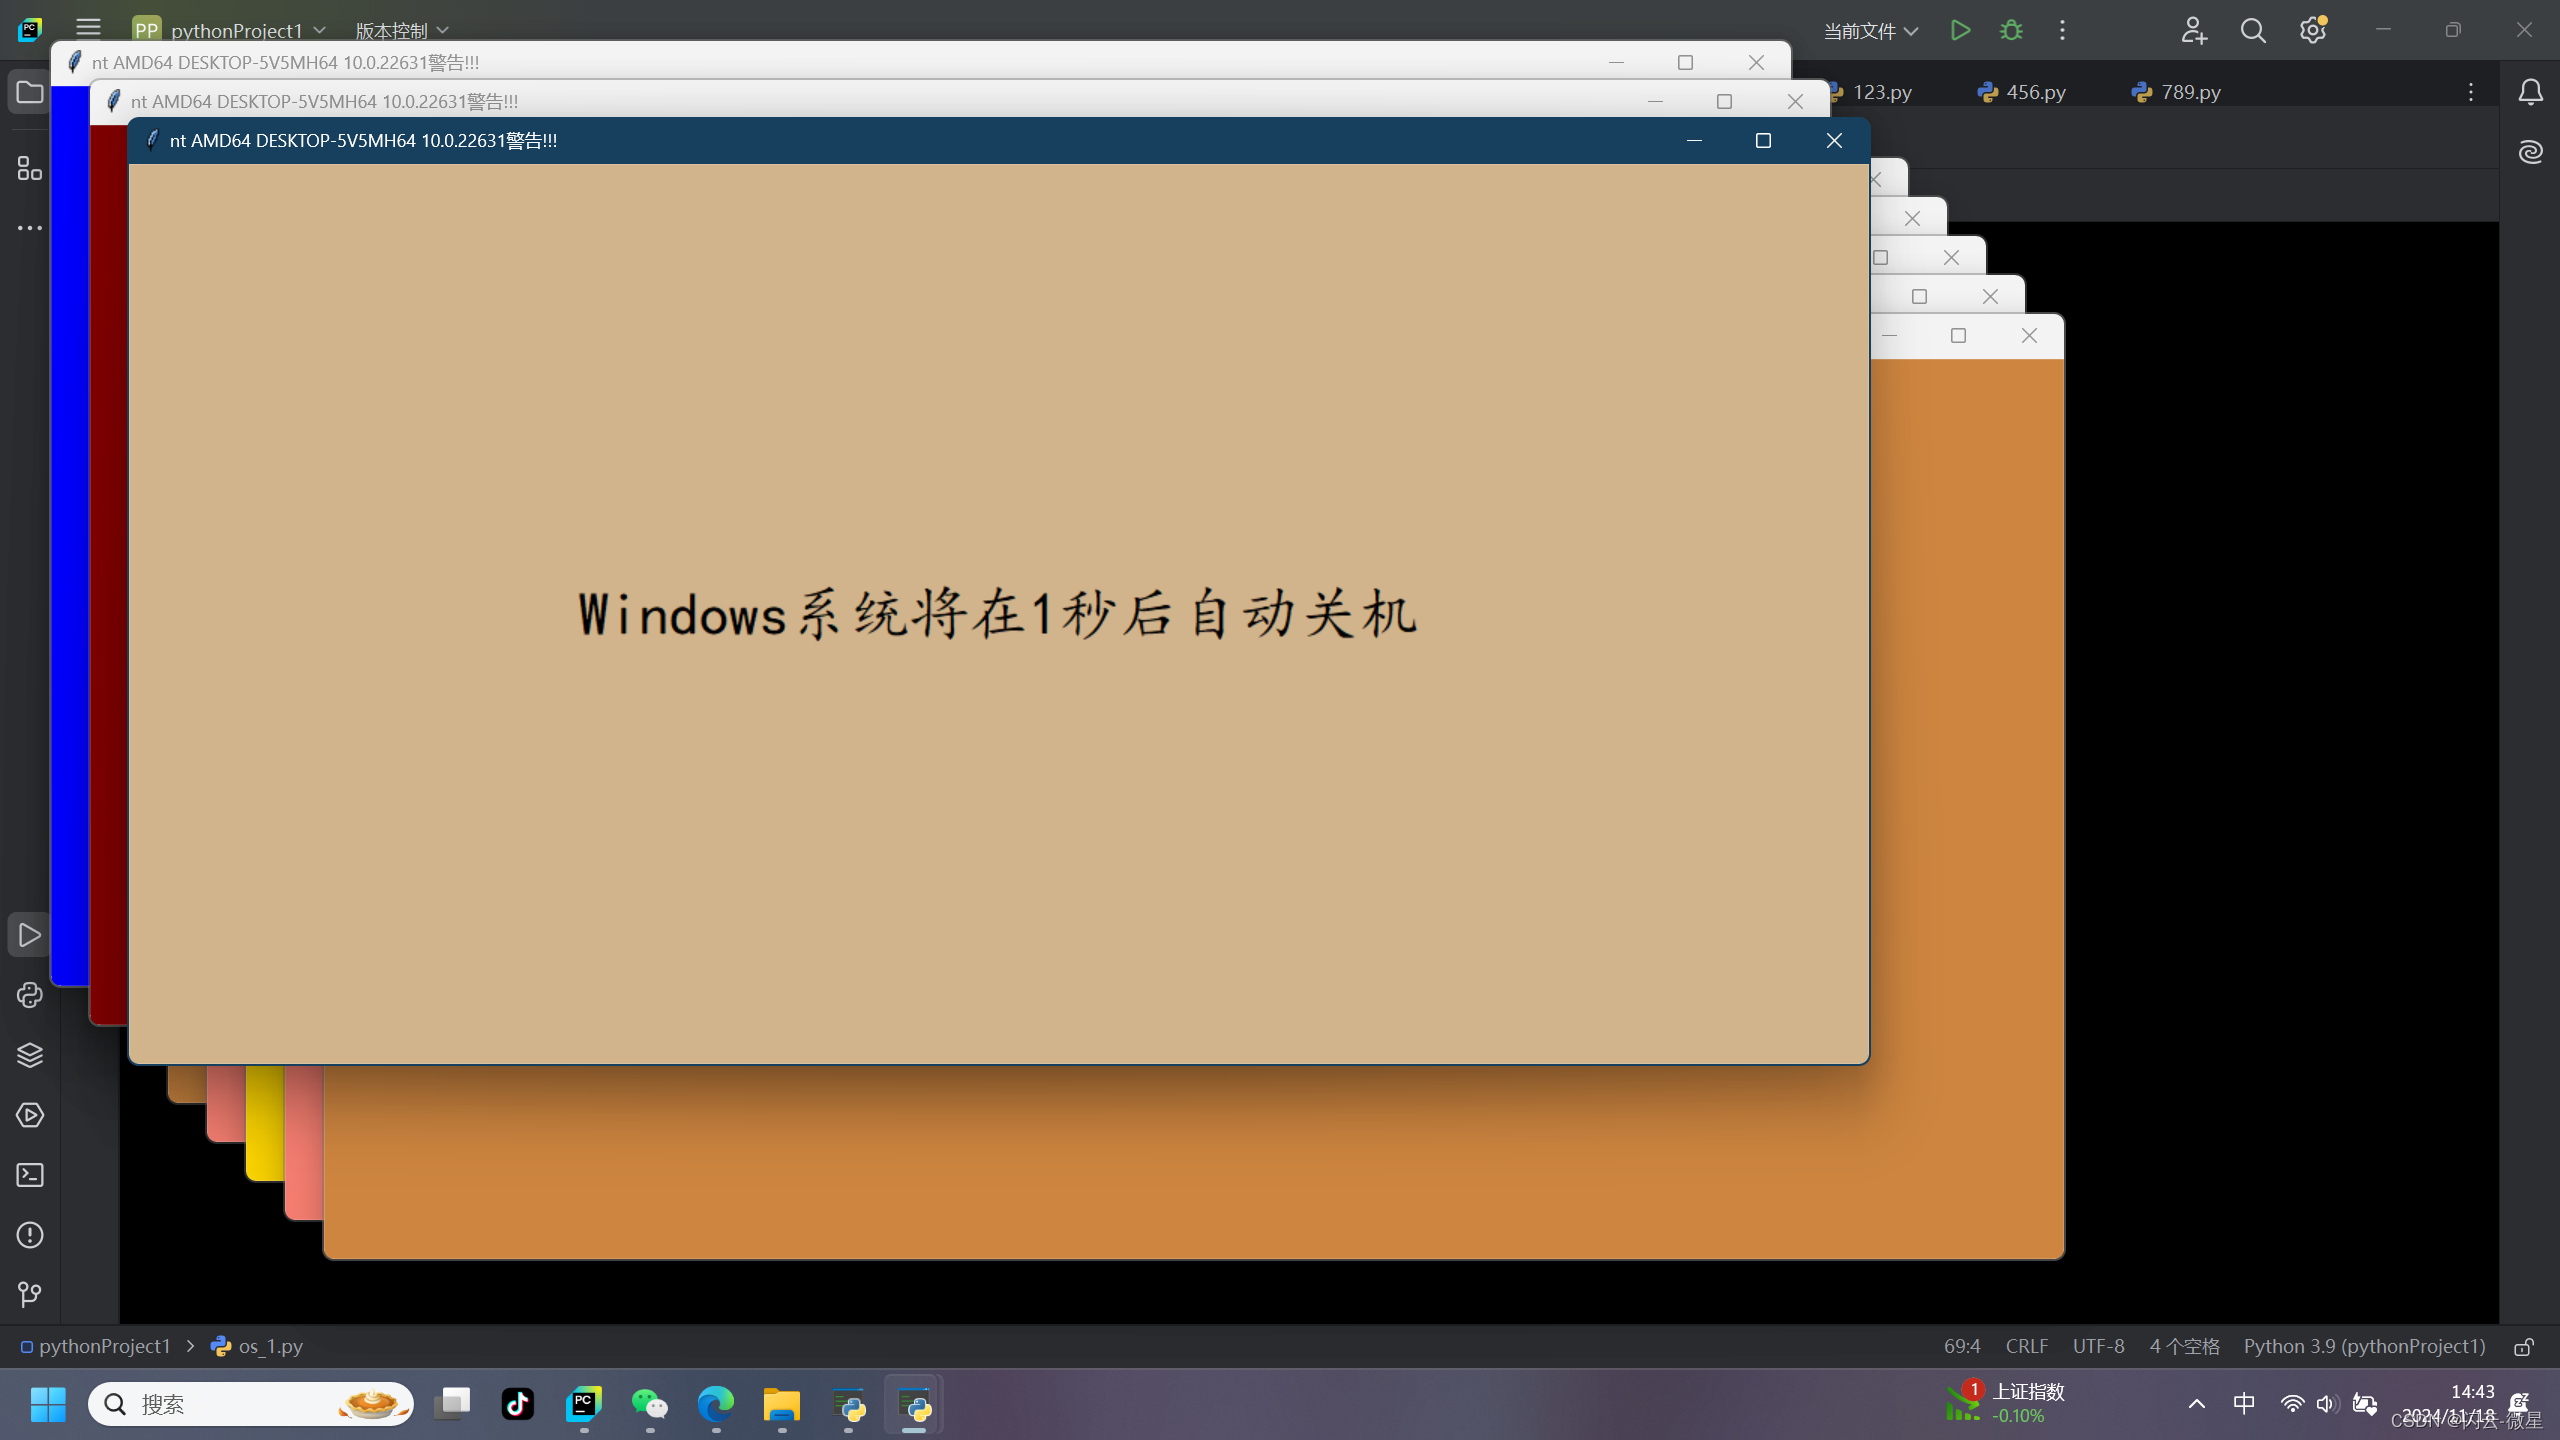
程序解释:程序运行后将会出现12->0的倒计时弹窗,且弹窗颜色会随机在15种颜色内变化。弹窗中央会提示系统将在X秒后将关机(但其实并不会真的关机)。
运行效果:
三:伪关机倒计时(进阶版)
python">import sys
import ctypes
import tkinter
import os
import threading
import time
import random
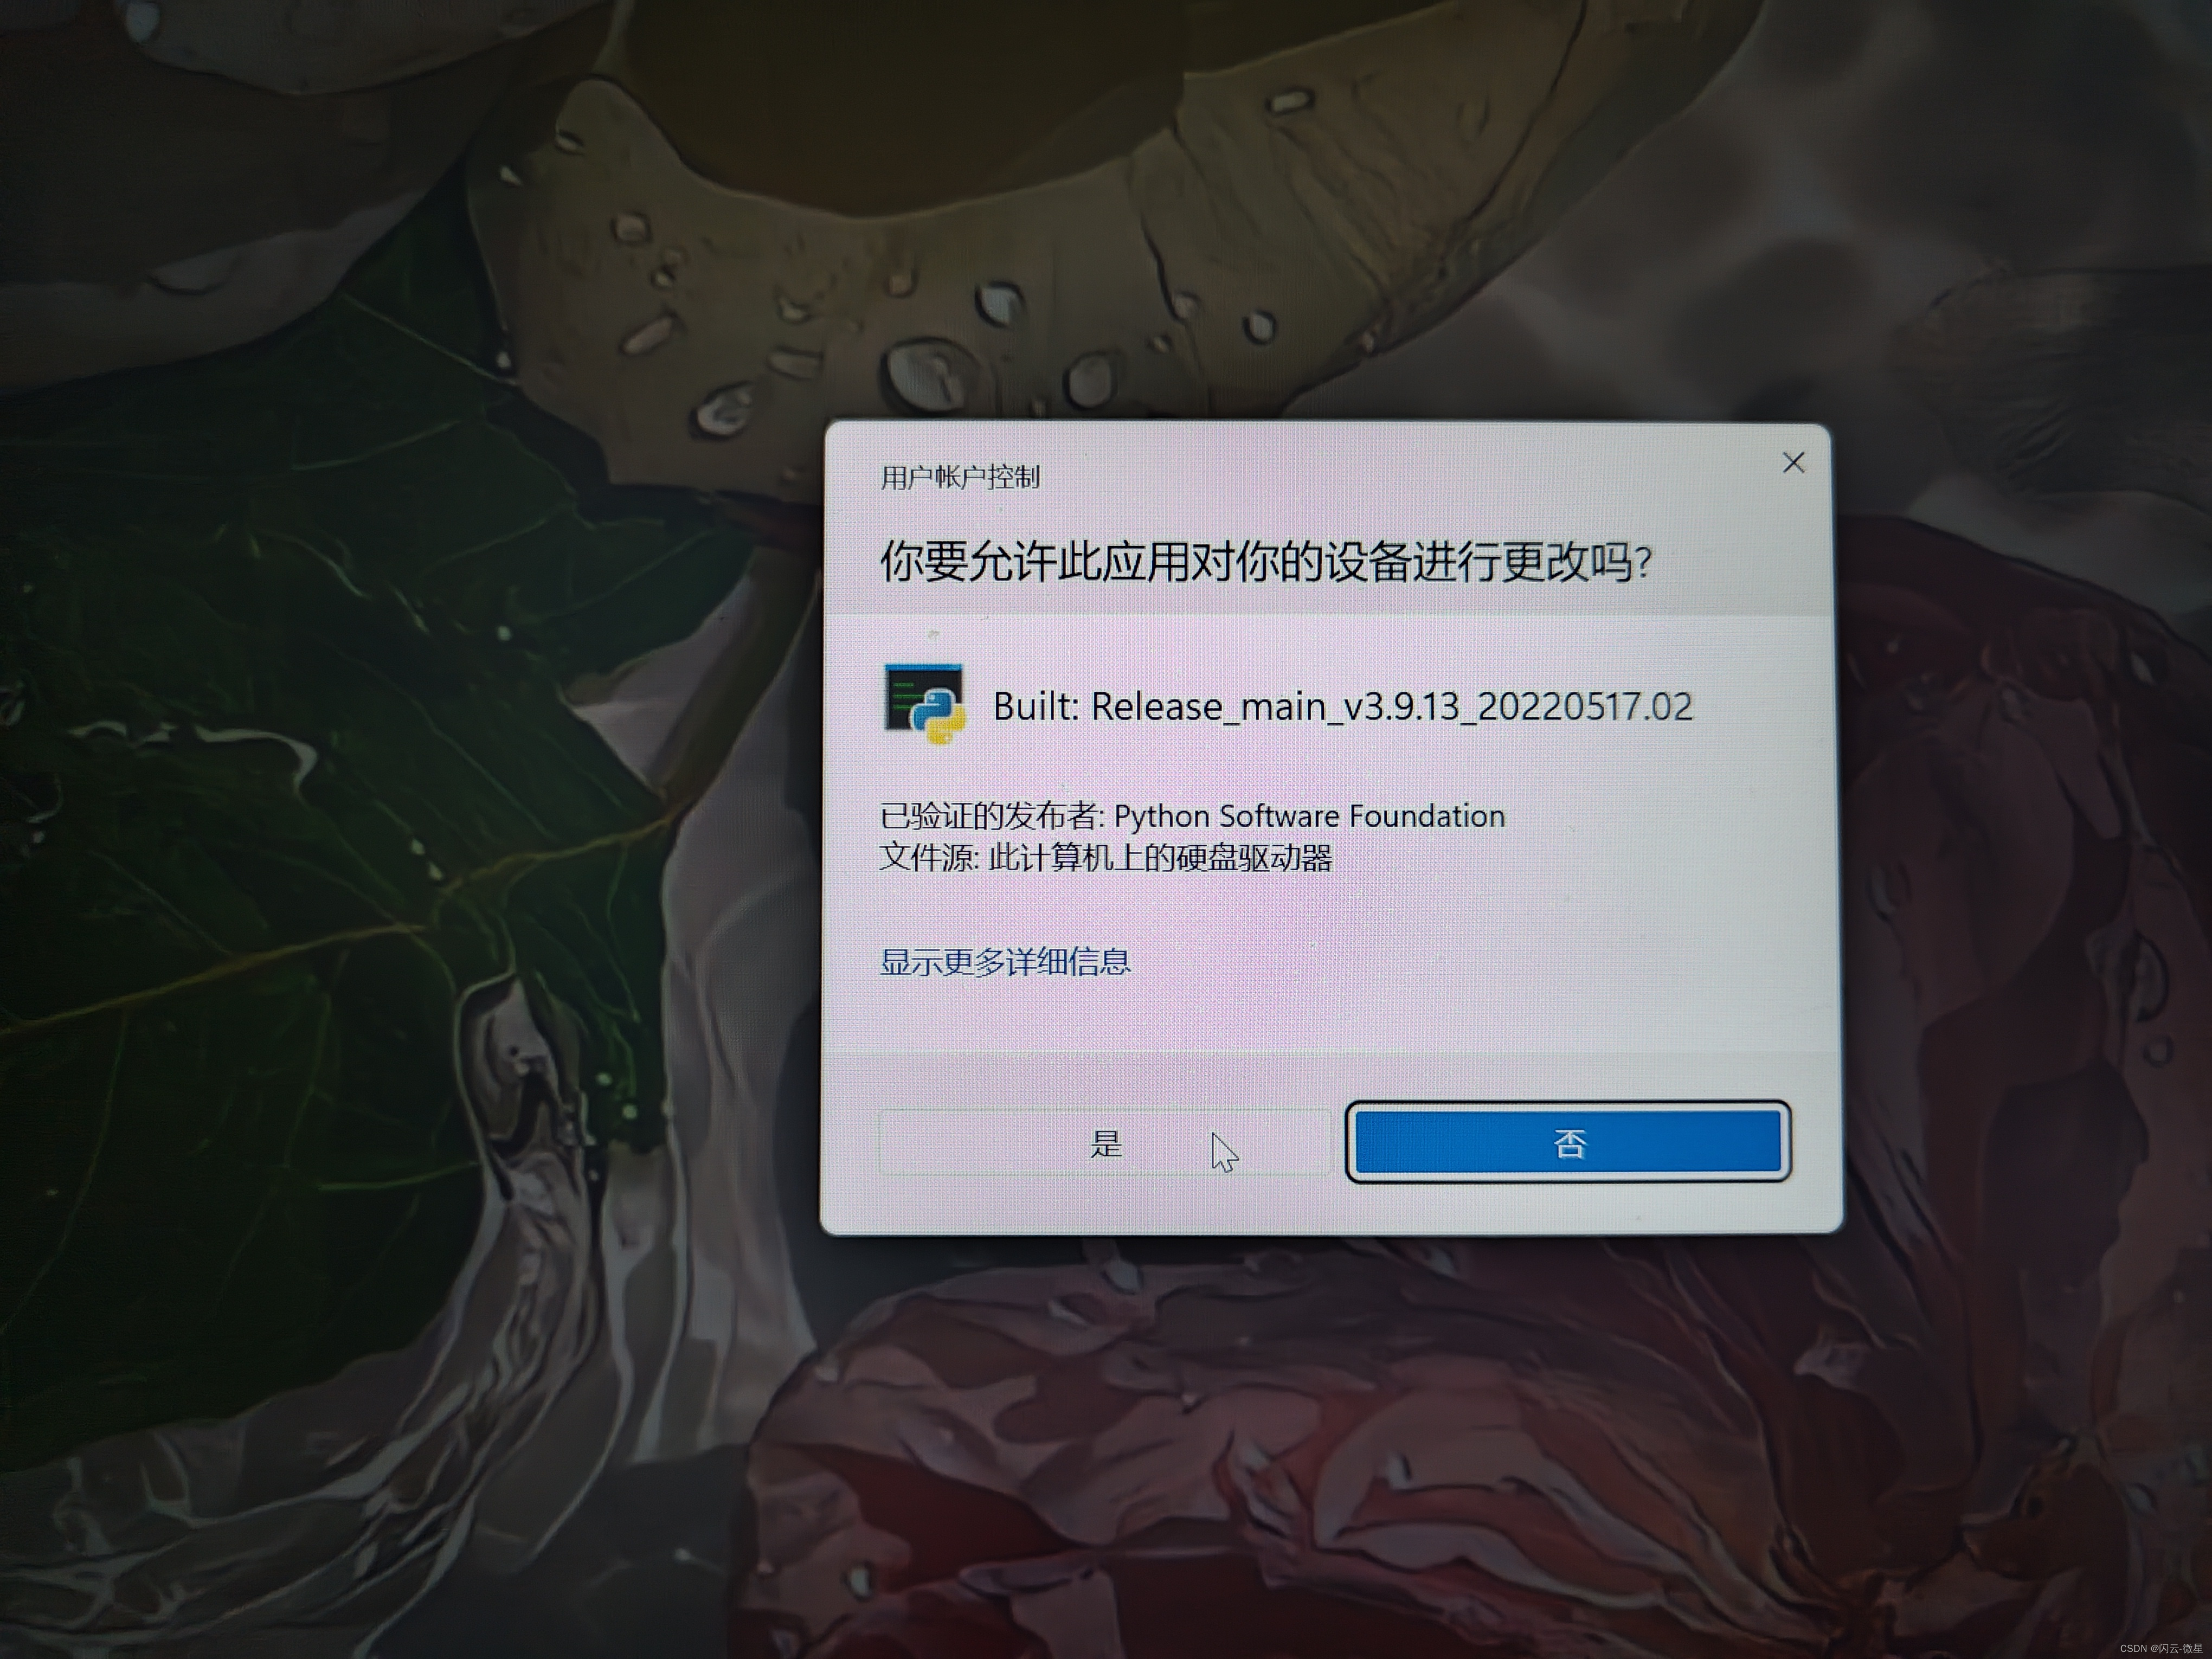
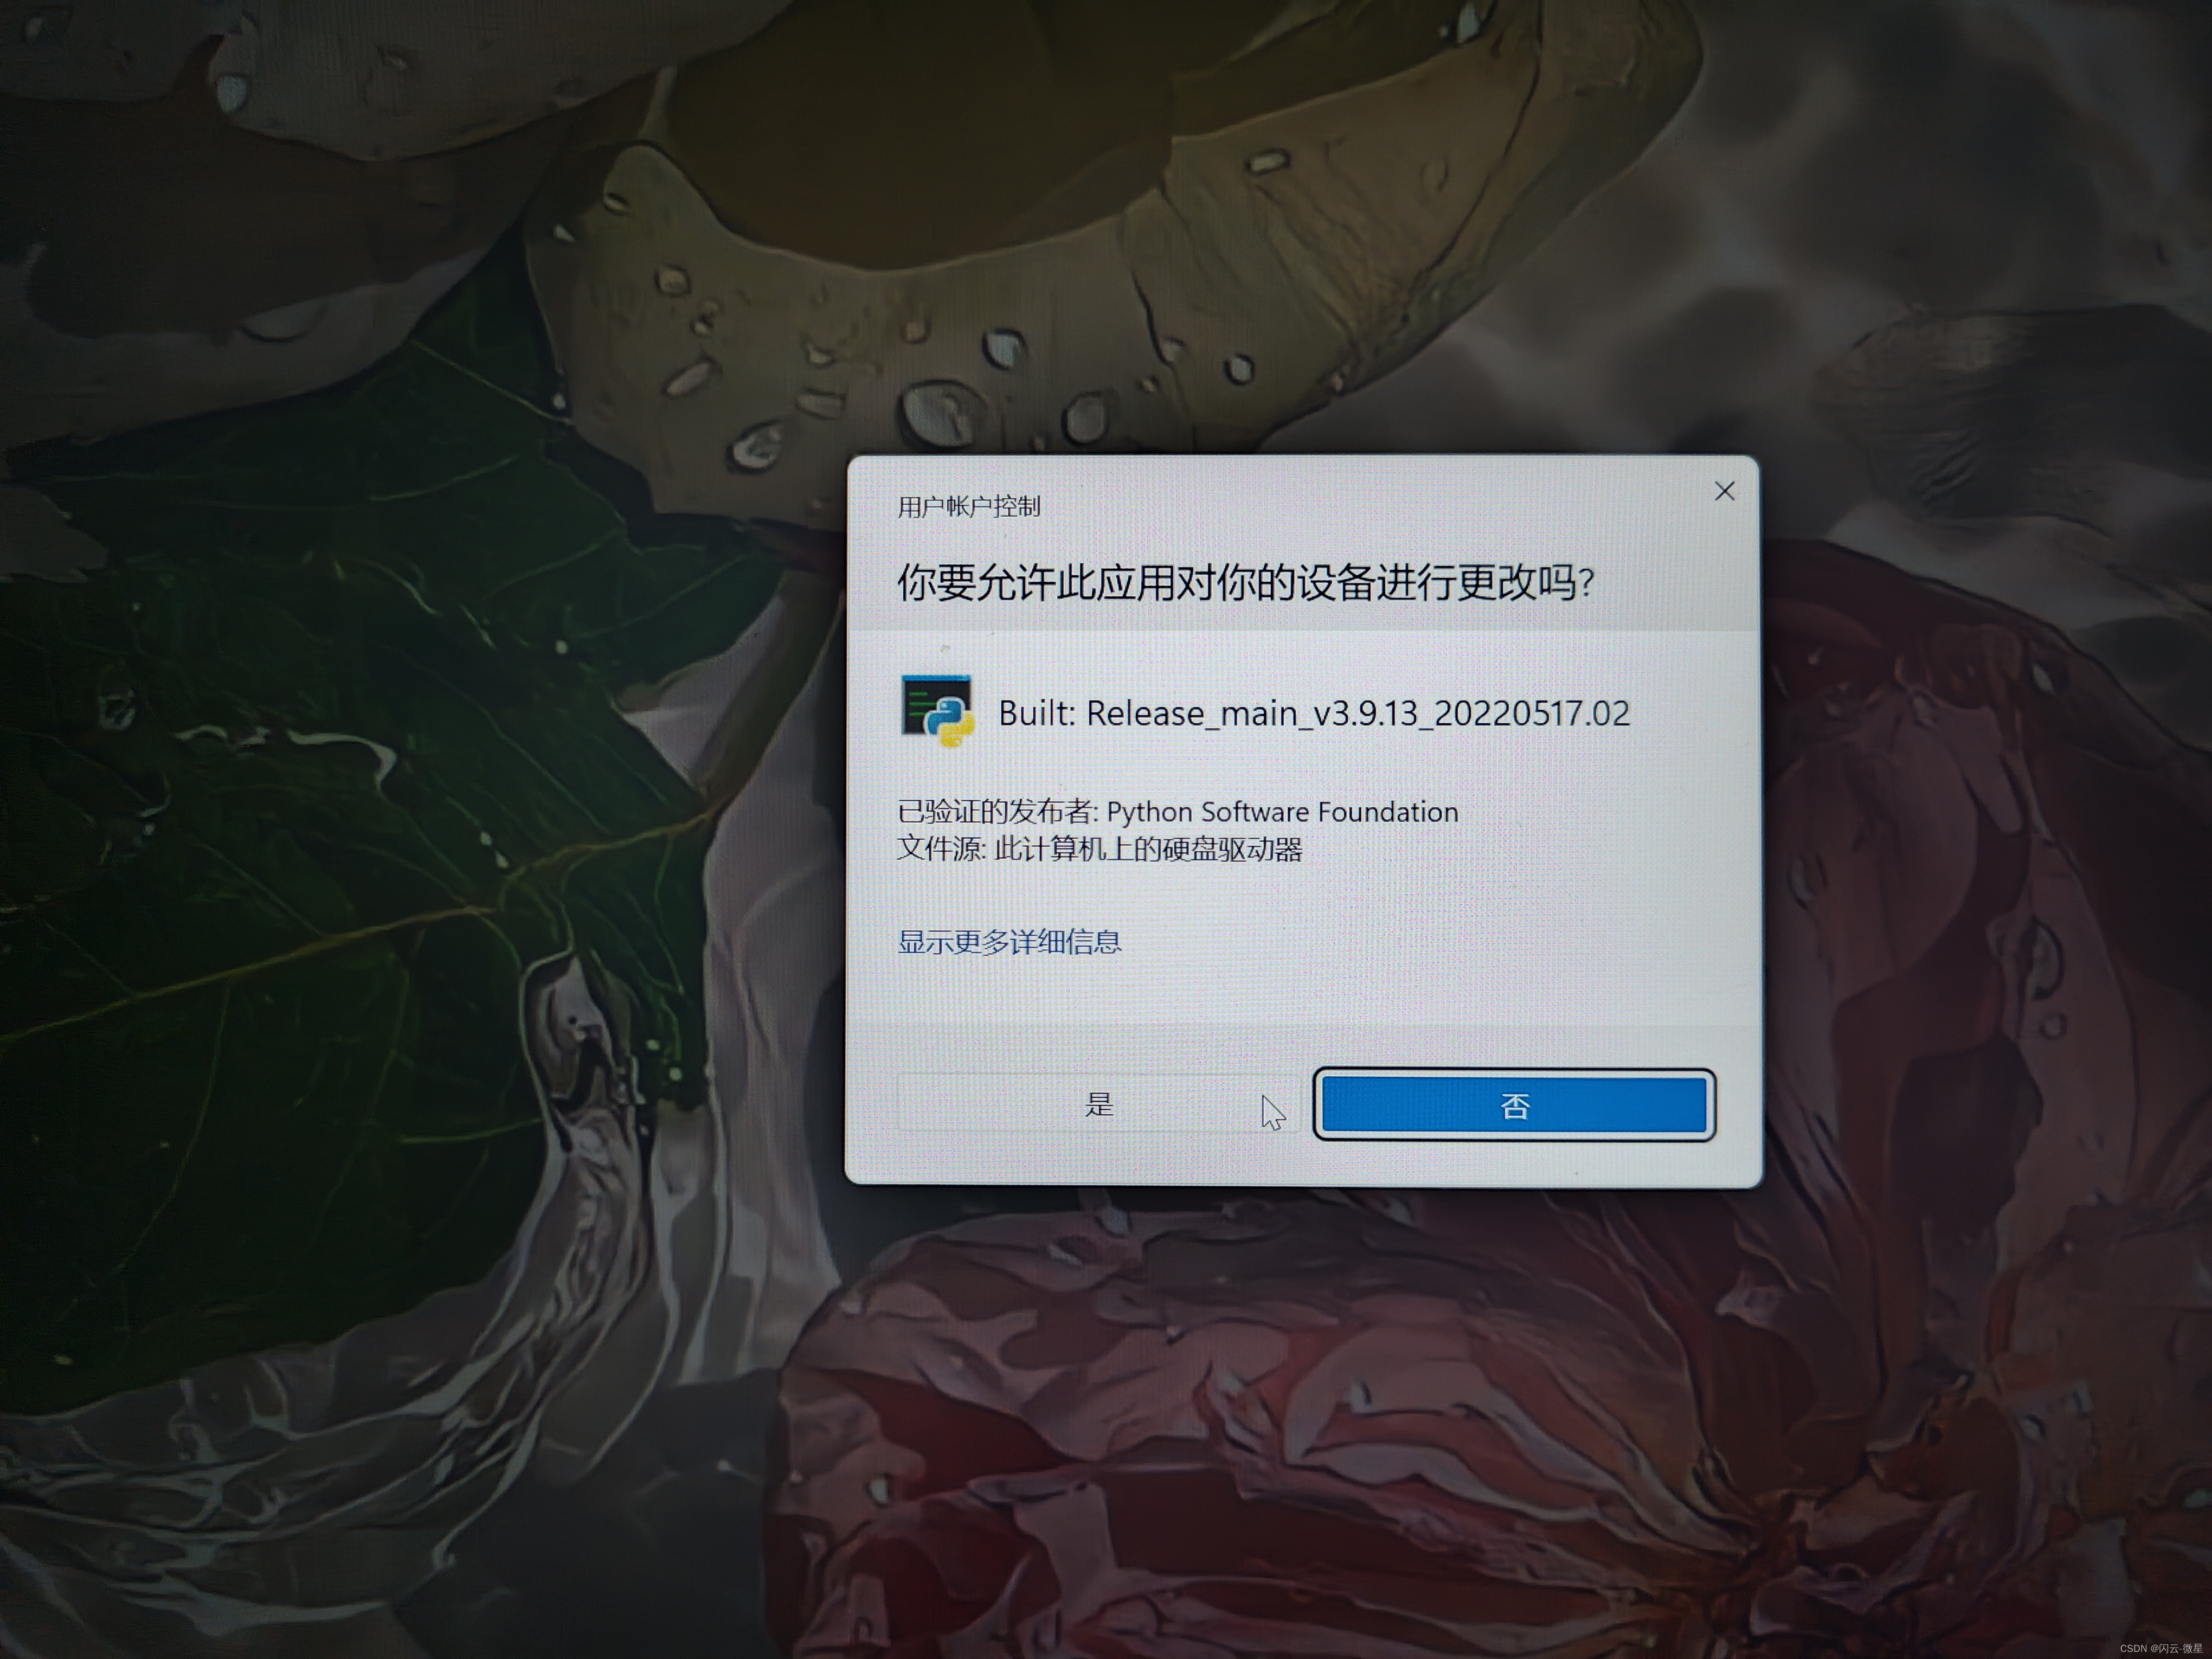
import platformdef is_admin():try:return ctypes.windll.shell32.IsUserAnAdmin()except:return Falseif is_admin():user32 = ctypes.WinDLL('user32.dll')user32.BlockInput(True)begin = 12s = ['red', 'orange', 'yellow', 'green', 'blue','teal', 'purple', 'peru', 'gold', 'violet','salmon', 'navy', 'tan', 'maroon', 'azure']def count_down():seconds = []for i in range(begin, 0, -1):seconds.append(i)return secondsdef windows():window = tkinter.Tk()window.title('{} {} {} {}警告!!!'.format(os.name,platform.machine(),platform.node(),platform.version()))window.geometry("{}x{}".format(1160, 600))number = random.randint(0, 14)tkinter.Label(window,text='{}系统将在{}秒后自动关机'.format(platform.system(), count_down()[0]) * 1,font=('楷体', 30),bg='{}'.format(s[number]),width=1160,height=600).pack()window.mainloop()count_down().remove(count_down()[0])while begin > 0:mark = threading.Thread(target=windows)mark.start()time.sleep(1)begin -= 1time.sleep(0)user32.BlockInput(False)else:ctypes.windll.shell32.ShellExecuteW(None,"runas", sys.executable, __file__, None, 1)程序解释:程序运行之后将会让用户选择是否允许系统修改用户设备,如果用户点击“是”,则程序会像上面代码一样:出现12→0的倒计时弹窗,且弹窗颜色会随机在15种颜色内变化。弹窗中央会提示系统将在X秒后将关机(但其实并不会真的关机),最重要的是,系统还会禁止用户的一切物理操作(包括内,外接鼠标和键盘,但不包括触摸板),即鼠标键盘失效;如果用户点击“否”,则程序自动跳过。
运行效果:
四:强制关机时钟炸弹
python">import sys
import ctypes
import tkinter
import os
import threading
import time
import random
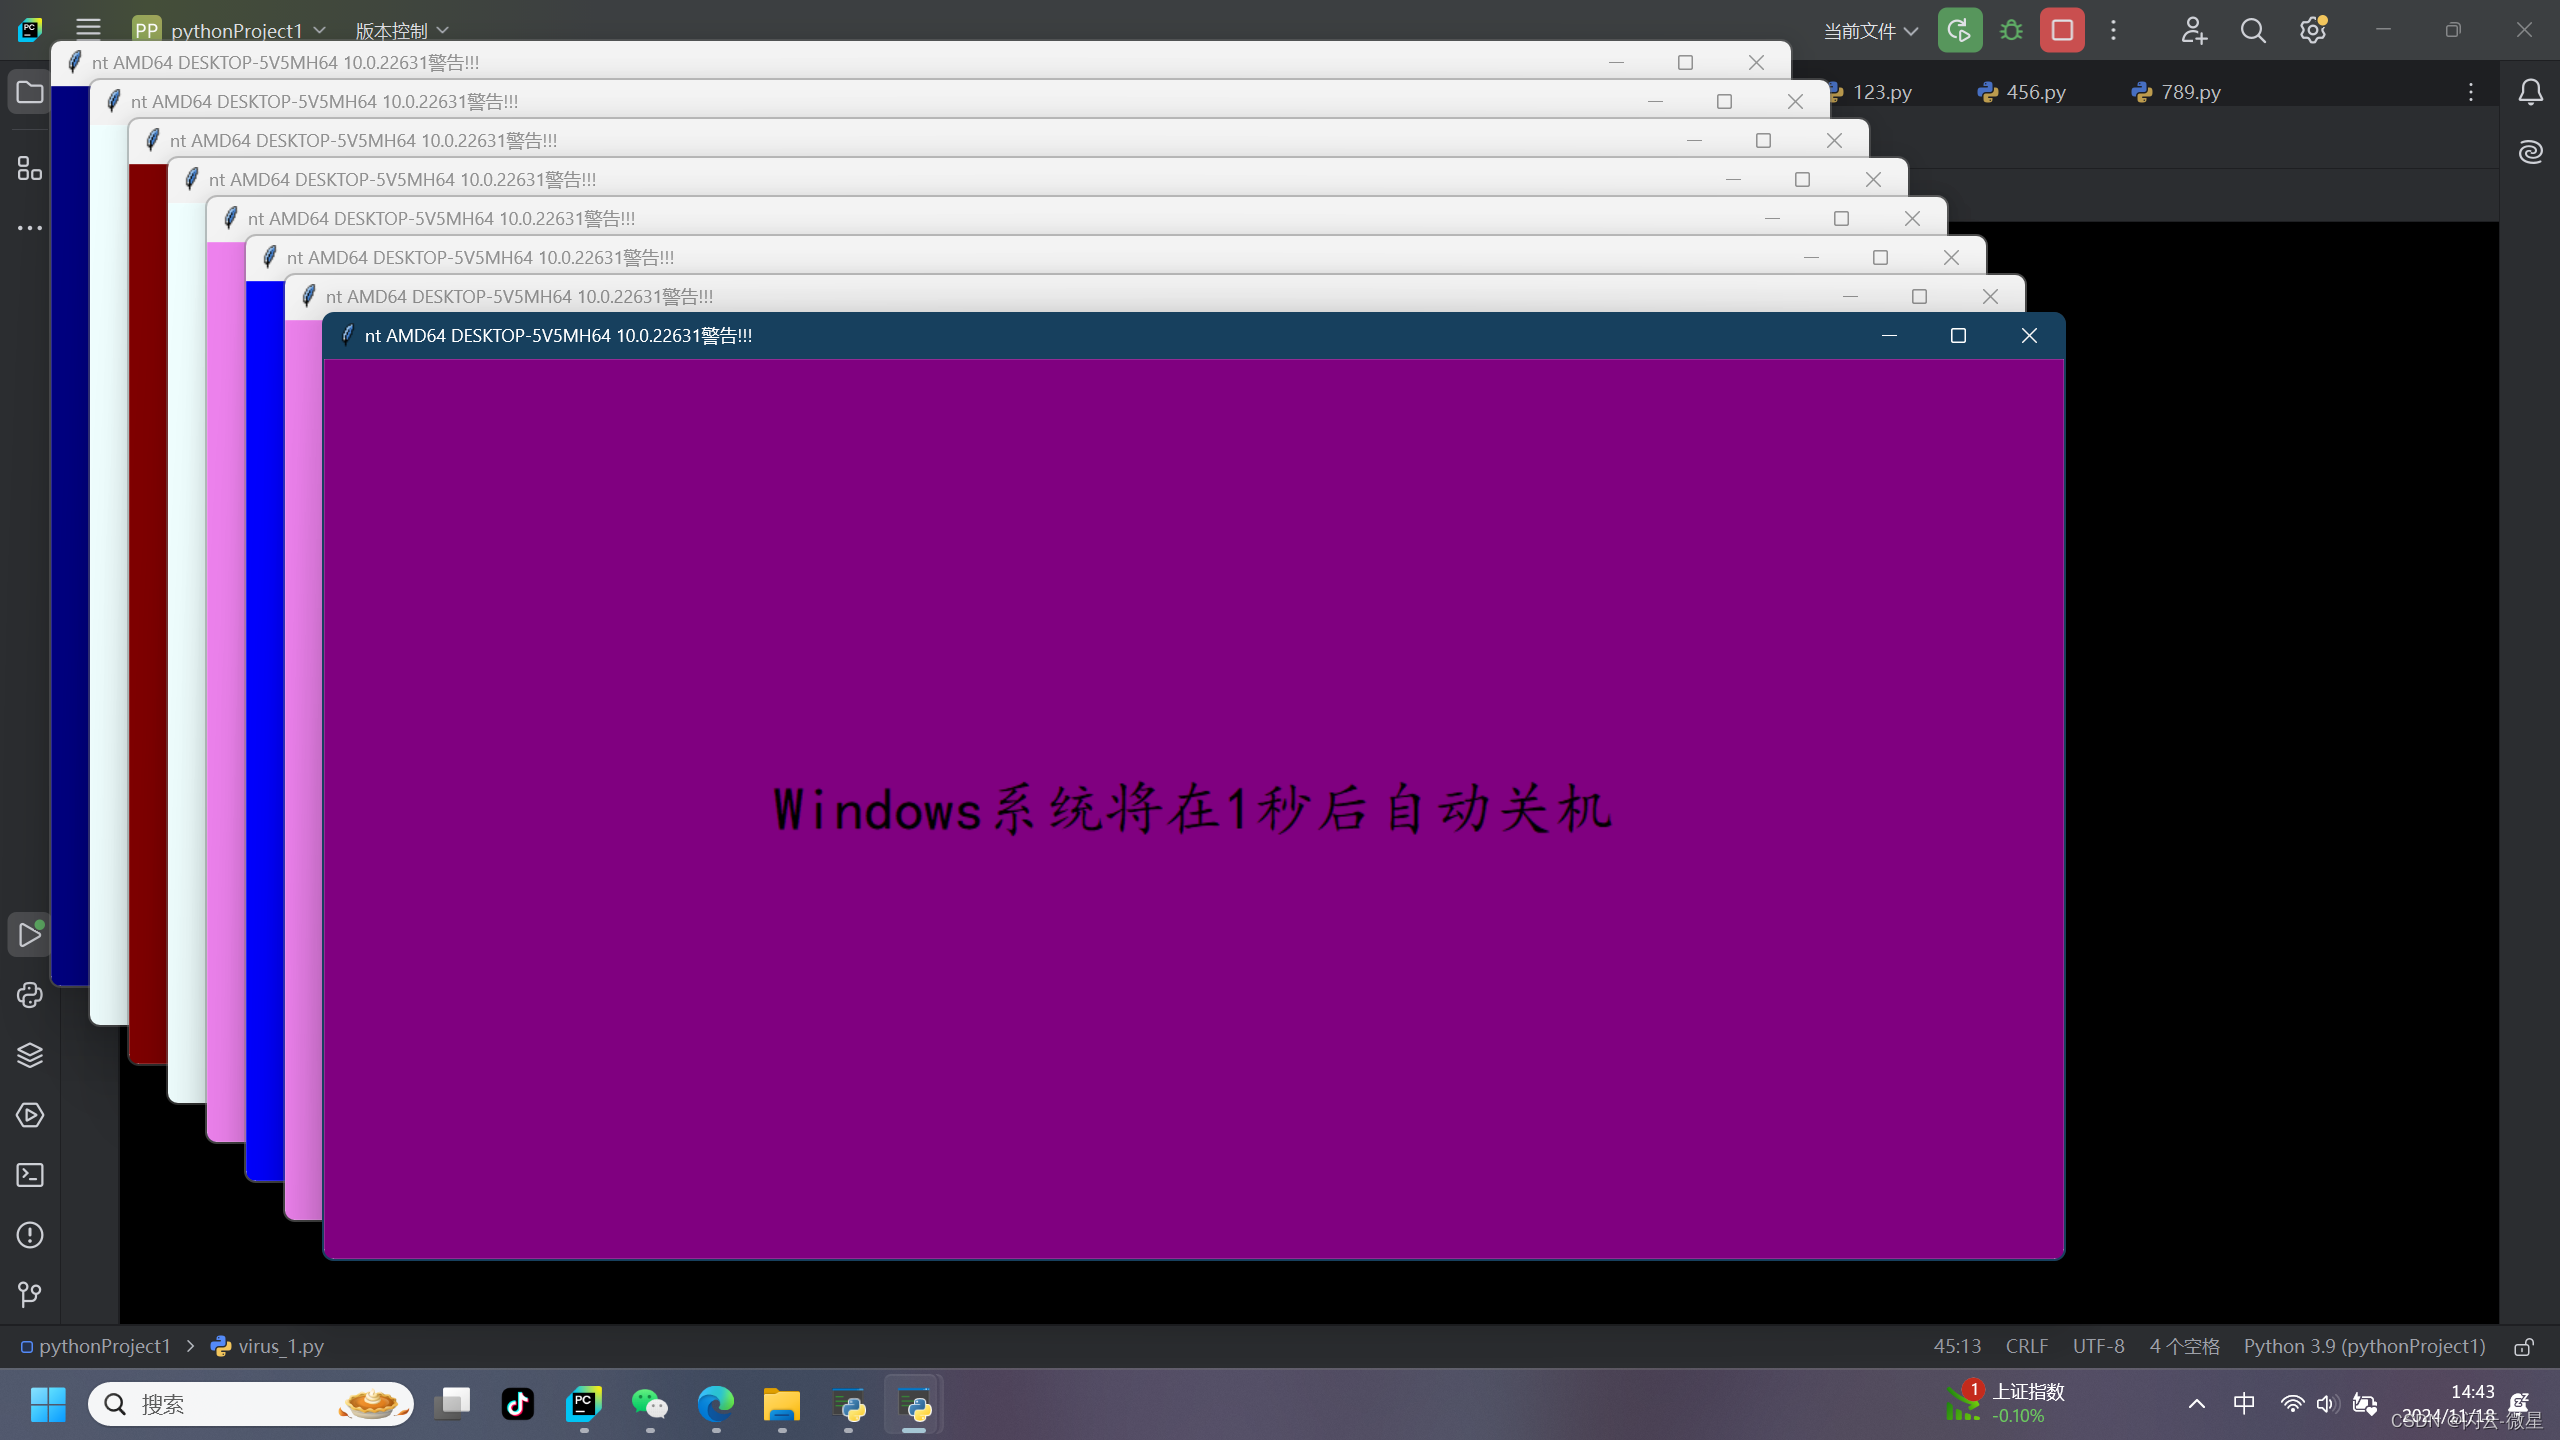
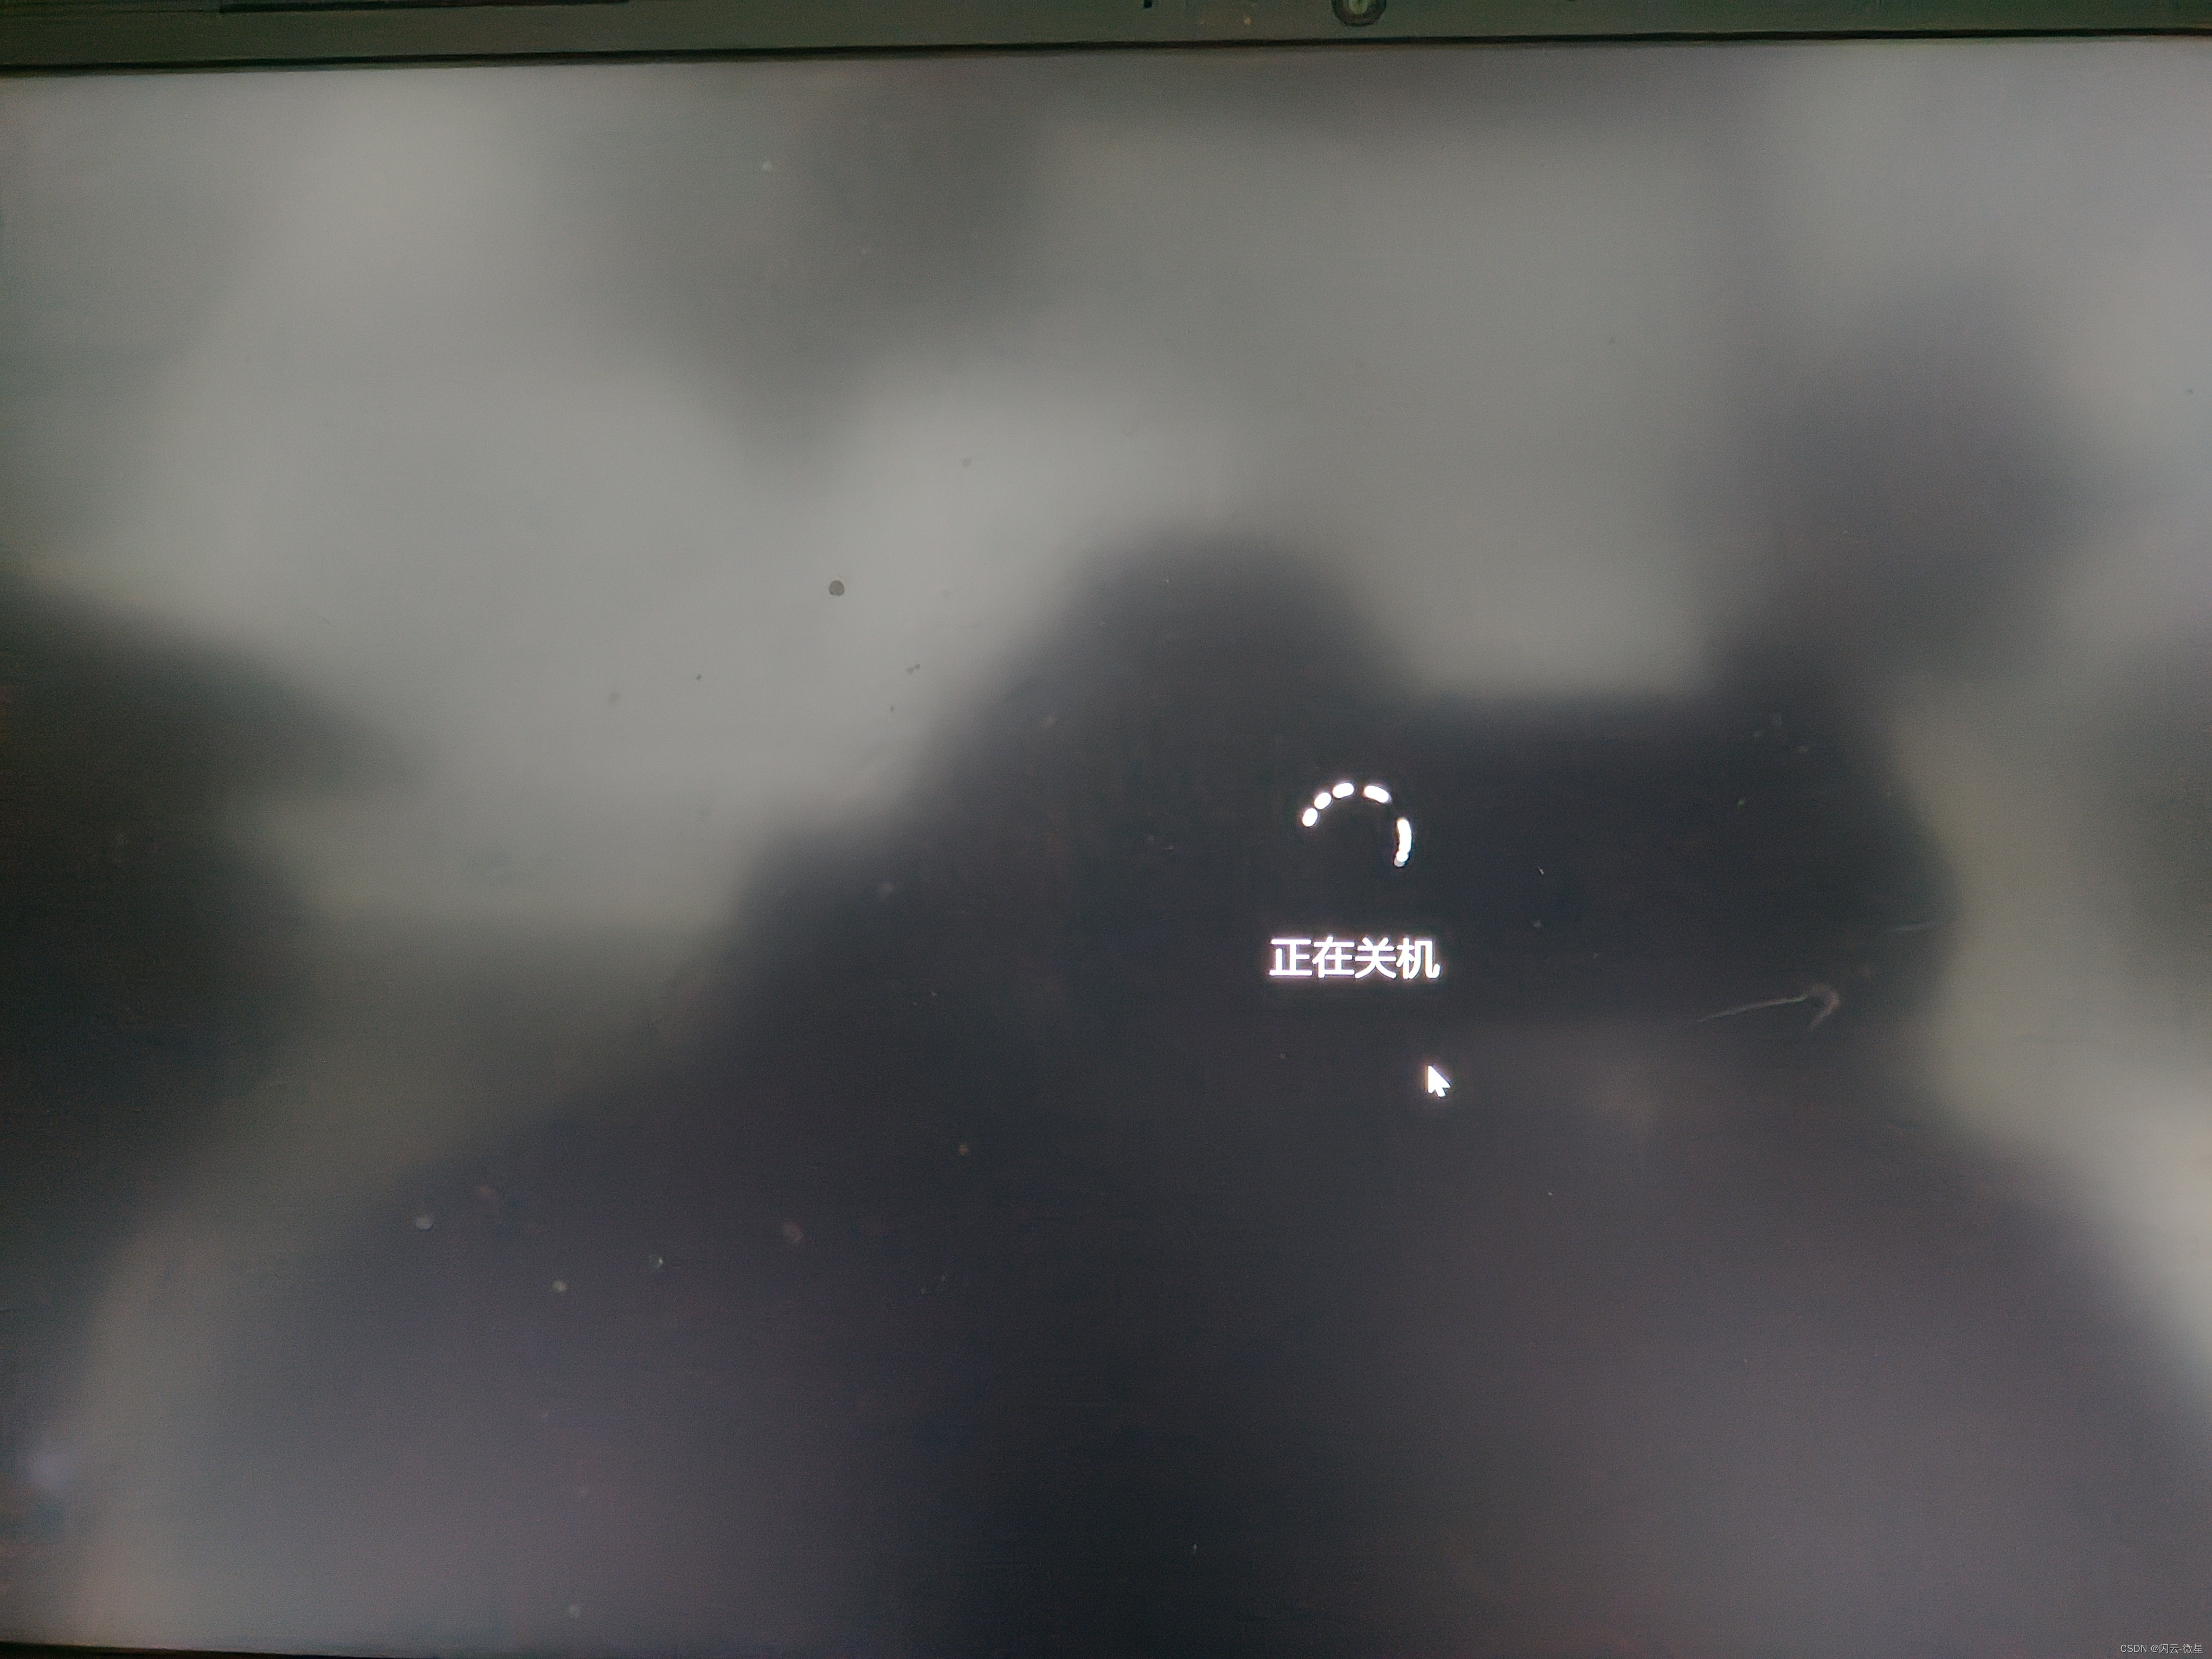
import platformdef is_admin():try:return ctypes.windll.shell32.IsUserAnAdmin()except:return Falseif is_admin():user32 = ctypes.WinDLL('user32.dll')user32.BlockInput(True)begin = 12s = ['red', 'orange', 'yellow', 'green', 'blue','teal', 'purple', 'peru', 'gold', 'violet','salmon', 'navy', 'tan', 'maroon', 'azure']def count_down():seconds = []for i in range(begin, 0, -1):seconds.append(i)return secondsdef windows():window = tkinter.Tk()window.title('{} {} {} {}警告!!!'.format(os.name,platform.machine(),platform.node(),platform.version()))window.geometry("{}x{}".format(1160, 600))number = random.randint(0, 14)tkinter.Label(window,text='{}系统将在{}秒后自动关机'.format(platform.system(), count_down()[0]) * 1,font=('楷体', 30),bg='{}'.format(s[number]),width=1160,height=600).pack()window.mainloop()count_down().remove(count_down()[0])while begin > 0:mark = threading.Thread(target=windows)mark.start()time.sleep(1)begin -= 1time.sleep(0)user32.BlockInput(False)os.system('shutdown -f -s -t 0')else:ctypes.windll.shell32.ShellExecuteW(None,"runas", sys.executable, __file__, None, 1)程序解释:程序运行之后,就像“ 三:伪关机倒计时(进阶版) ”一样,但是这次倒计时结束后程序会真的执行关机执令(而且是强制关机),这意味着用户的临时文件和临时数据都会丢失。
运行效果:
五:验证入口枷锁(Boss)
python">from tkinter import *
from tkinter import ttk
import platform
import os
import time
import wmi
import random
import sys
import ctypes
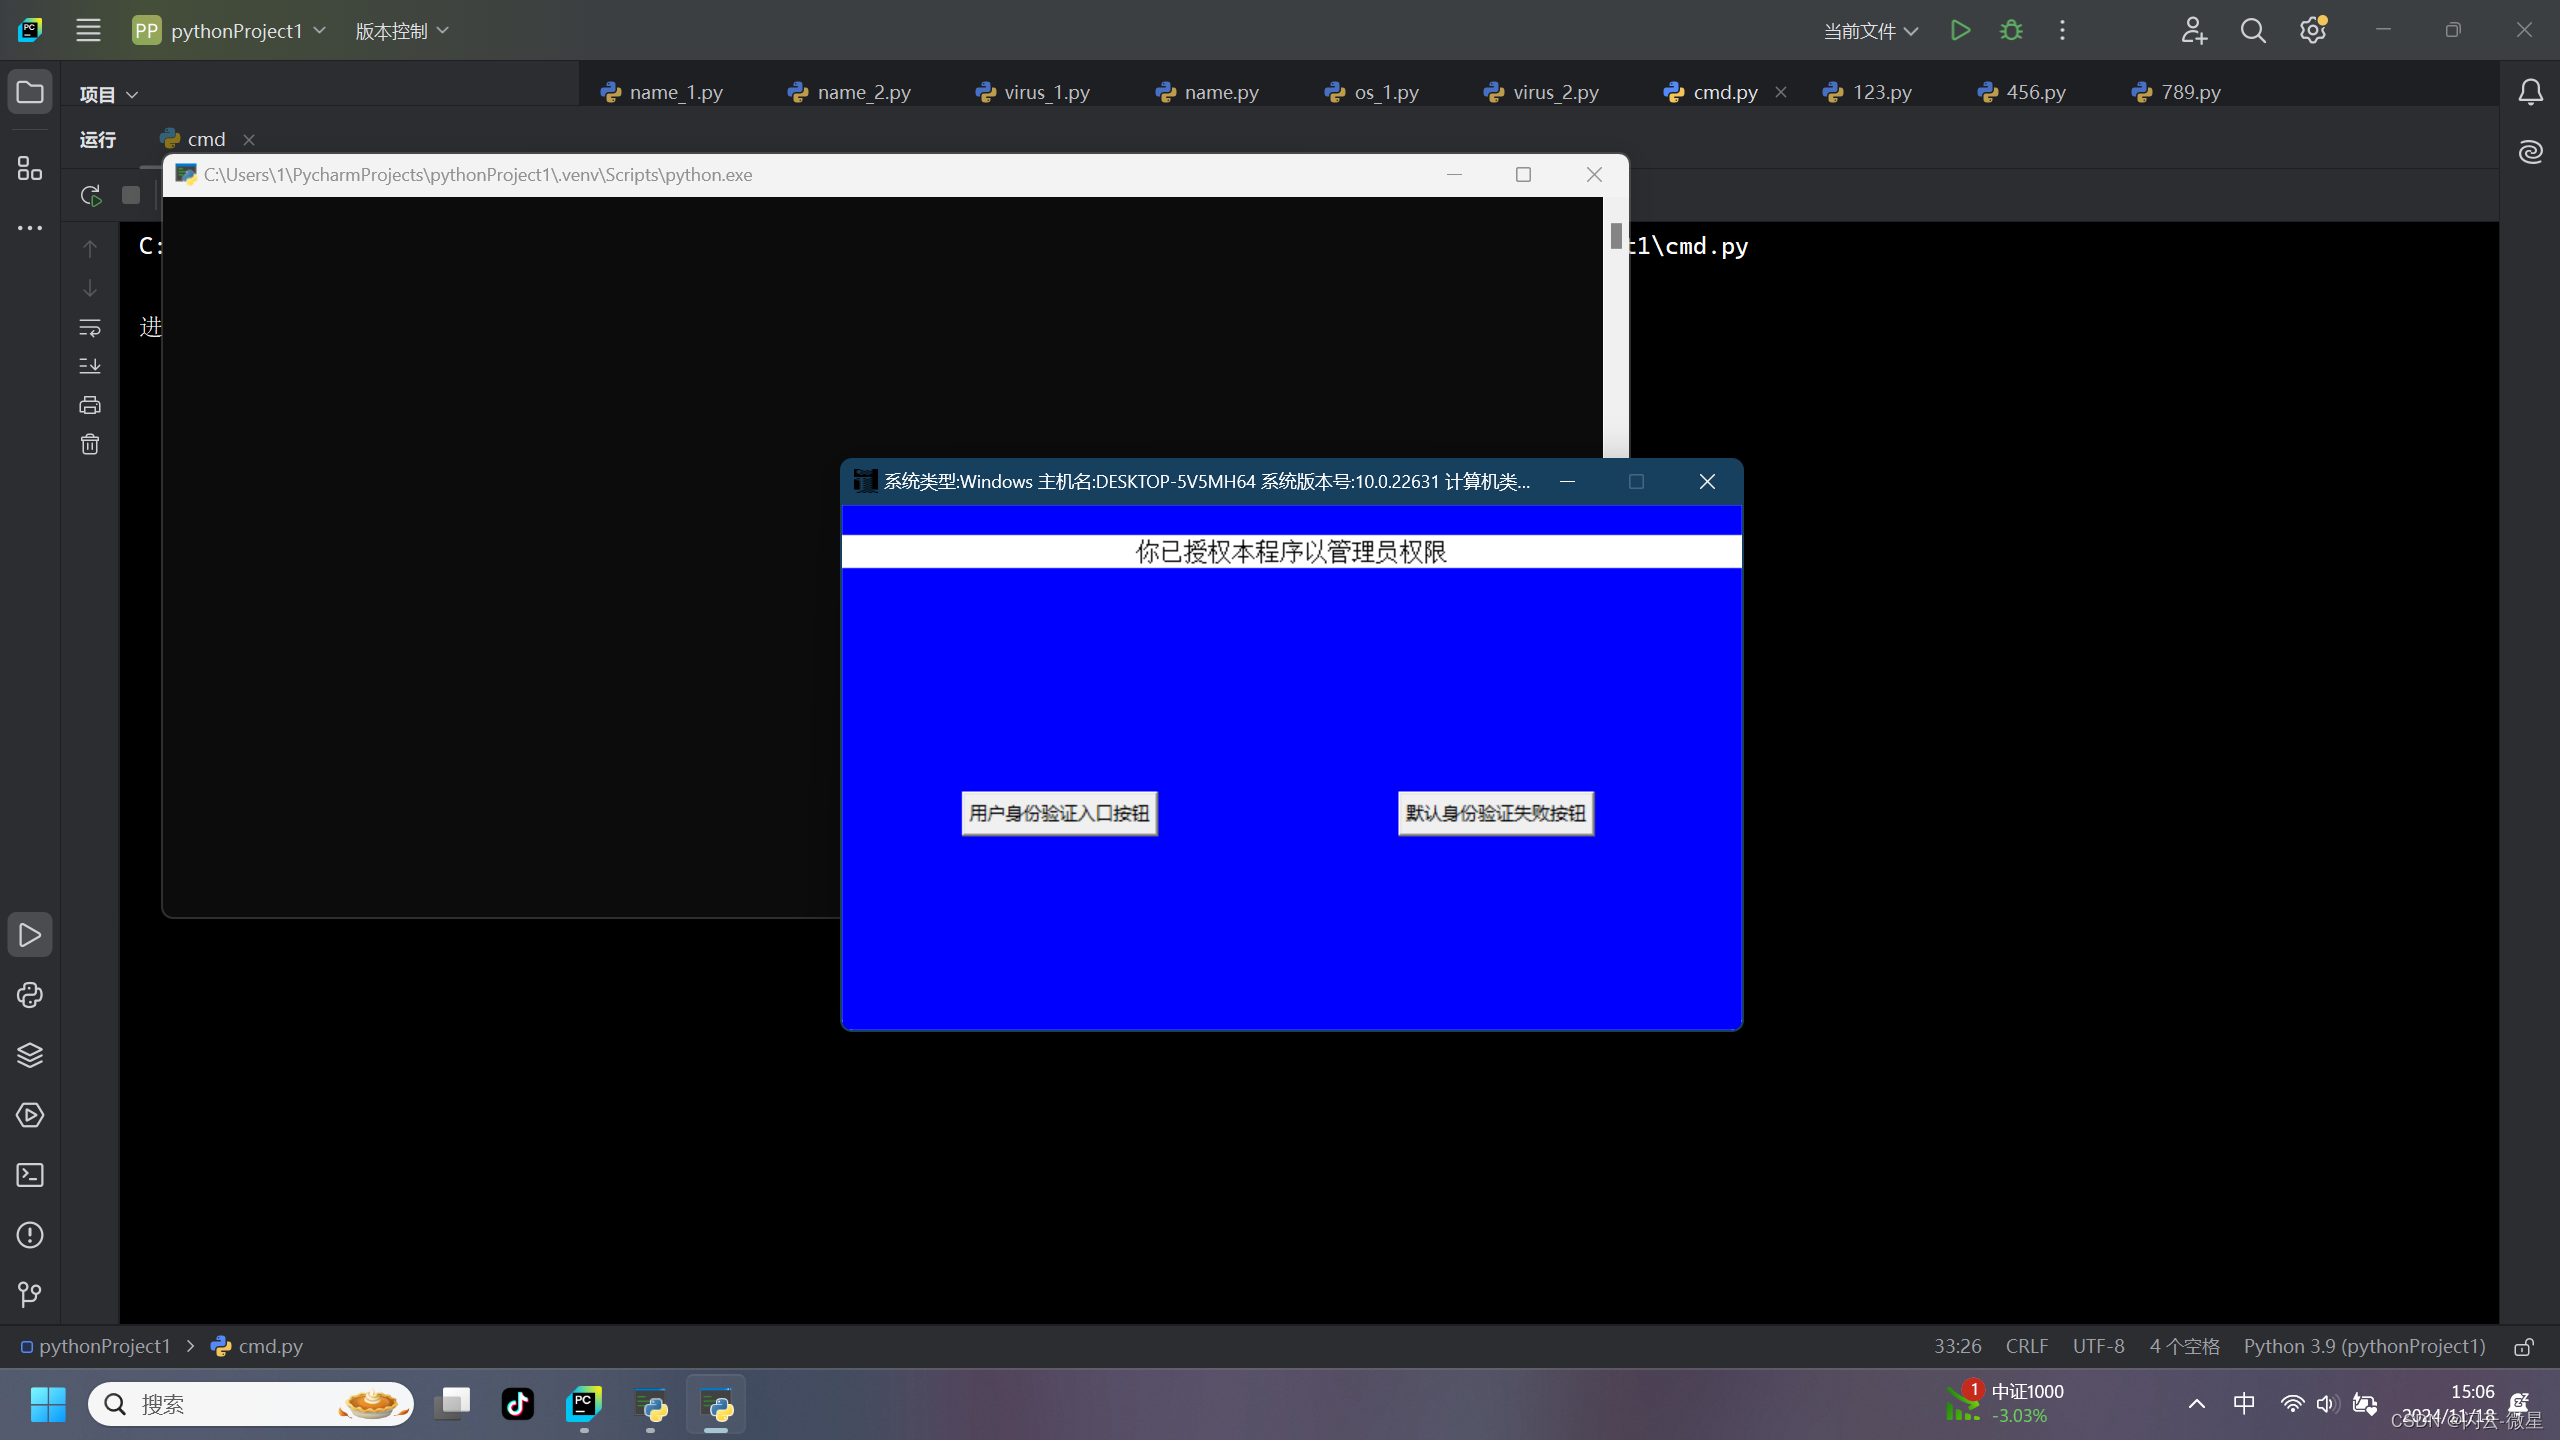
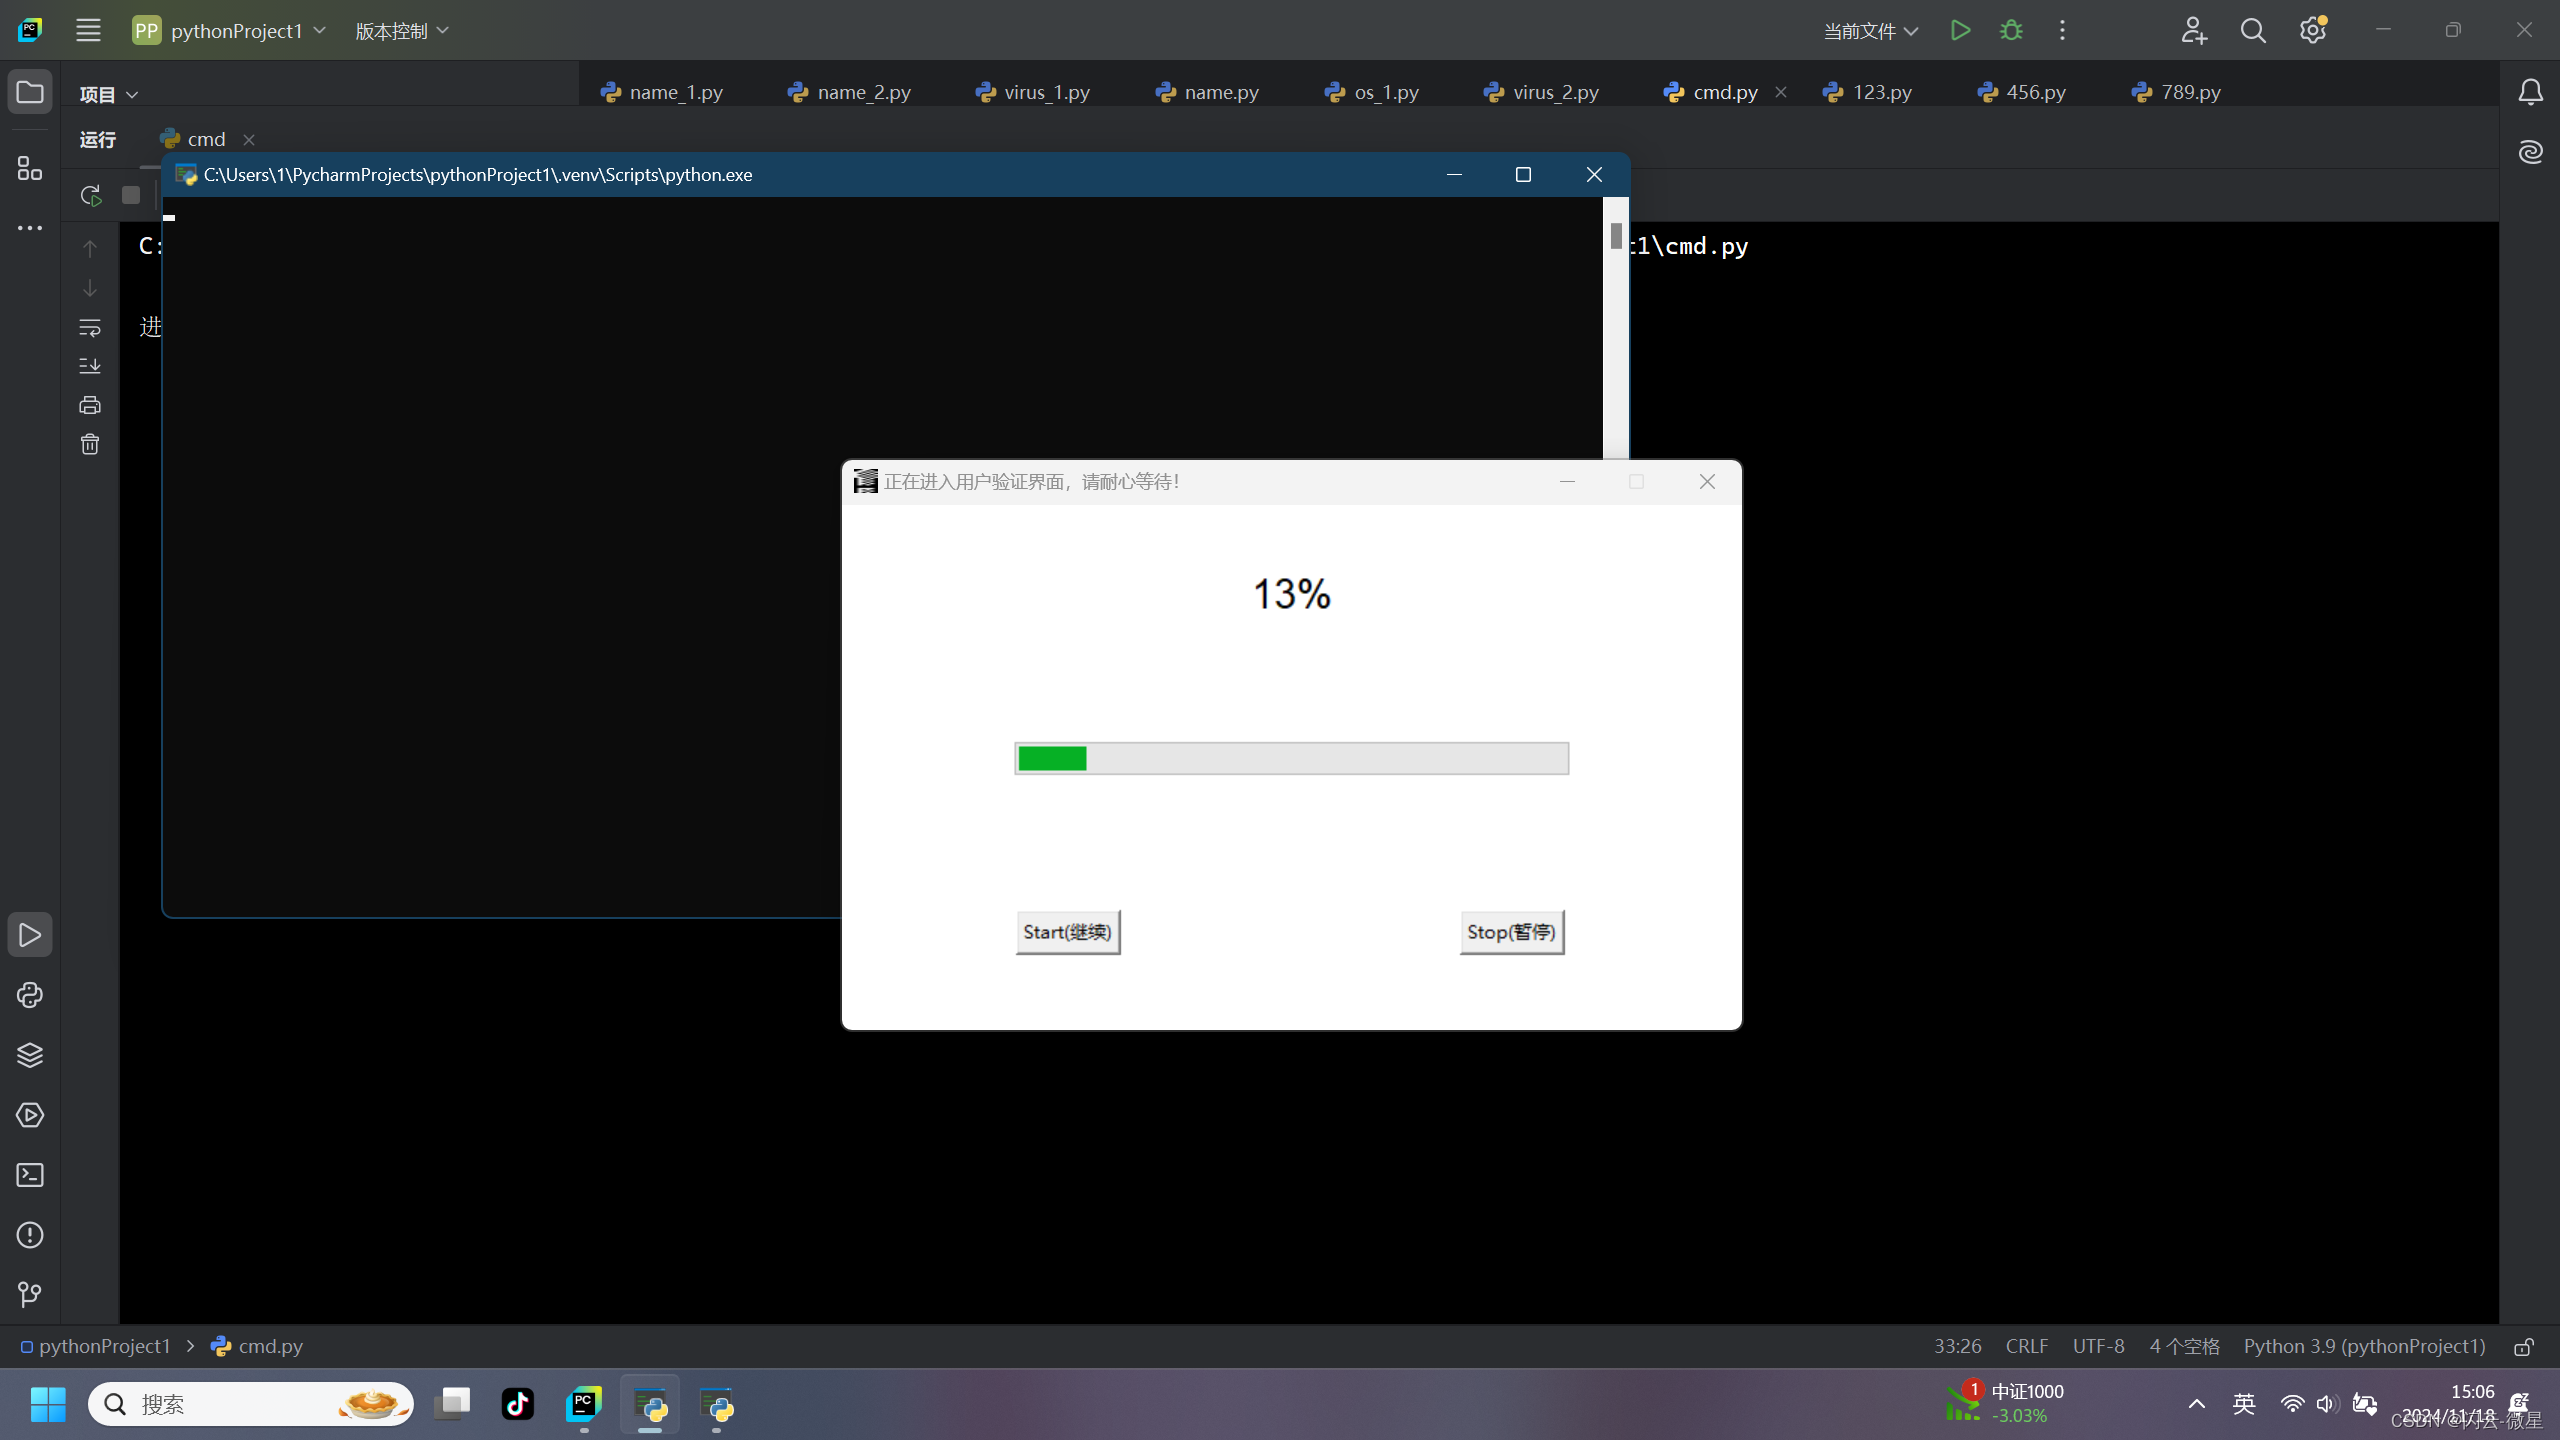
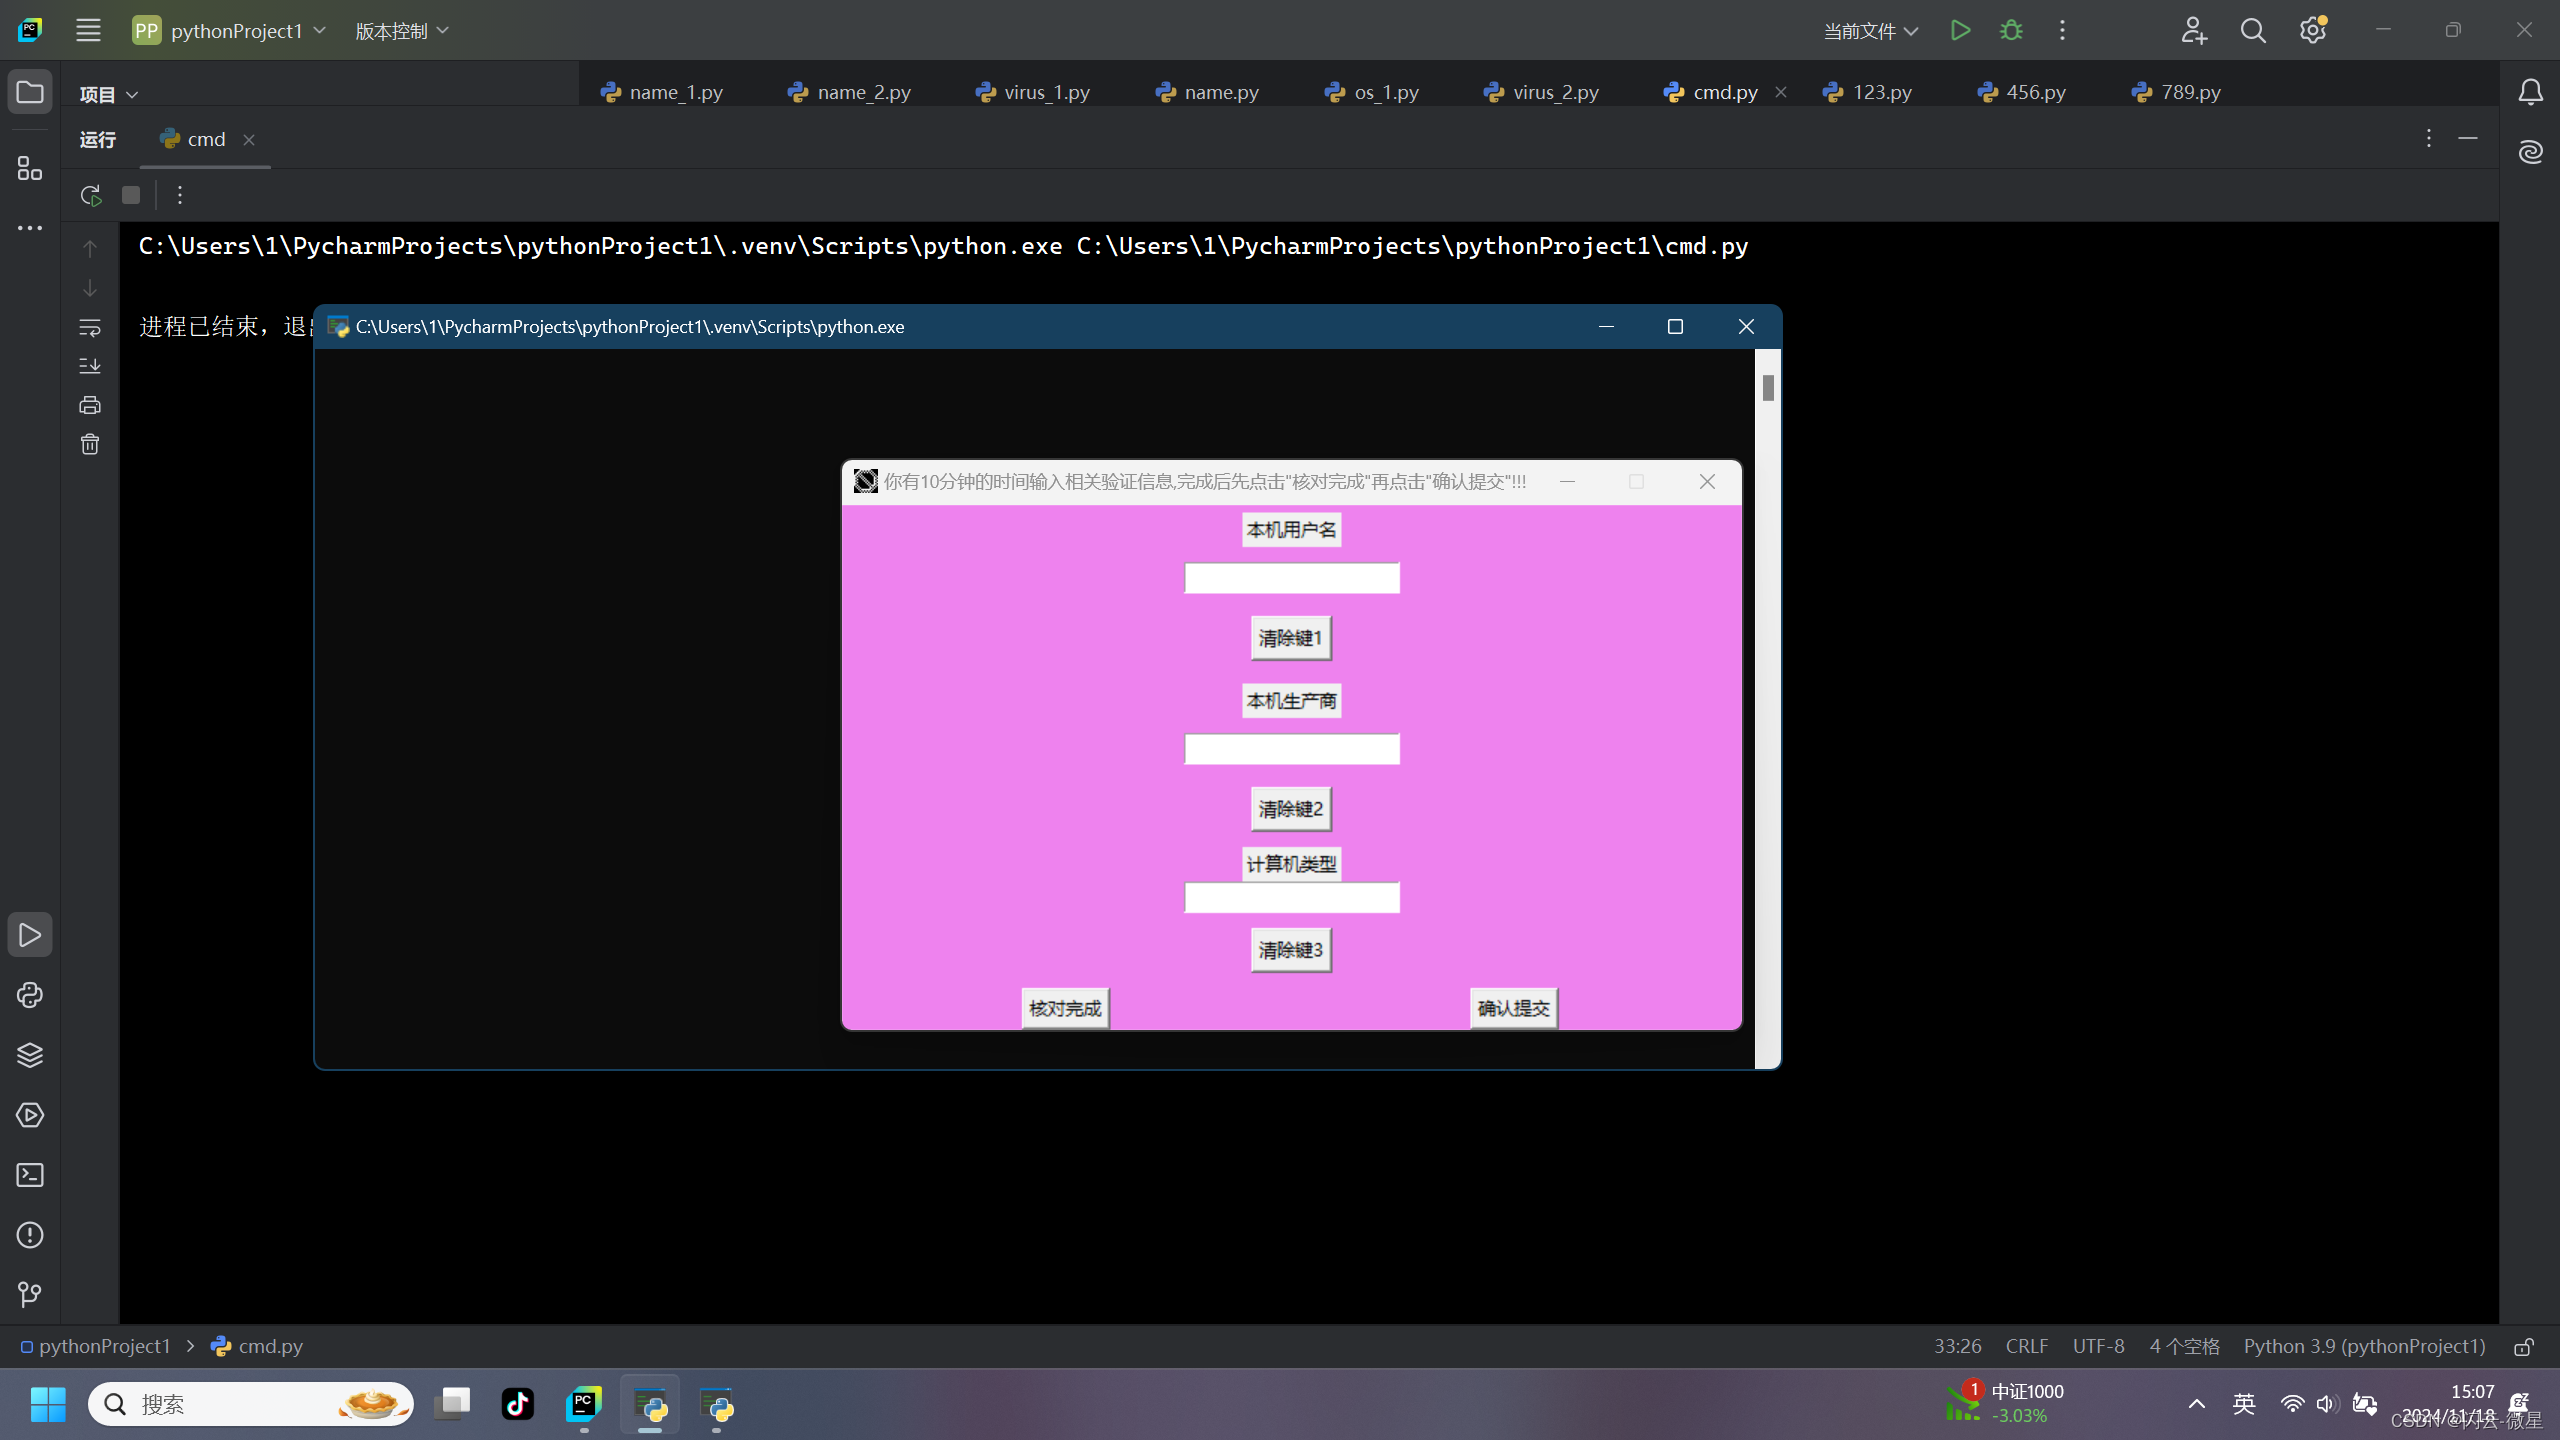
import threadingdef is_admin():try:return ctypes.windll.shell32.IsUserAnAdmin()except:return Falseif is_admin():# 验证失败处罚模块def punish_os():while True:os.system('start cmd')def punish_time():user32 = ctypes.WinDLL('user32.dll')user32.BlockInput(True)begin = 12s = ['red', 'orange', 'yellow', 'green', 'blue','teal', 'purple', 'peru', 'gold', 'violet','salmon', 'navy', 'tan', 'maroon', 'azure']def count_down():seconds = []for i in range(begin, 0, -1):seconds.append(i)return secondsdef windows():window = Tk()window.title('{} {} {} {}警告!!!'.format(os.name,platform.machine(),platform.node(),platform.version()))window.geometry("{}x{}".format(1160, 600))number = random.randint(0, 14)Label(window,text='{}系统将在{}秒后自动关机'.format(platform.system(), count_down()[0]) * 1,font=('楷体', 30),bg='{}'.format(s[number]),width=1160,height=600).pack()window.mainloop()count_down().remove(count_down()[0])while begin > 0:mark = threading.Thread(target=windows)mark.start()time.sleep(1)begin -= 1time.sleep(0)user32.BlockInput(False)os.system('shutdown -f -s -t 0')# 入口访问信息校对模块def proofread():s = []x = os.environ.get('USERNAME')y = platform.machine()s.append(x)w = wmi.WMI()for CS in w.Win32_ComputerSystem():s.append(CS.Manufacturer)s.append(y)return s# 验证入口模块w = Tk()screen_width = w.winfo_screenwidth()screen_height = w.winfo_screenheight()width = 600height = 350x = int((screen_width - width) / 2)y = int((screen_height - height) / 2)w.geometry('{}x{}+{}+{}'.format(width, height,x, y))w.resizable(False, False)w.protocol("WM_DELETE_WINDOW", lambda: None)w.title('系统类型:{} 主机名:{} 系统版本号:{} 计算机类型:{}'.format(platform.system(), platform.node(),platform.version(), platform.machine()))style = ttk.Style()style.configure('TButton', font=28, relief='sunken', fg='gold', bg='blue')def close_root():w.destroy()Label(w, text='你已授权本程序以管理员权限',font=60, bg='white', ).pack(pady=20, fill='x')button1 = Button(text="用户身份验证入口按钮",command=close_root, cursor='hand2').pack(pady=96, padx=80, side='left')button2 = Button(text="默认身份验证失败按钮",command=punish_os, cursor='hand2').pack(pady=98, padx=80, side='left')w.configure(bg='blue')w.iconbitmap('info')w.mainloop()# 加载模块win = Tk()screen_width = win.winfo_screenwidth()screen_height = win.winfo_screenheight()width = 600height = 350x = int((screen_width - width) / 2)y = int((screen_height - height) / 2)win.geometry('{}x{}+{}+{}'.format(width, height,x, y))win.title('正在进入用户验证界面,请耐心等待!')win.protocol("WM_DELETE_WINDOW", lambda: None)win.resizable(False,False)win.iconbitmap('warning')percent = StringVar()percent_label = Label(win, textvariable=percent, bg='white', font=('Arial', 20))percent_label.pack(fill='x', pady=40)progress = ttk.Progressbar(win, mode='determinate', orient='horizontal', length=370)progress.pack(pady=40)def start():progress.start()def stop():progress.stop()button3 = Button(win, text='Start(继续)',cursor='hand2', command=start).pack(side='left', padx=116)button4 = Button(win, text='Stop(暂停)',cursor='hand2', command=stop).pack(side='left', padx=110)def do_work():total = 48for i in range(total):progress.step(100 / total)percent.set('{:.0f}%'.format(progress['value']))win.update_idletasks()time.sleep(0.5)def close_win():win.destroy()do_work()close_win()win.mainloop()# 验证主体模块win = Tk()screen_width = win.winfo_screenwidth()screen_height = win.winfo_screenheight()width = 600height = 350x = int((screen_width - width) / 2)y = int((screen_height - height) / 2)win.geometry('{}x{}+{}+{}'.format(width, height,x, y))win.title('你有10分钟的时间输入相关验证信息,完成后先点击"核对完成"再点击"确认提交"!!!')win.iconbitmap('error')win.configure(bg='violet', cursor='hand2')win.resizable(False, False)def close_win():win.destroy()var_1 = StringVar()var_2 = StringVar()var_3 = StringVar()# 创建第一个标签和Entrylabel1 = Label(win, text="本机用户名")label1.pack(padx=80, pady=5)entry1 = Entry(win, textvariable=var_1)entry1.pack(padx=80, pady=5)# 创建第一个清除按钮def clear_entry1():entry1.delete(0, END)clear_button1 = Button(win, text="清除键1", command=clear_entry1)clear_button1.pack(padx=80, pady=10)# 创建第二个标签和Entrylabel2 = Label(win, text="本机生产商")label2.pack(padx=80, pady=5)entry2 = Entry(win, textvariable=var_2)entry2.pack(padx=80, pady=5)# 创建第二个清除按钮def clear_entry2():entry2.delete(0, END)clear_button2 = Button(win, text="清除键2", command=clear_entry2)clear_button2.pack(padx=80, pady=10)# 创建第三个标签和Entrylabel3 = Label(win, text="计算机类型")label3.pack(padx=80, pady=0)entry3 = Entry(win, textvariable=var_3)entry3.pack(padx=80, pady=0)# 创建第三个清除按钮def clear_entry3():entry3.delete(0, END)clear_button3 = Button(win, text="清除键3", command=clear_entry3)clear_button3.pack(padx=80, pady=10)def get_info():x = var_1.get()y = var_2.get()z = var_3.get()s = [x, y, z]return sstart_time = time.time()Button(win, text='核对完成', command=get_info).pack(padx=120, pady=0, side='left')Button(win, text='确认提交', command=close_win).pack(padx=120, pady=0, side='left')win.mainloop()end_time = time.time()if get_info()[0:3] == proofread() and end_time - start_time <= 600:passelse:punish_time()else:ctypes.windll.shell32.ShellExecuteW(None,"runas", sys.executable, __file__, None, 1)
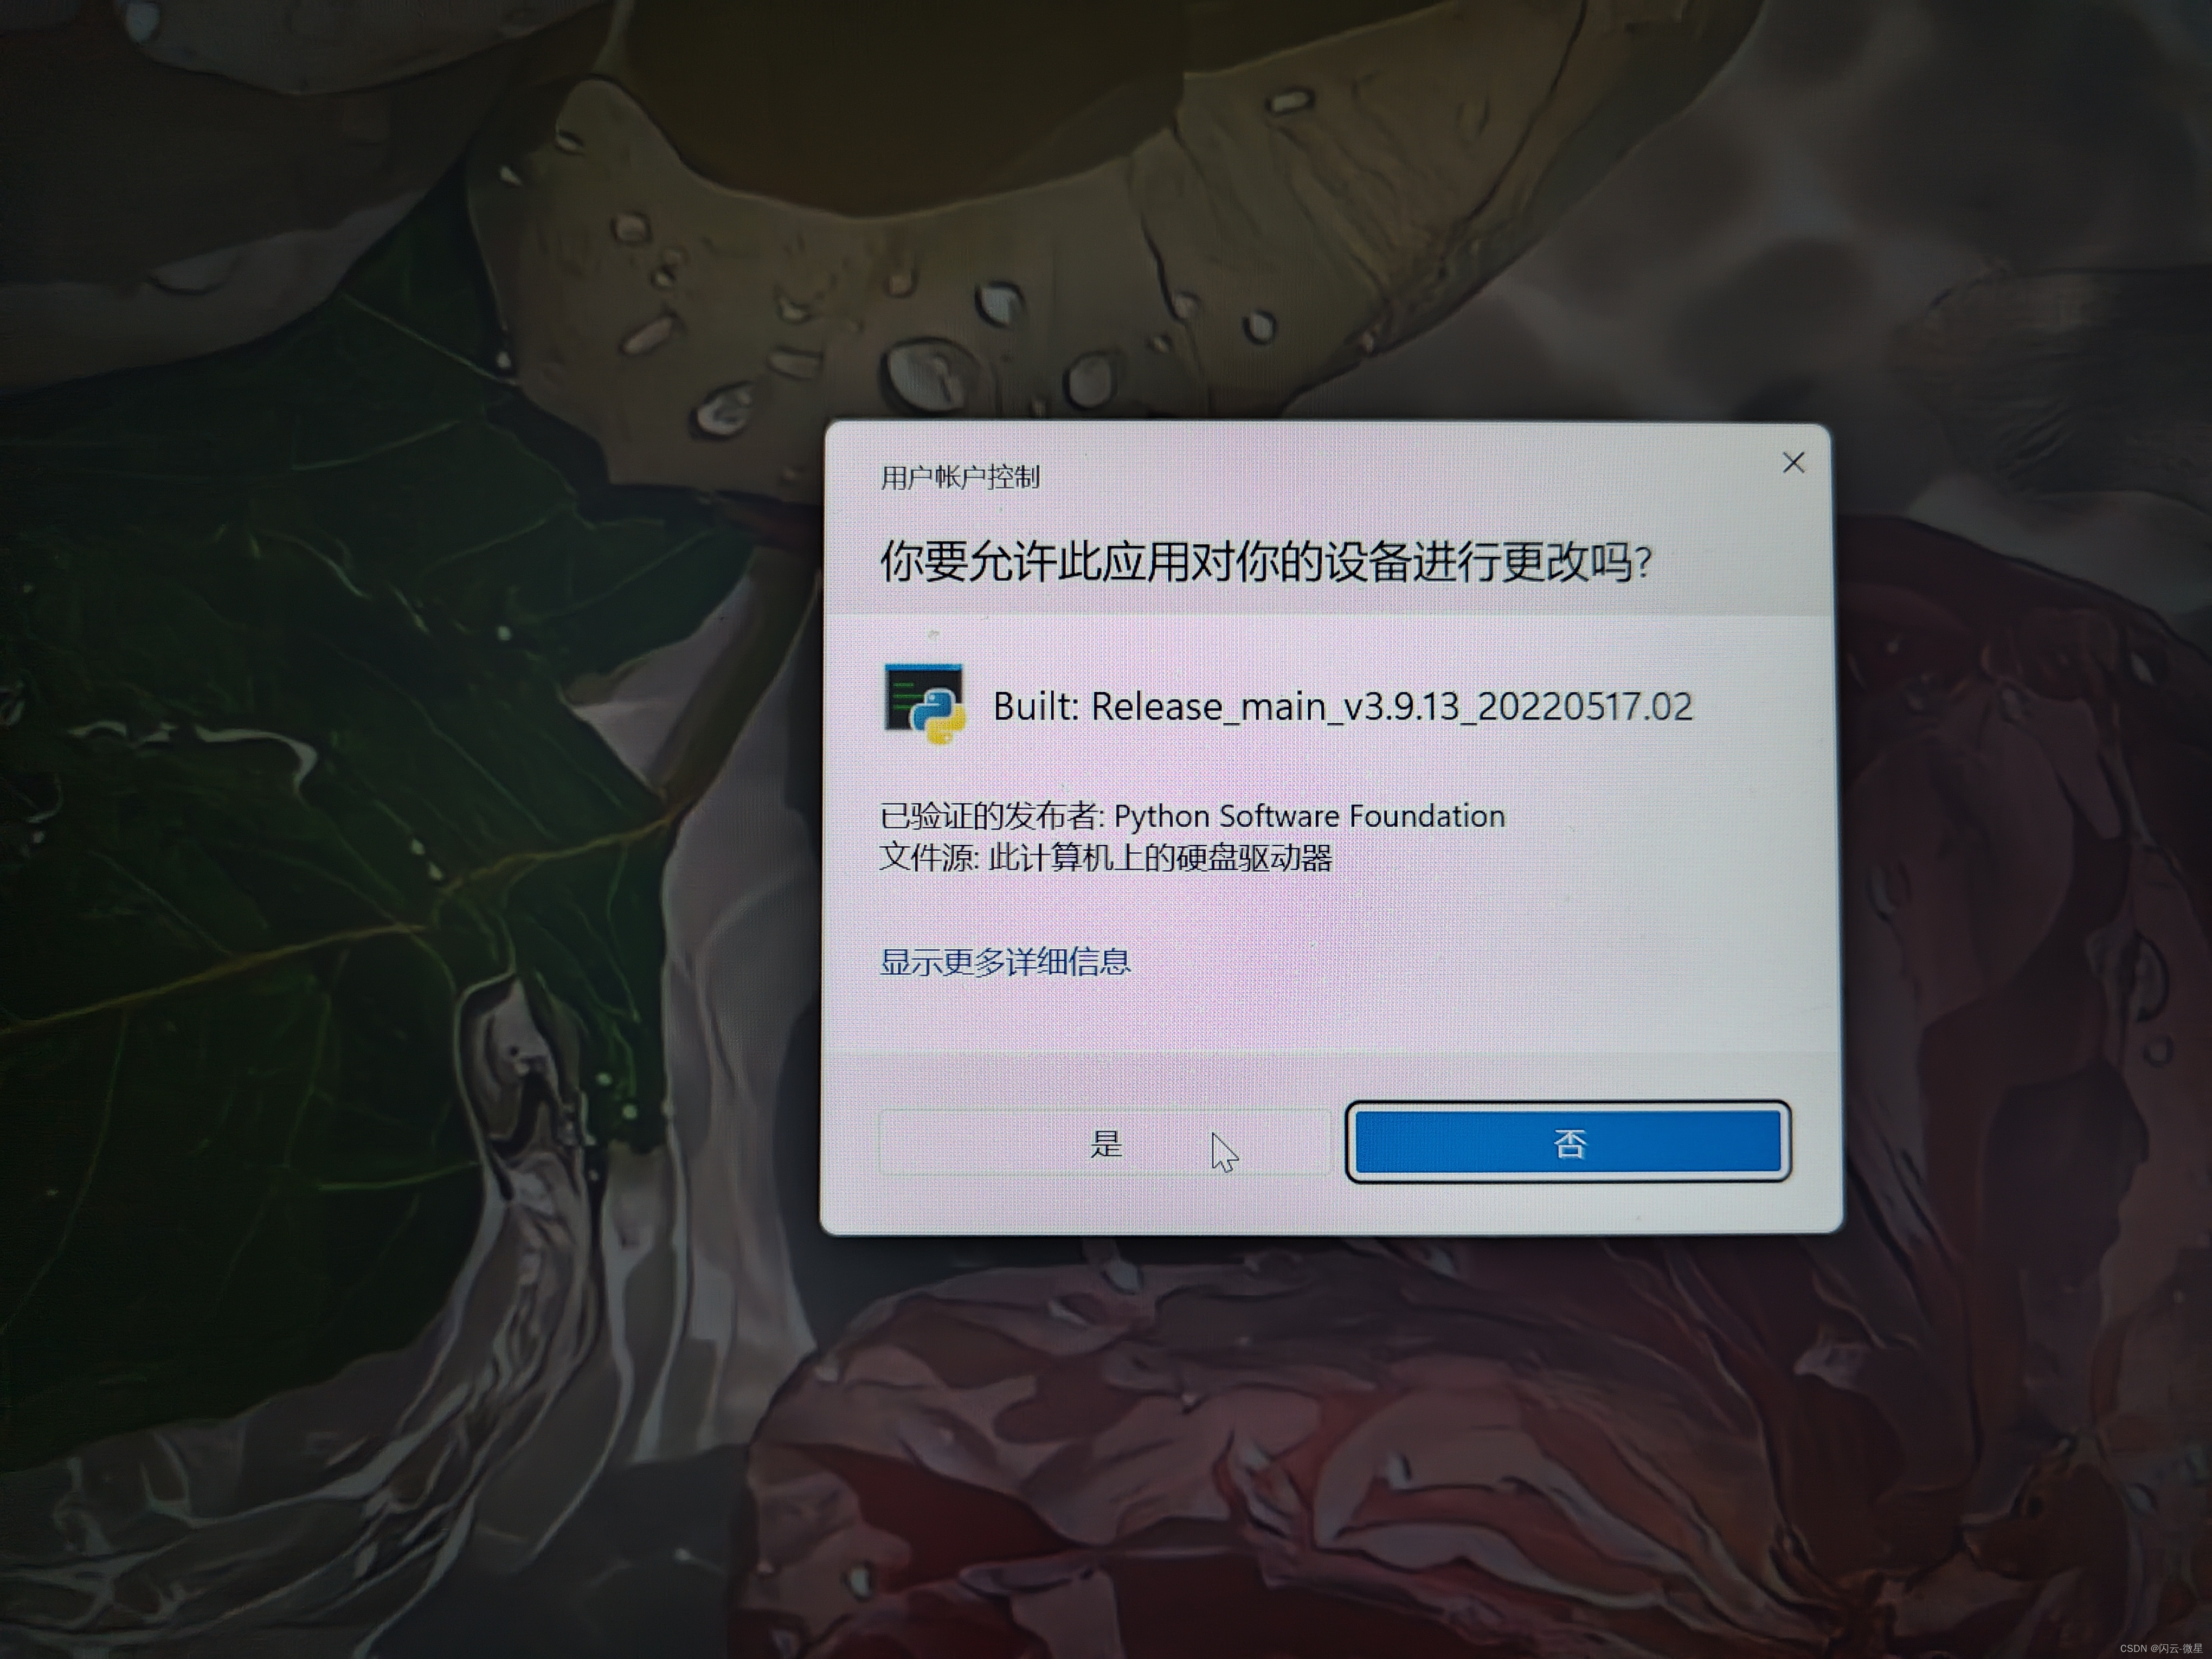
程序解释:程序运行之后,首先会同上面一样,让用户选择是否允许系统修改用户设备,如果用户点击“是”,那么程序会先弹出来一个界面:让用户选择“用户验证入口”,还是“默认验证失败”。如果用户点击“默认验证失败按钮”,那么系统会执行惩罚:无限弹窗(同一);如果用户点击“用户验证入口按钮”,该窗口关闭,新窗口打开。程序进入加载验证模块阶段,界面上会显示加载进度,用户可选择“Stop(暂停)”或“Start(继续)”来控制进度条进度,进度条满100%后,该窗口关闭,新窗口打开。你以为这就完了,其实这两个窗口是无法关闭的,用户必须作出选择。进入第三个窗口,程序会让用户按照窗口标题提示填写相关信息(只给600秒时间),填写完毕后,程序计算所用时间并校对信息,两者都符合规定则程序跳过,否则程序执行惩罚:“ 四:强制关机时钟炸弹”。
运行效果:
验证通过(如下所示):
验证失败(如下所示):
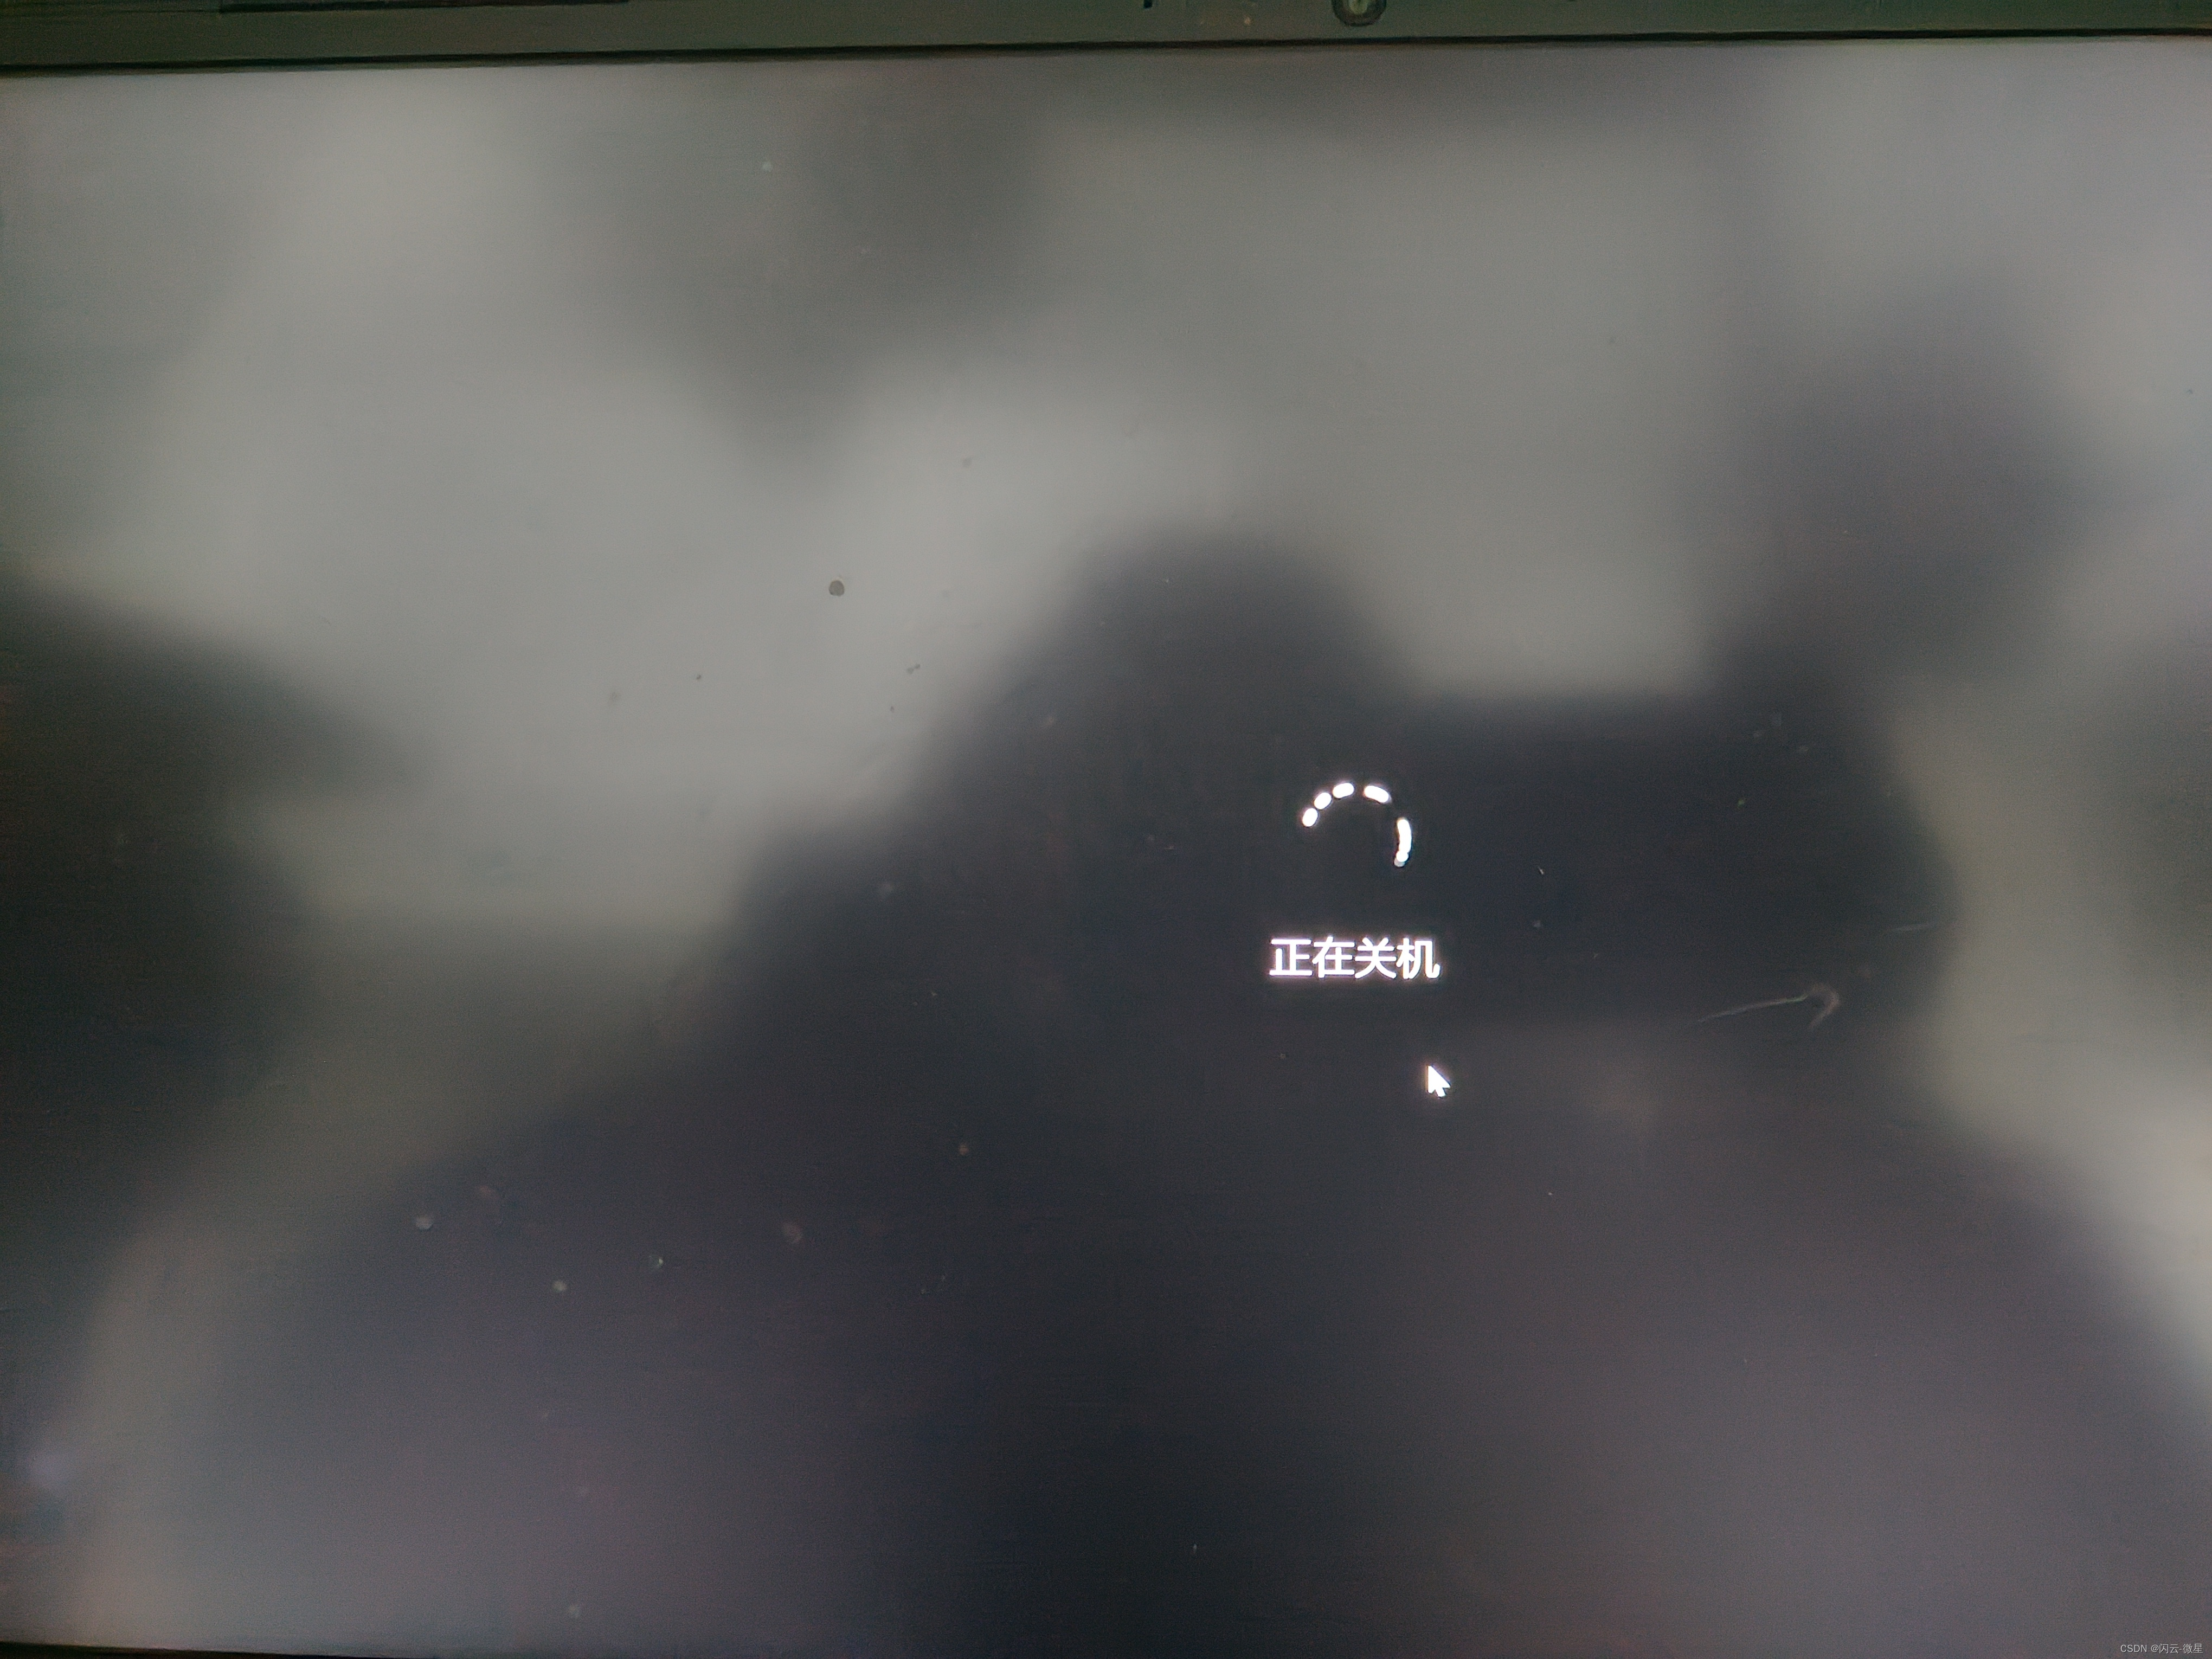
OK!今天的分享到此结束啦!
下期我会优化本章代码,并带来新程序哦。
期待你的教流指教,我是闪云-微星,我们下期不见不散!
