v-if实现
<!--Calender.vue-->
<template><a-calendar v-model:value="value" @panelChange="onPanelChange" /></template>
<script setup>javascript">
import { ref } from 'vue';
const value = ref();
const onPanelChange = (value, mode) => {console.log(value, mode);
};
</script>
<style>
</style>
<!--Table.vue-->
<script setup>javascript">
import { defineComponent, ref } from 'vue'
defineProps({msg: String,
})
const count = ref(0)const columns = [{name: 'Name',dataIndex: 'name',key: 'name',},{title: 'Age',dataIndex: 'age',key: 'age',},{title: 'Address',dataIndex: 'address',key: 'address',},{title: 'Tags',key: 'tags',dataIndex: 'tags',},{title: 'Action',key: 'action',},
];
const data = [{key: '1',name: 'John Brown',age: 32,address: 'New York No. 1 Lake Park',tags: ['nice', 'developer'],},{key: '2',name: 'Jim Green',age: 42,address: 'London No. 1 Lake Park',tags: ['loser'],},{key: '3',name: 'Joe Black',age: 32,address: 'Sidney No. 1 Lake Park',tags: ['cool', 'teacher'],},
];
</script><template><a-table :columns="columns" :data-source="data"><template #headerCell="{ column }"><template v-if="column.key === 'name'"><span><smile-outlined />Name</span></template></template><template #bodyCell="{ column, record }"><template v-if="column.key === 'name'"><a>{{ record.name }}</a></template><template v-else-if="column.key === 'tags'"><span><a-tagv-for="tag in record.tags":key="tag":color="tag === 'loser' ? 'volcano' : tag.length > 5 ? 'geekblue' : 'green'">{{ tag.toUpperCase() }}</a-tag></span></template><template v-else-if="column.key === 'action'"><span><a>Invite 一 {{ record.name }}</a><a-divider type="vertical" /><a>Delete</a><a-divider type="vertical" /><a class="ant-dropdown-link">More actions<down-outlined /></a></span></template></template></a-table>
</template><style scoped>
</style><!--index.vue--><script setup>javascript">
import { ref } from 'vue'
import Table from './components/Table.vue'
import Calender from './components/Calender.vue'let table = ref(true)
let calender = ref(false)const changeTa = ()=>{table.value = truecalender.value = false
}const changeCa = ()=>{calender.value = truetable.value = false
}
</script><template><a-button type="primary" v-if="table" @click="changeCa">日历视图</a-button><a-button type="primary" v-if="calender" @click="changeTa">表格视图</a-button><Table v-if="table"></Table><Calender v-if="calender"></Calender>
</template><style scoped>
</style>
效果:
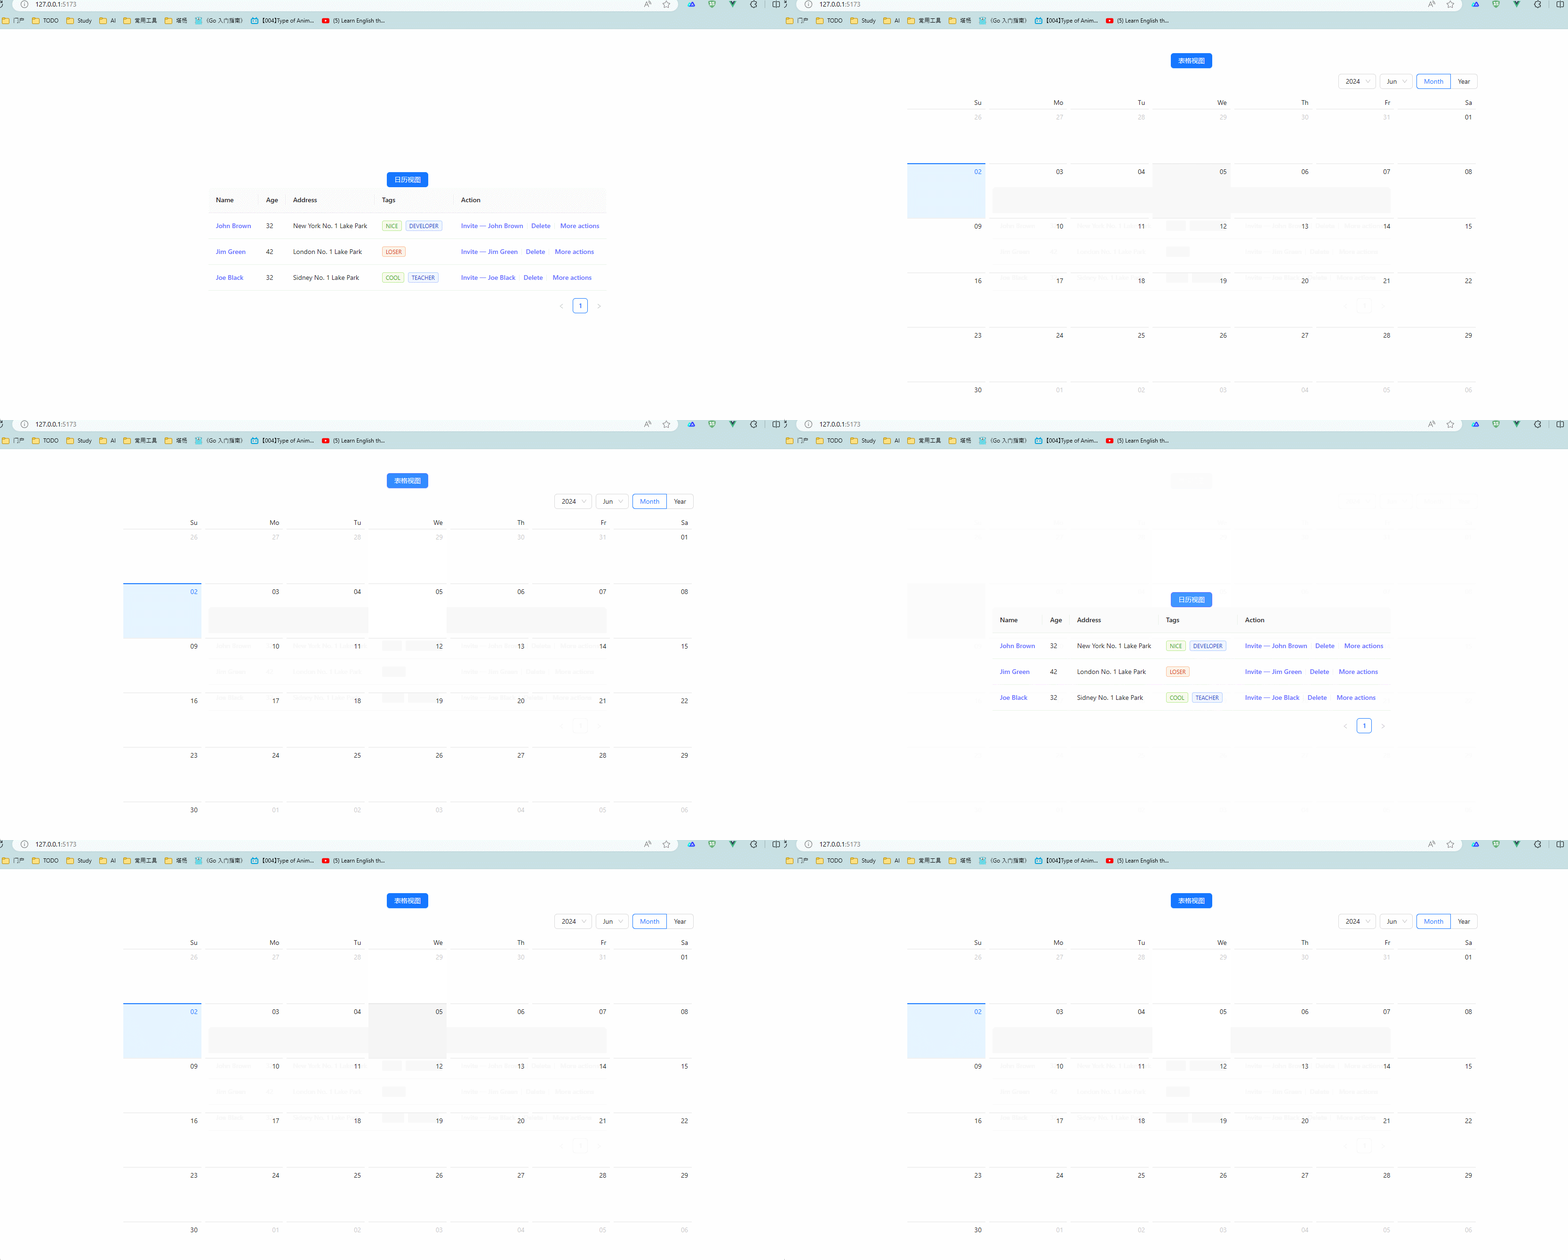
在路由地址未变化的情况下试下组件的切换。
Vue 的 元素实现
子组件内容不变,父组件实现方式改变,如下:
<!--index.vue-->
<script setup>javascript">
import { ref } from 'vue'
import Table from './components/Table.vue'
import Calender from './components/Calender.vue'
let tableView = ref('Table')
let tableName = ref('日历视图')const changeTa = ()=>{tableView.value = 'Table'
}const tabs = {Table,Calender,
}const changeView = ()=>{if (tableView.value === 'Table'){tableView.value = 'Calender'tableName.value = '表格视图'}else{tableView.value = 'Table'tableName.value = '日历视图'}}
</script><template><a-button type="primary" @click="changeView">{{ tableName }}</a-button> <component :is="tabs[tableView]"></component>
</template><style scoped>
</style>
这种方式是组件的动态渲染,接下来是路由实现组件的切换。
<RouterLink>和<RouterView>路由实现
路由必须是全局的在整个路由生命周期都可以使用,并且路由需要作为插件注册到vue实例中。
- 定义路由规则
import { createMemoryHistory, createRouter } from 'vue-router'
import Table from '../components/Table.vue'
import Calender from '../components/Calender.vue'
const routes = [
{ path: '/calender', component: Table },
{ path: '/table', component: Calender },
]const router = createRouter({
history: createMemoryHistory(),
routes,
})export {router,
}
main.js注册路由实例
import { createApp } from 'vue'
import './style.css'
import App from './App.vue'import Antd from 'ant-design-vue';
import 'ant-design-vue/dist/reset.css';// 路由
import {router } from './router/router.js'
const app = createApp(App)app.use(router)app.use(Antd).mount('#app')- 路由渲染组件
<template><RouterLink to="/calender">日历视图</RouterLink><br><RouterLink to="/table">表格视图</RouterLink><RouterView />
</template>
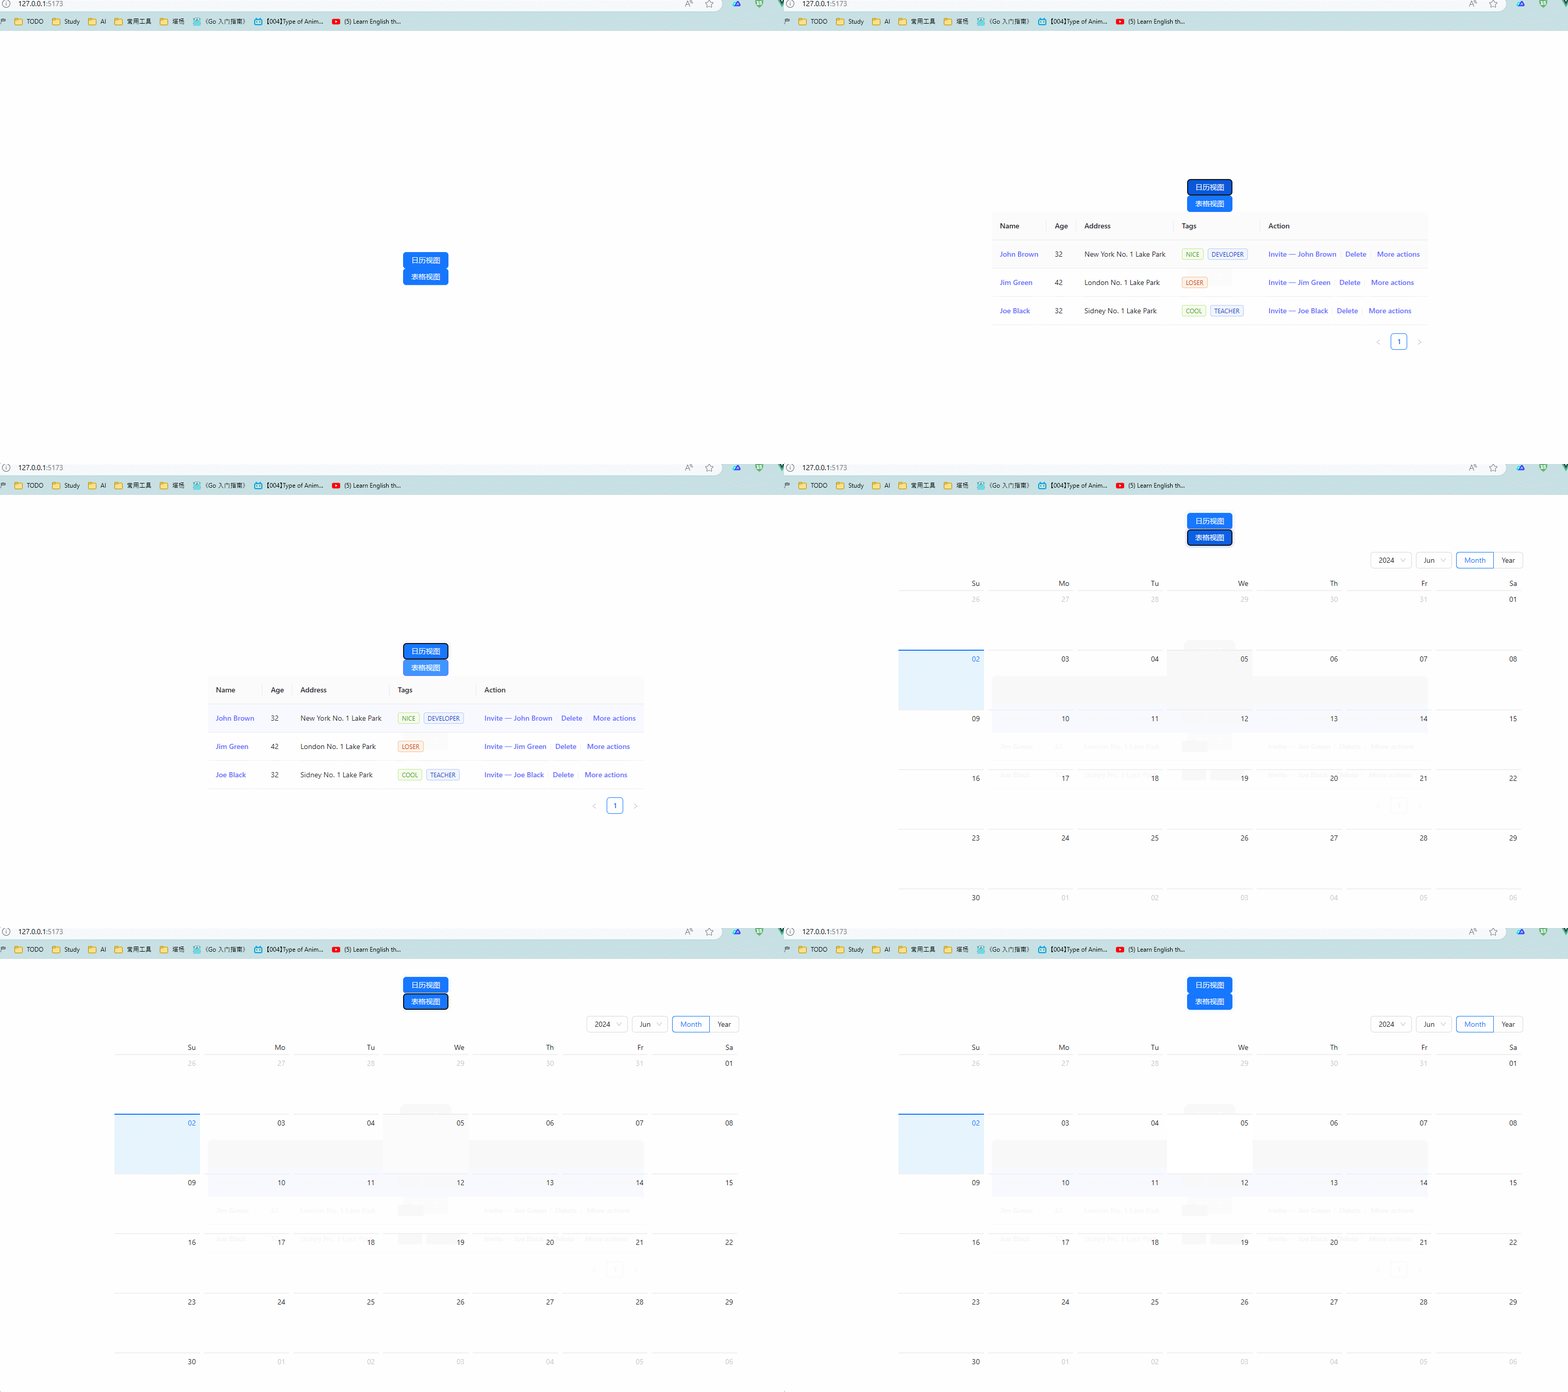
效果
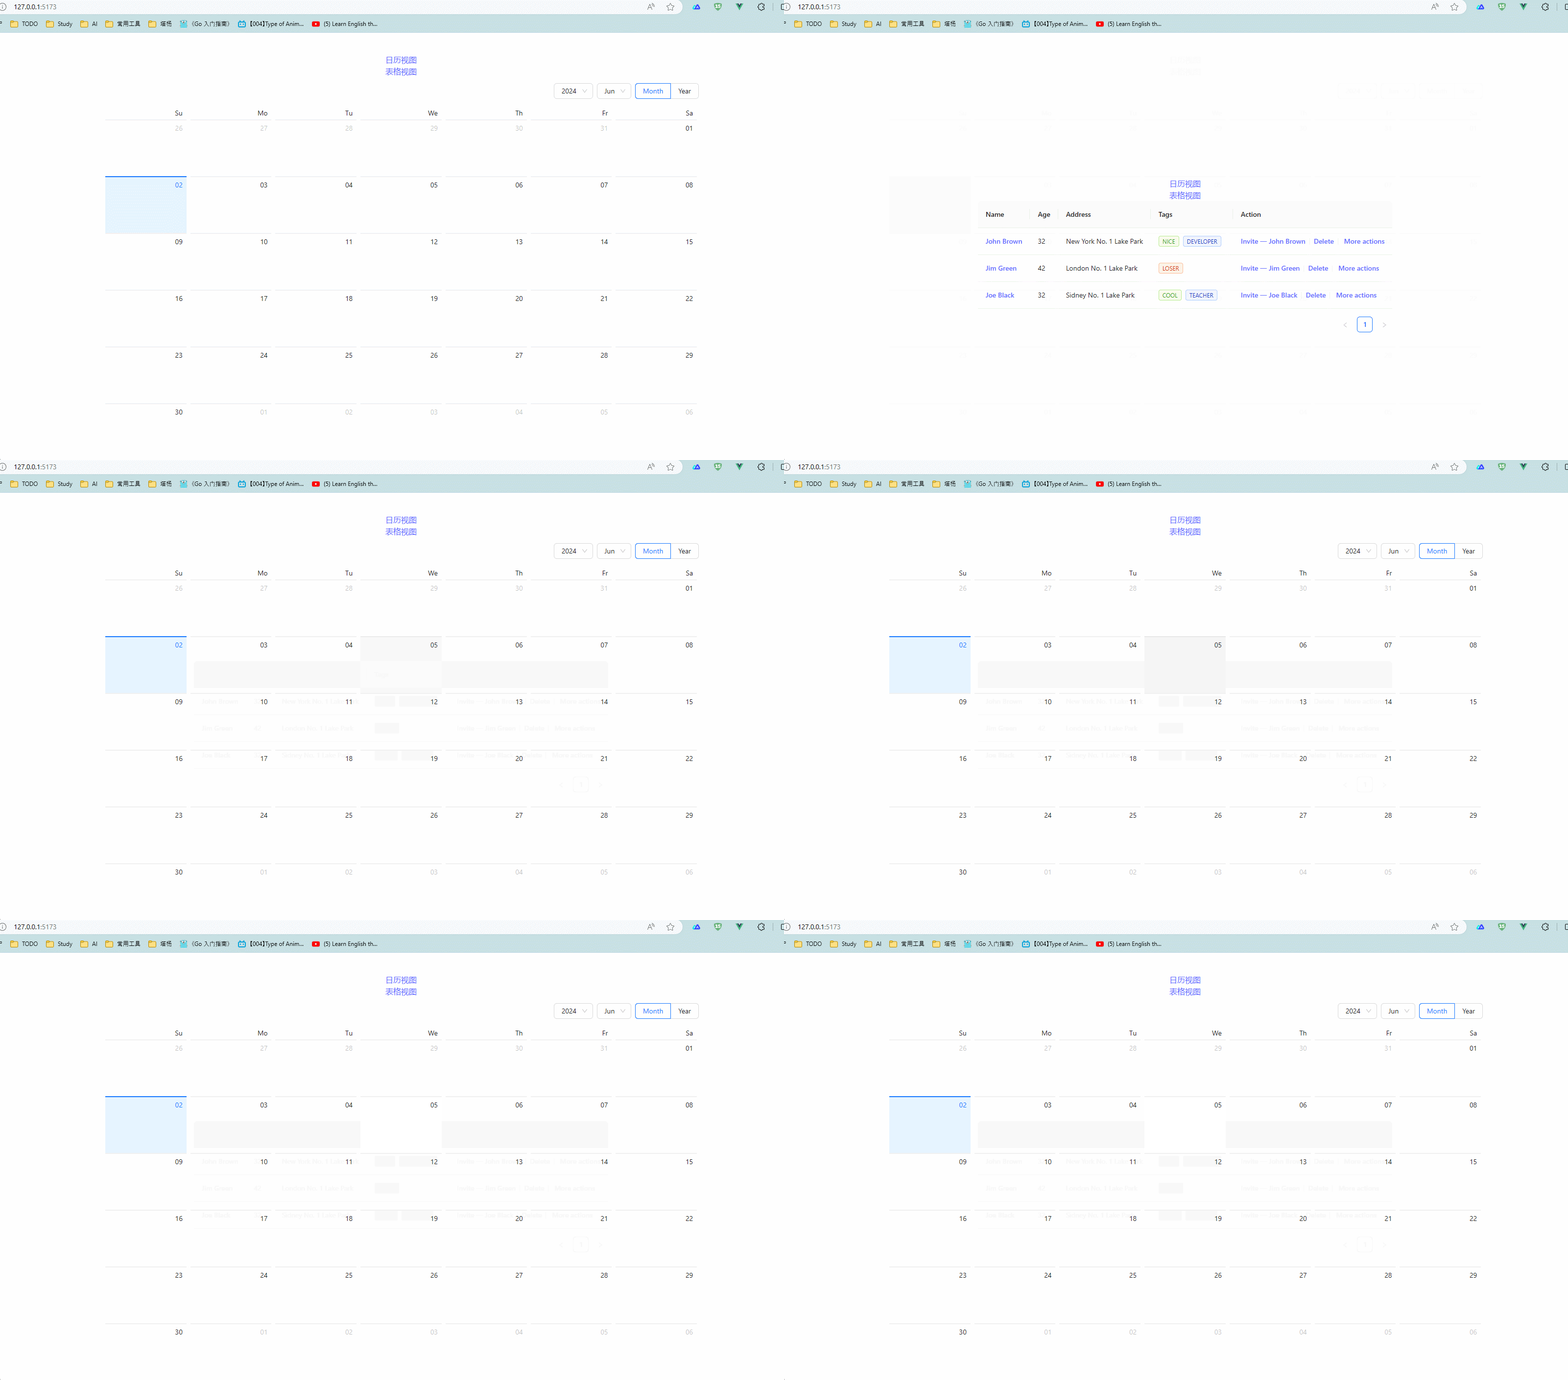
这种标签式的路由渲染组件路由地址也是不变的,相当于动态组件。
编程式渲染组件
仍然需要定义路由规则和上一节一样。
<!--index.vue--><script setup>javascript">
import { ref } from 'vue'
import { useRouter,useRoute } from 'vue-router'let router = useRouter()const changeTable = function() {router.push({path: '/table'})
}const changeCalender = function() {router.push({path: '/calender'})
}</script><template><a-button type="primary" @click="changeCalender">日历视图</a-button><br><a-button type="primary" @click="changeTable">表格视图</a-button><RouterView />
</template><style scoped>
</style>
效果:
