1、安装pdm
pip3.10 install pdm
或者
pip install pdm2、初始化python项目的配置和环境
pdm init3、在项目中添加 Django 框架
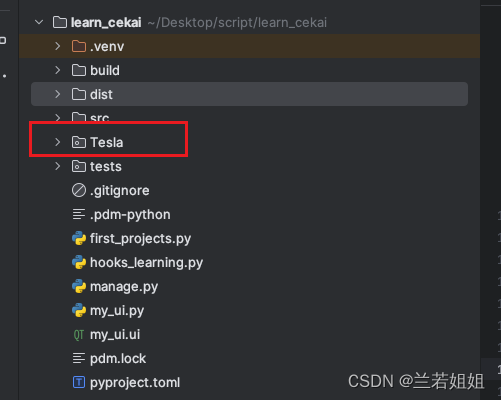
pdm add django4、当前目录创建一个叫做Tesla的Django项目
pdm run django-admin startproject Tesla ./如图
5、编辑pyproject.toml文件,添加下面内容:
makeM = 'python manage.py makemigrations'M = 'python manage.py migrate'R = 'python manage.py runserver' # --noreloadT = 'python manage.py test'createadmin = '''python manage.py shell -c "from django.contrib.auth.models import User; User.objects.create_superuser('admin', 'admin@example.com', 'adminpass')"'''6、初始化django
pdm run init7、启动django
pdm run R
8、测试django
pdm run T
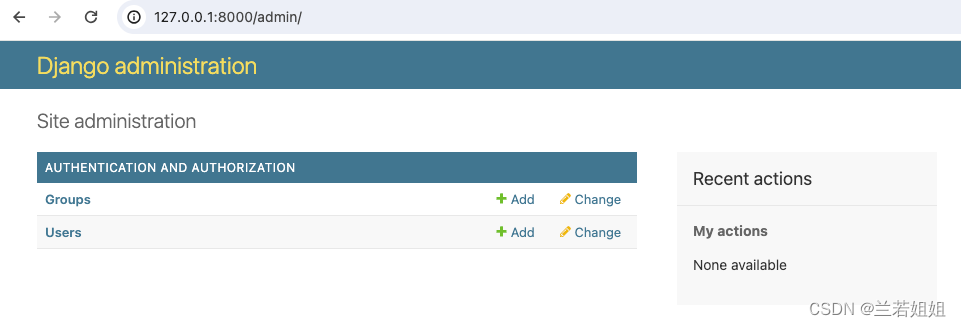
9、项目前台是:http://127.0.0.1:8000/ 项目后台是:http://127.0.0.1:8000/admin/ 账号:admin 密码:adminpass
其中账号和密码就在刚刚编辑的pyproject.toml文件里面createadmin这里
10、在当前项目路径下面,创建一个叫做xingfu的app,终端执行命令
python manage.py startapp xingfu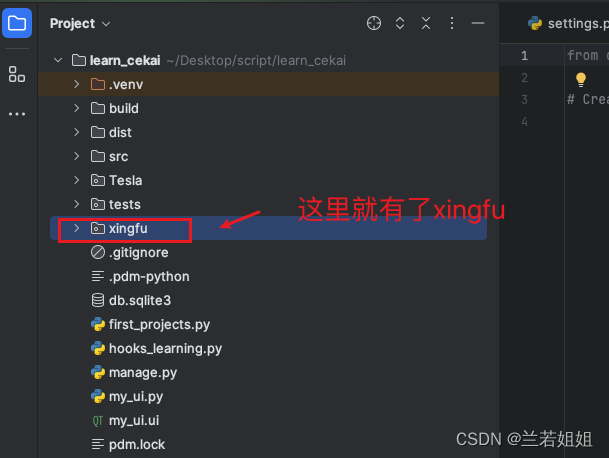
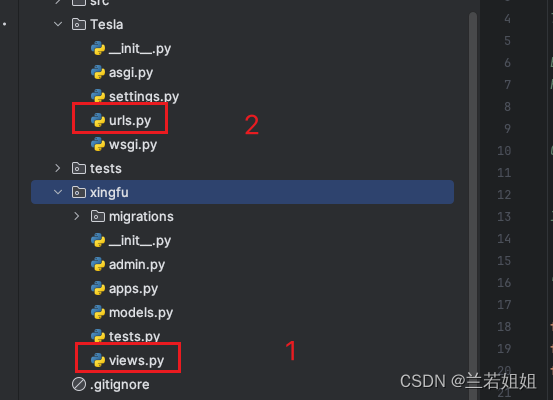
11、编辑xingfu文件夹下面的views文件,视图函数是用于接受用户HTTP请求,并生成对应HTTP响应
views.pyfrom django.http import HttpResponse
from django.shortcuts import render# Create your views here.
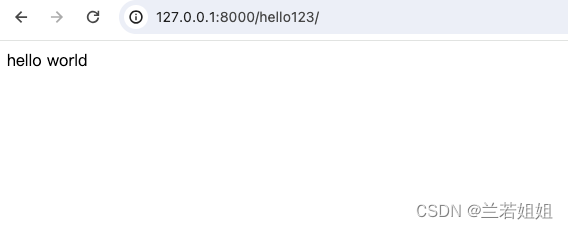
def hello(request):html = "hello world"return HttpResponse(html)
12、创建路由,router (路由):将URL和视图,建立联系,编辑Tesla下面的urls.py
urls.pyfrom django.urls import pathfrom .views import hello
urlpatterns = [path('hello123', hello),
]
13、重启程序,终端执行命令:
pdm run R
14、如果想要再次写一个函数,编辑views.py
from django.http import HttpResponse,HttpRequest
from django.shortcuts import render# Create your views here.
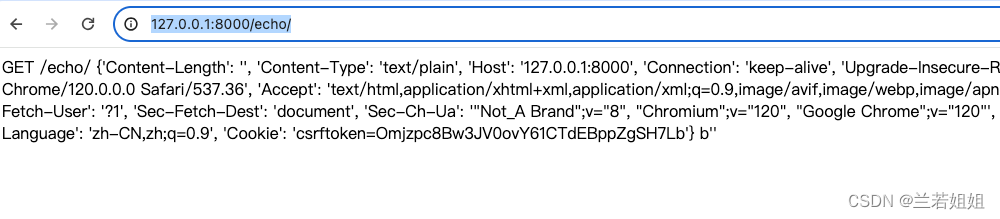
def hello(request):html = "hello world"return HttpResponse(html)def echo(request:HttpRequest):html = f"""{request.method} {request.path} {request.GET}{request.headers}{request.body}"""return HttpResponse(html)
15、在Tesla下面的urls.py加上这个路由
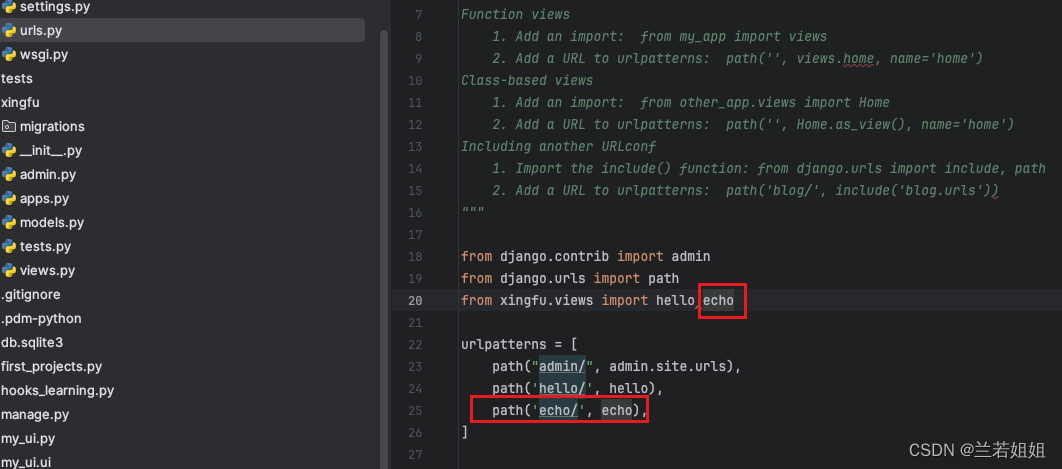
16、访问:http://127.0.0.1:8000/echo/,如图
学到这里你就可以开始对你的django框架进行丰富,扩展,愉快的玩耍啦