1. 创建页面 Index.ets
@Entry
@Component
struct Index {build() {Column() {Text("首页").fontSize(50).fontWeight(FontWeight.Bold)}.width('100%').height('100%')}
}
2. 创建页面 SplashScreen.ets
@Entry
@Component
struct SplashScreen {@State message: string = 'SplashScreen'build() {Row() {Column() {Text(this.message).fontSize(50).fontWeight(FontWeight.Bold)}.width('100%')}.height('100%')}
}
3. 创建store工具 StoreUtil.ets
import preferences from '@ohos.data.preferences'export class StoreUtil {constructor(private readonly context: Context, private readonly storeName: string) {}getStore() {return preferences.getPreferences(this.context, this.storeName)}async getData<T>(key): Promise<T> {const store = await this.getStore()const data = await store.get(key, "{}") as stringreturn JSON.parse(data) as T}async setData<T>(key: string, data: T): Promise<void> {const store = await this.getStore()await store.put(key, JSON.stringify(data))await store.flush()}async delData(key: string): Promise<void> {const store = await this.getStore()await store.delete(key)await store.flush()}
}
4. 创建类型 typs/SplashScreen.ets
export interface ISplashScreen {show: booleanduration: numberimage: string | Resource
}
5. 修改 EntryAbility
- 修改 EntryAbility.ts 后缀为 EntryAbility.ets
- 创建 userStore
- 模拟获取闪屏数据
- 从 userStore 获取闪屏数据
- 加载首页或者闪屏页
async onWindowStageCreate(windowStage: window.WindowStage) {// Main window is created, set main page for this abilityhilog.info(0x0000, 'testTag', '%{public}s', 'Ability onWindowStageCreate');// 用户仓库const userStore = new StoreUtil(this.context, "userStore",)// 模拟获取闪屏数据await new Promise(resolve => {setTimeout(async () => {const splashScreen: ISplashScreen = {show: true,duration: 10,image: $r("app.media.splash_screen")}await userStore.setData("userSplashScreen", splashScreen)resolve(splashScreen)}, 2000)})// 从仓库获取闪屏数据const splashScreen = await userStore.getData<ISplashScreen>("userSplashScreen")if (splashScreen.show) {// 加载闪屏页面windowStage.loadContent('pages/SplashScreen', (err, data) => {if (err.code) {hilog.error(0x0000, 'testTag', 'Failed to load the content. Cause: %{public}s', JSON.stringify(err) ?? '');return;}hilog.info(0x0000, 'testTag', 'Succeeded in loading the content. Data: %{public}s', JSON.stringify(data) ?? '');});} else {// 加载首页windowStage.loadContent('pages/Index', (err, data) => {if (err.code) {hilog.error(0x0000, 'testTag', 'Failed to load the content. Cause: %{public}s', JSON.stringify(err) ?? '');return;}hilog.info(0x0000, 'testTag', 'Succeeded in loading the content. Data: %{public}s', JSON.stringify(data) ?? '');});}}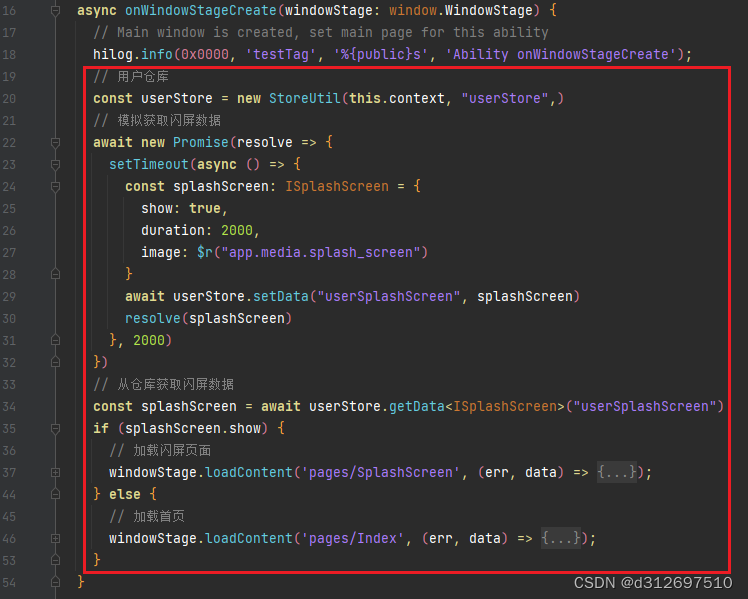
6. 修改闪屏页面
修改 SplashScreen.ets
import router from '@ohos.router'
import { ISplashScreen } from '../types/SplashScreen'
import { StoreUtil } from '../utils/StoreUtil'@Entry
@Component
struct SplashScreen {@State timer: number = -1@State splashScreenObj: ISplashScreen = { show: true, duration: 10, image: '' }userStore: StoreUtil = new StoreUtil(getContext(this), 'userStore')aboutToAppear() {this.getData()}aboutToDisappear() {clearInterval(this.timer)}async getData() {// 获取闪屏数据const data = await this.userStore.getData<ISplashScreen>('userSplashScreen')this.splashScreenObj.duration = data?.duration ?? 10this.splashScreenObj.image = data?.image ?? $r('app.media.splash_screen')// 倒计时this.timer = setInterval(() => {if (this.splashScreenObj.duration === 0) {clearInterval(this.timer)router.replaceUrl({ url: 'pages/Index' })return}this.splashScreenObj.duration--}, 1000)}build() {Stack({ alignContent: Alignment.TopEnd }) {Image(this.splashScreenObj.image).width('100%').height('100%')Row() {Text(`${this.splashScreenObj.duration}秒后跳过`).padding({ left: 10, right: 10 }).margin({ right: 20, top: 20 }).height(30).fontSize(14).borderRadius(15).backgroundColor("#ccc").textAlign(TextAlign.Center)Text(`跳过`).padding({ left: 10, right: 10 }).margin({ right: 20, top: 20 }).height(30).fontSize(14).borderRadius(15).backgroundColor("#ccc").textAlign(TextAlign.Center).onClick(() => {router.replaceUrl({ url: 'pages/Index' })})}}.width('100%').height('100%')}
}