1.准备前端界面
前端小白:怎么为你的网页增加评论功能?(一)_为网页添加评论区怎么弄-CSDN博客
参考的上述文章的前端代码

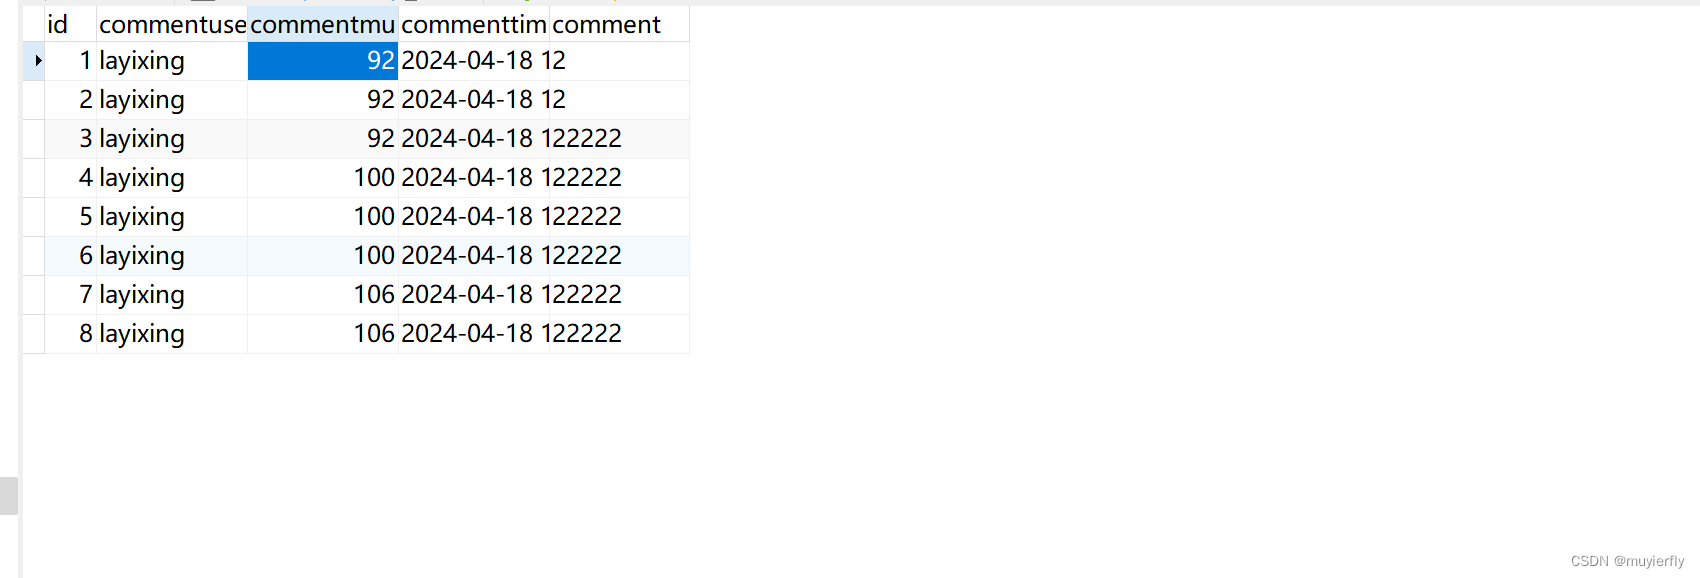
我们从上述前端图片知道,我们数据库需要准备的字段:
id,commentuserName,coomentmusicId,comment,time
2.数据库的准备
DROP TABLE IF EXISTS `commentmusic`;
CREATE TABLE `commentmusic` (
`id` int PRIMARY KEY AUTO_INCREMENT,
`commentuser_name` varchar(20) NOT NULL,
`commentmusic_id` int(11) NOT NULL,
`commenttime` DATETIME DEFAULT now(),
`comment` varchar(100) NOT NULL
);
3.提交评论数据
路径:"/comment/upload"
3.1 后端代码书写
1.MAPPER
@Mapper
public interface CommentMapper {@Insert("insert into commentmusic(commentmusic_id,commentuser_name,comment) values " +"(#{commentmusicId},#{commentuserName},#{comment})")Integer insertComment(Integer commentmusicId,String commentuserName,String comment);
}
2.SERVICE
@Service
@Slf4j
public class CommentService {@Autowiredprivate CommentMapper commentMapper;@Autowiredprivate MusicMapper musicMapper;public Result insertComment(Integer commentmusicId, String commentuserName, String comment){Comment commentable=new Comment();if(!StringUtils.hasLength(comment)){return Result.fail(Constant.RESULT_CODE_NO_CHOICE,"评论不能为空");}else if(musicMapper.selectByMusicId(commentmusicId)==null){return Result.fail(Constant.RESULT_CODE_NOTMP3_DELETEFAIL,"没有该音乐");}Integer factor=commentMapper.insertComment(commentmusicId,commentuserName,comment);if(factor<1){return Result.fail(Constant.RESULT_CODE_FAIL_SQL,"数据库插入失败");}commentable.setComment(comment);commentable.setCommentmusicId(commentmusicId);commentable.setCommentuserName(commentuserName);return Result.success(true);}
}
3.Controller
@RestController
@RequestMapping("/comment")
public class CommentController {@Autowiredprivate CommentService commentService;@RequestMapping("/upload")public Result insertComment(Integer commentmusicId, String comment, HttpSession httpSession){//获得当前的用户名User user= (User) httpSession.getAttribute(Constant.USERINFO_SESSION_KEY);String commentuserName=user.getUsername();return commentService.insertComment(commentmusicId, commentuserName, comment);}
}
3.2 后端测试

4.评论页面展示
4.1 后端代码书写
MAPPER
@Select("select * from commentmusic where commentmusic_id=#{commentmusicId}")
List<Comment> selectAllComment(Integer commentmusicId);
SERVICE
public Result selectAllComment(Integer commentmusicId){return Result.success(commentMapper.selectAllComment(commentmusicId));
}
CONTROLLER
@RequestMapping("/list")
public Result selectAllComment(Integer commentmusicId){return Result.success(commentService.selectAllComment(commentmusicId));
}
4.2 后端测试
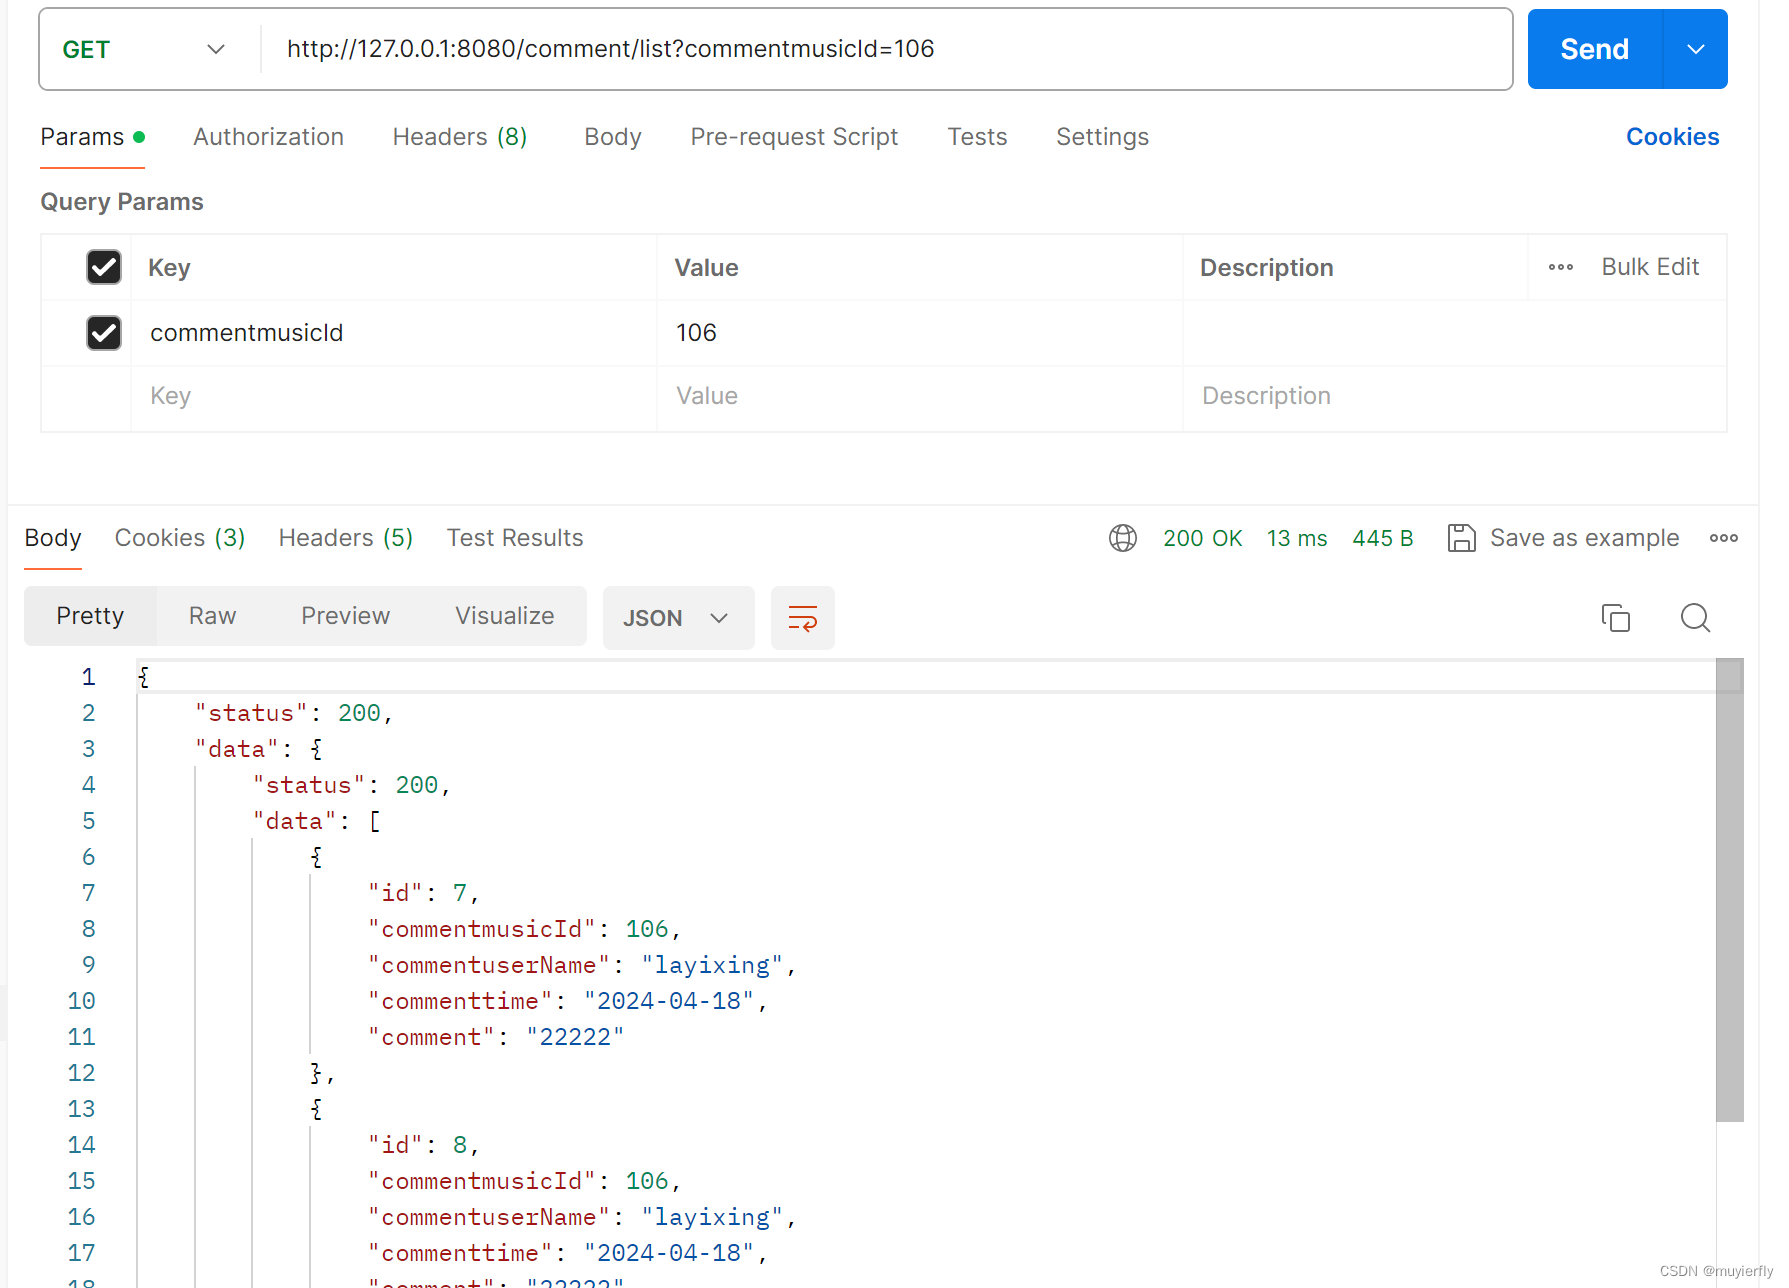
成功!!!
5.SECTION3和SECTION4的前端代码书写
前端测试成功!!!
想加入删除评论的功能
这时候我们要让前端获取一些值,后端增加方法
@RequestMapping("/view")
public Result InsertUserInfo(HttpSession httpSession){User user=(User) httpSession.getAttribute(Constant.USERINFO_SESSION_KEY);return Result.success(user.getUsername());
}
前端的书写
$(function(){
$.ajax({
type: "get",
url: "/user/view",
success: function(result){
if(result.status==200){
var userName=result.data;
load(userName);
}
}
})
});
function load(userName){
$.ajax({
type: "get",
url: "/comment/list"+location.search,
success: function(result){
if(result!=null&&result.status==200){
var data=result.data;
for(var i = 0; i < data.length;i++) {
var deleteflag='<td> <button class = "btn btn-primary" οnclick="deleteInfo('+data[i].id+')"> 删除 </button>';
var value= data[i].comment+" ";
var p= document.createElement("p");
if(data[i].commentuserName==userName){
p.innerHTML="用户:"+data[i].commentuserName+'<hr>'+value+'<hr>'+data[i].commenttime+' '+deleteflag;
}else{
p.innerHTML="用户:"+data[i].commentuserName+'<hr>'+value+'<hr>'+data[i].commenttime;
}
document.getElementById("commend").prepend(p);
}
}
},
error: function(error){
if(error!=null&&error.status==401){
alert("请登录用户");
location.href = "login.html";
}
}
});
}
function send(){
$.ajax({
type: "get",
url: "/comment/upload"+location.search,
data:{
comment: $("#typing").val()
},
error: function(error){
if(error!=null&&error.status==401){
alert("请登录用户");
location.href = "login.html";
}
},
success: function(result){
location.reload();
}
});
}
此时,自己写的评论可以看到删除按钮
5.1 完成删除评论的功能
@RequestMapping("/delete")
public Result deleteComment(Integer id){return commentService.deleteComment(id);
}
function deleteInfo(id){
$.ajax({
type: "get",
url: "/comment/delete",
data:{
id: id,
},
success: function(result){
if(result.status==200){
alert("删除评论成功");
location.reload();
}
}
});
}
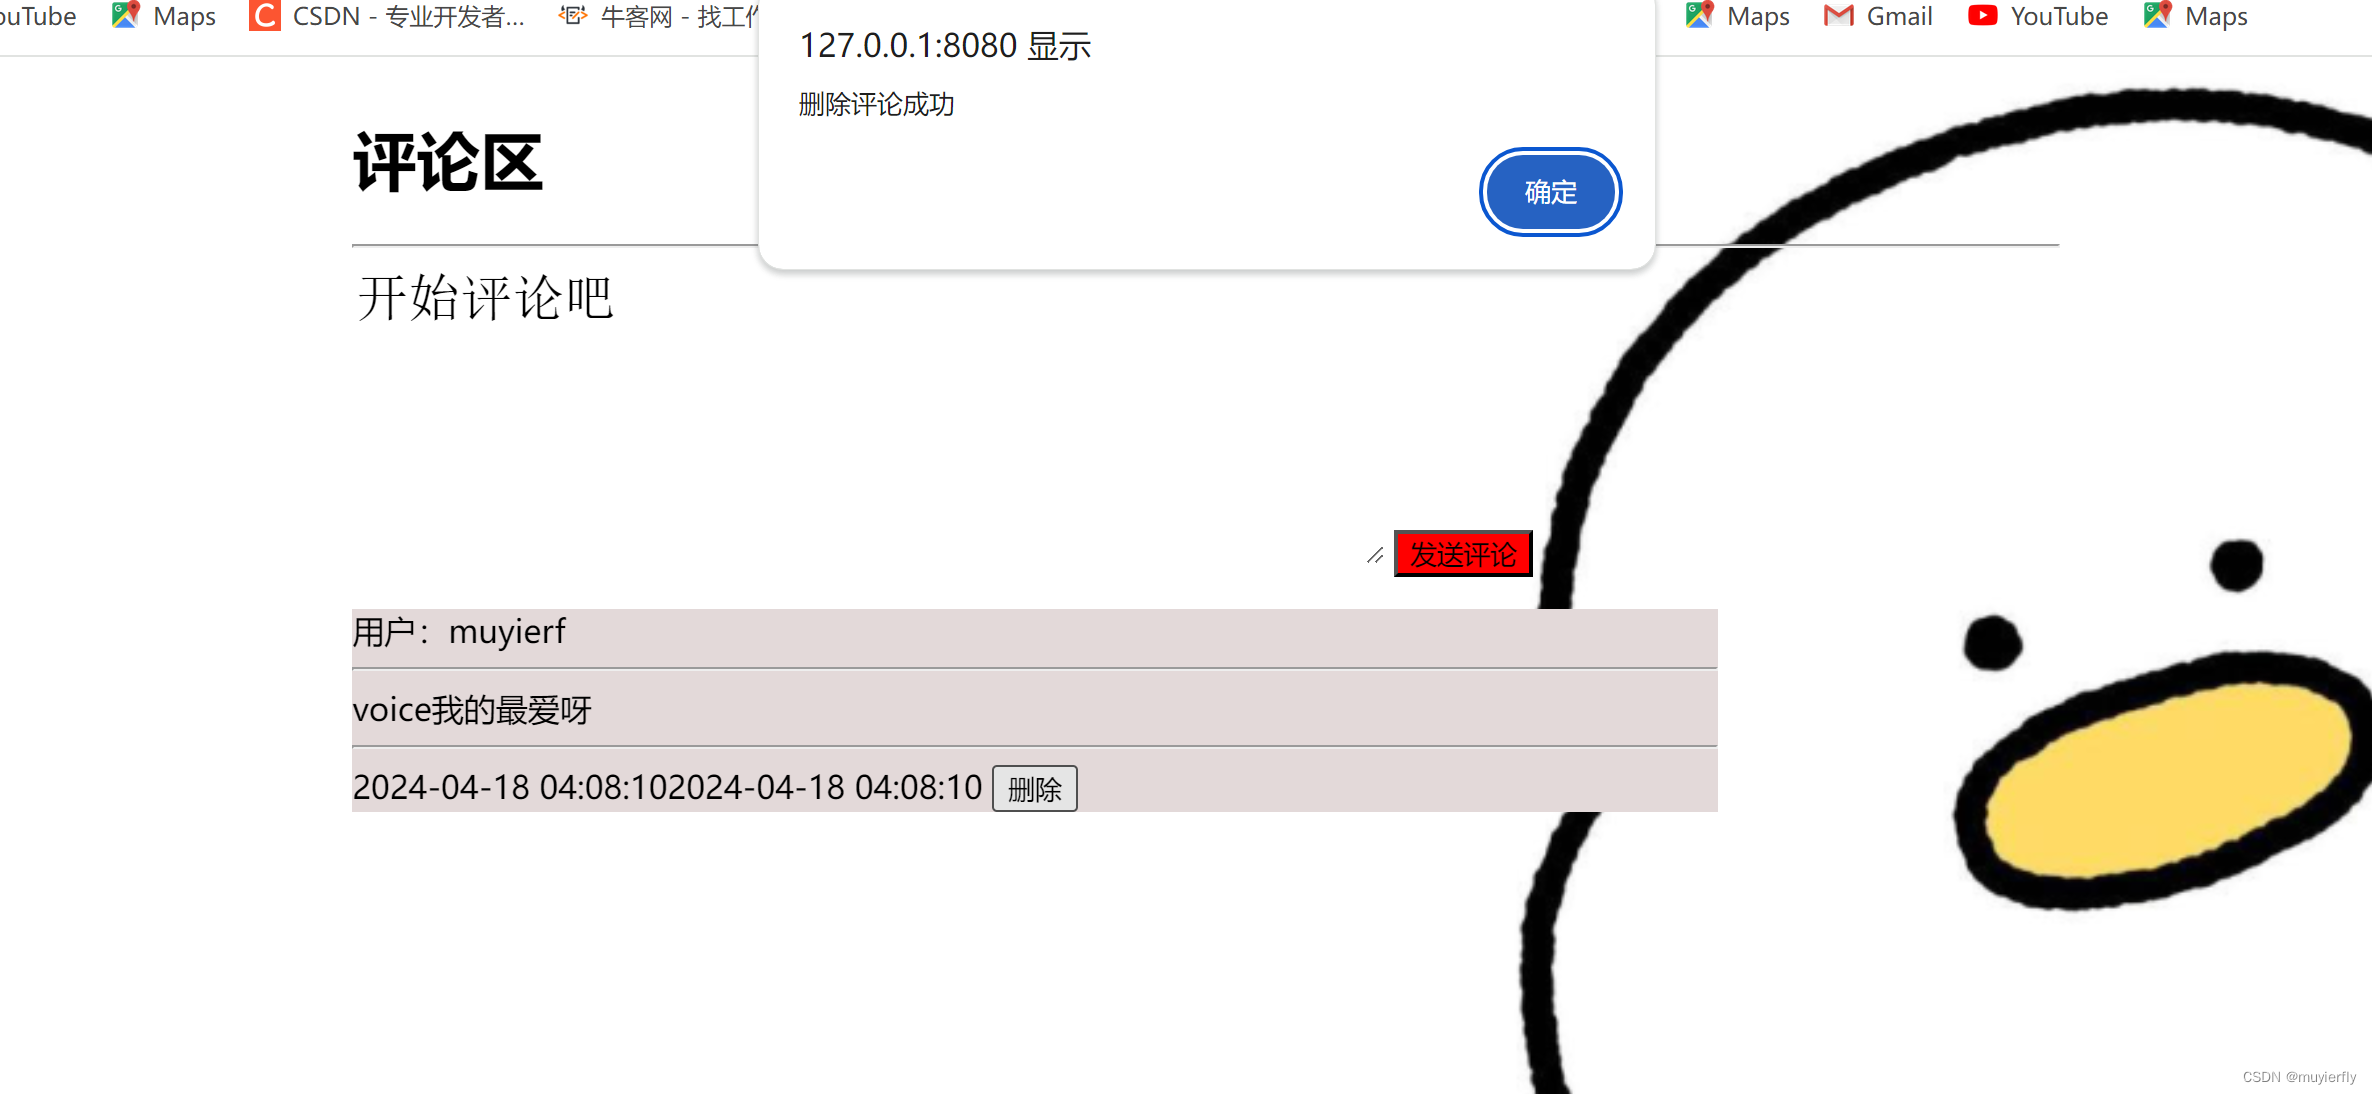 删除成功!!!