目录
文章目录
- 目录
- 实验环境
- 1、下载url
- 2、准备用户
- 3、准备数据目录,建议使用**逻辑卷**
- 4、准备二进制程序
- 5、准备配置文件
- 6、创建数据库文件
- 7、准备服务脚本,并启动服务
- 8、PATH路径
- 9、安全初始化
- 10、测试
- shell一键安装
- 关于我
- 最后
实验环境
链接:https://pan.baidu.com/s/1Fl4duisOKh3QdjDC81V9jA?pwd=17ev
提取码:17ev
2024.4.6-实战:通用二进制格式安装 MySQL(mysql-5.6.47)-2024.4.6(测试成功)

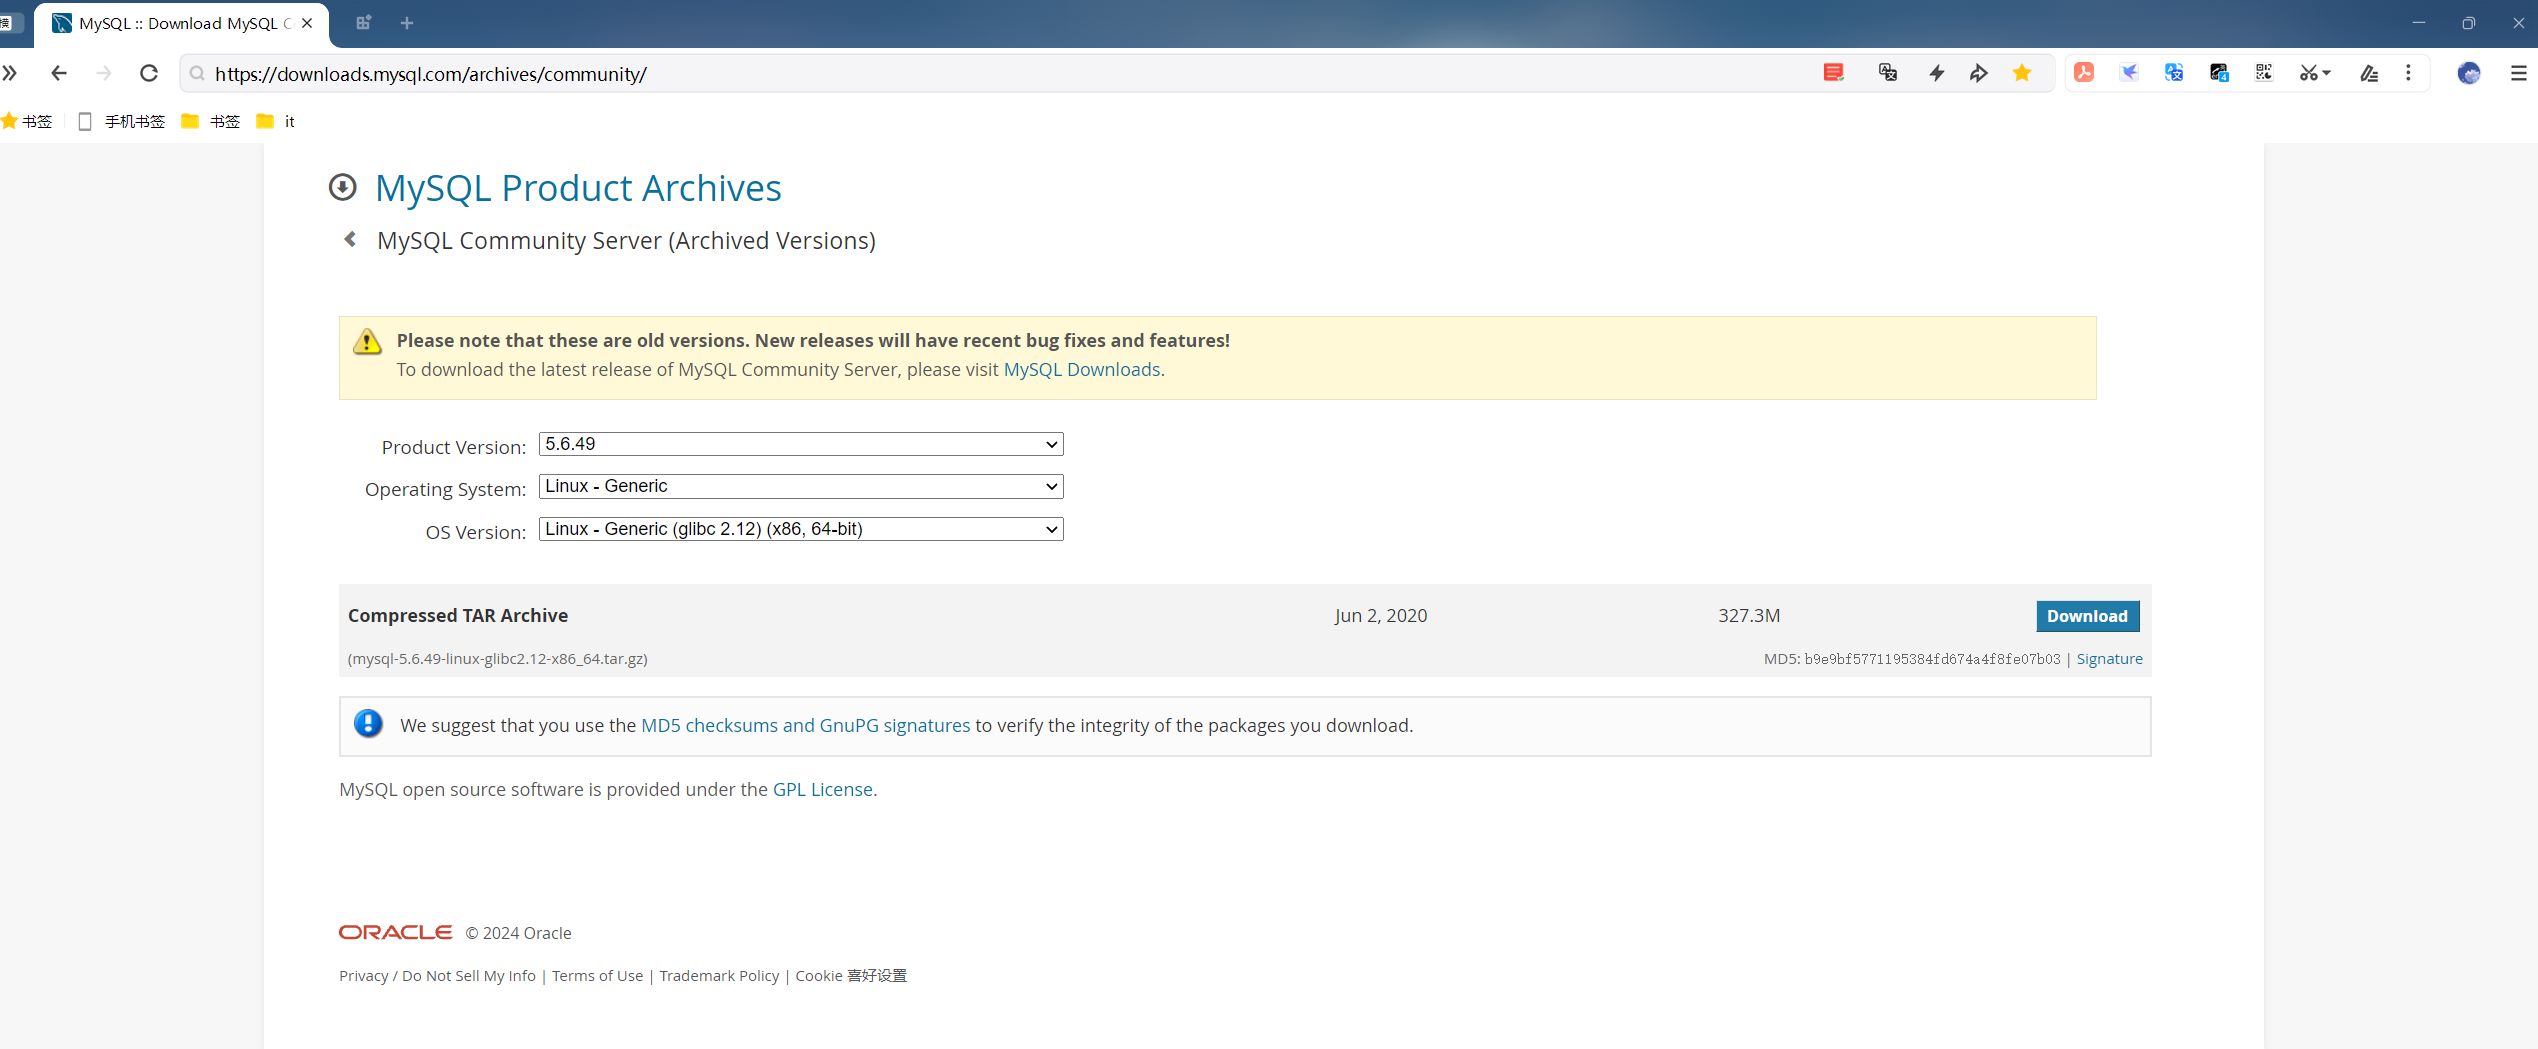
1、下载url
https://downloads.mysql.com/archives/get/p/23/file/mysql-5.6.47-linux-glibc2.12-x86_64.tar.gz
2、准备用户
[root@linux-test ~]#groupadd -r -g 306 mysql
[root@linux-test ~]#useradd -r -g 306 -u 306 -d /data/mysql mysql
3、准备数据目录,建议使用逻辑卷
#可选做,后面的脚本mysql_install_db可自动生成此目录(推荐还是这里做了为好)[root@linux-test ~]#mkdir -p /data/mysql
[root@linux-test ~]#chown mysql:mysql /data/mysql
4、准备二进制程序
[root@linux-test ~]#tar xvf mysql-5.6.47-linux-glibc2.12-x86_64.tar.gz -C /usr/local/
[root@linux-test ~]#cd /usr/local
[root@linux-test local]#ln -s mysql-5.6.47-linux-glibc2.12-x86_64/ mysql
[root@linux-test local]#chown -R root:root /usr/local/mysql/
5、准备配置文件
[root@linux-test ~]#cd /usr/local/mysql
[root@linux-test mysql]#vim /etc/my.cnf
[mysqld]
datadir = /data/mysql
#保存退出,其他不行代表保持默认
⚠️ 注意:这里的方法和版本有关系
cd /usr/local/mysql
cp -b support-files/my-large.cnf   /etc/my.cnf其它:
vim /etc/my.cnf
#mysql语句块中添加以下三个选项
[mysqld]
datadir = /data/mysql
innodb_file_per_table = on #在mariadb5.5以上版的是默认值,可不加
skip_name_resolve = on    #禁止主机名解析,建议使用
6、创建数据库文件
[root@linux-test ~]#cd /usr/local/mysql/
[root@linux-test mysql]#./scripts/mysql_install_db --datadir=/data/mysql --user=mysql
[root@linux-test mysql]#ls -l /data/mysql/
total 110600
-rw-rw---- 1 mysql mysql 12582912 Apr  1 07:21 ibdata1
-rw-rw---- 1 mysql mysql 50331648 Apr  1 07:21 ib_logfile0
-rw-rw---- 1 mysql mysql 50331648 Apr  1 07:21 ib_logfile1
drwx------ 2 mysql mysql     4096 Apr  1 07:21 mysql
drwx------ 2 mysql mysql     4096 Apr  1 07:21 performance_schema
drwx------ 2 mysql mysql        6 Apr  1 07:21 test
[root@linux-test mysql]#
7、准备服务脚本,并启动服务
[root@linux-test mysql]#cp ./support-files/mysql.server /etc/rc.d/init.d/mysqld
[root@linux-test mysql]#chkconfig --add mysqld
[root@linux-test mysql]#service mysqld start
Starting MySQL.Logging to '/data/mysql/linux-test.err'.SUCCESS!
[root@linux-test mysql]##检查
[root@linux-test ~]#service mysqld statusSUCCESS! MySQL running (6831)
[root@linux-test ~]#chkconfig --listNote: This output shows SysV services only and does not include nativesystemd services. SysV configuration data might be overridden by nativesystemd configuration.If you want to list systemd services use 'systemctl list-unit-files'.To see services enabled on particular target use'systemctl list-dependencies [target]'.mysqld          0:off   1:off   2:on    3:on    4:on    5:on    6:off
netconsole      0:off   1:off   2:off   3:off   4:off   5:off   6:off
network         0:off   1:off   2:on    3:on    4:on    5:on    6:off
[root@linux-test ~]#
6版本:
cp ./support-files/mysql.server /etc/rc.d/init.d/mysqld
chkconfig --add mysqld
service mysqld start
7版本:
#如果有对应的service 文件可以执行下面
cp support-files/systemd/mariadb.service /usr/lib/systemd/system/
systemctl daemon-reload
systemctl enable --now mariadb
8、PATH路径
[root@linux-test mysql]#echo 'PATH=/usr/local/mysql/bin:$PATH' > /etc/profile.d/mysql.sh
[root@linux-test mysql]#. /etc/profile.d/mysql.sh##测试:
[root@linux-test ~]#mysql
Welcome to the MySQL monitor.  Commands end with ; or \g.
Your MySQL connection id is 1
Server version: 5.6.47 MySQL Community Server (GPL)Copyright (c) 2000, 2020, Oracle and/or its affiliates. All rights reserved.Oracle is a registered trademark of Oracle Corporation and/or its
affiliates. Other names may be trademarks of their respective
owners.Type 'help;' or '\h' for help. Type '\c' to clear the current input statement.mysql>
9、安全初始化
#/usr/local/mysql/bin/mysql_secure_installationEnter current password for root (enter for none): #默认没密码,这里直接回车You already have your root account protected, so you can safely answer 'n'.
Switch to unix_socket authentication [Y/n] #输入n(远程可以登录)#mysql.sock 使用unix socket登录(只能在本地登录,不能远程登录);
/var/lib/mysql/mysql.sock文件Change the root password? [Y/n] #输入y
New password: #输入密码:xyy520
Re-enter new password: Remove anonymous users? [Y/n] #输入yDisallow root login remotely? [Y/n] #输入y,禁用root远程登录Remove test database and access to it? [Y/n] #输入yReload privilege tables now? [Y/n] #输入y(是否加载权限)
10、测试
[root@linux-test ~]#netstat -antlp|grep 3306
tcp6       0      0 :::3306                 :::*                    LISTEN      18288/mysqld
[root@linux-test ~]#[root@linux-test ~]#mysql
ERROR 1045 (28000): Access denied for user 'root'@'localhost' (using password: NO)
[root@linux-test ~]#mysql -uroot -pxyy520
Warning: Using a password on the command line interface can be insecure.
Welcome to the MySQL monitor.  Commands end with ; or \g.
Your MySQL connection id is 14
Server version: 5.6.47 MySQL Community Server (GPL)Copyright (c) 2000, 2020, Oracle and/or its affiliates. All rights reserved.Oracle is a registered trademark of Oracle Corporation and/or its
affiliates. Other names may be trademarks of their respective
owners.Type 'help;' or '\h' for help. Type '\c' to clear the current input statement.mysql> \s
--------------
mysql  Ver 14.14 Distrib 5.6.47, for linux-glibc2.12 (x86_64) using  EditLine wrapperConnection id:          14
Current database:
Current user:           root@localhost
SSL:                    Not in use
Current pager:          stdout
Using outfile:          ''
Using delimiter:        ;
Server version:         5.6.47 MySQL Community Server (GPL)
Protocol version:       10
Connection:             Localhost via UNIX socket
Server characterset:    latin1
Db     characterset:    latin1
Client characterset:    utf8
Conn.  characterset:    utf8
UNIX socket:            /tmp/mysql.sock
Uptime:                 8 min 2 secThreads: 1  Questions: 48  Slow queries: 0  Opens: 68  Flush tables: 1  Open tables: 61  Queries per second avg: 0.099
--------------mysql> select user,host,password from mysql.user;
+------+-----------+-------------------------------------------+
| user | host      | password                                  |
+------+-----------+-------------------------------------------+
| root | localhost | *ABE374A5F247C93961AD4726B39A5A84FA3BC3B1 |
| root | 127.0.0.1 | *ABE374A5F247C93961AD4726B39A5A84FA3BC3B1 |
| root | ::1       | *ABE374A5F247C93961AD4726B39A5A84FA3BC3B1 |
+------+-----------+-------------------------------------------+
3 rows in set (0.00 sec)mysql>
shell一键安装
https://onedayxyy.cn/docs/mysql-install-bindary-shell 《实战:一键安装mysql-5.6二进制包脚本(mysql-5.6.42)(测试成功)》
此脚本测试成功,可直接一键安装

关于我
我的博客主旨:
- 排版美观,语言精炼;
- 文档即手册,步骤明细,拒绝埋坑,提供源码;
- 本人实战文档都是亲测成功的,各位小伙伴在实际操作过程中如有什么疑问,可随时联系本人帮您解决问题,让我们一起进步!
🍀 微信二维码
x2675263825 (舍得), qq:2675263825。

🍀 微信公众号
《云原生架构师实战》

🍀 个人博客站点
https://onedayxyy.cn/

🍀 语雀
https://www.yuque.com/xyy-onlyone

🍀 csdn
https://blog.csdn.net/weixin_39246554?spm=1010.2135.3001.5421

🍀 知乎
https://www.zhihu.com/people/foryouone

最后
好了,关于本次就到这里了,感谢大家阅读,最后祝大家生活快乐,每天都过的有意义哦,我们下期见!
35.3001.5421](https://blog.csdn.net/weixin_39246554?spm=1010.2135.3001.5421)