https://nlpr.ia.ac.cn/databases/handwriting/Home.html
CASIA在线和离线中文手写数据库
https://nlpr.ia.ac.cn/databases/handwriting/Offline_database.html
CASIA-HWDB2.0-2.2
离线文本数据库是由孤立字符数据集的作者制作的。每人撰写了五页给定文本。由于数据丢失,缺少一位作者(编号 371)和四页内容。每一页都存储在以作者索引和页码命名的 *.dgrl 文件中。除灰度图像外,数据文件还包括文本行分割的基本事实和字符类别标签(GB 码)。(训练集和测试集的作者是互斥的)
| Dataset | #writers | #pages | #lines | #character/#class | #out-of-class sample |
|---|---|---|---|---|---|
| HWDB2.0 | 419 | 2,092 | 20,495 | 538,868/1,222 | 1,106 |
| HWDB2.1 | 300 | 1,500 | 17,292 | 429,553/2,310 | 172 |
| HWDB2.2 | 300 | 1,499 | 14,443 | 380,993/1,331 | 581 |
| Total | 1,019 | 5,091 | 52,230 | 1,349,414/2,703 | 1,859 |
截图(使用https://nlpr.ia.ac.cn/databases/Download/DGRLView.exe查看)
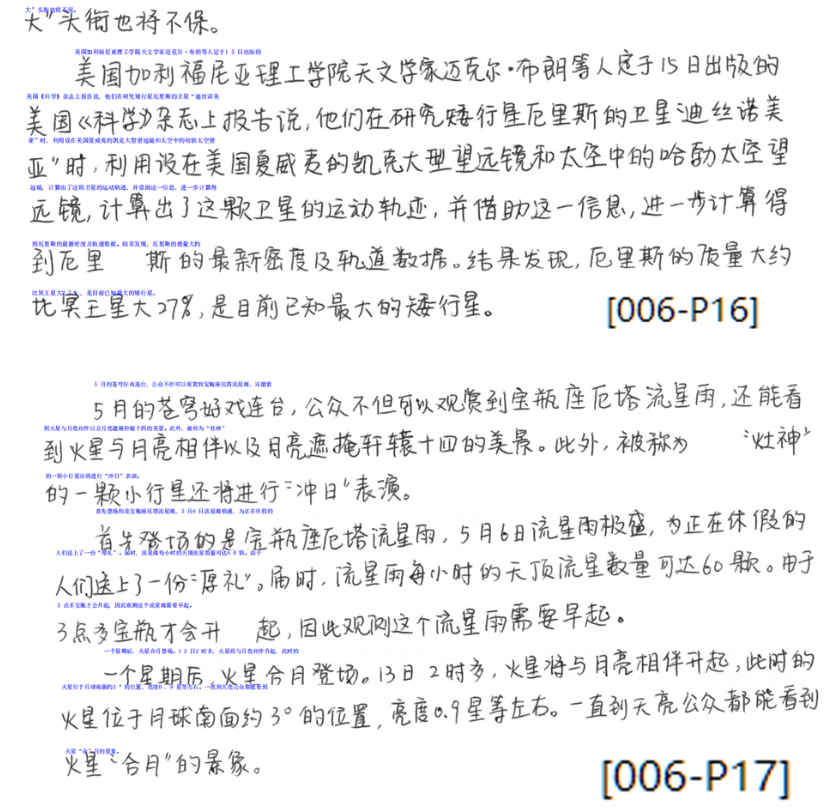
使用准备
把原训练集和测试集的数据合并到一个文件夹里,再根据作者重新分配训练集和测试集,确保训练集中存在每一个作者的笔迹.还要把dgrl 转成 png.
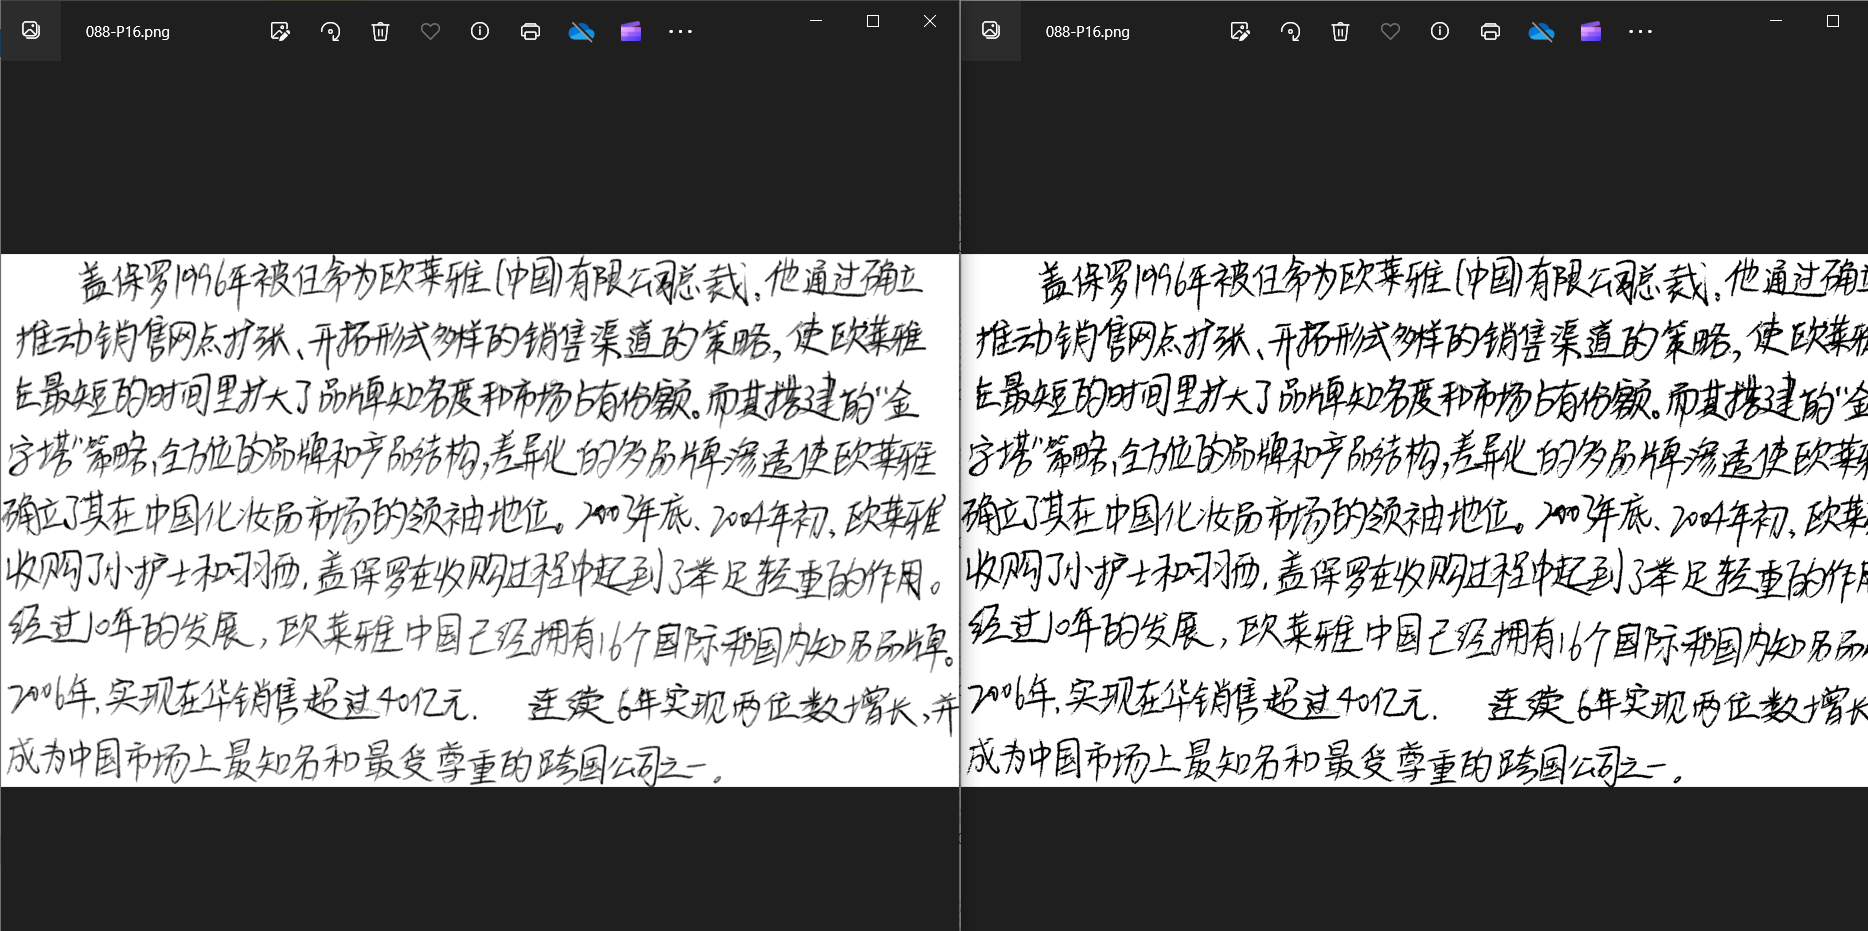
使用dgrl 查看002-P18.dgrl 是正常的(不会出现上下行重叠)
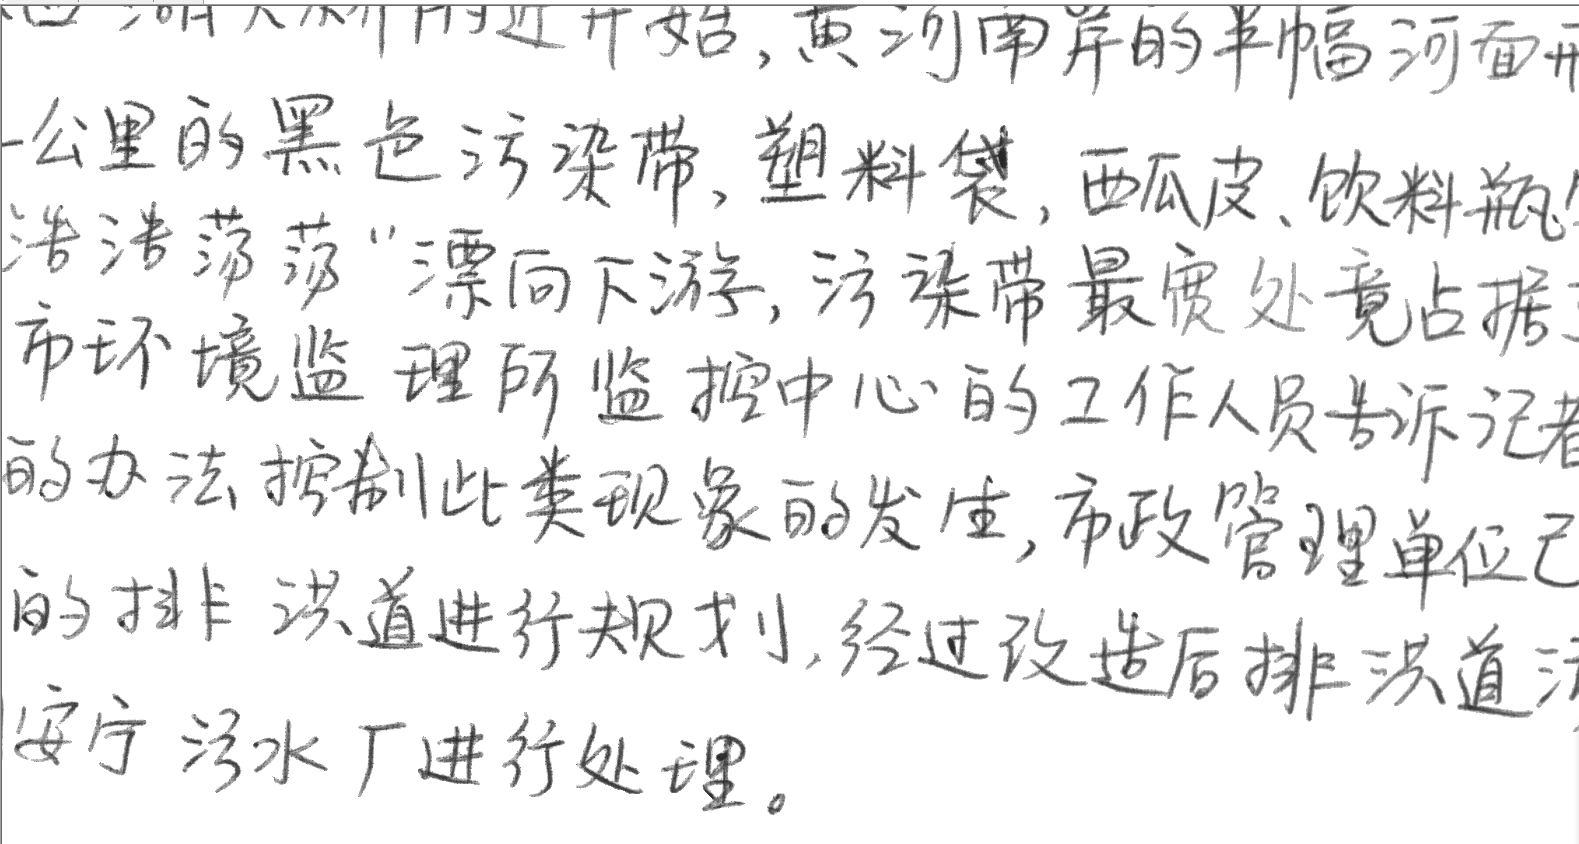
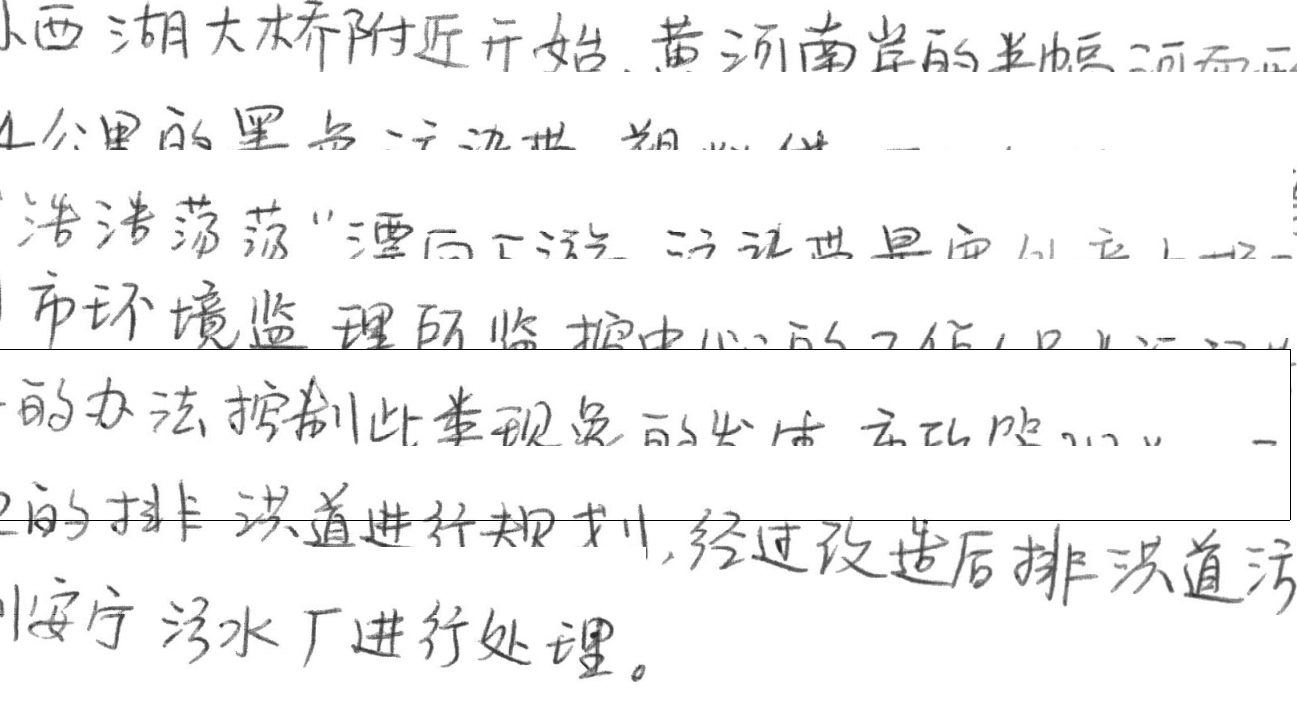
使用代码导出 png 时,发生了重叠(每行的坐标和长宽使用的是文件里面解析的结果)
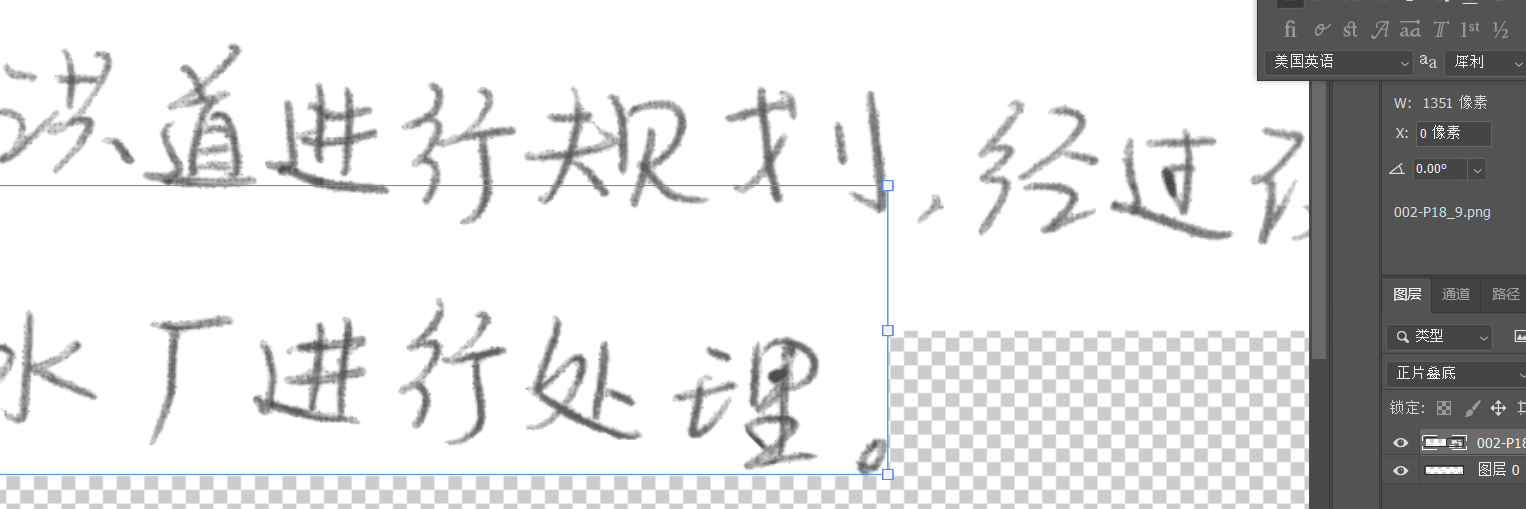
软件应该是进行了渲染的处理,比如正片叠底
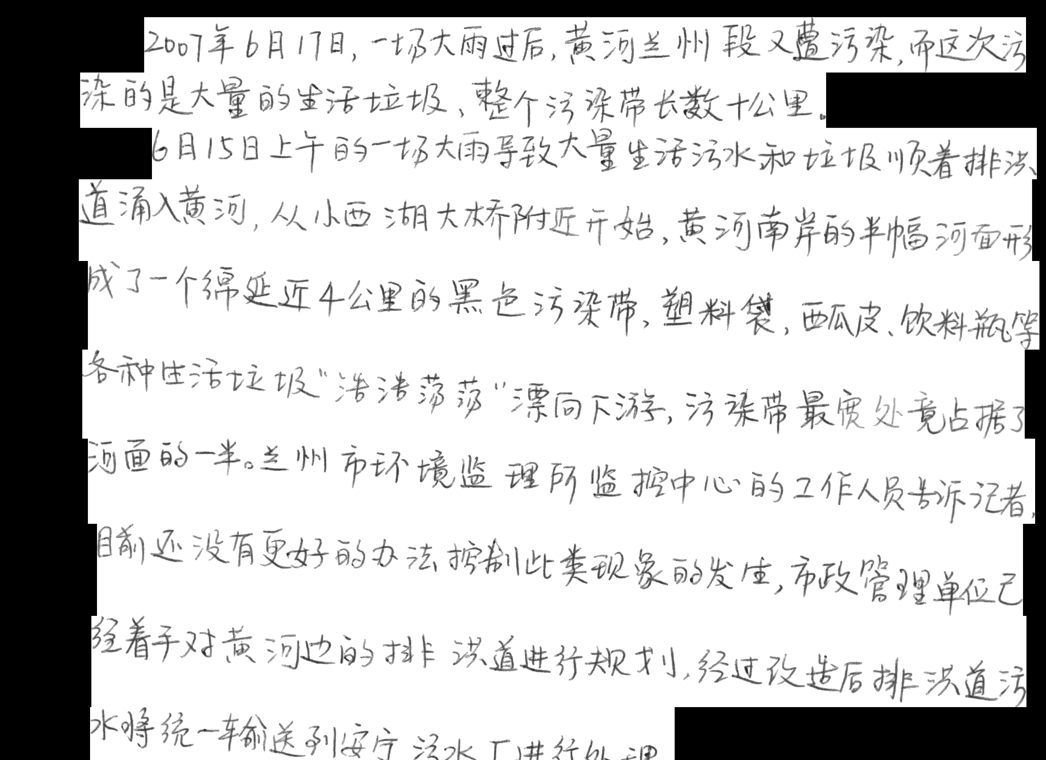
这里使用简单的方法处理,记录每行添加进大图后的最下边的 y 值,这样虽然上下距离变远了但不影响使用.
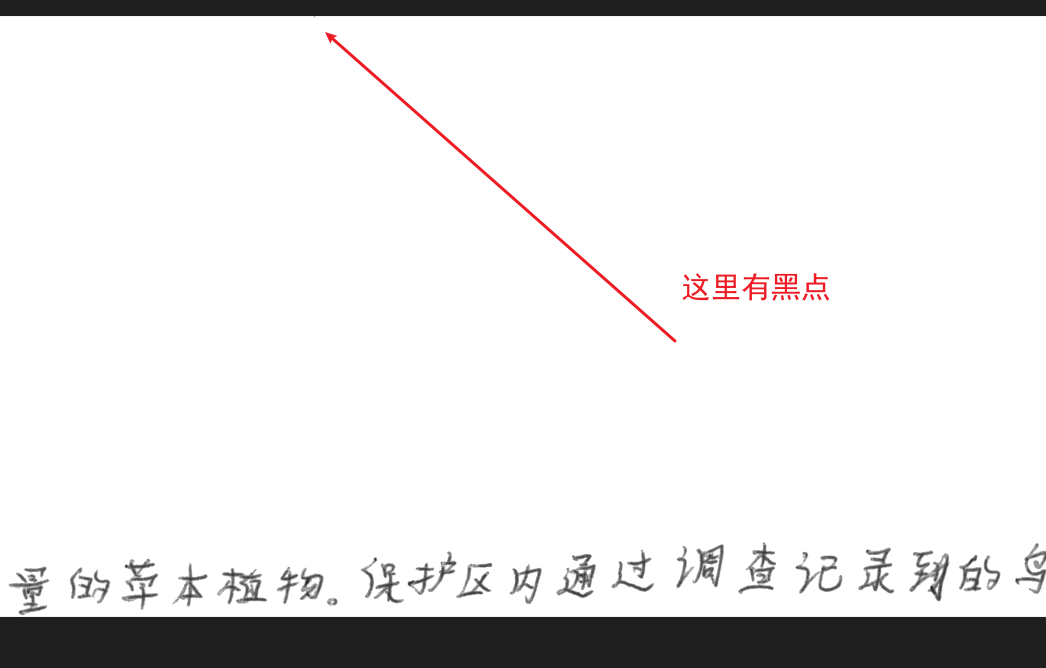
007-P19
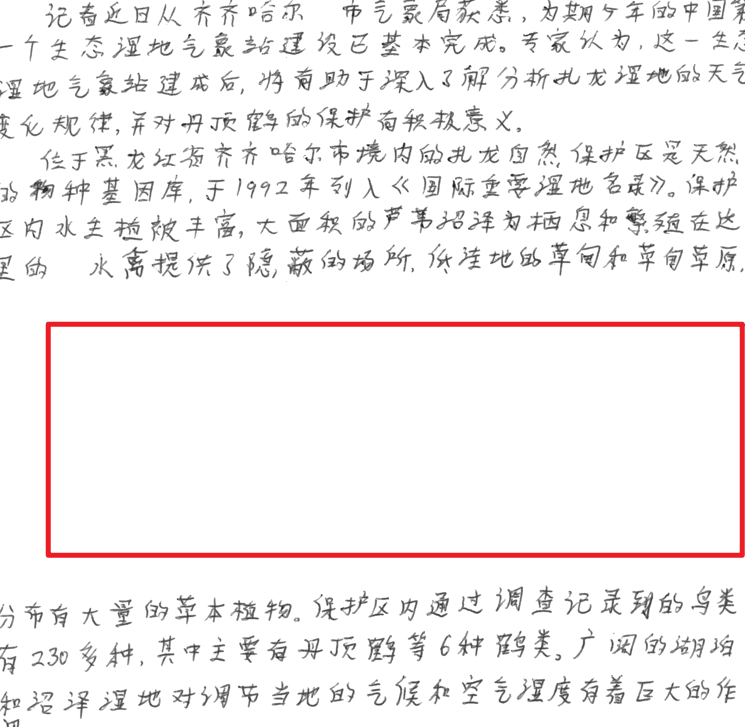
这里的白边切不掉
修改后的代码(参考https://blog.csdn.net/DaGongJiGuoMaLu09/article/details/107050519)
import os
import struct
from pathlib import Pathimport cv2 as cv
import numpy as np
from tqdm import tqdm#切割白边
def remove_white(image):# 将图像反相inverted_image = cv.bitwise_not(image)# 计算上下左右投影horizontal_projection = np.sum(inverted_image, axis=1)vertical_projection = np.sum(inverted_image, axis=0)# 找到非零元素的索引范围non_zero_horizontal = np.where(horizontal_projection > 0)non_zero_vertical = np.where(vertical_projection > 0)# 获取边界top = non_zero_horizontal[0][0]bottom = non_zero_horizontal[0][-1]left = non_zero_vertical[0][0]right = non_zero_vertical[0][-1]# 切割图像并返回cropped_image = image[top:bottom, left:right]return cropped_imagedef read_from_dgrl(dgrl):if not os.path.exists(dgrl):print("DGRL not exists!")return# if(os.path.basename(dgrl)!="385-P20.dgrl"):#     returngray_output_dir = "Y:/RawData/CASIA-HWDB2-png/gray/test"binary_output_dir = "Y:/RawData/CASIA-HWDB2-png/binary/test"with open(dgrl, "rb") as f:# 读取表头尺寸header_size = np.fromfile(f, dtype="uint8", count=4)header_size = sum([j << (i * 8) for i, j in enumerate(header_size)])# print(header_size)# 读取表头剩下内容,提取 code_lengthheader = np.fromfile(f, dtype="uint8", count=header_size - 4)code_length = sum([j << (i * 8) for i, j in enumerate(header[-4:-2])])# print(code_length)# 读取图像尺寸信息,提取图像中行数量image_record = np.fromfile(f, dtype="uint8", count=12)height = sum([j << (i * 8) for i, j in enumerate(image_record[:4])])width = sum([j << (i * 8) for i, j in enumerate(image_record[4:8])])line_num = sum([j << (i * 8) for i, j in enumerate(image_record[8:])])# print("图像尺寸:")# print(height, width, line_num)# 创建一个空白图像来存储所有行的图像big_image = np.zeros((height+3000, 9000), dtype=np.uint8)big_image.fill(255)now_x=0now_y=0# 读取每一行的信息for k in range(line_num):# print(k + 1)# 读取该行的字符数量char_num = np.fromfile(f, dtype="uint8", count=4)char_num = sum([j << (i * 8) for i, j in enumerate(char_num)])# print("字符数量:", char_num)# 读取该行的标注信息label = np.fromfile(f, dtype="uint8", count=code_length * char_num)label = [label[i] << (8 * (i % code_length))for i in range(code_length * char_num)]label = [sum(label[i * code_length : (i + 1) * code_length])for i in range(char_num)]label = [struct.pack("I", i).decode("gbk", "ignore")[0] for i in label]# print("合并前:", label)label = "".join(label)# 去掉不可见字符 \x00,这一步不加的话后面保存的内容会出现看不见的问题label = "".join(label.split(b"\x00".decode()))# print("合并后:", label)# 读取该行的位置和尺寸pos_size = np.fromfile(f, dtype="uint8", count=16)y = sum([j << (i * 8) for i, j in enumerate(pos_size[:4])])x = sum([j << (i * 8) for i, j in enumerate(pos_size[4:8])])h = sum([j << (i * 8) for i, j in enumerate(pos_size[8:12])])w = sum([j << (i * 8) for i, j in enumerate(pos_size[12:])])# print(x, y, w, h)# 读取该行的图片bitmap = np.fromfile(f, dtype="uint8", count=h * w)bitmap = np.array(bitmap).reshape(h, w)base_name = os.path.basename(dgrl)filename, _ = os.path.splitext(base_name)# 保存图片(每行的图片)bitmap=remove_white(bitmap)# image_file = os.path.join(gray_output_dir, filename + "_"+str(k)+".png")# cv.imwrite(image_file, bitmap)h, w = bitmap.shape[0], bitmap.shape[1]# if np.all(bitmap == 0) or np.all(bitmap == 255):#     pass# 将该行图像放入大图中的相应位置if(k==0):big_image[y : y + h, x : x + w] = bitmap[:h, :w]now_y=y+helse:# print(x+w)# print(big_image.shape[:2])# print(big_image[now_y : now_y + h, x : x + w].shape[:2])if(x<0):x=abs(x)big_image[now_y : now_y + h, x : x + w] = bitmap[:h, :w]now_y=now_y + hcropped_image=remove_white(big_image)cropped_image_file = os.path.join(gray_output_dir, filename + ".png")cv.imwrite(cropped_image_file, cropped_image)# 使用大津法进行二值化处理_, binaryx_image =cv.threshold(cropped_image, 0, 255, cv.THRESH_BINARY | cv.THRESH_OTSU)# 将二值图像保存到文件中cv.imwrite(os.path.join(binary_output_dir, filename + ".png"), binaryx_image)if __name__ == "__main__":dgrl_paths = Path("Y:/RawData/CASIA-HWDB2/test").iterdir()dgrl_paths = list(dgrl_paths)la=Falsefor dgrl_path in tqdm(dgrl_paths):print(dgrl_path)# if(os.path.basename(dgrl_path)=="385-P20.dgrl"):#     la=True# if(la):#     read_from_dgrl(dgrl_path)read_from_dgrl(dgrl_path)
提取结果(保存灰度图和二值图)
